In my previous post, I re-published a recipe from last year for a Day of the Dead bread, popular in Mexico City and in contemporary bakeries around the country, citing conflicting versions of how and when this bread was created. This year, I am making a bread from the Mexican state of Oaxaca, which is really baked all year round, but decorated in a very special way for the Day of the Dead (observed on November 2.) All wheat-based bread in Mexico has a clear Spanish or French influence, and this particular one can be traced to Spanish recipes, which some families have been using in Oaxaca for several generations. Pan de yema translates as “yolk bread”, an apt name since a batch contains several eggs and a few extra yolks, giving them their characteristic flaky texture and slightly yellow tone.
Yolk Bread – Pan de yema
Ingredients
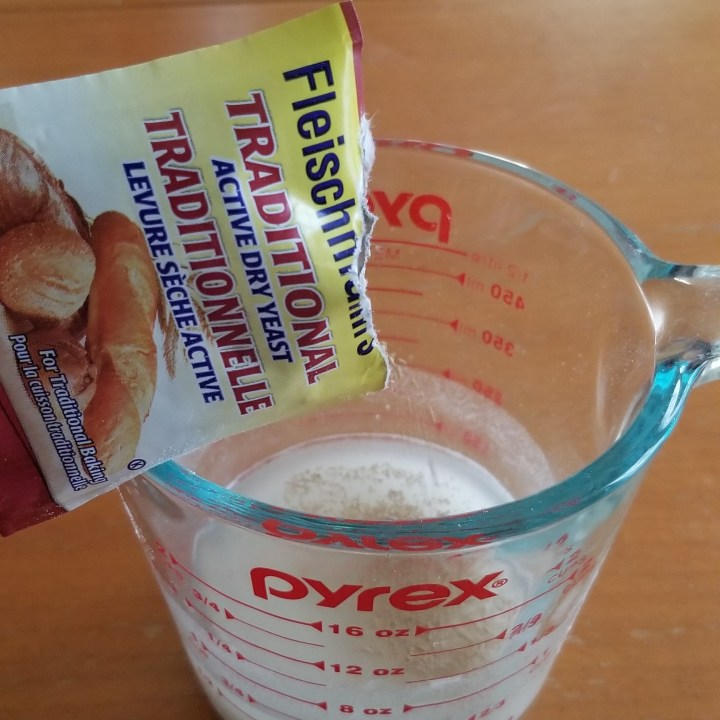
1 envelope (11 g) traditional active dry yeast
½ cup water; lukewarm
4 cups (500 g) all-purpose flour, plus more for sprinkling working surface
¾ cup (150 g) granulated sugar
½ cup plus 2 tbsp unsalted butter; softened, but not melted
7 eggs; four of them separated
½ tsp salt
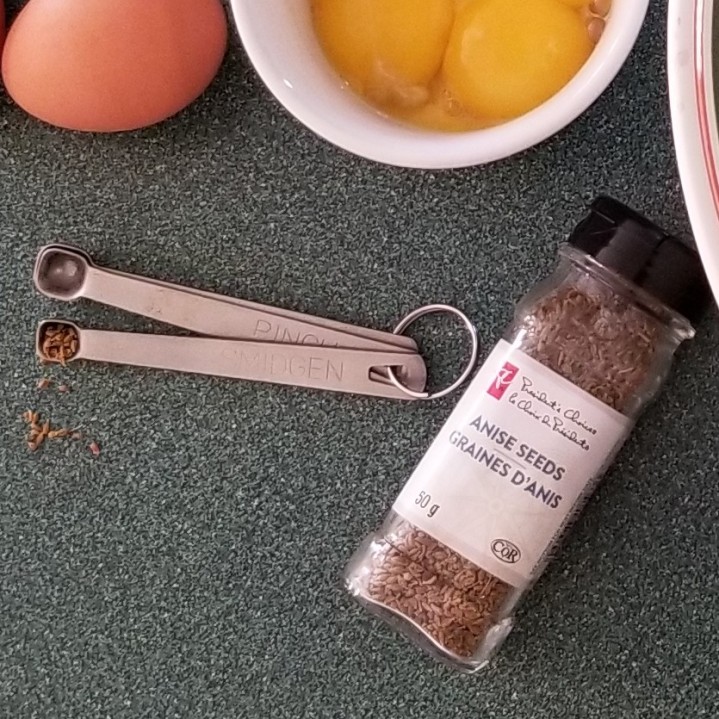
Pinch anise seeds, or to taste*
Sesame seeds, to coat loaves
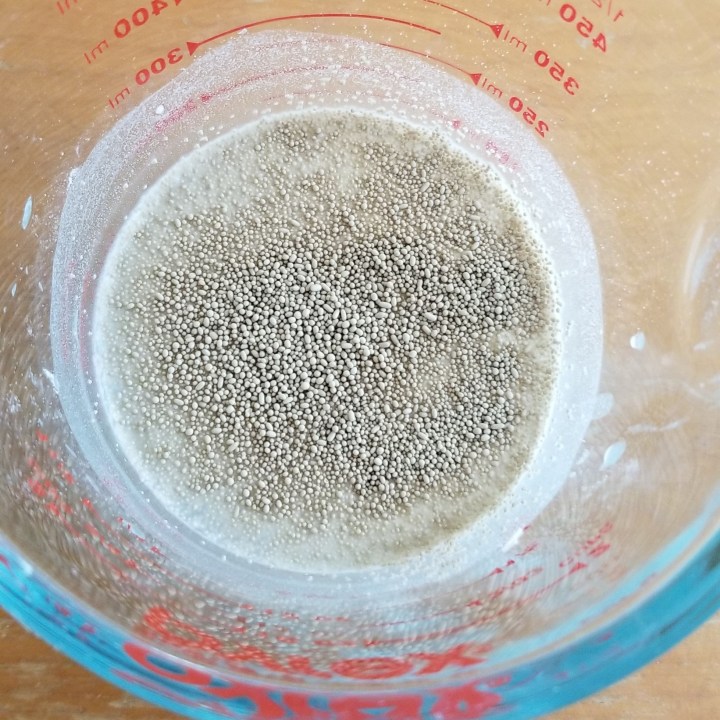
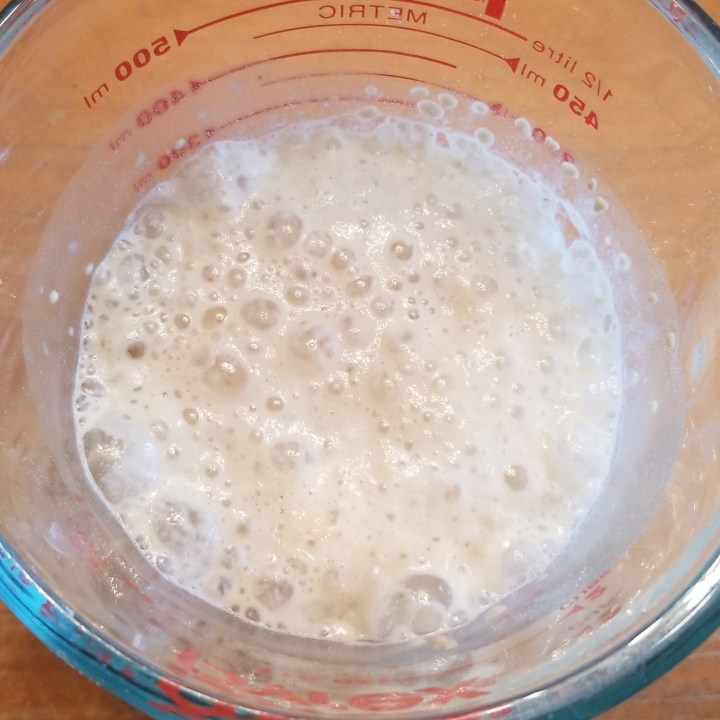
Start yeast by mixing the lukewarm water, 2 tablespoons of the flour and one tablespoon of the sugar in a small bowl or cup, then sprinkling the yeast over (photos below, left and centre); mix lightly and let rest until it bubbles and expands to about double its volume, approximately 20 minutes (photo below, right):
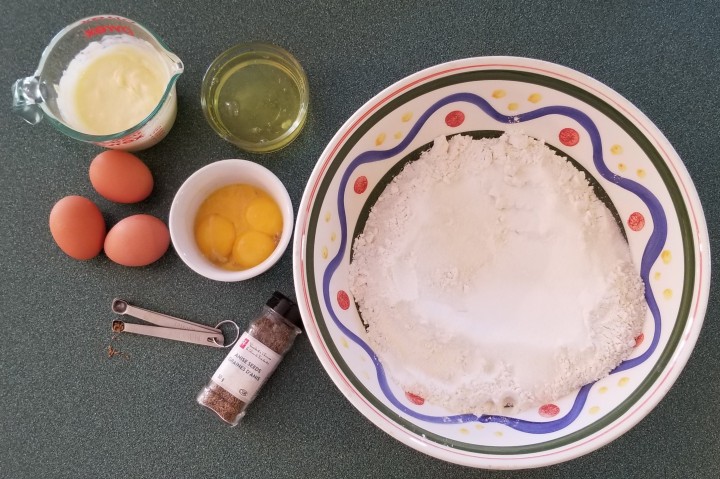
While the yeast mix is rising, place the rest of the flour, the rest of the sugar, and the salt in a large bowl, forming an opening in the centre, and gather the rest of the ingredients:
NOTE: Four egg whites are not required for the dough, but a little may be used for brushing the bread later in this recipe, and the leftovers reserved for another application (for example, an all-egg-white and veggie omelette).
*NOTE: Traditional recipes call for up to one tablespoon of anise seeds! That was just too overwhelming for me, especially since I do not like anise flavour that much. I added a literal “smidgen” to honour the original recipes for this bread, which must have that characteristic flavour:
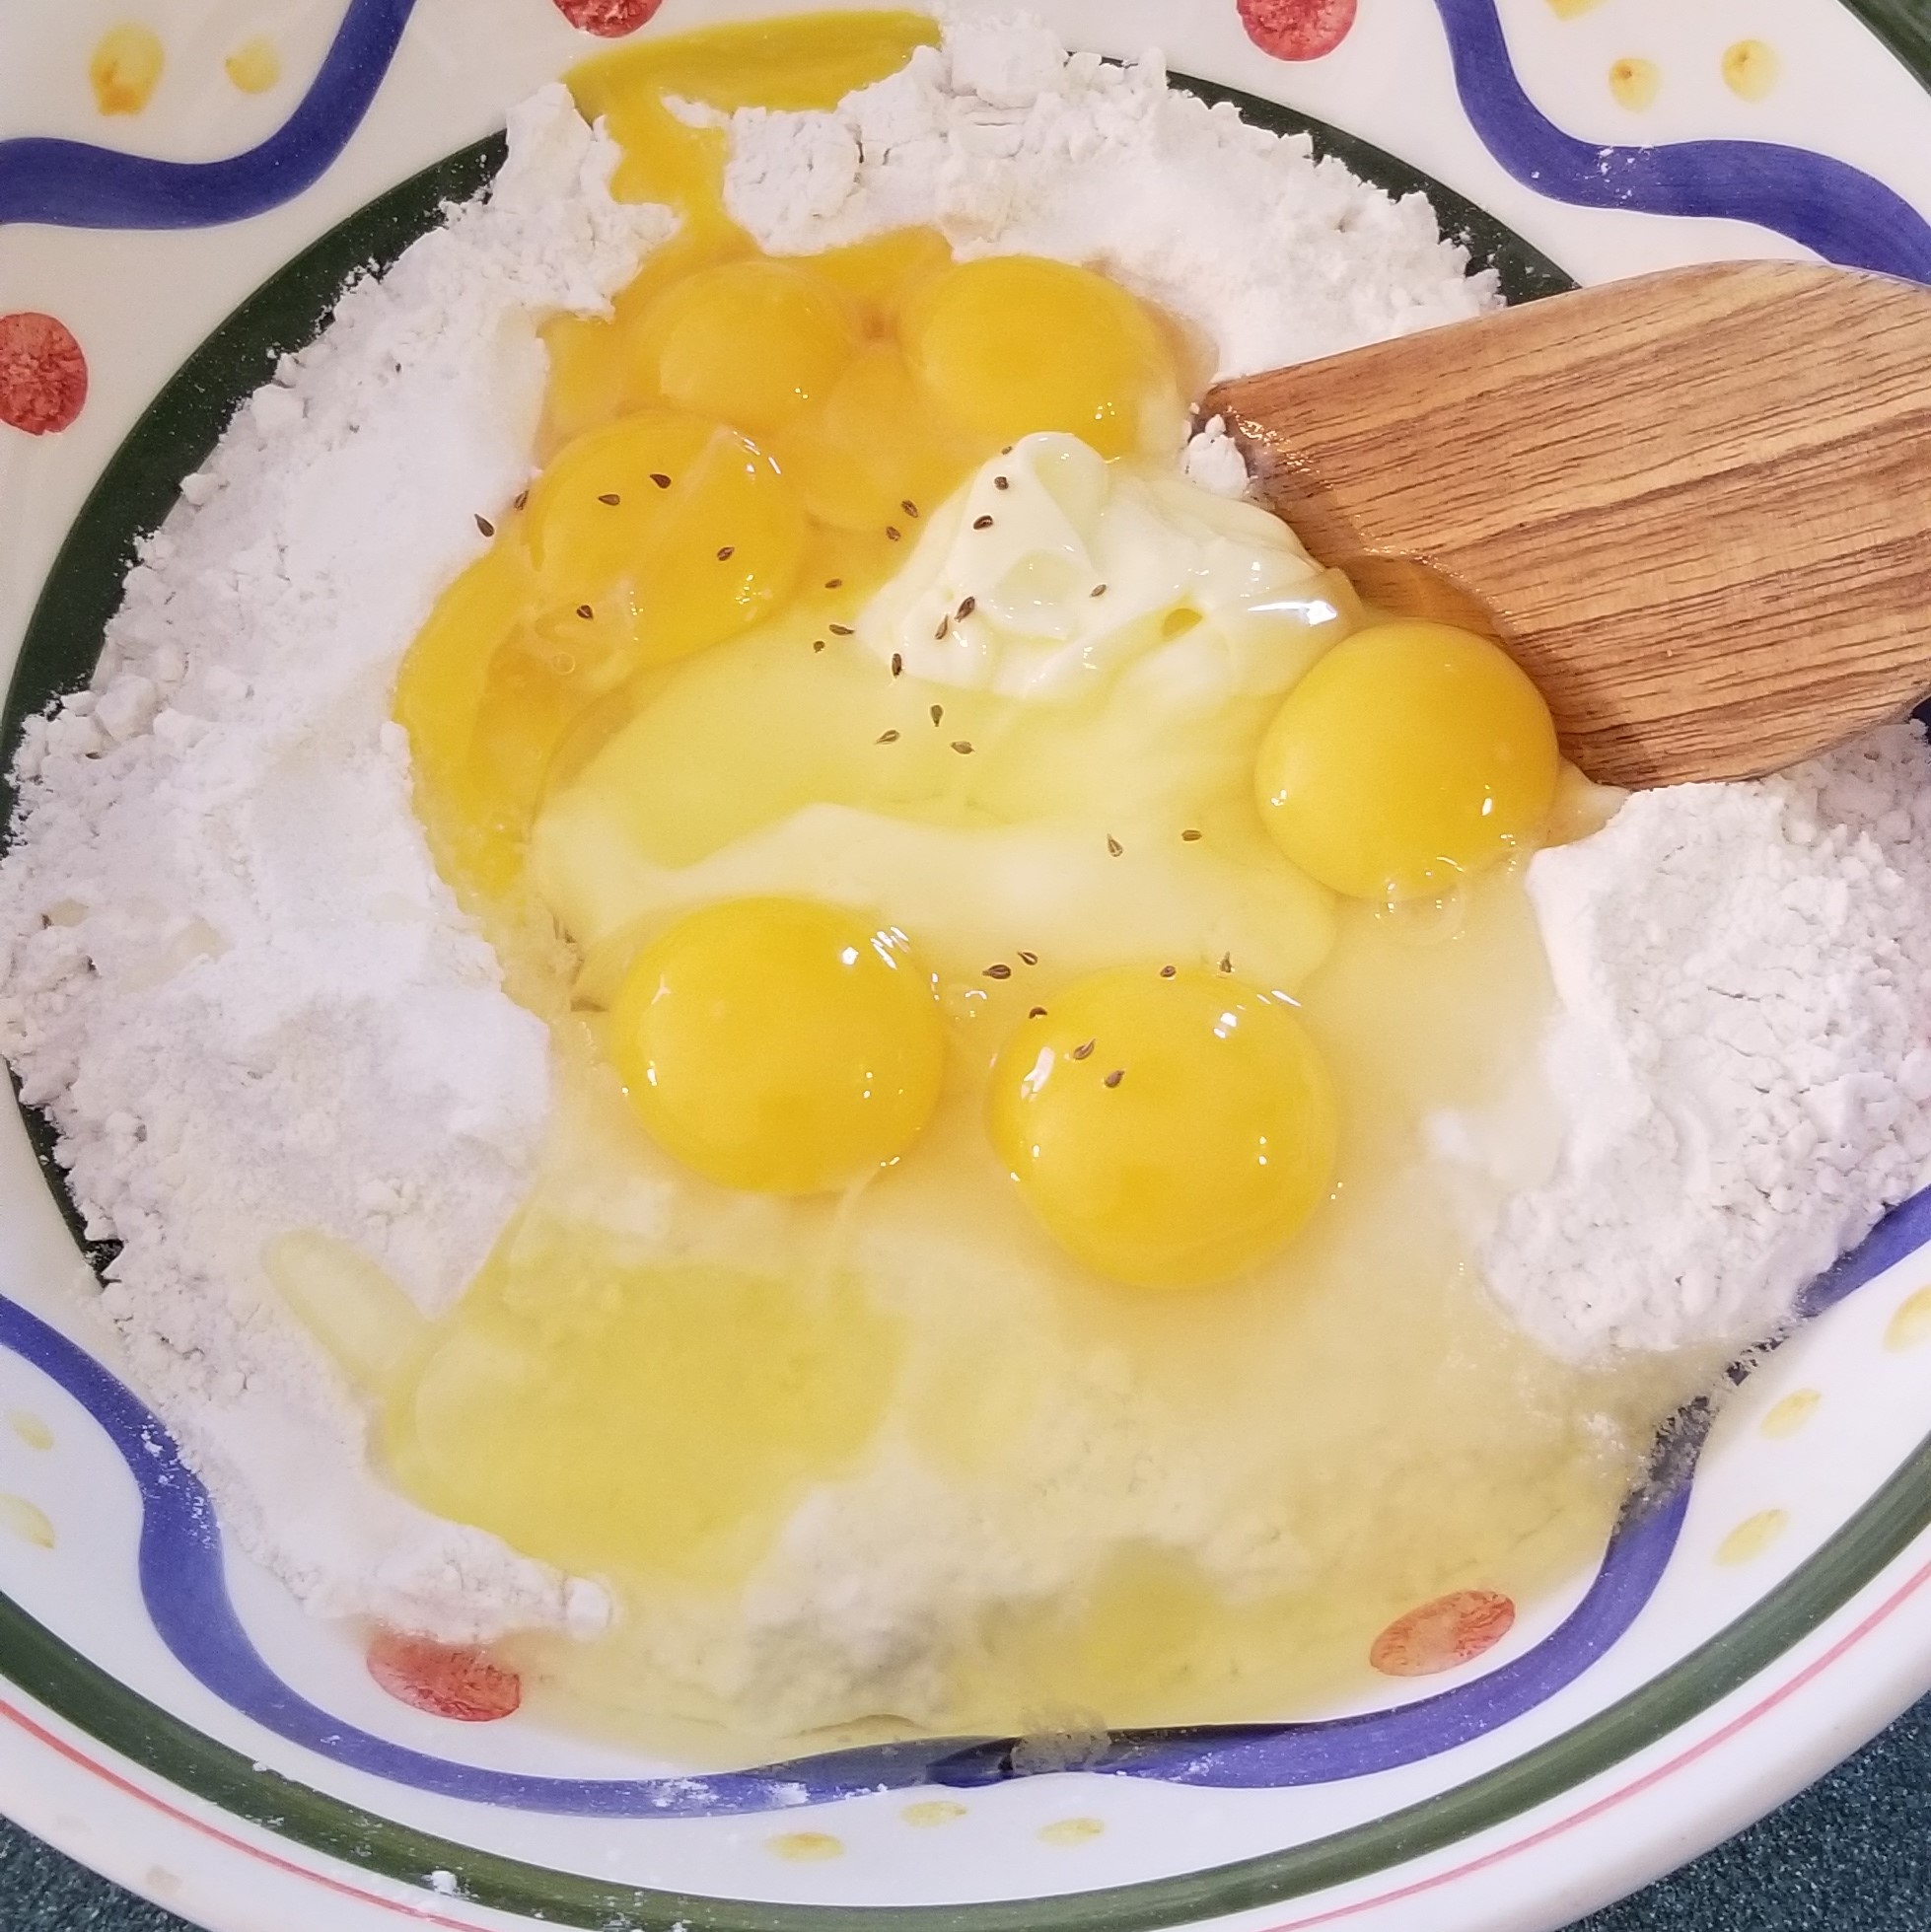
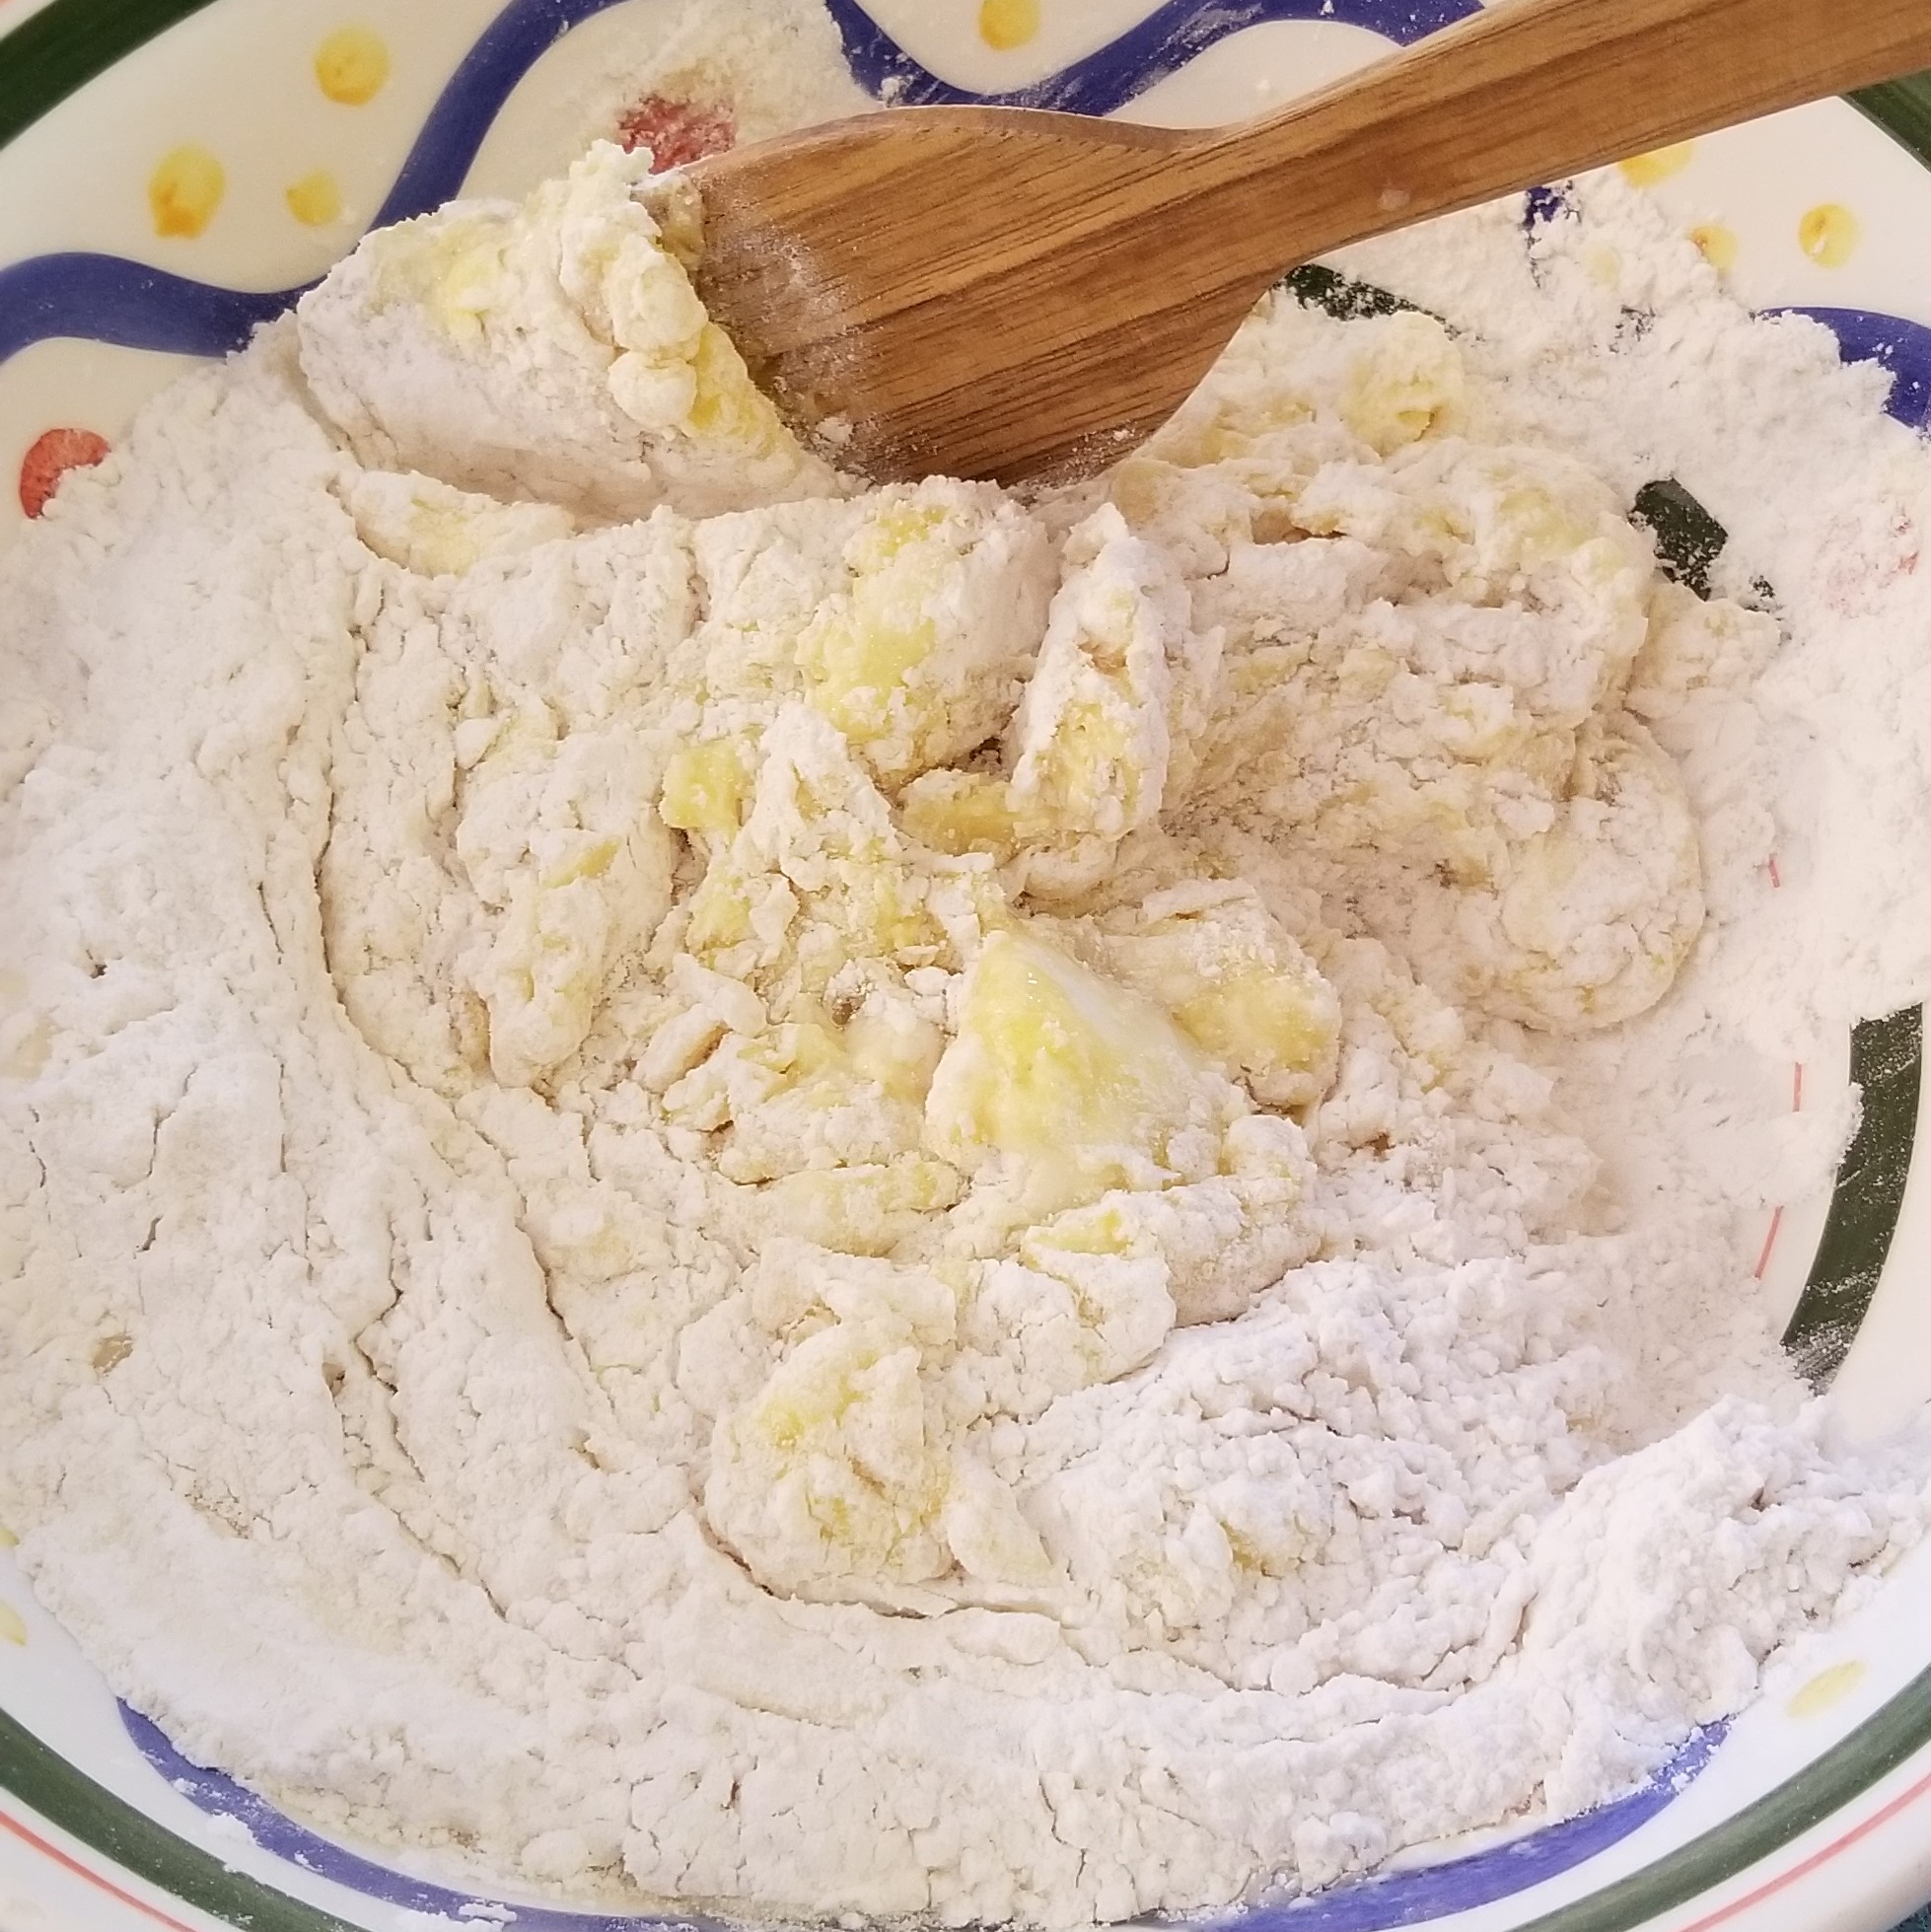
Pour half a cup of the softened butter, three whole eggs, four egg yolks and the anise seeds into the centre of the flour mix (photo below, left) and loosely incorporate with a spatula (photo below, right):
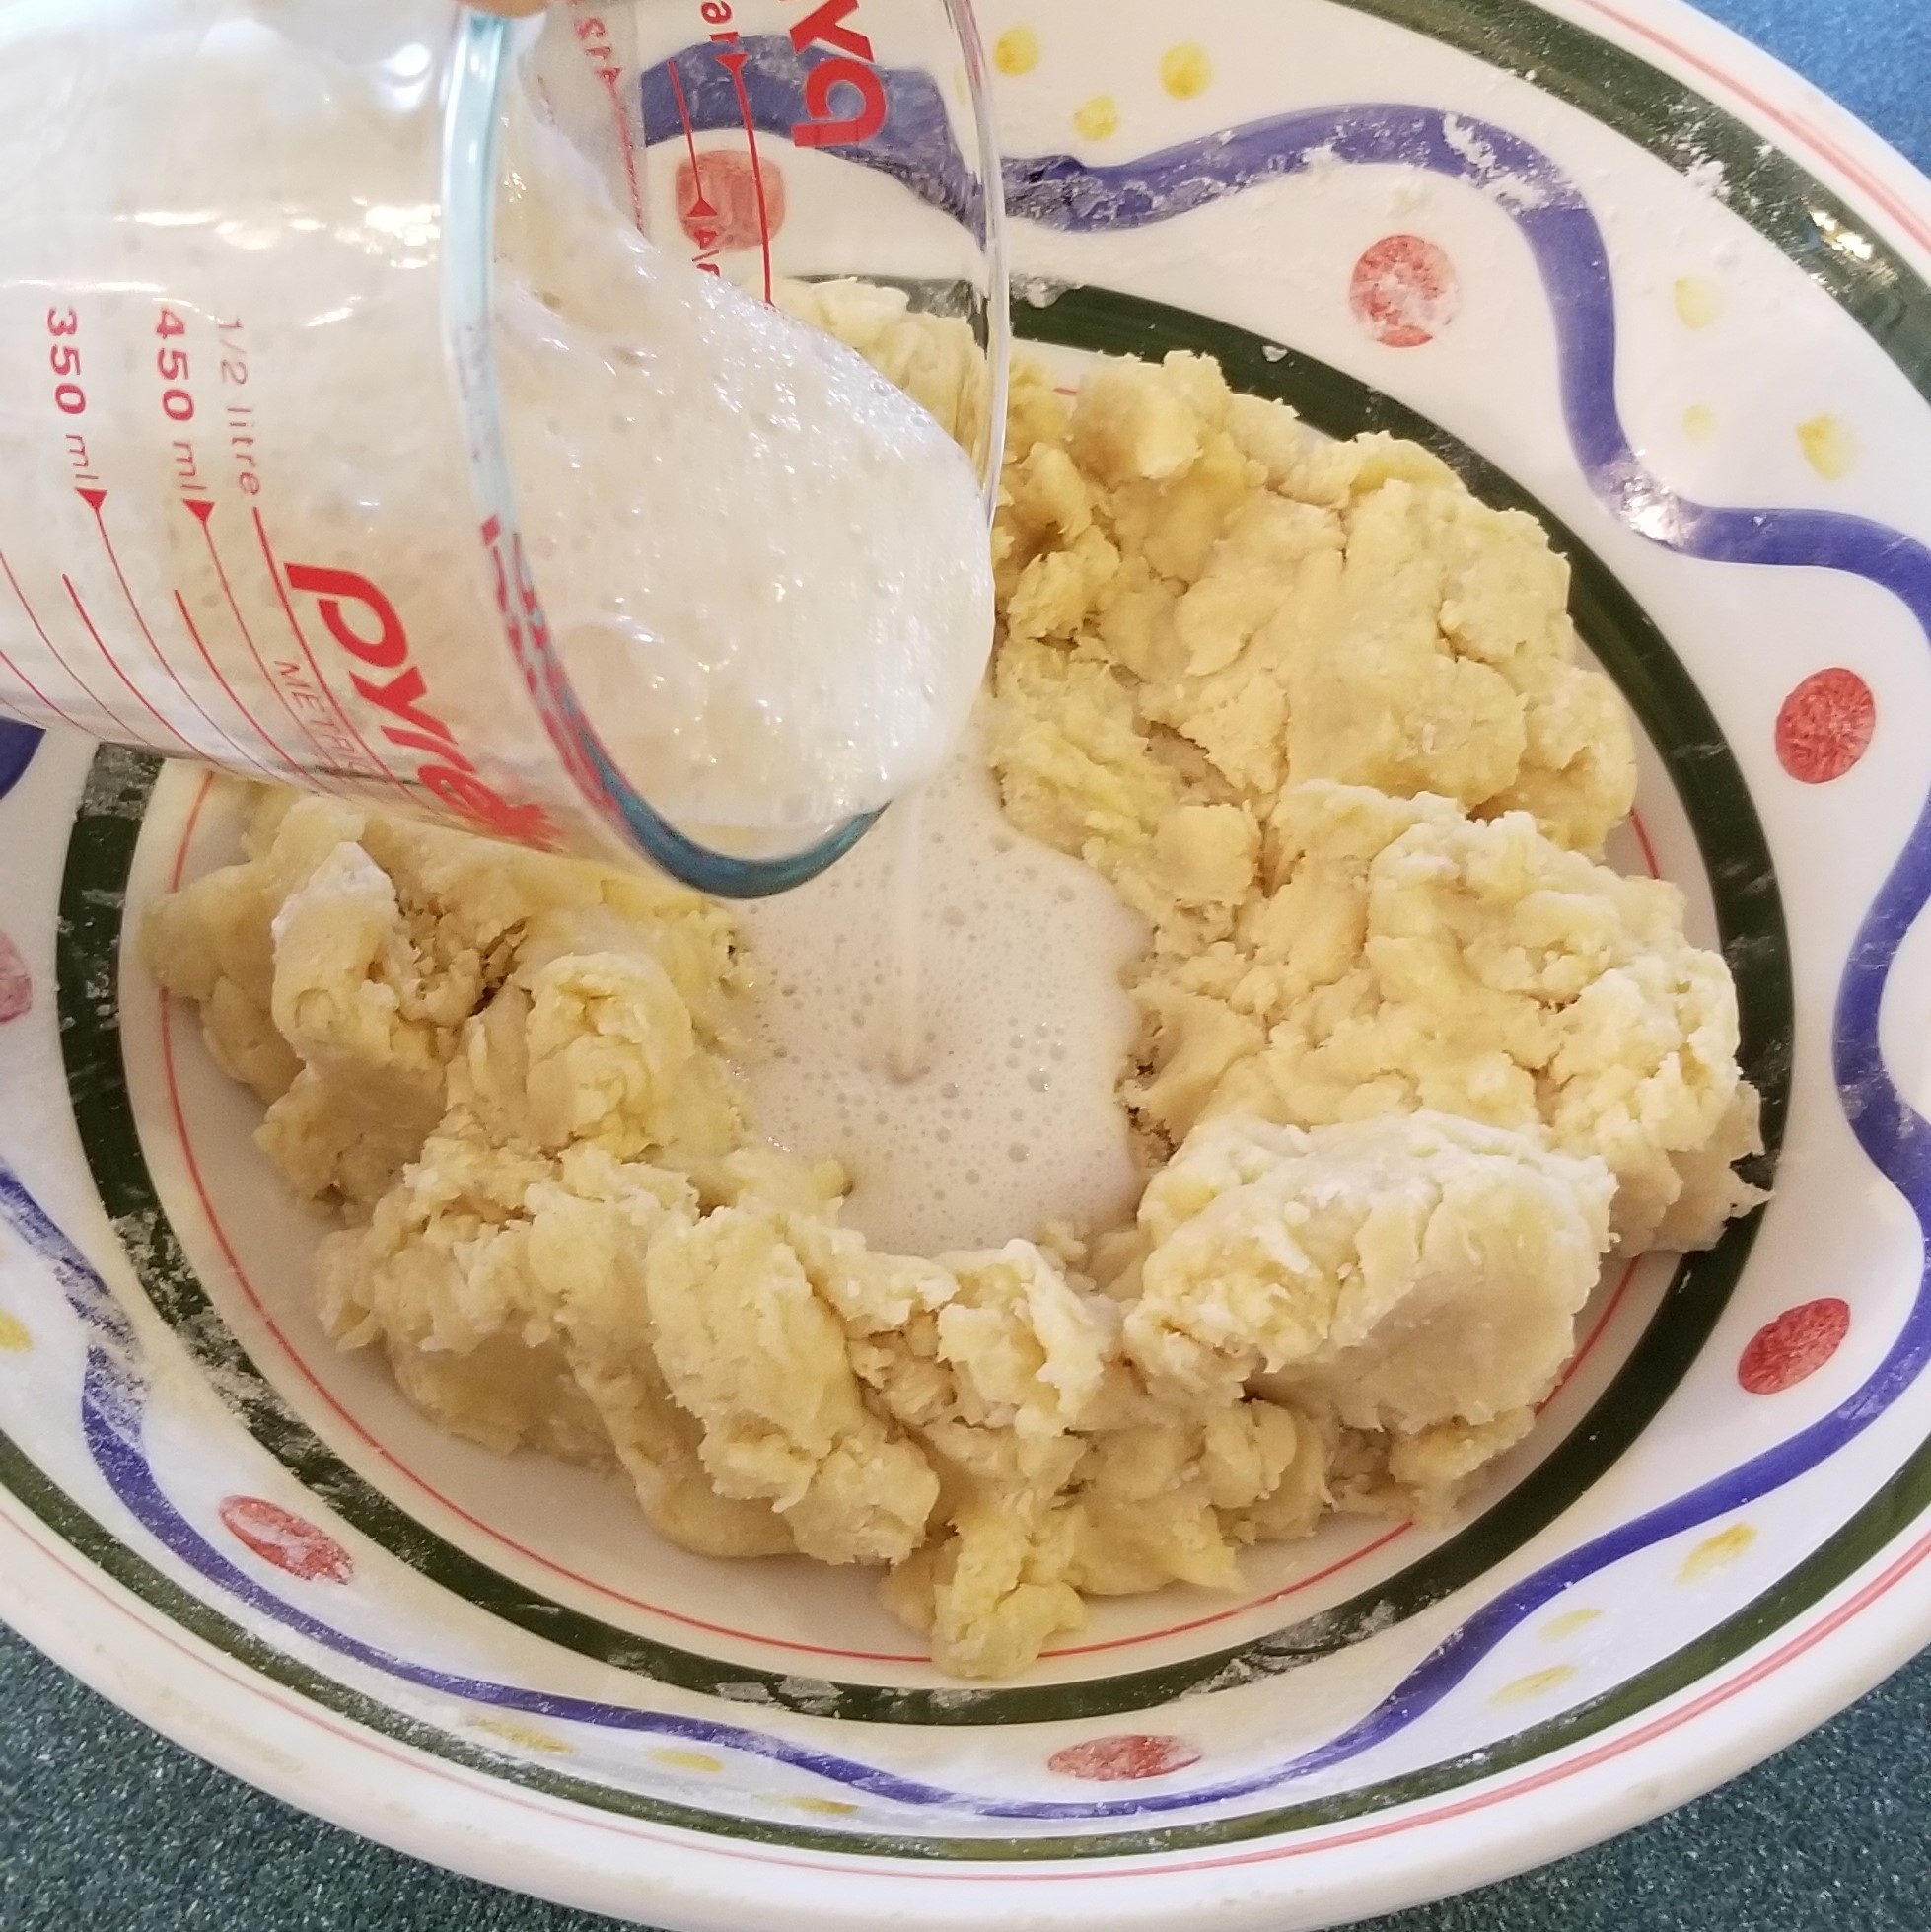
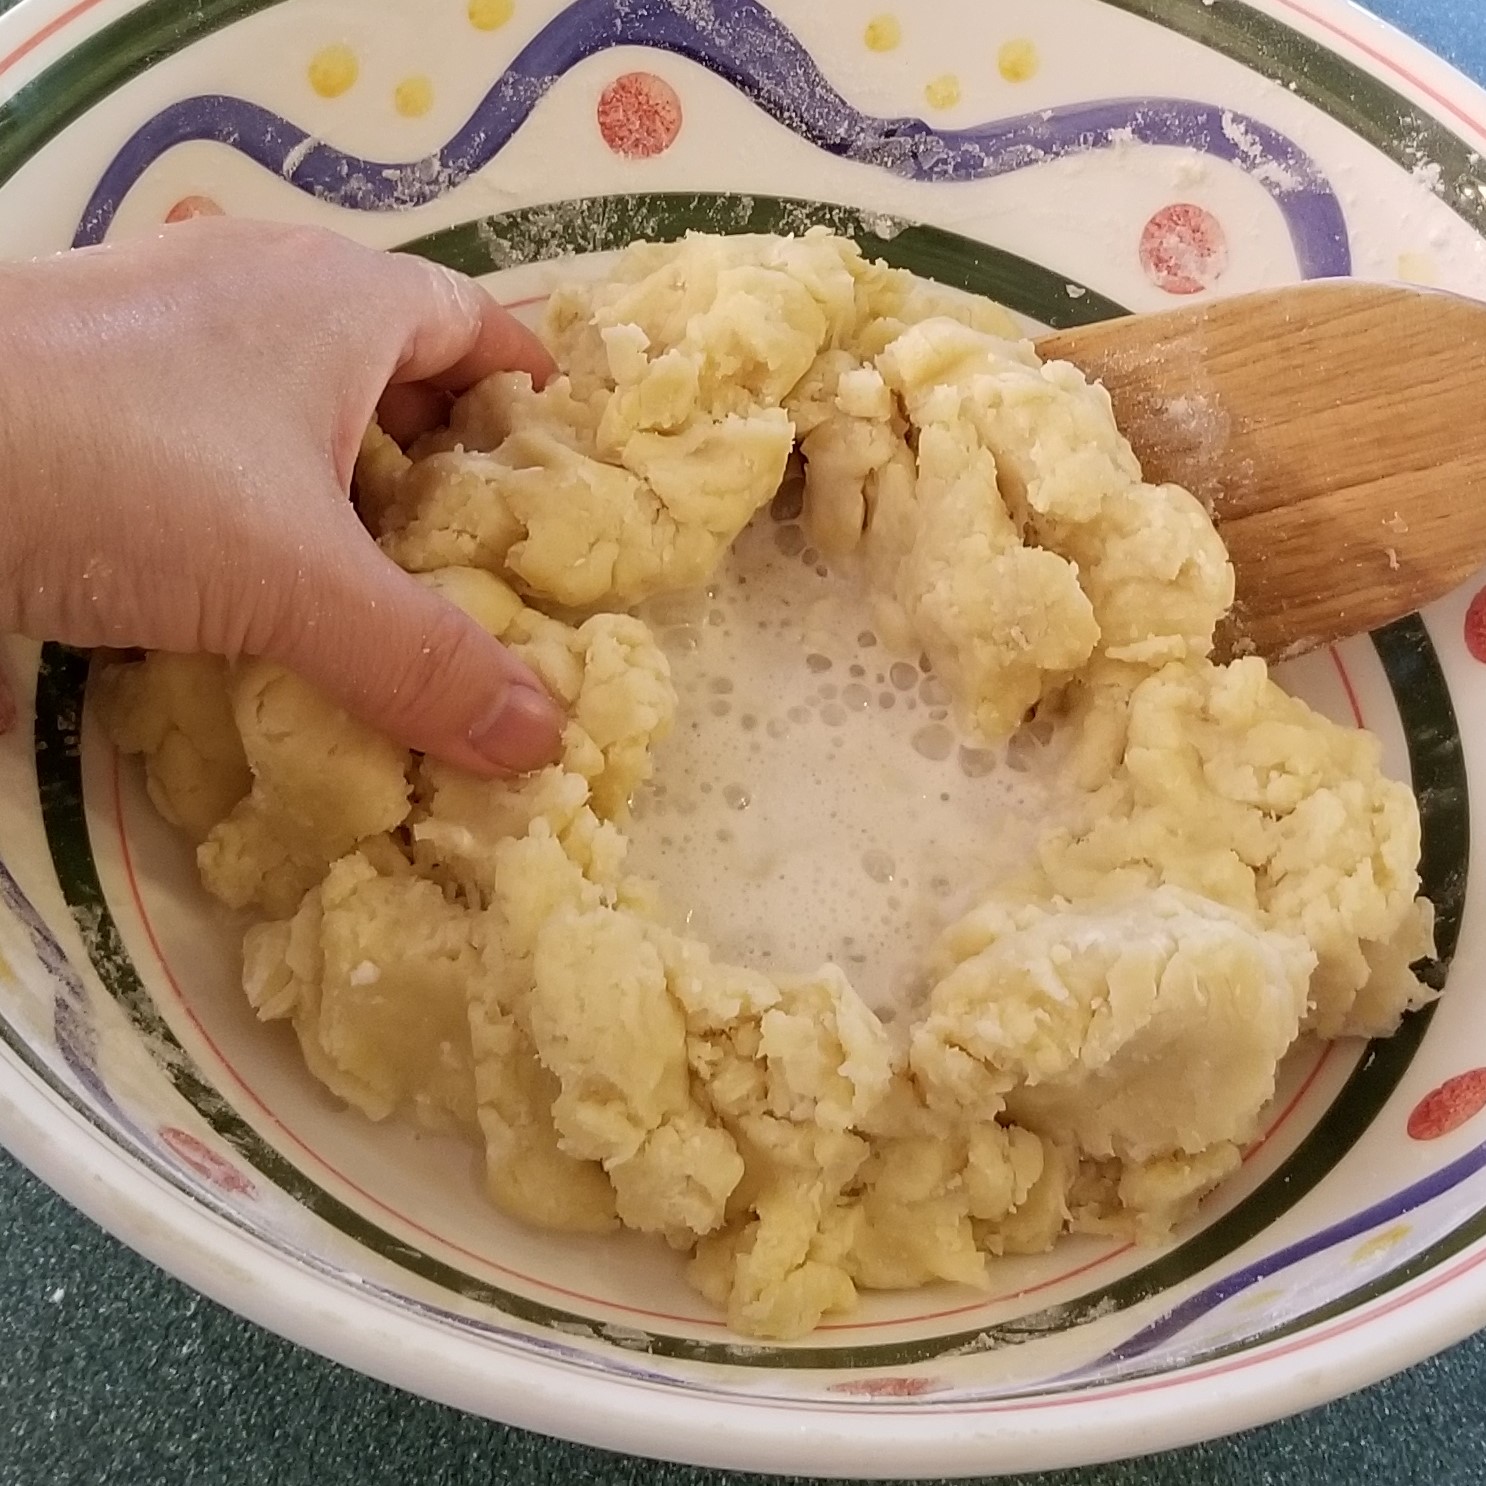
Add risen yeast mix (photo below, left) and knead all together (photo below, right). I like using one hand and a spatula at this point, so I have a dough-free hand to answer the phone, and turn the bowl (and take photos!):
When the dough may be formed into a ball (it took me about five minutes), transfer to a clean surface lightly sprinkled with flour (photo below, left). At this point, the dough breaks when pulled (photo below, right):
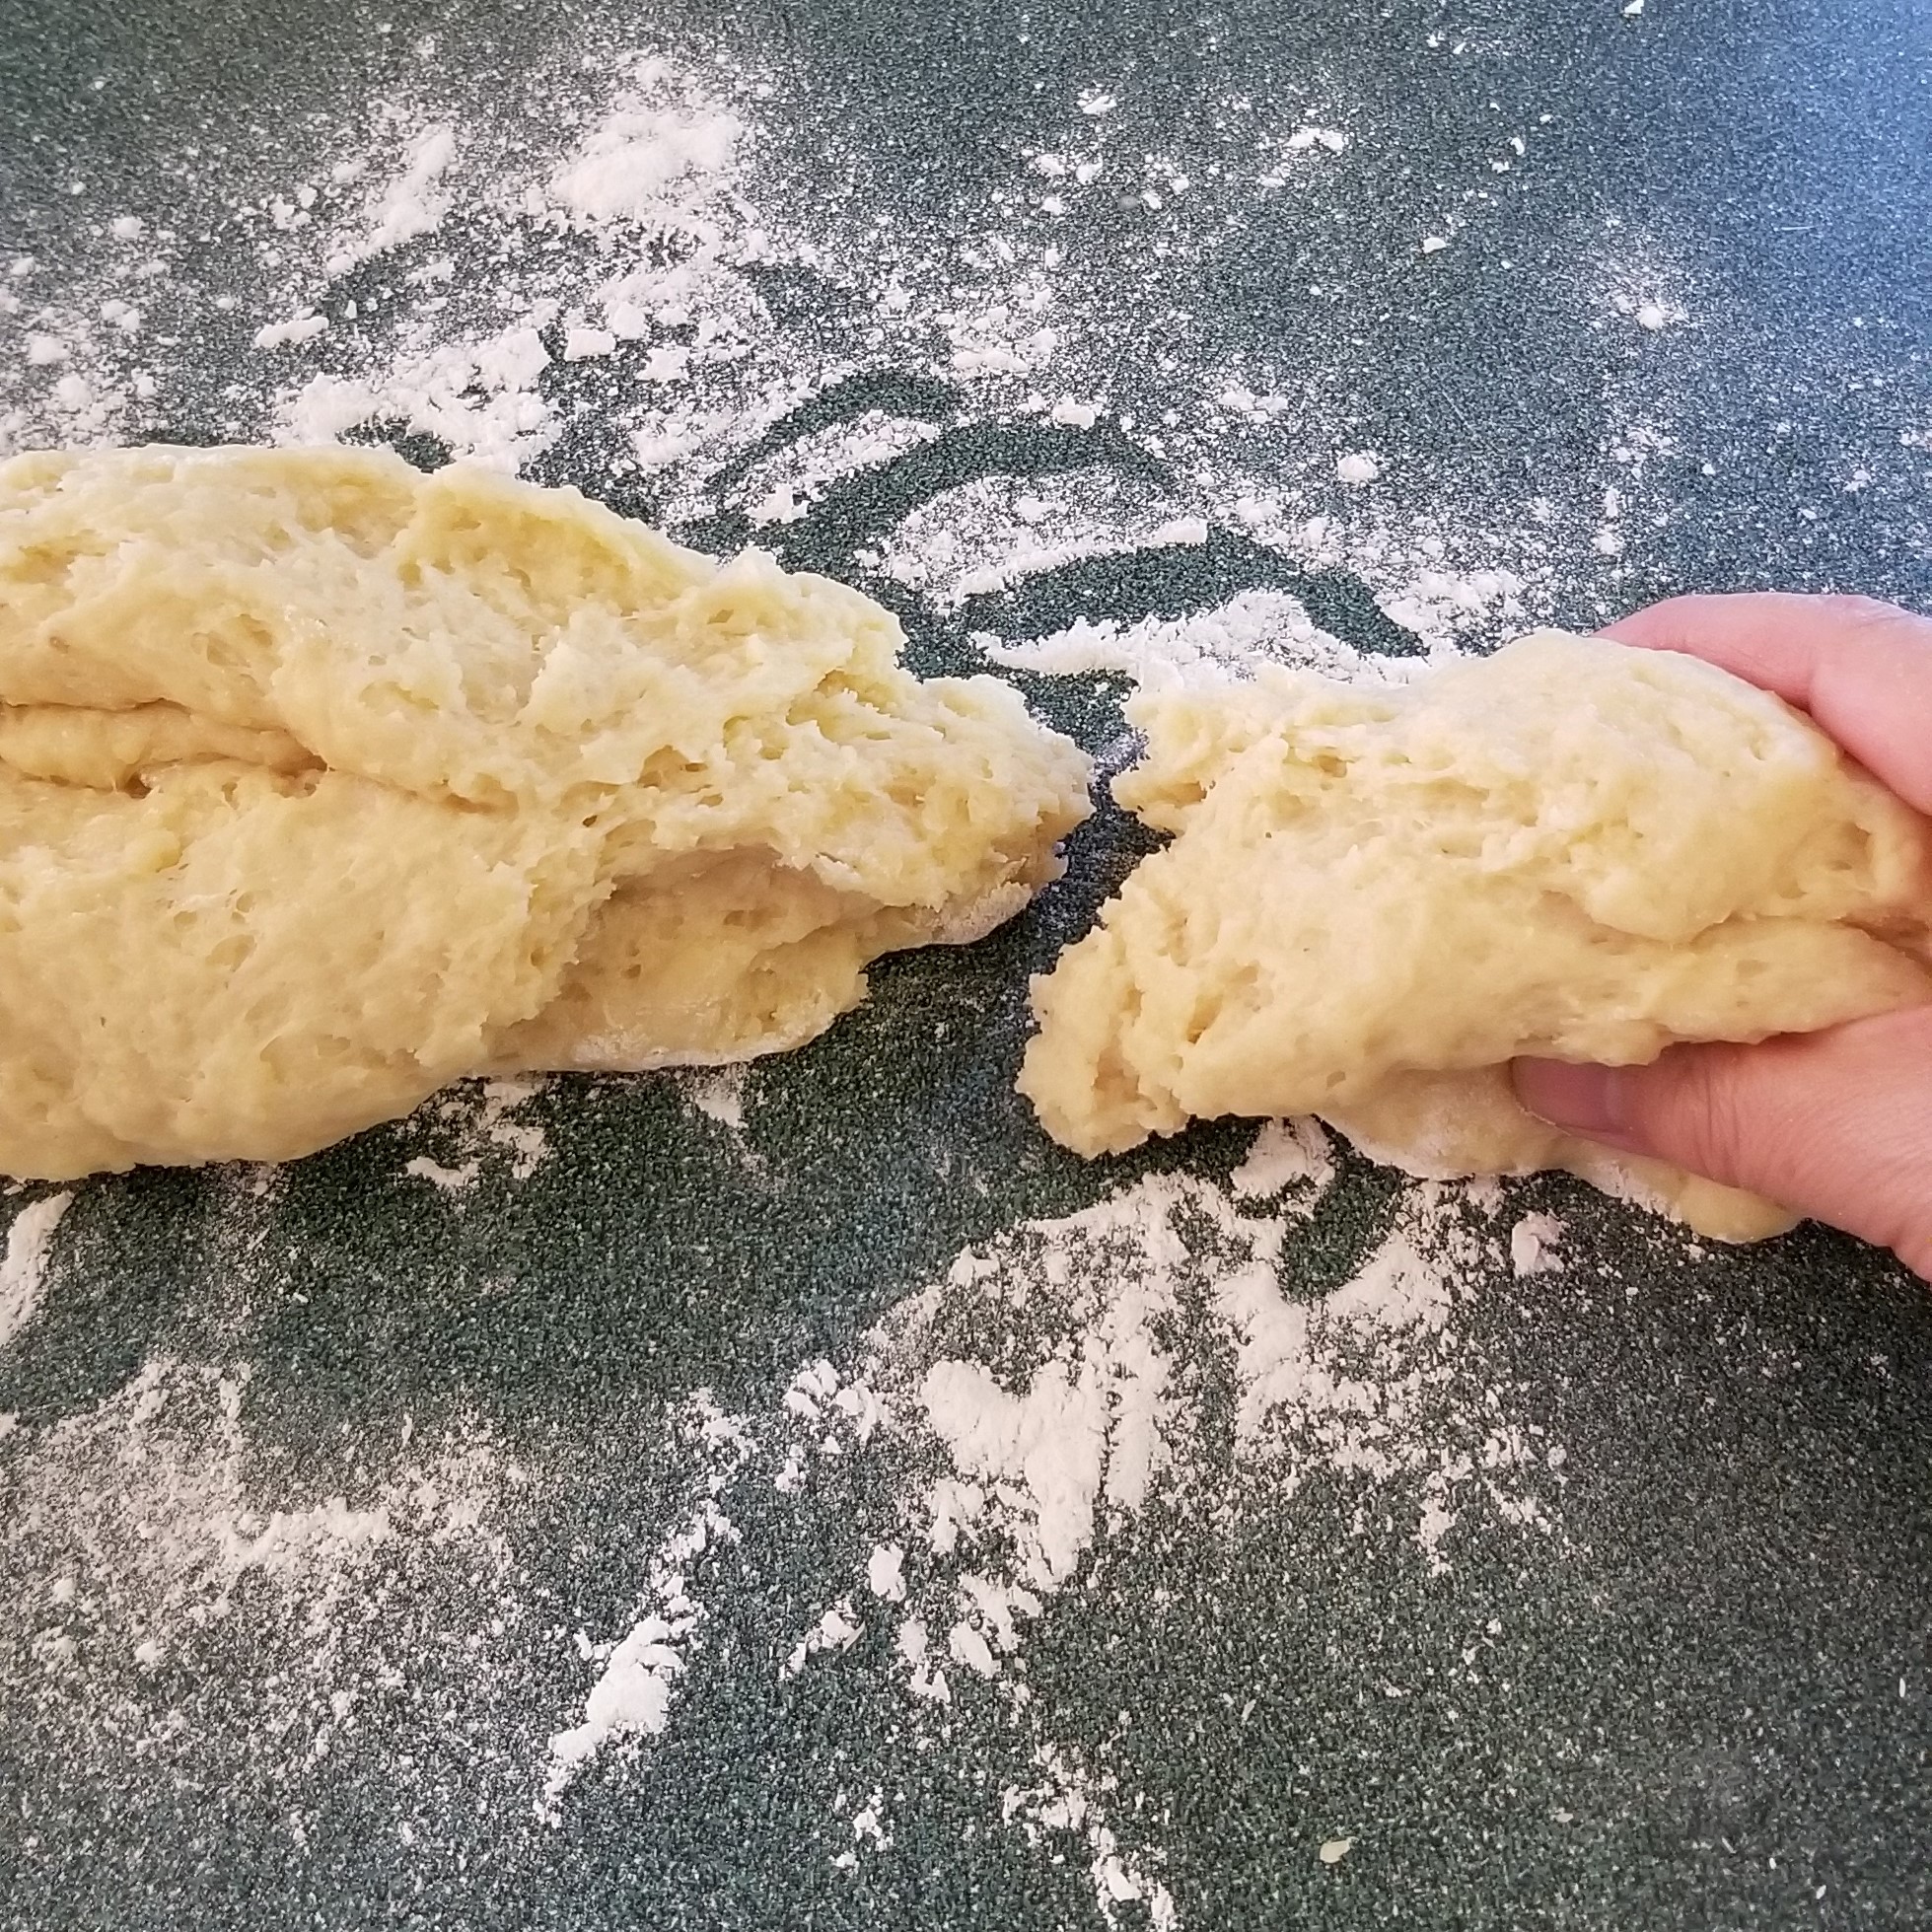
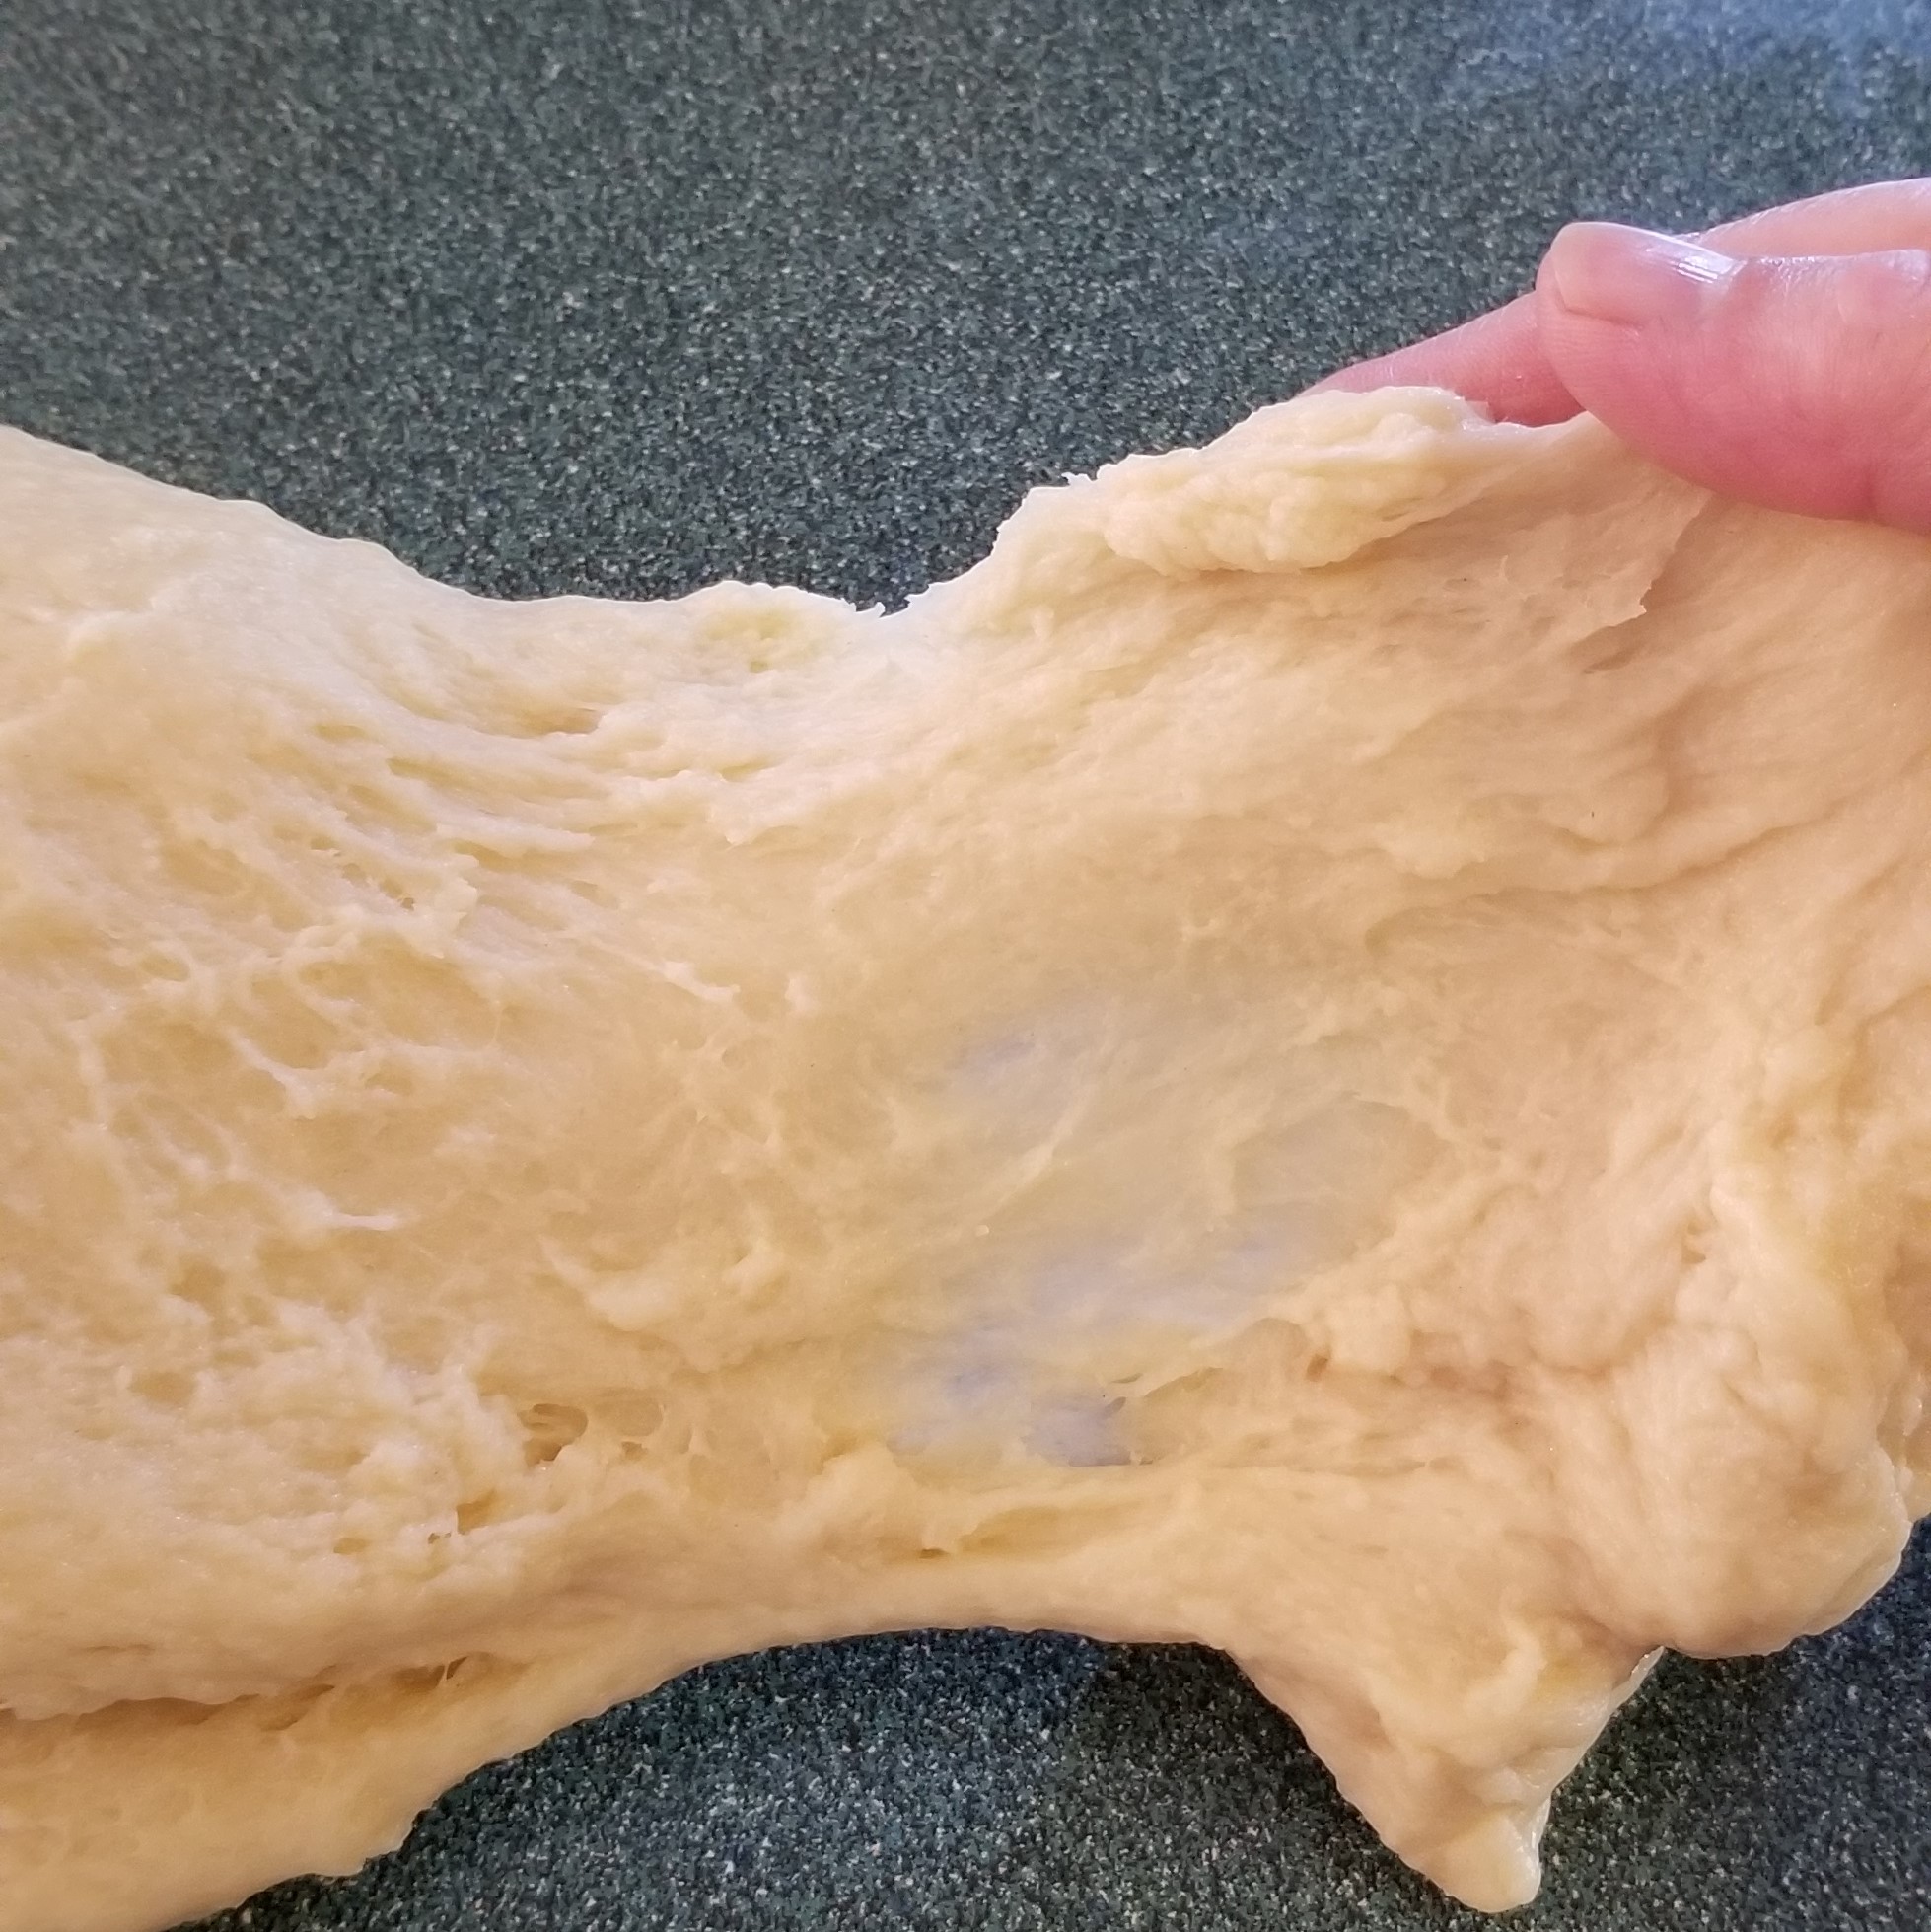
Now it is time to knead vigorously with both hands, pulling from the sides towards the centre, folding and flipping (even slapping against the working surface). In the photos below, the dough has become more elastic after another five minutes (left) and it is also fully stretchable sideways after another five minutes (right), for a total kneading time of fifteen minutes:

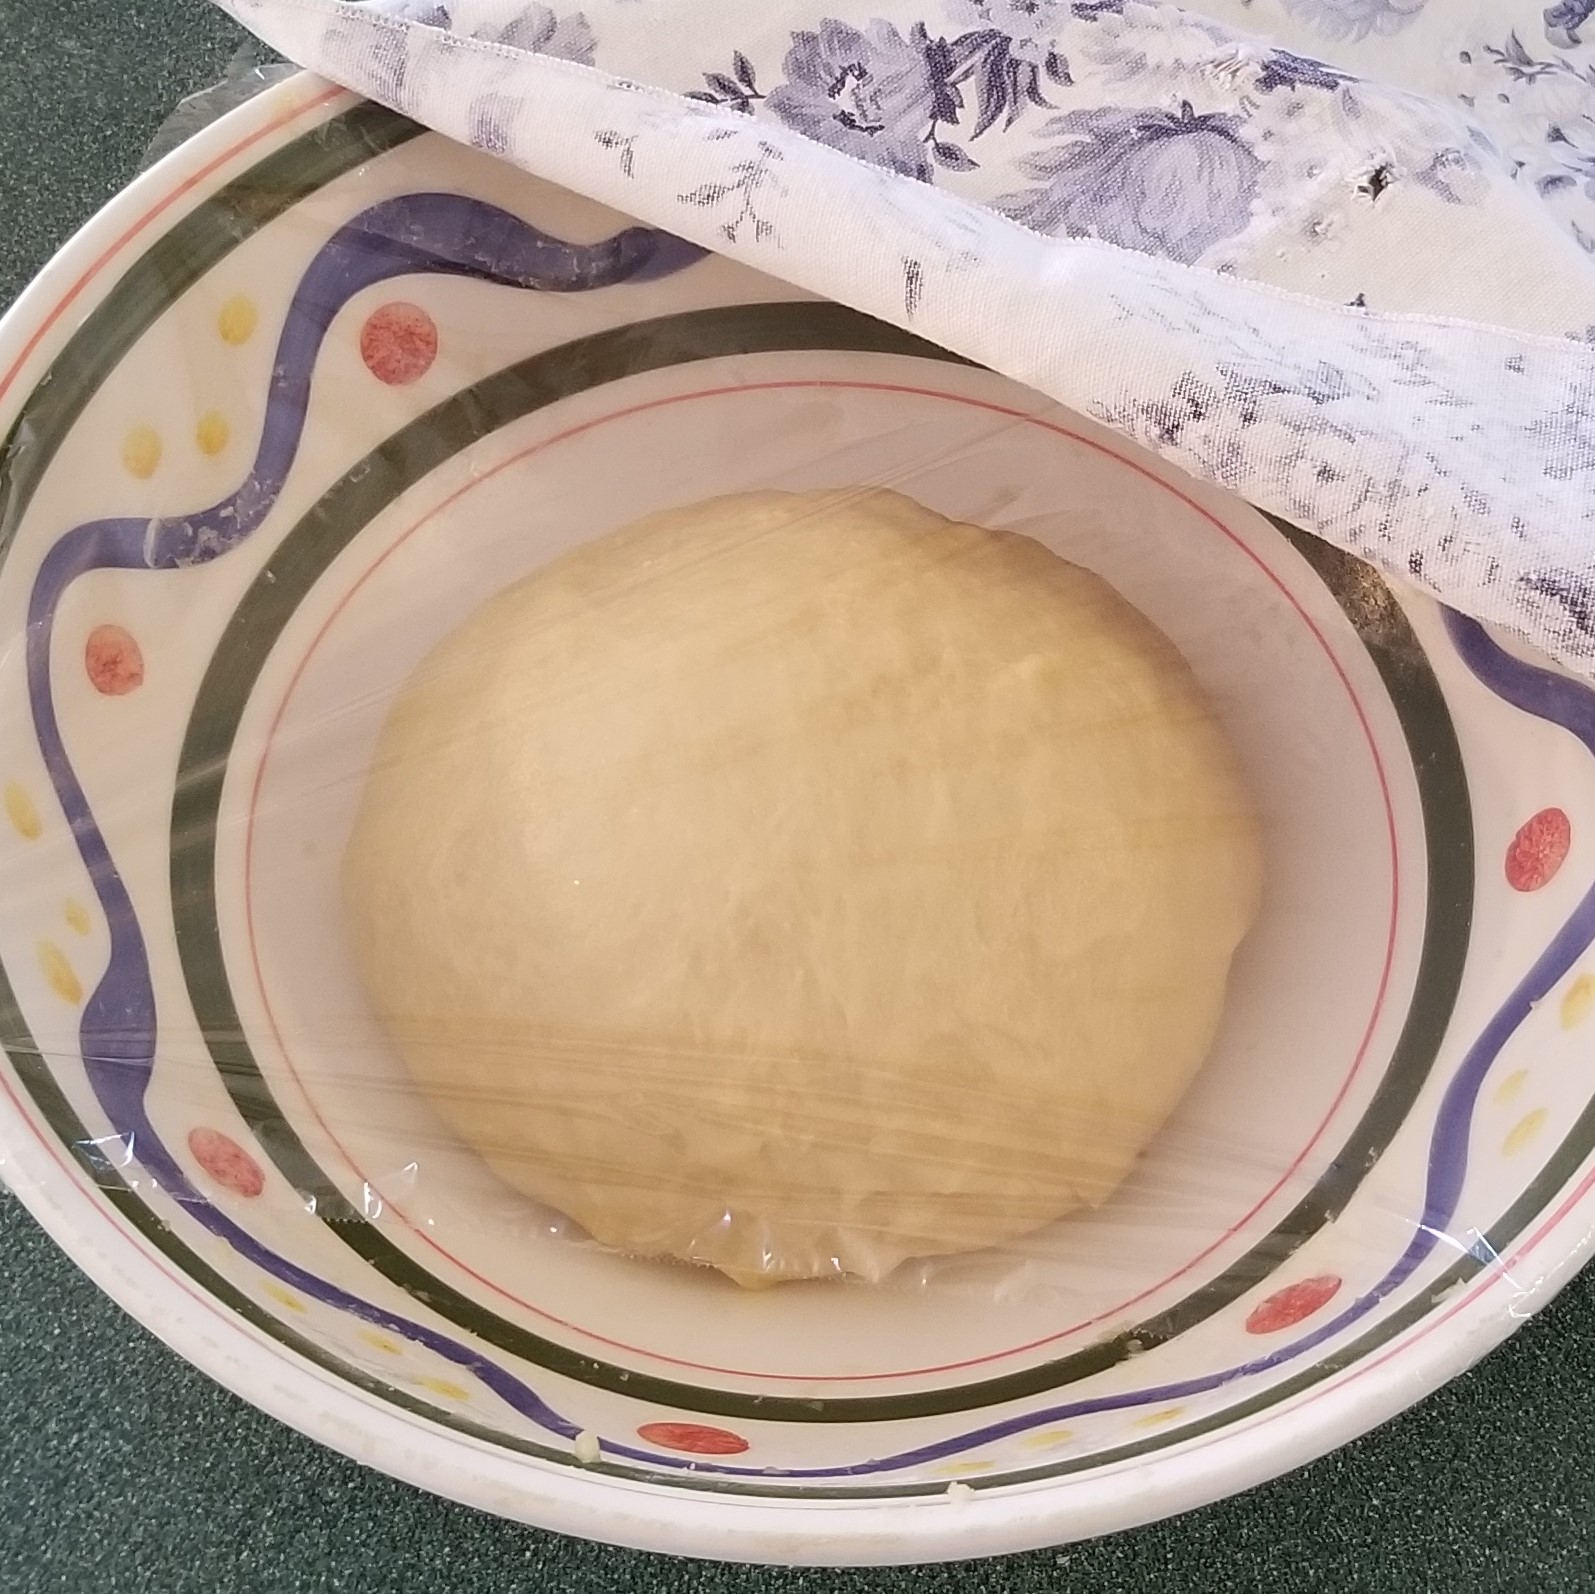
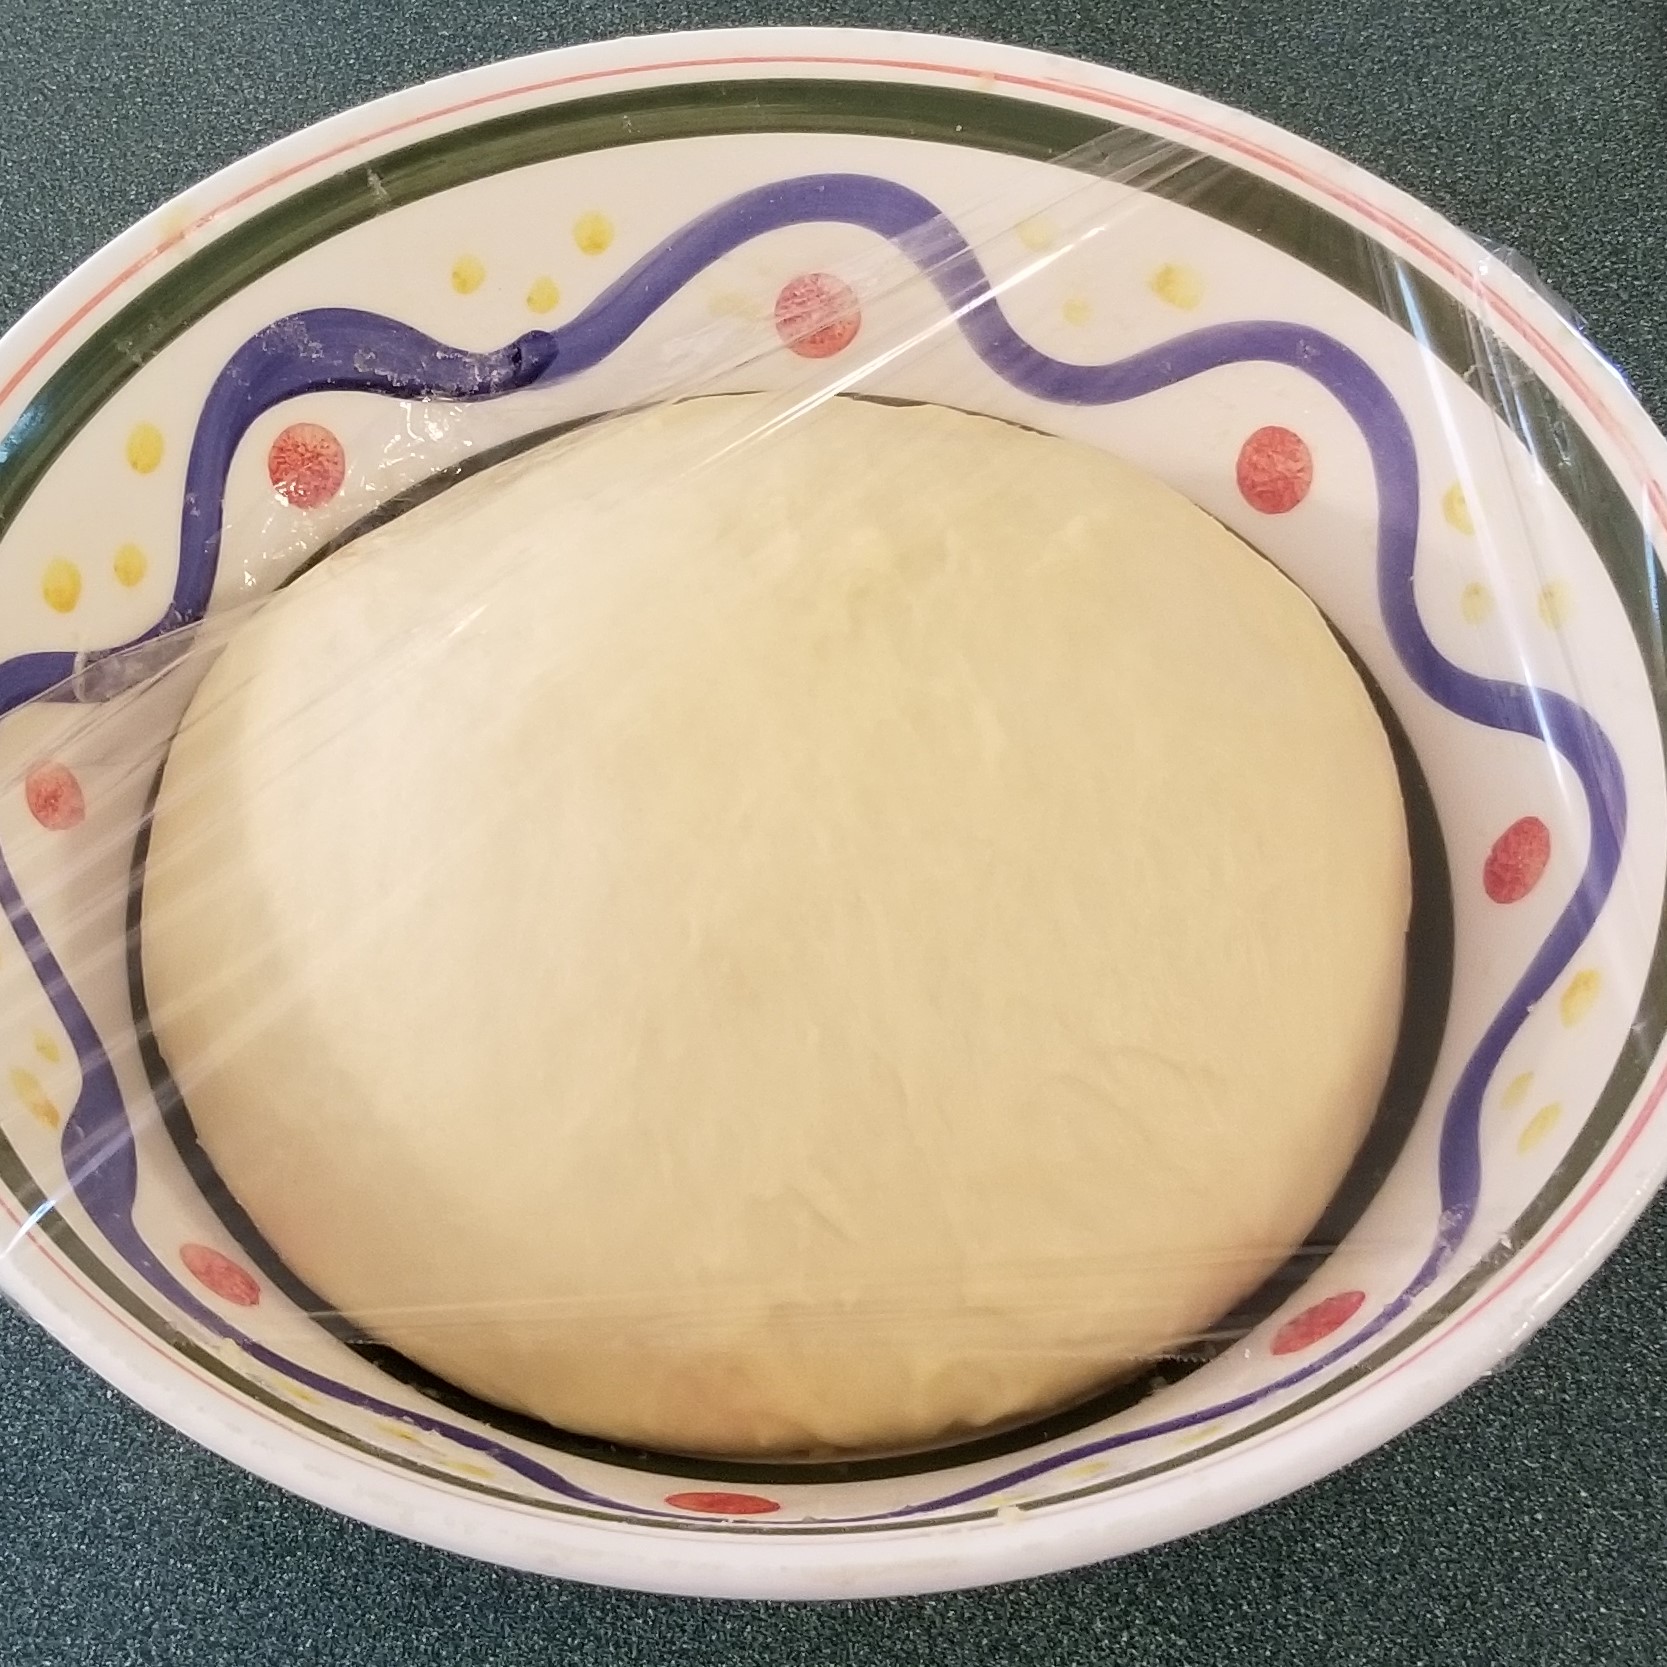
Fold a couple times more, rolling and pinching dough towards centre to smooth surface. Rub hands with some of the extra butter, grease mixing bowl, placing the dough in with the pinched side down; rub dough with hands to coat lightly with butter, then cover with plastic film and/or a clean kitchen towel (photo below, left). Place bowl away from drafts and preferably in a warm (not hot!) place. Allow to rise and double in size, for approximately two hours (photo below, right):
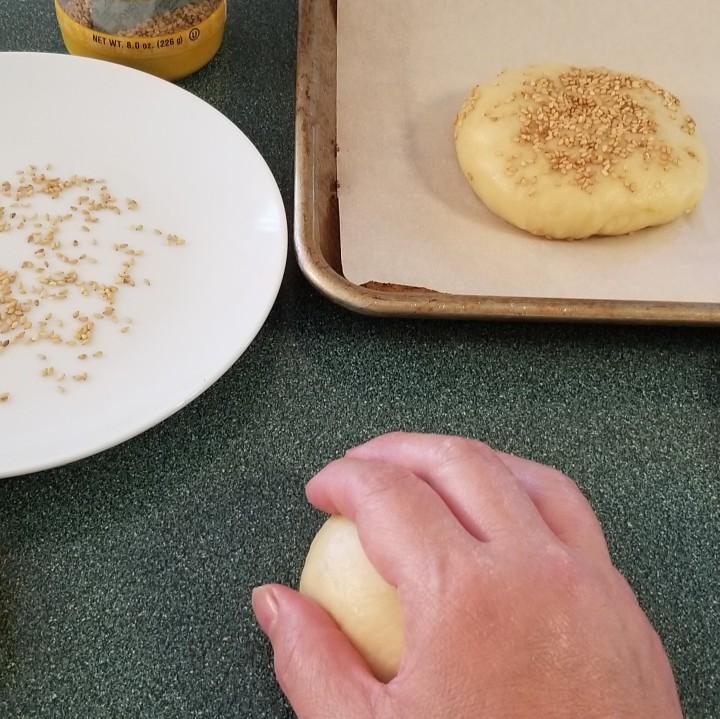
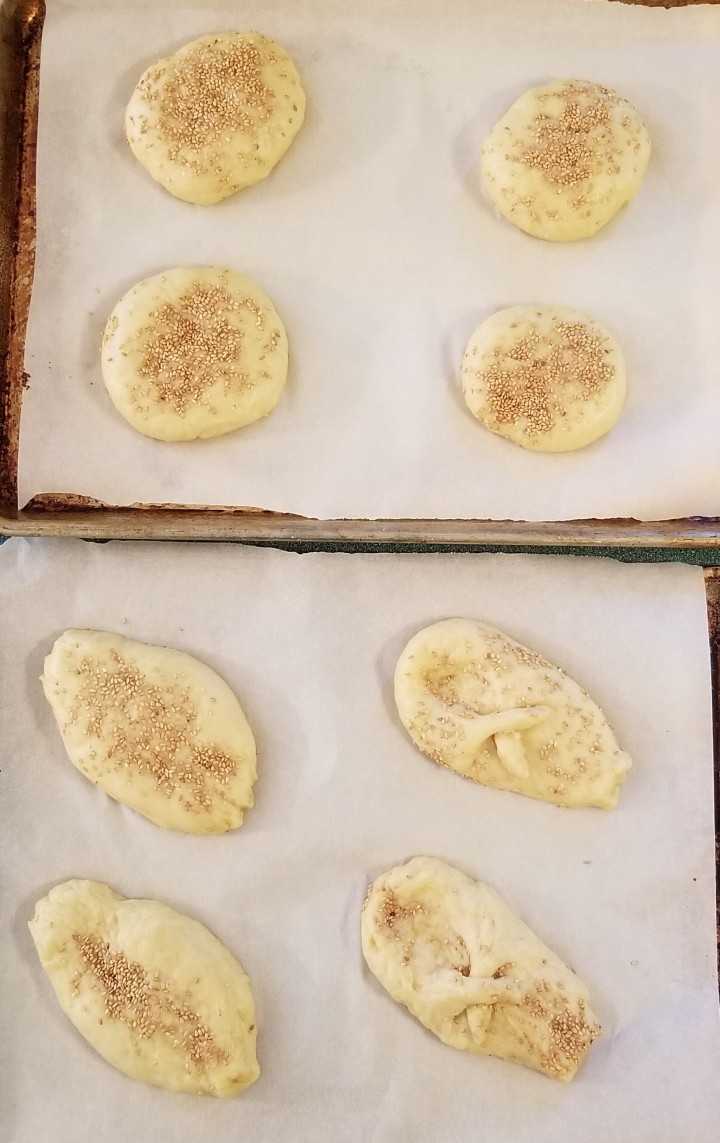
Prepare two baking sheets by lining with parchment paper, and a plate with sesame seeds, and set aside along with the egg whites and a food-grade brush. Place risen dough back on the working surface, knead for another minute and divide into portions, depending on the desired size. Some bakers make one giant loaf, others divide into single portions (about sixteen); I divided into eight pieces, and the final loaves were about four inches in diameter. With each portion, form a ball, pulling and pinching the dough towards the centre, and rolling on the working surface to smooth it out (photo below, left); for regular round loaves, brush one half with egg white, then press that side onto a plate with sesame seed, flattening onto a disk (see below, left, on tray lined with parchment paper):
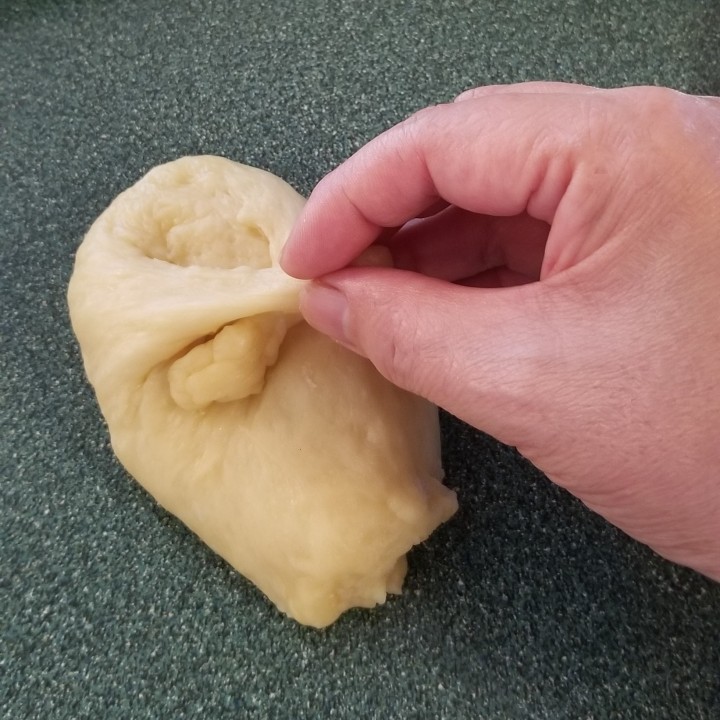
For a Day of the Dead presentation, follow the first steps but once the ball is formed, pull to form an oval with tapered ends, before brushing and coating. For an even more dramatic look, once the oval is formed, pinch oval on the short sides, then pull and fold to form crossed arms, resembling a mummy:
Brush and coat as the other shapes. Once all the dough portions have been formed, let them rest on the lined trays:
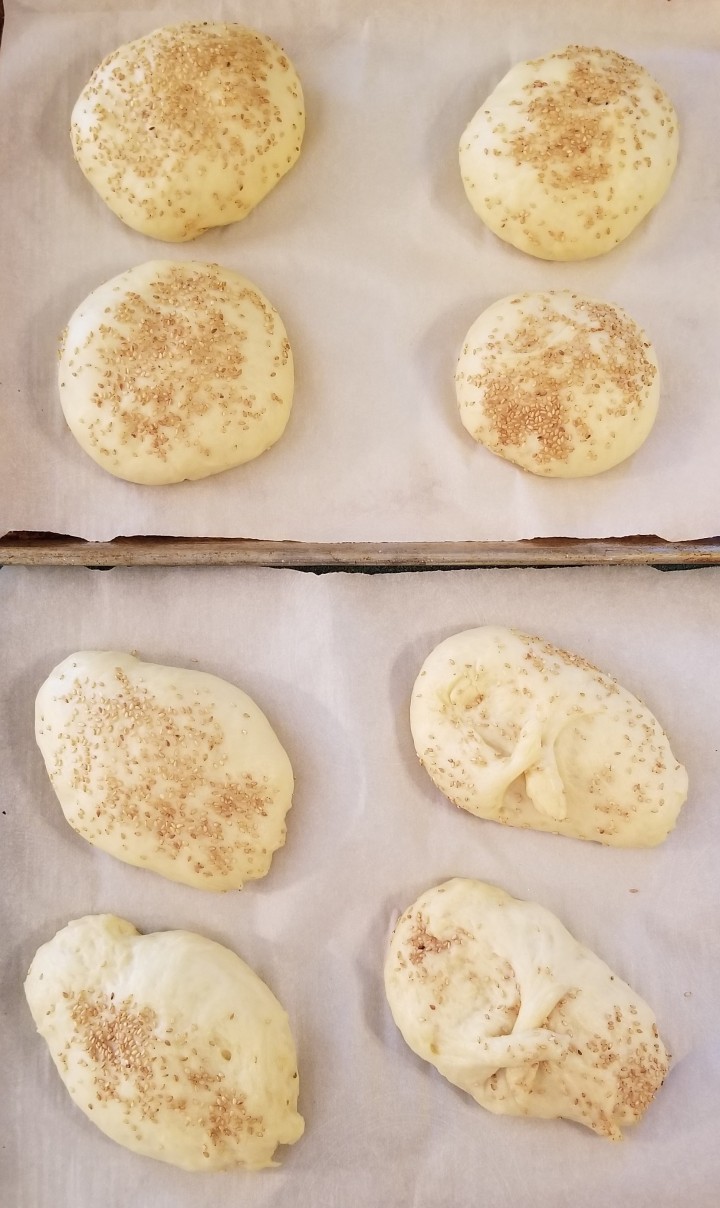
Cover loosely with clean kitchen towels until they rise again, about another two hours until they double in size:
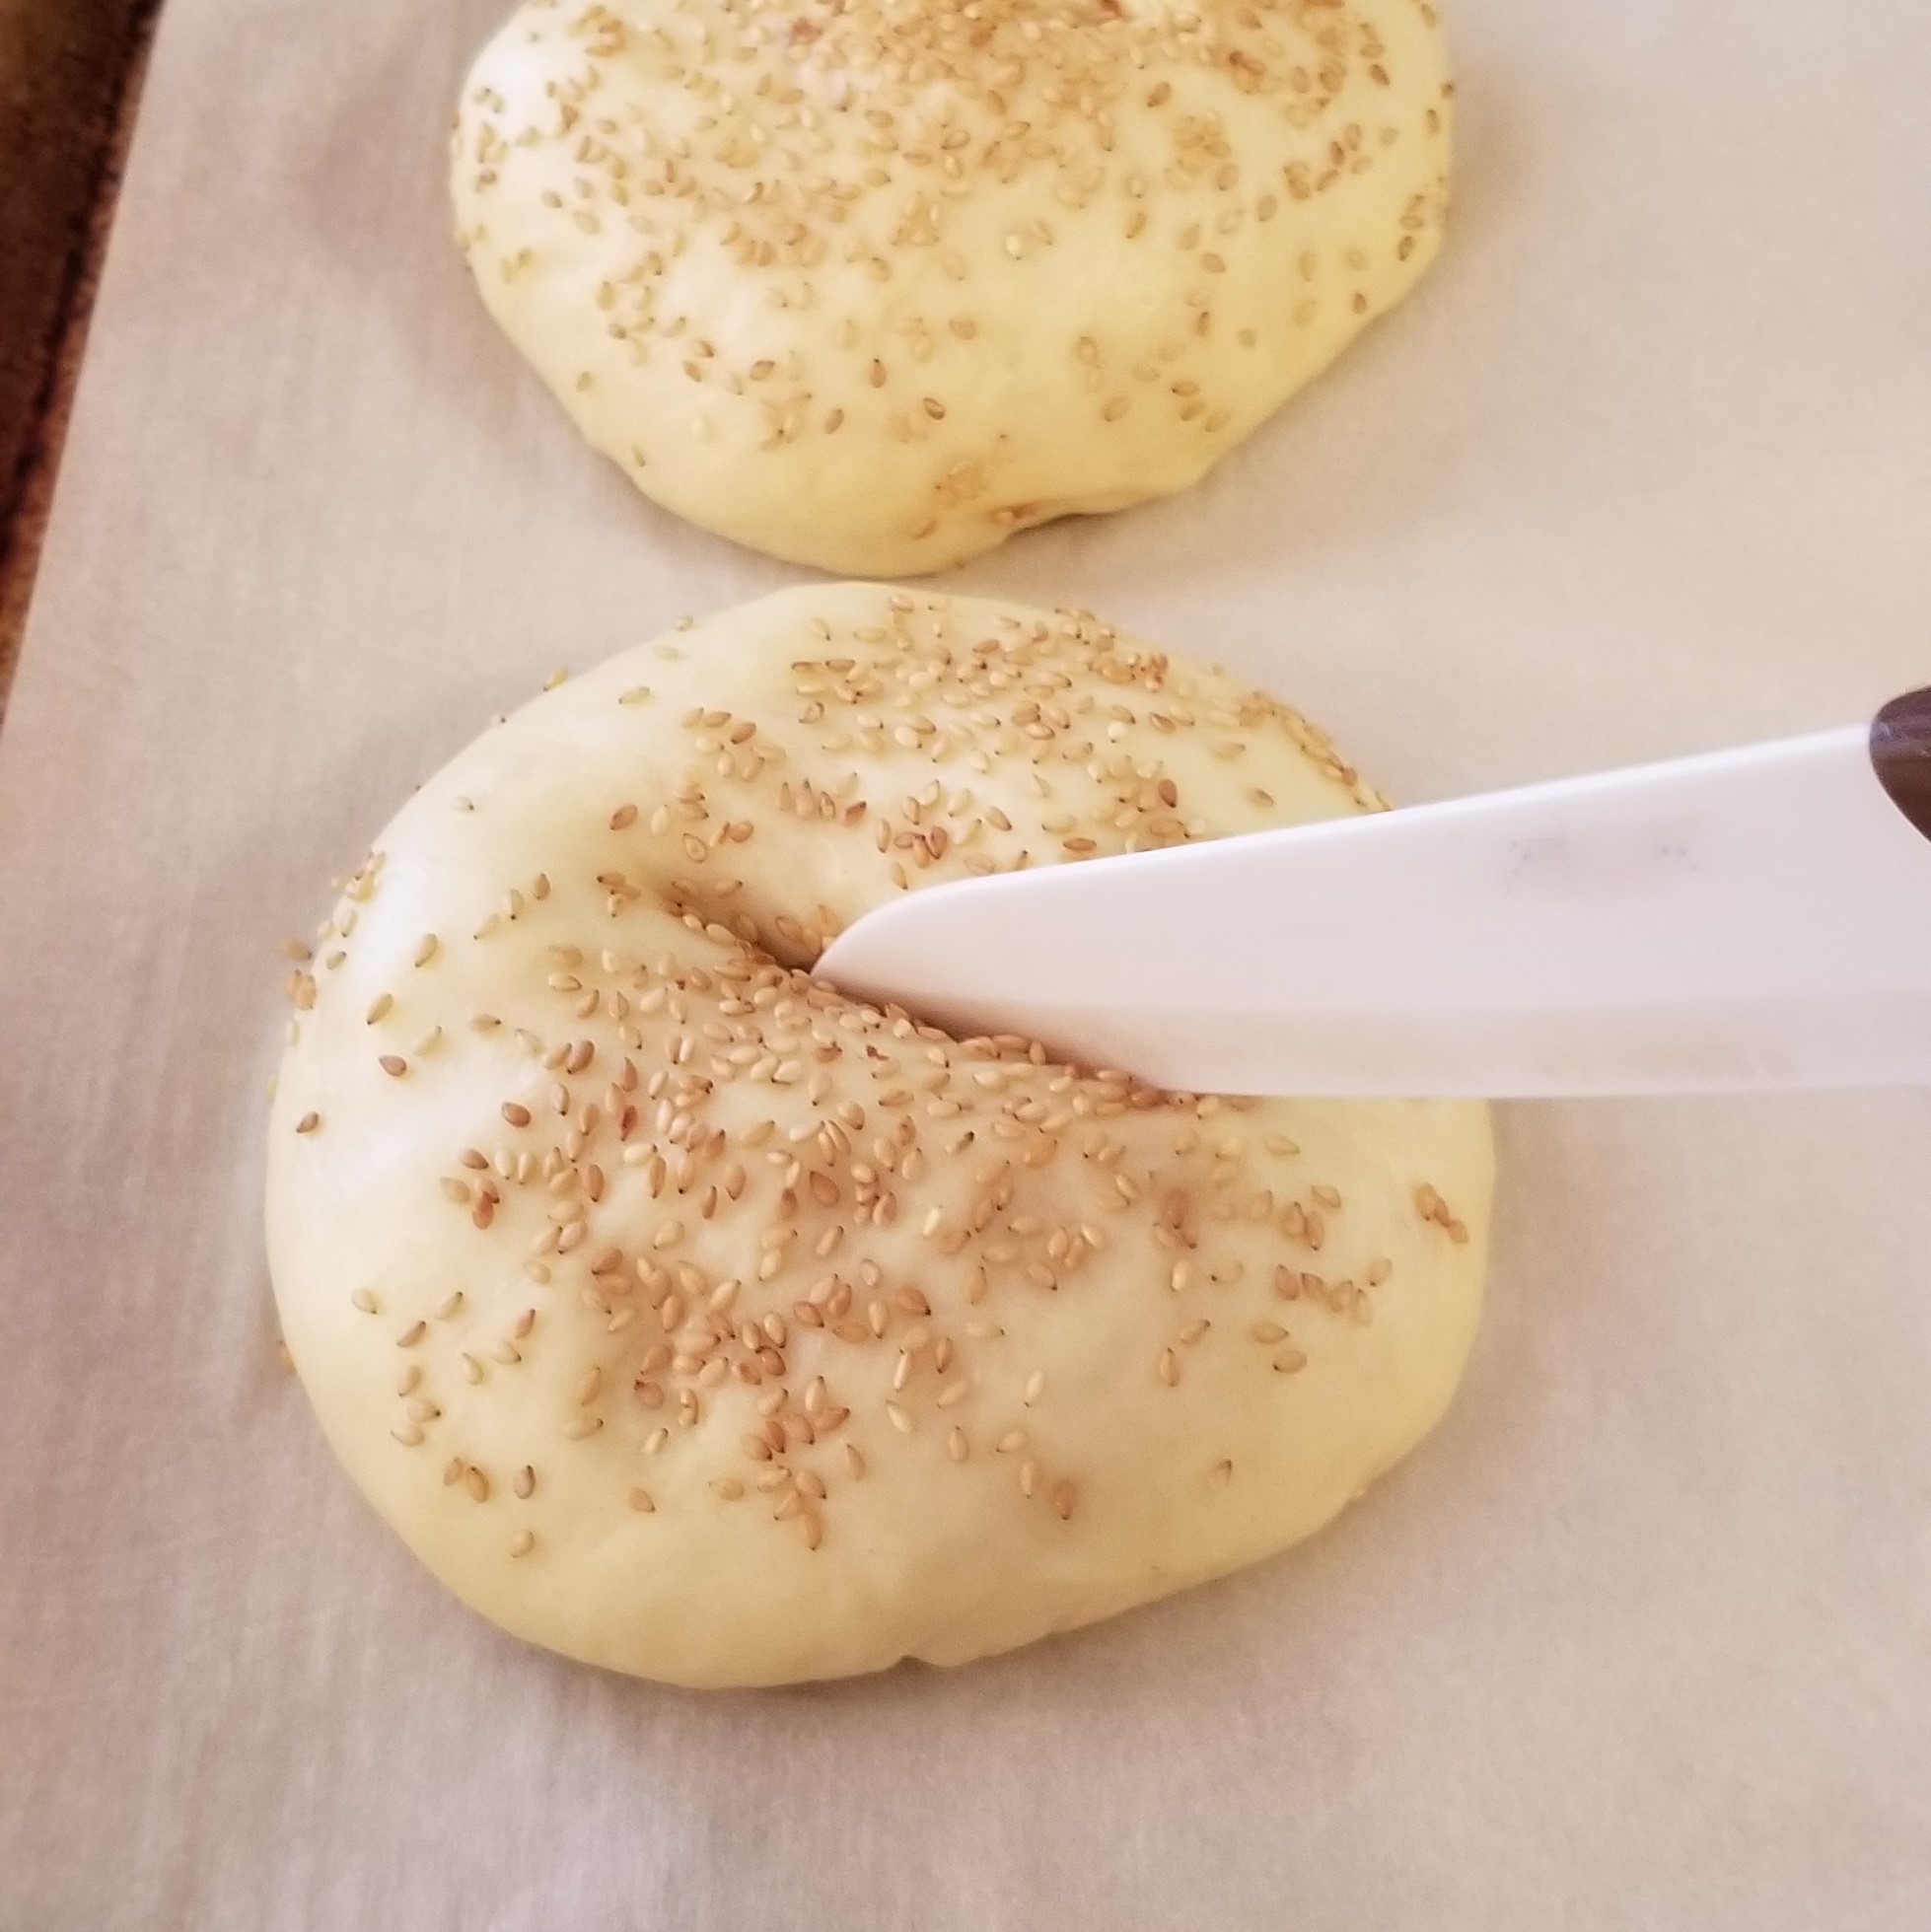
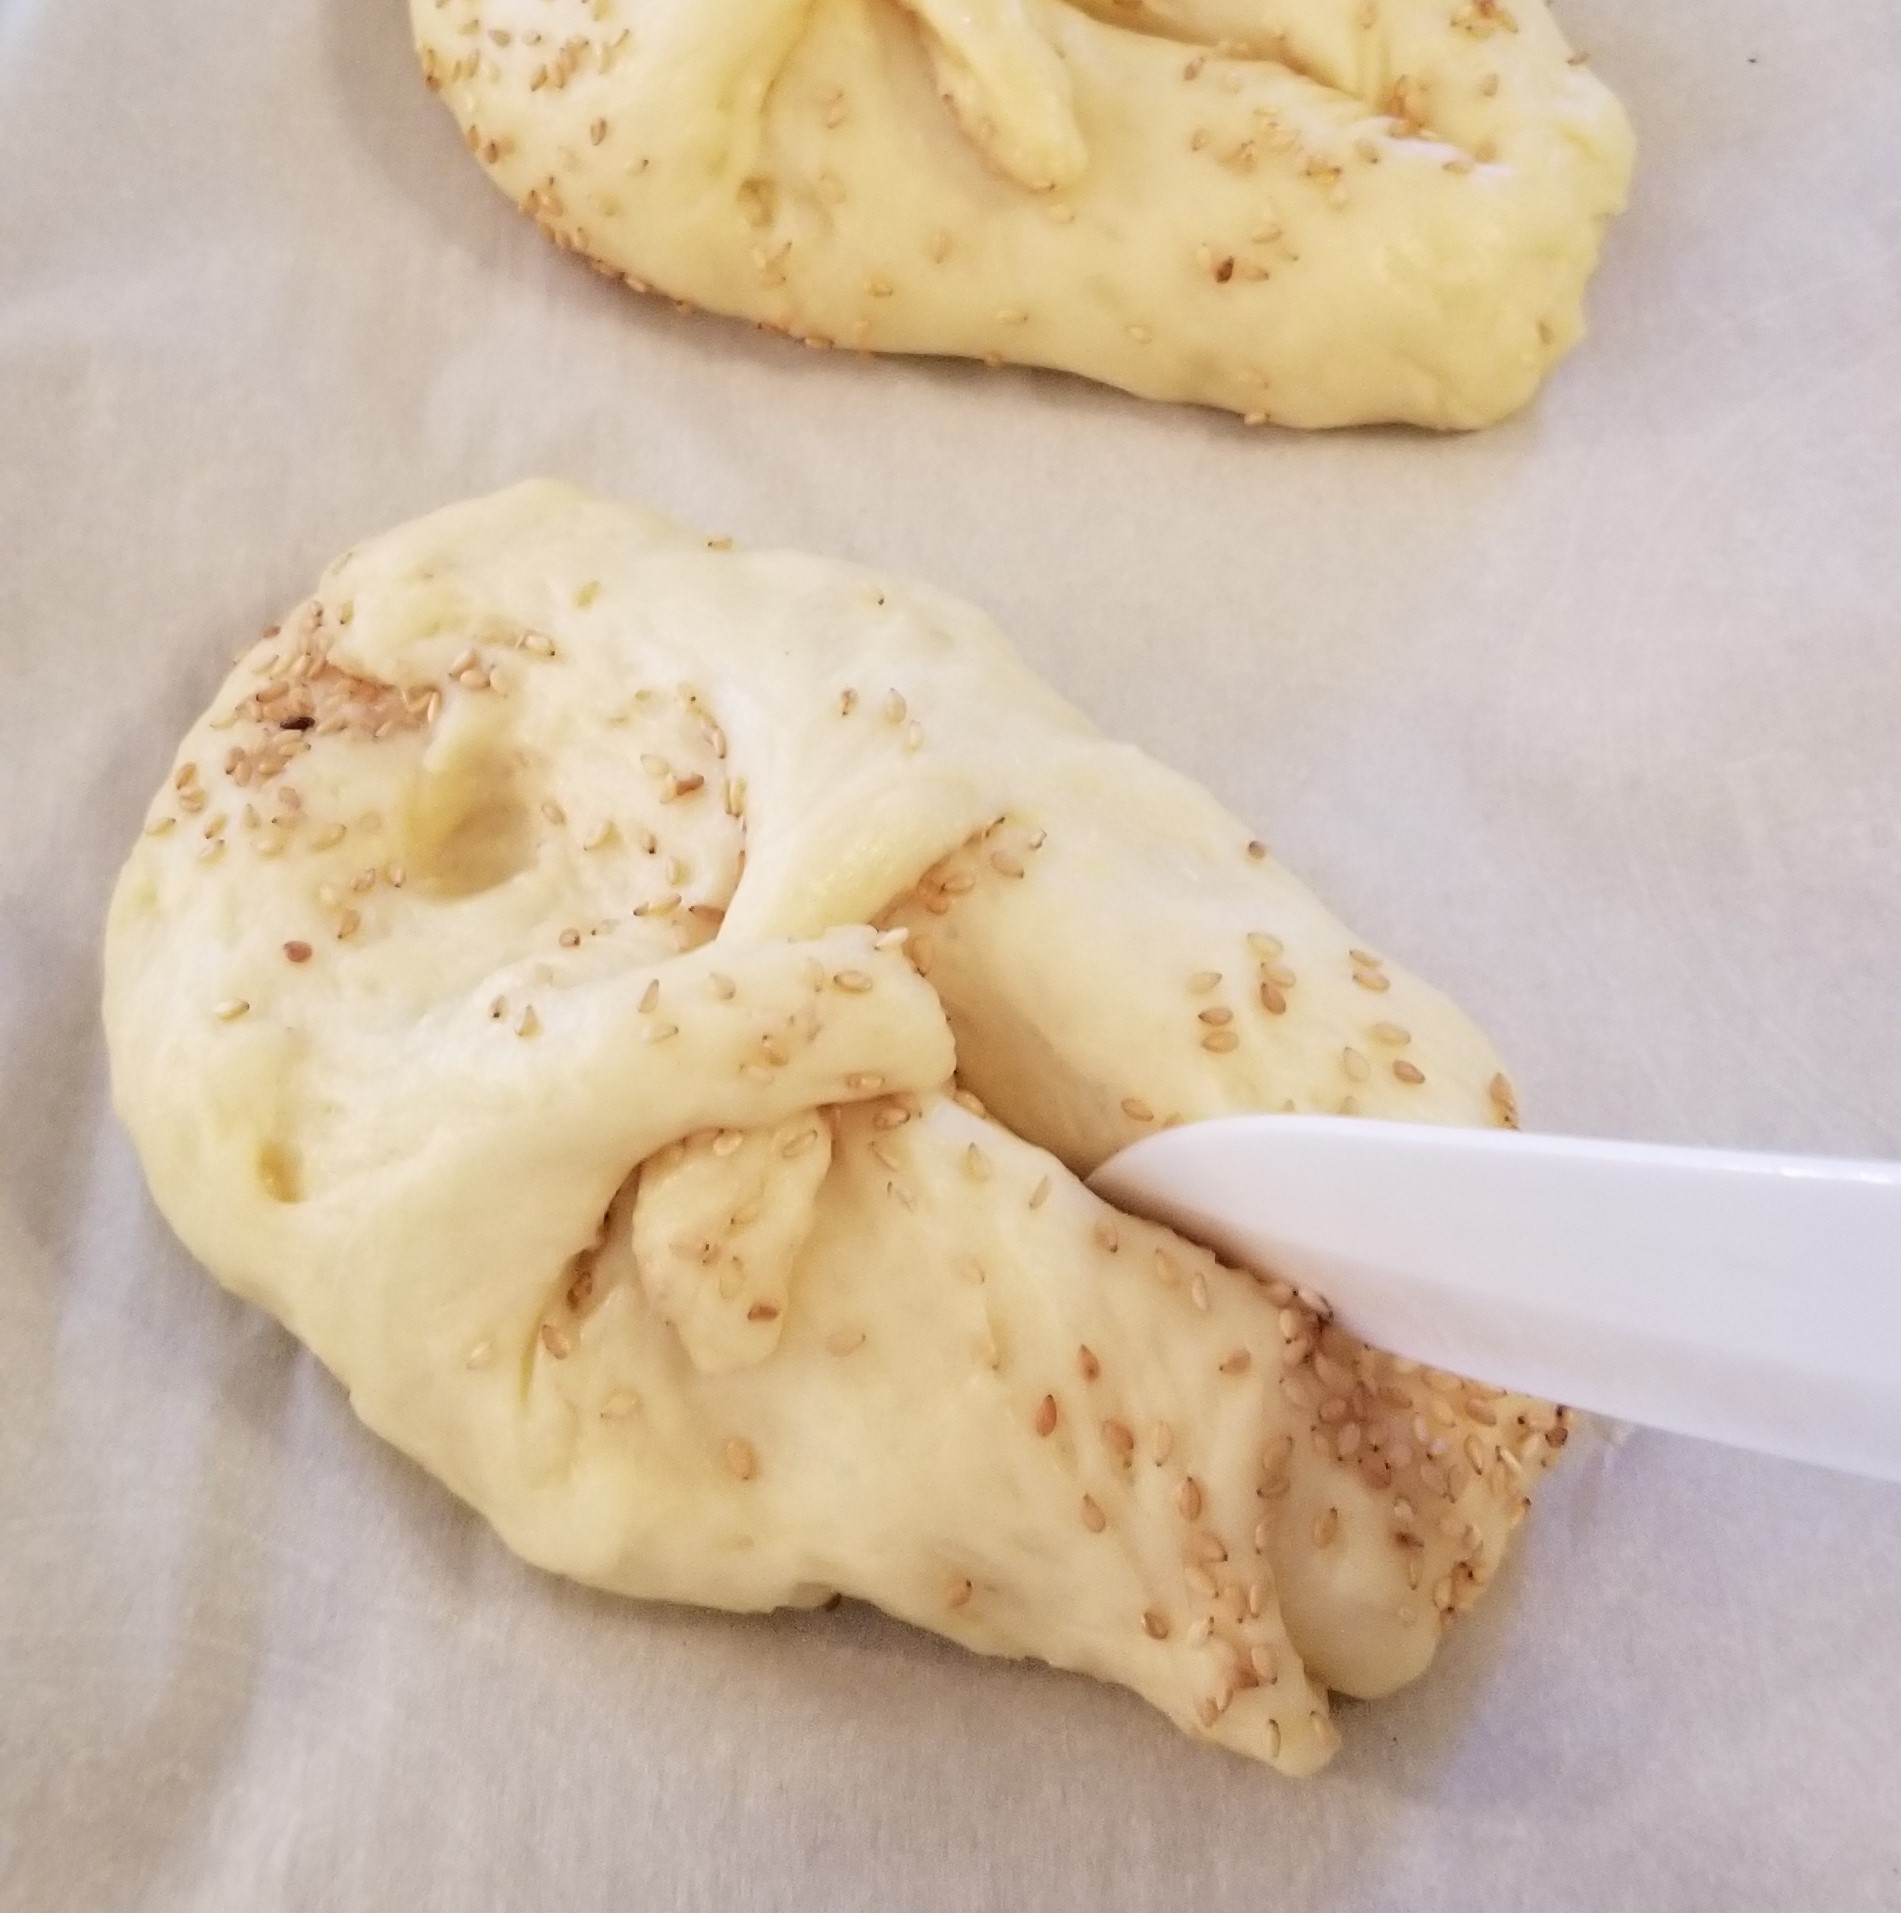
Preheat oven to 375 °F (190°C). Trace a shallow cut along the centre of each loaf with a very sharp knife. Some people use a new/kitchen-dedicated blade from a box cutter (such as X-acto™); I used a ceramic knife:
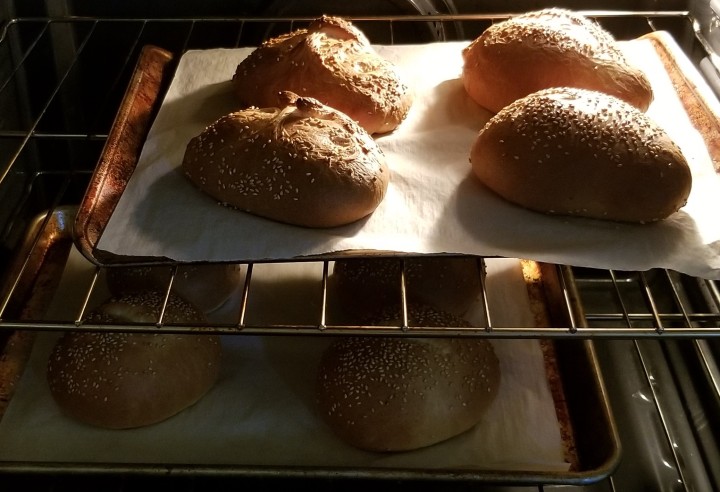
Bake loaves for 15 minutes, then switch trays and rotate each tray so the side facing the back faces the front of the oven; bake for another 10 to 15 minutes, until they turn a dark, rich golden-brown colour:
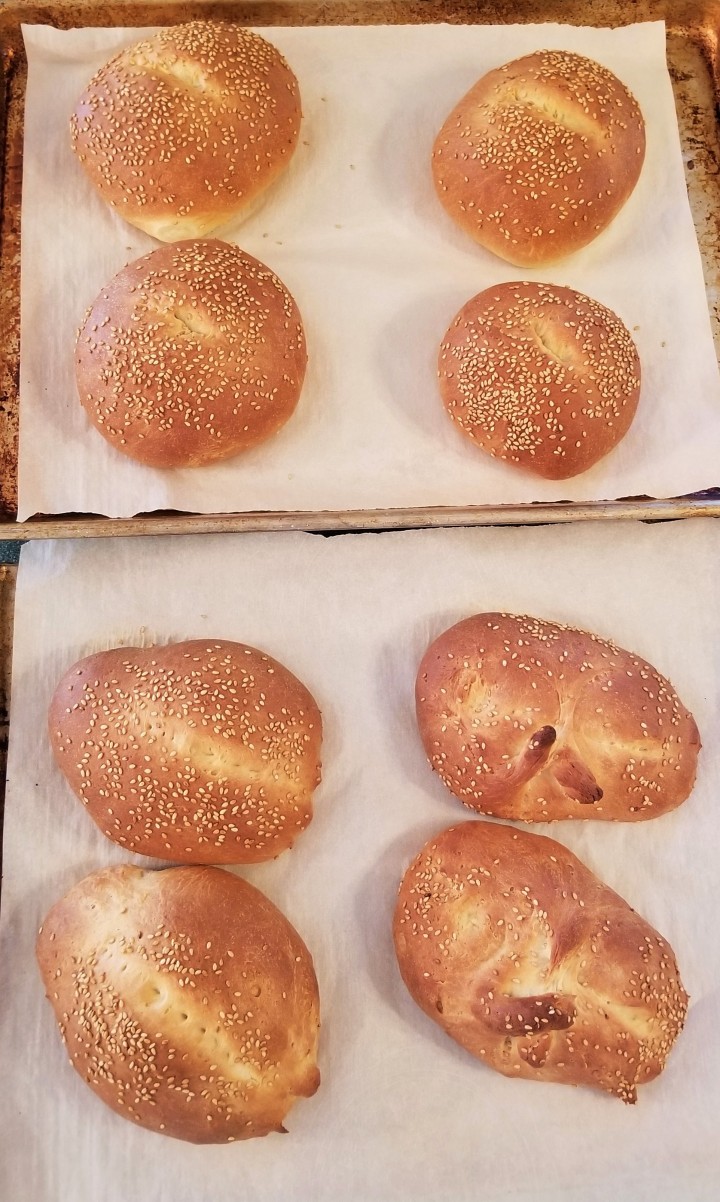
Remove from oven and let rest for a few minutes:
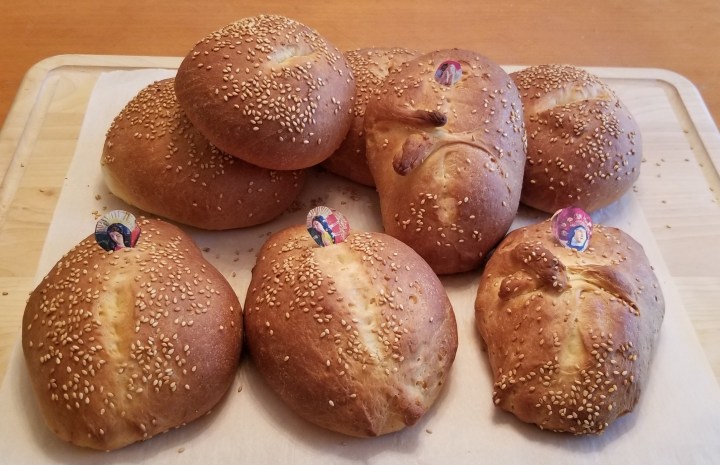
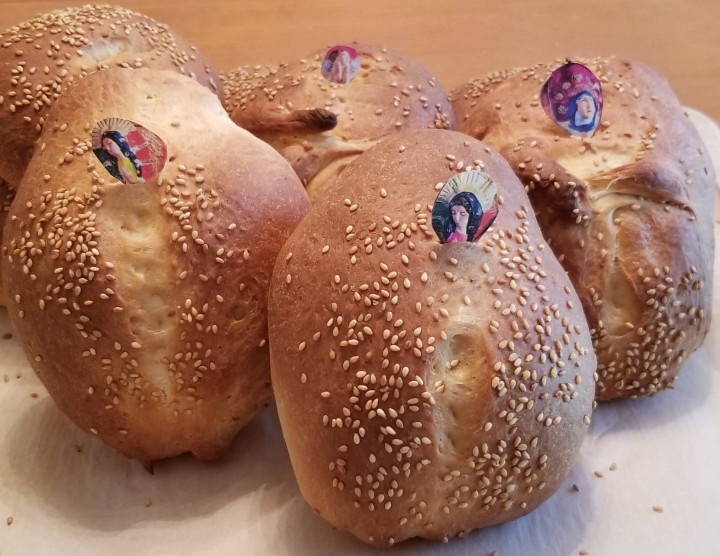
In Oaxaca, during the last days of October, prior to the Day of the Dead (November 2), bakers make a hard paste, roll it, and shape pieces of it into little faces (“caritas”) with moulds; they are hand painted and baked, and then, placed at one end of the oval shapes of dough before baking the bread. These faces are called “alfeñiques“ and are a form of folk art on their own, originated in Italy and brought to Mexico by the Spaniards, mainly with religious themes. Many are made with sugar (such as Mexican sugar skulls) but the ones for this bread are made with lard and flour. I did not have the technology (recipe, moulds and paint) to make authentic alfeñiques, so I printed a photo from an article in México Desconocido, cut the faces out and placed them on my bread after baking:
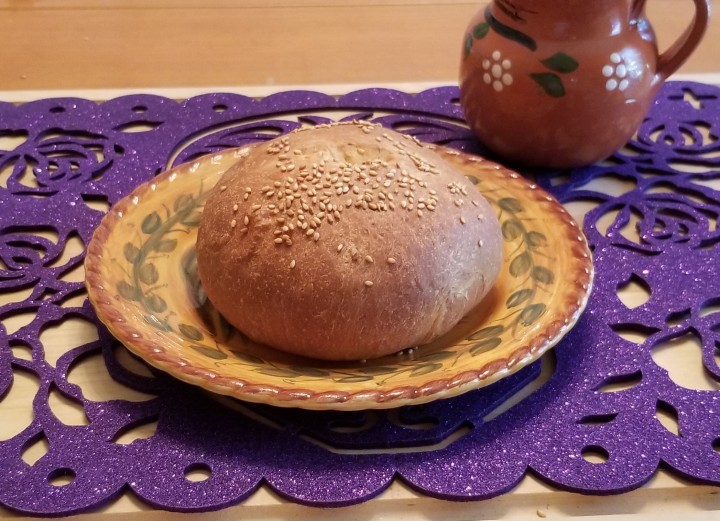
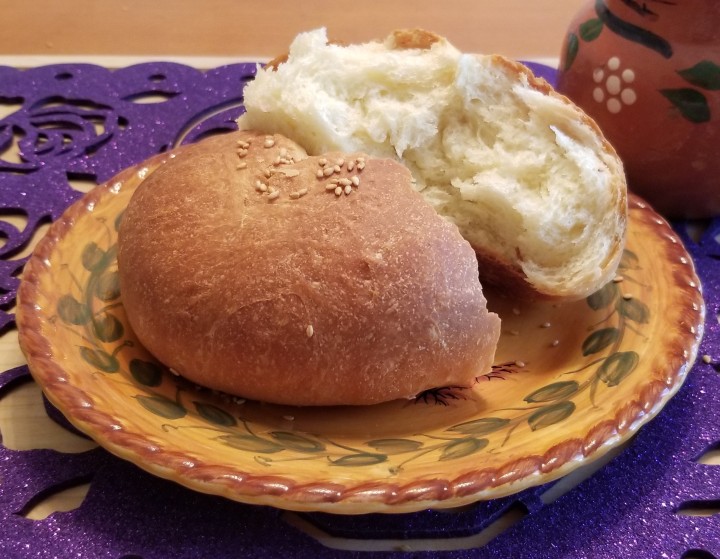
Pan de yema is enjoyed all year round, served with a mug of coffee from the pot, or Mexican hot chocolate:
All shapes are equally appealing, especially after slicing and exposing their fluffy and flaky interior:
On the Day of the Dead, observed in Mexico on November 2, bread for the departed and their families is enjoyed everywhere: some with sugary tops or sprinkled with sesame seeds; some round, oval, or shaped in somber fashion; some fluffy, flaky or crumbly … many different ways, but all delicious and nurturing.
I am bringing my recipe to Thursday Favourite Things #413 with Bev @ Eclectic Red Barn, Marilyn @ Marilyn’s Treats, Pam @ An Artful Mom, Katherine @ Katherine’s Corner, Amber @ Follow the Yellow Brick Home, Theresa @ Shoestring Elegance and Linda @ Crafts a la Mode.
I am sharing my recipe at Full Plate Thursday # 456 with Miz Helen @ Miz Helen’s Country Cottage.
I am joining Fiesta Friday #300 with Angie @ Fiesta Friday, co-hosting this week with Petra @ Food Eat Love and Jhuls @ The Not So Creative Cook.


Reblogged this on Crackling Pork Rinds.
LikeLike
Great photos and explanations! We had some in Patzcuaro for this event and they were good, although yours look much better 🙂
LikeLike
Thank you, Tatiana! I have been to Pátzcuaro but not for Day of the Dead; it must be impressive to see the flower harvest and boats on the lake. Do you have a post about it?
LikeLiked by 1 person
Not yet 🙂
LikeLike
I haven’t made bread in a long time. These look so pretty and I love that you provided step by step pictures on how to make them. Thanks for sharing at Fiesta Friday party!
LikeLike
Thank you, Jhuls and thank you for hosting!
LikeLike
Your oaxaca sounds and looks absolutely delicious! Am getting hungry 🙂 Thank you for bringing your bread to Fiesta Friday 🙂
LikeLiked by 1 person
Thank you for sharing at #ThursdayFavoriteThings. Pinned and shared. Have a lovely week. I hope to see you at next week’s party too!
LikeLiked by 1 person
Thank you, Marilyn, and thank you for hosting!
LikeLike
I really want to make this bread, it looks so good! Hope you are having a great week and thanks so much for sharing your post with us at Full Plate Thursday,456. We look forward to seeing you again very soon!
Miz Helen
LikeLike
Thank you so much, Miz Helen, and thank you for hosting!
LikeLike