In a previous post, I had mentioned that I received a Chia Pet™ as a Christmas gift from one of my daughters, and I included a brief history of this craft, originally from the Mexican state of Oaxaca. I started my project by submerging the clay vessel in water, and soaking about one tablespoon of the seed, provided in the kit, in a quarter cup of water:

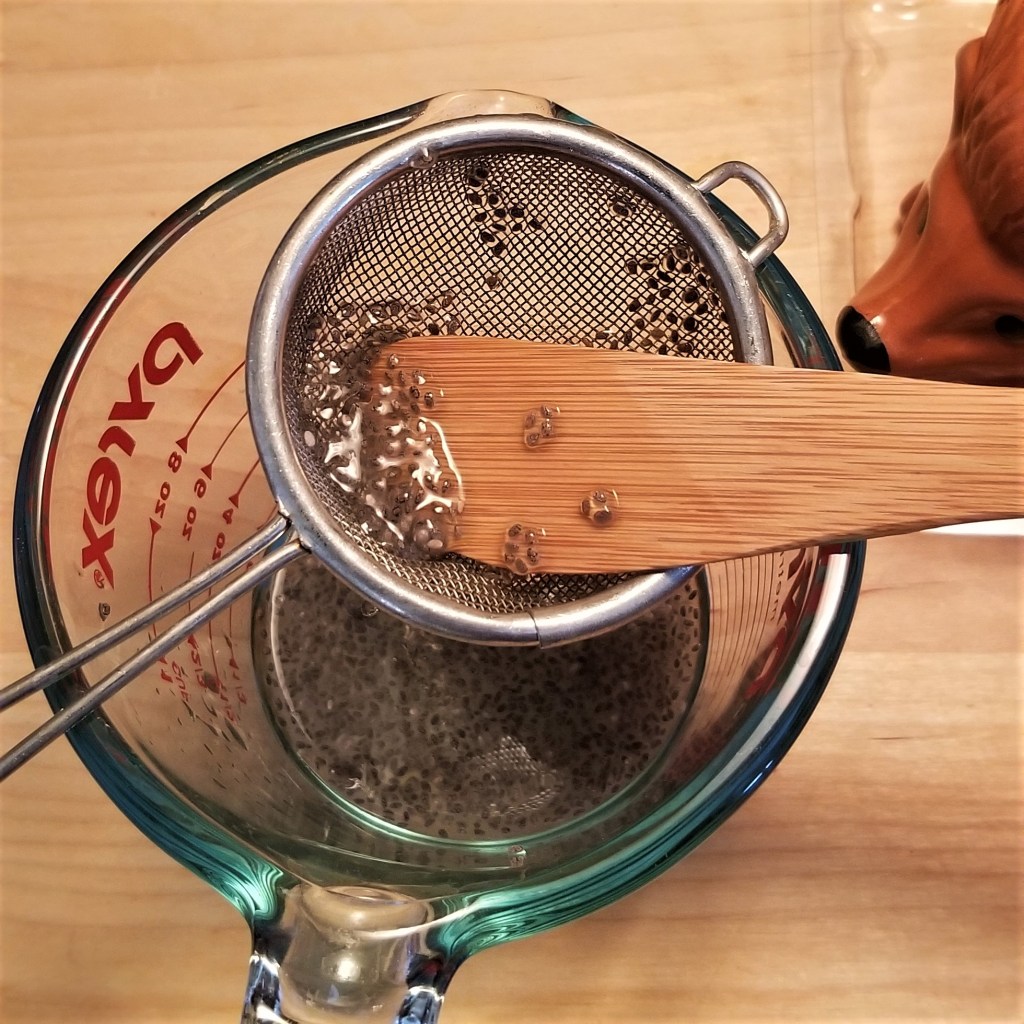
After half an hour, I strained some seed through a mesh, to remove excess water (photo below, left). I also drained the vessel, and placed it on the plastic tray, provided with the kit. I started to apply small quantities of rehydrated and drained seed on the body of my clay hedgehog, grooved for this purpose, so the gooey seed mass may attach there (photo below, right):

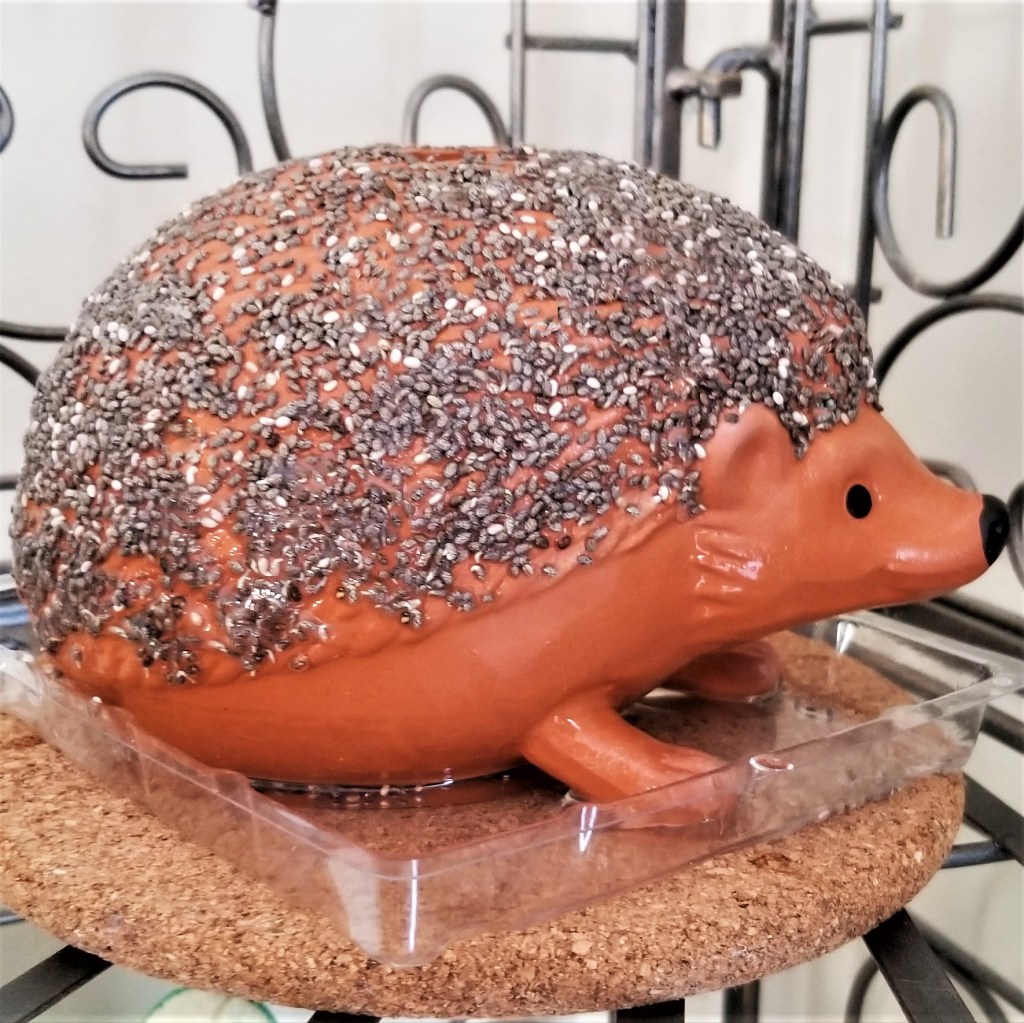
Some seed was sliding down and off the hedgehog’s back, so I allowed the seed to drain in the mesh for an extra twenty minutes, then resumed attaching the seed. Once the whole grooved surface was covered, it looked pretty, almost scintillating from the shinny gel that kept the seed sticking to the clay. I allowed my project to sit overnight, and the next day, the seed had dried almost completely, now looking dull, and was firmly attached (photo below, left). I filled the vessel with water, and sprayed the seed with water, as well (photo below, right):

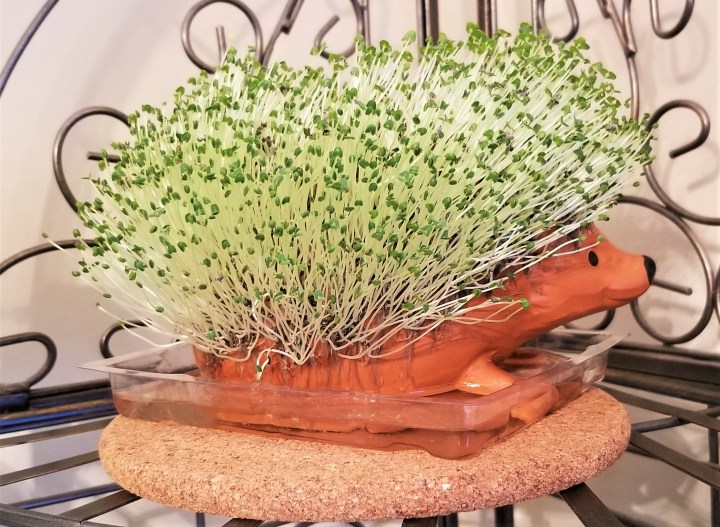
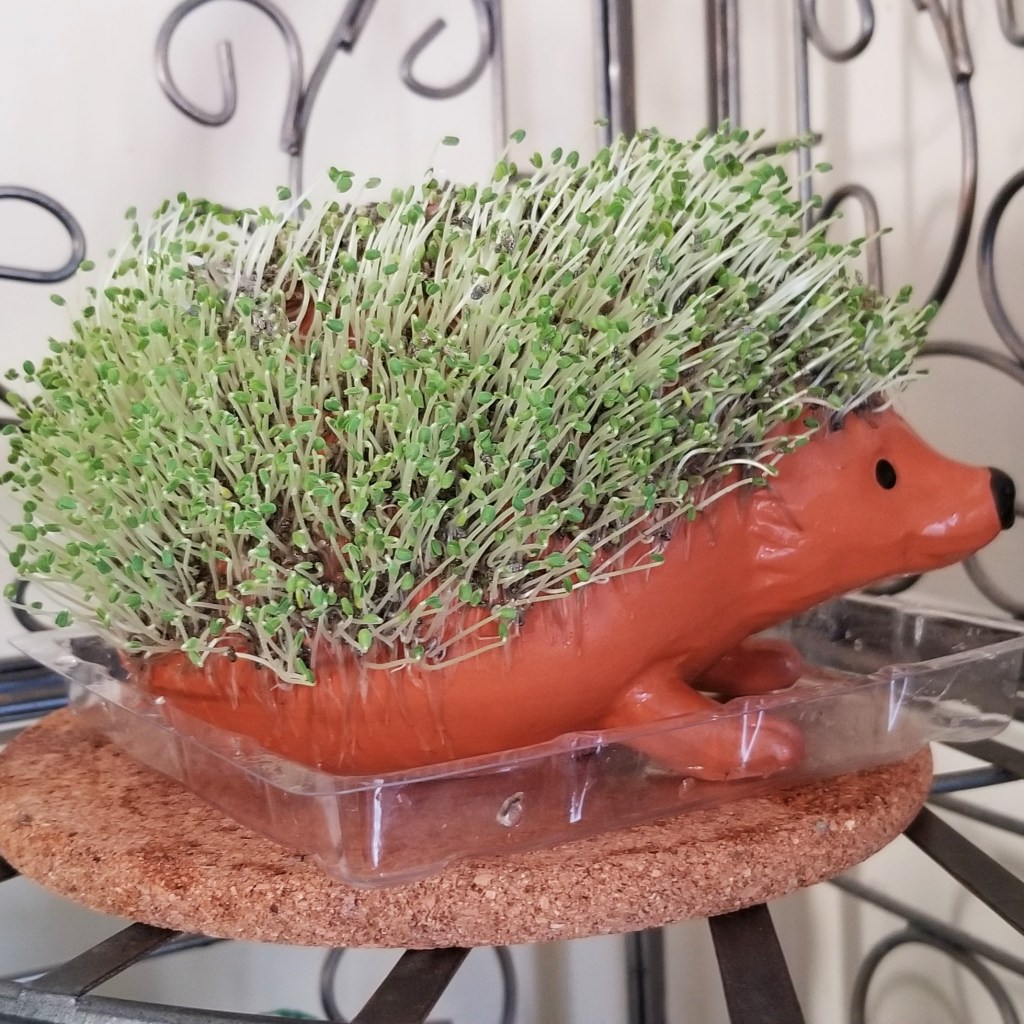
The following days, the tray had to be emptied of any water draining from the vessel, then the seed was sprayed with water and kept moist, and the vessel, replenished with water. In the photo gallery below, seed sprouting by day 2, turning green on day four, then growing rapidly (day 5 and 6 pictured):

Tips:
Drain re-hydrated chia seed very well; it should be mostly seed with just a little gel around. If it slides off the vessel, it is better to wait and dry the seed more, since it will be a waste of time to try and keep it on the clay. Apply seed in small quantities, not big blocks, to avoid clumping.
Keep seed moist and away from direct sunlight until it sprouts. The kit instructions say to cover with a plastic bag; I did not do that, but I sprayed water twice a day to prevent complete evaporation.
Once the seeds sprout, move to a brighter spot, and remember to rotate to provide even sunlight to all sprouts.
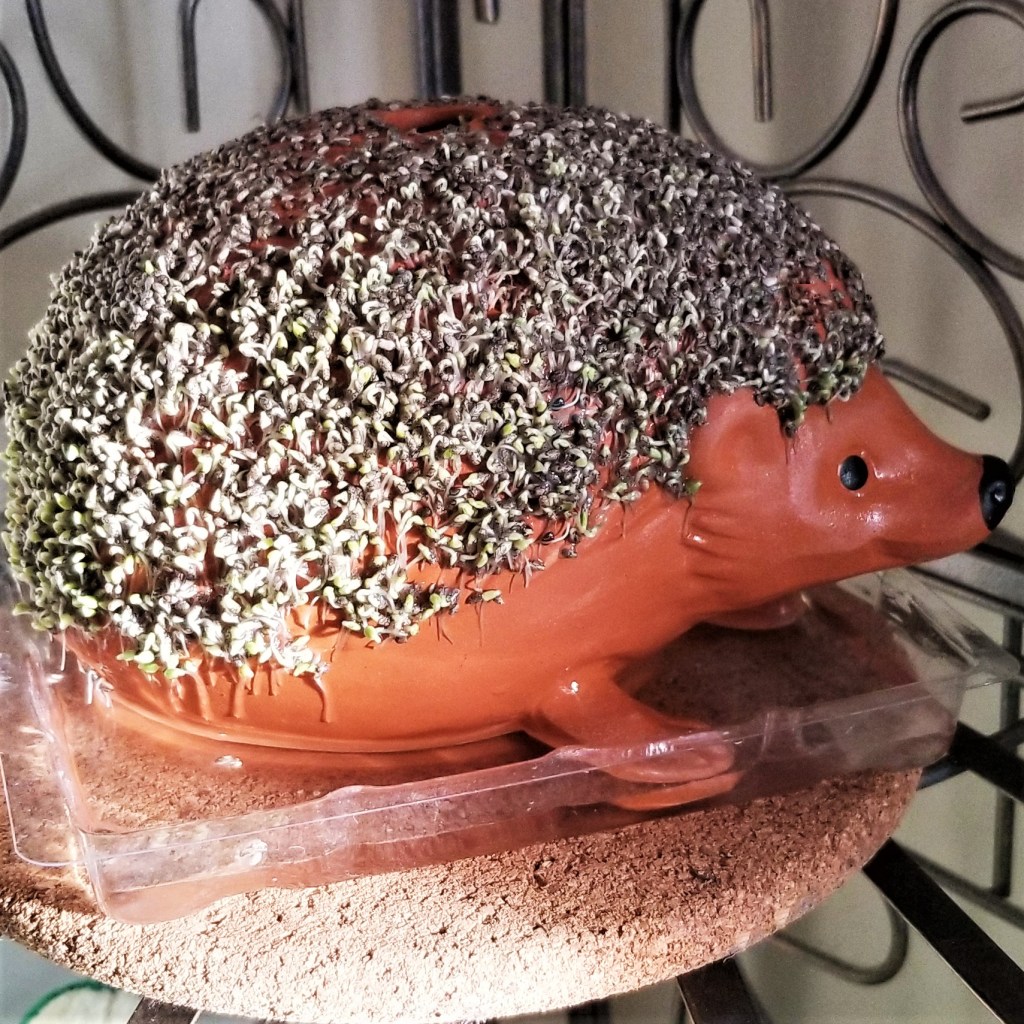
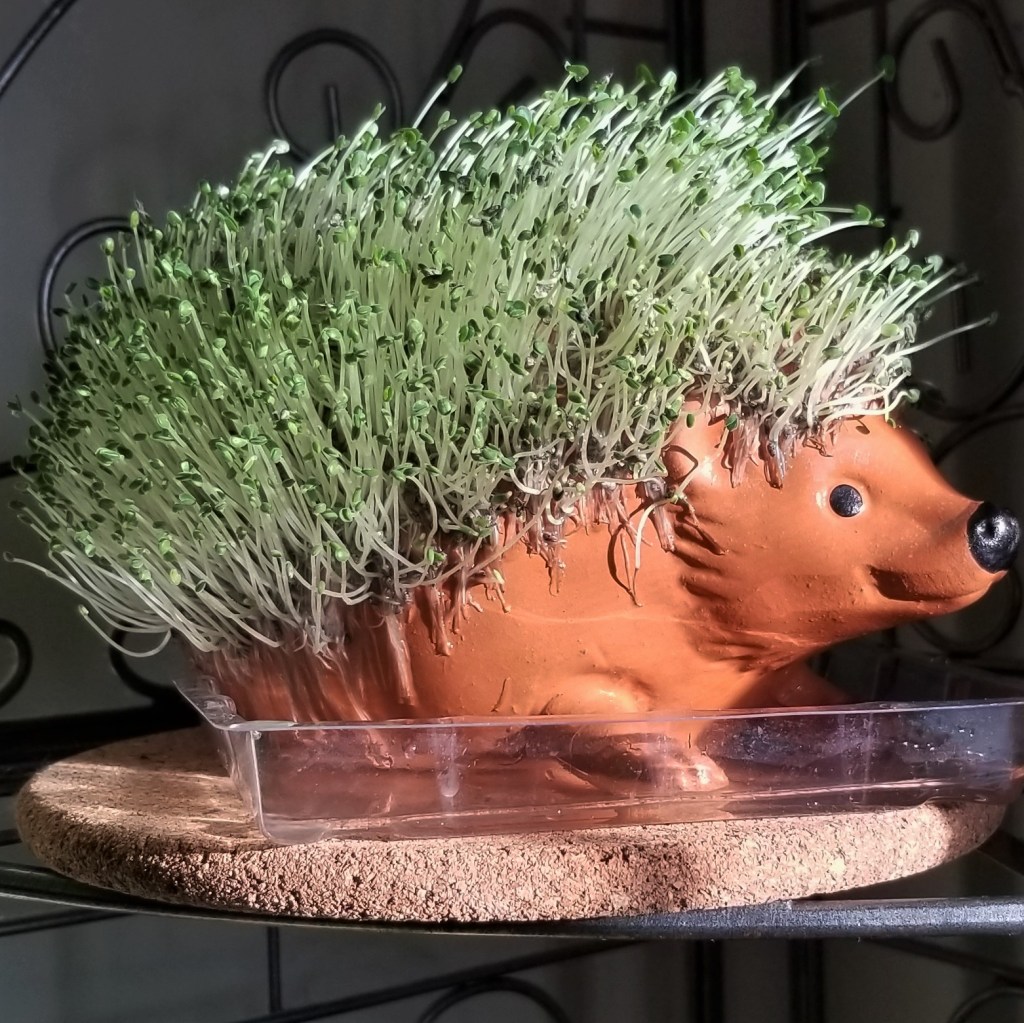
I failed to rotate my pet at first, and there was a preponderance of longer sprouts on the bright side, so my hedgehog developed a bald spot from slower growth on the darker side. My project was in jeopardy, but I was able to save it by exposing the bald spot to light and keeping extra moist for the following two days. In the photo below, it is quickly filling in and catching up with the rest of the sprouts:

This was a fun craft, especially to entertain a gardening project during one of the coldest parts of this winter season so far, as we are experiencing here in Southern Ontario.
I am joining Cee’s Flower of the Day (FOTD) Challenge for January 19, 2022.


Irene, I enjoyed your sharing of the experience. Seeing seeds grow, especially on such a cute clay critter, is an uplift for the cold winter.
LikeLiked by 1 person
Absolutely, MsJadeLi!
LikeLiked by 1 person
Oh it must have been fun to watch grow 😀
LikeLike
Yes, Cee, it’s so fast!
LikeLike
I’ve never had one of these, but yours is so cute. Fun project! 🙂
LikeLiked by 1 person
It was a lot of fun!
LikeLiked by 1 person
The hedgehog chia has such an adorable face!
LikeLiked by 1 person
What a wonderful gift you have received!
LikeLiked by 1 person
I was fortunate this Christmas, thank you!
LikeLiked by 1 person
Oh Wow!
This looks so amazing 🙂
LikeLiked by 1 person
That is so cute, Irene.
LikeLike
😊
LikeLiked by 1 person
Irene your post made me smile! I had a chia pet when I was a child and they were all the rage! They are so cute!
LikeLiked by 1 person
😊
LikeLike
I’ve never seen a chia pet turn out so well! It looks great.
LikeLike
Oh, thank you, Laci; I do a lot of sprouting (for salads) during winter, maybe that helped!
LikeLiked by 1 person
I’ve always thought these were rather cute. Didn’t know they sprouted and grew so fast. I do get tickled with how you create your copy to fit the prompts.😁
LikeLiked by 1 person
I never had one as a kid, but my dad grew one of those original rams from Oaxaca once. For my blog, I write my post first, then I make a list of the prompt words, and while I edit the text, I add them to existing sentences, or sometimes, I build an extra line or paragraph around the prompt. It is a fun process, and it has often enriched my stories by forcing me to add extra information, or inviting my prose to be more relaxed, not so technical or dull. 😊
LikeLiked by 1 person
I want to try this in the future! Wonderful and sweet post. I am glad on the following post you answer the question about these seeds being edible and not trusting the ones that come in the kit for eating. Thank you for the info!
LikeLiked by 1 person
Thank you, I hope you get to try soon!
LikeLike