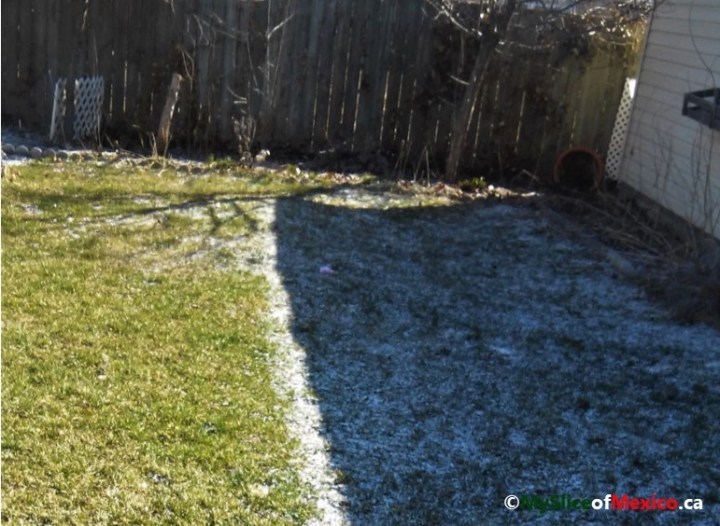
Yes, those are Celsius temperatures rising (30s to 50s in °F), and the rapid change and proximity to freezing point may be appreciated in the photo above, where the section of lawn in direct sun has thawed, whereas the section in the shade still shows a layer of frost on top (talk about microclimates!) Indoors, on my kitchen table, I have set all my supplies to start sowing seed, which I am estimating will sprout and grow to be ready for transplanting outside around mid May, when in my area the temperature (ºC) should be consistently in the double digits (50s ºF).
This post is a detailed explanation on my first indoor sowing session of the season. If you are an experienced gardener, it might be interesting to check another gardener’s point of view, or you might prefer to skip to the summary. If you are starting seed indoors for the first time, it might be useful to read my method, but I would recommend concentrating in one or two varieties; that will provide some practice and a better chance of success without getting overwhelmed. It is also a good idea to choose with a purpose; for example, tomatillo and serrano peppers, that might be hard to find otherwise, and will come in handy in many Mexican recipes. The first time I started seed, my motivation was that I wanted to make pesto, and needed large quantities of fresh basil, which is expensive and not always good at the supermarket. I read somewhere that Martha Stewart got her own hens at first because she wanted the freshest eggs for her cakes. And so on …
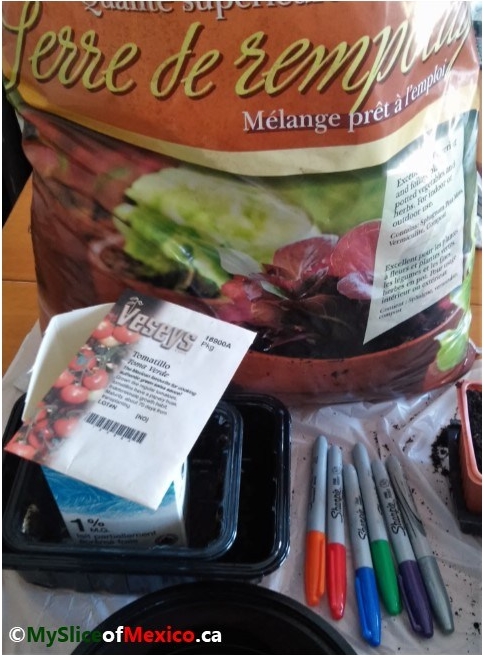
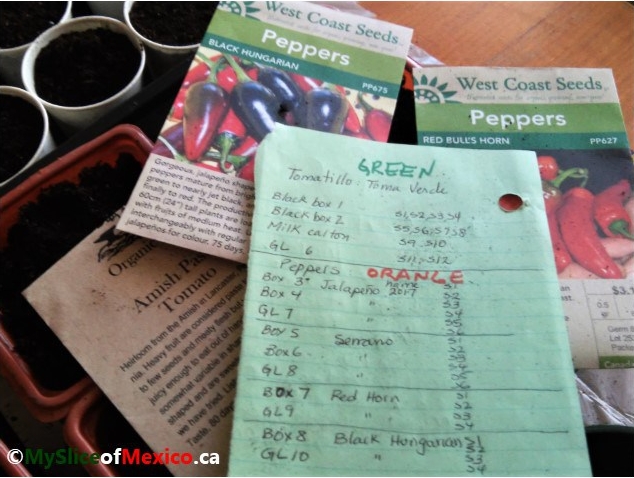
I have a variety of containers; permanent markers to colour code them by veggie; and seed packets. I like using potting soil, and I have a large bag ready to go. During germination, the seeds are self-sufficient in terms of nutrients, so many gardeners use soil-less mix, and then transplant to bigger pots with soil once the seedlings have grown their second set of leaves. I have found that this is efficient when germinating a large amount of seed, so they do not occupy too much space at first, but since I only sprout a few seeds of each variety, it works better for me to start them directly in soil, and keep them in the same pot until ready to transplant to the ground outside.
I made lists of which veggies and how many seeds of each to start indoors now (my “early spring” or first round of plantings), and colour coded for easy labelling: tomatoes – red, tomatillo – green, peppers – orange, green onions – silver, basil – blue and viola (edible flowers) – purple. I placed the seed packets next to the corresponding lists and assigned them appropriate containers, to double check that I had enough of everything:
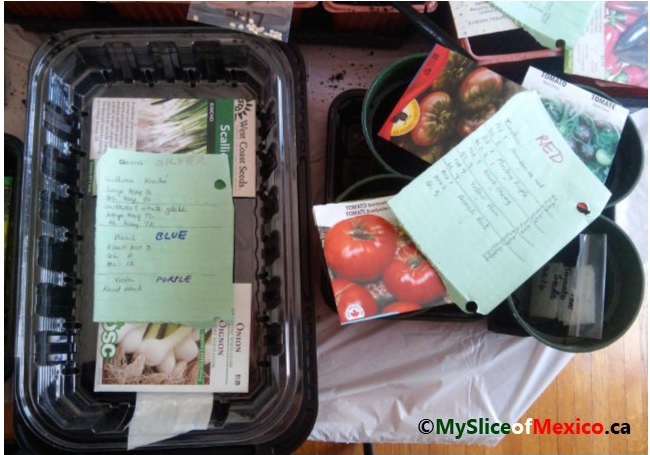
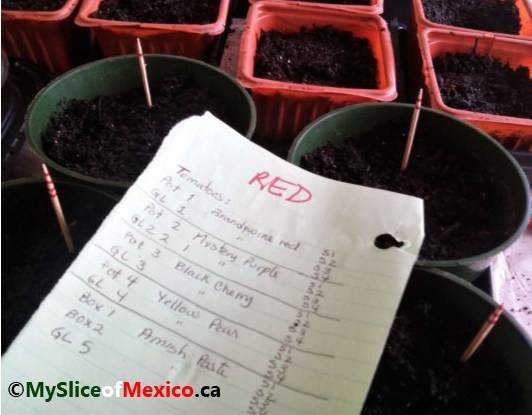
I filled all the containers with potting soil, and put the seed packets and lists back next or on top of them:
I went around watering containers, sowing 2 seeds in each (see note at the bottom), and drawing colour lines on toothpicks, corresponding to the veggie and their number on the list. For example, in the photo below, I have toothpicks with 1 to 4 red lines, indicating tomato varieties on my list: Brandywine red, “Mystery” purple (the packet was mislabelled, so we will see what I get, LOL), Black Cherry and Yellow Pear, respectively:
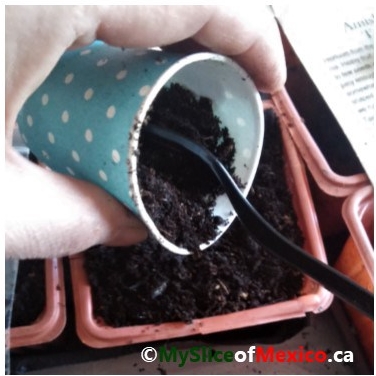
Since onions have very shallow roots, I washed and saved a black tray with a clear lid from take-out food for these seeds (not too deep but good surface area); the clear lid has openings for venting steam so, placed upside down on the tray, it is perfect because the openings will work as draining holes, and the extra moisture will be collected in the tray. A piece of wooden chopstick was great for labelling my Kincho scallion seeds:

 I had mentioned that this year I am using a grow light kit for the first time. Since the space is limited under the lamps, I will be using soil-less starter mix for this configuration. I decided to grow the same varieties using the potting-soil/window and the starter-mix/grow-light methods to be able to compare results later in the season.
To that effect, I wrote an extra line called GL (grow light) on my lists, filled paper cups with the starter mix, and followed the same procedure of watering, and colour coding them as before, placing two seeds per cup:
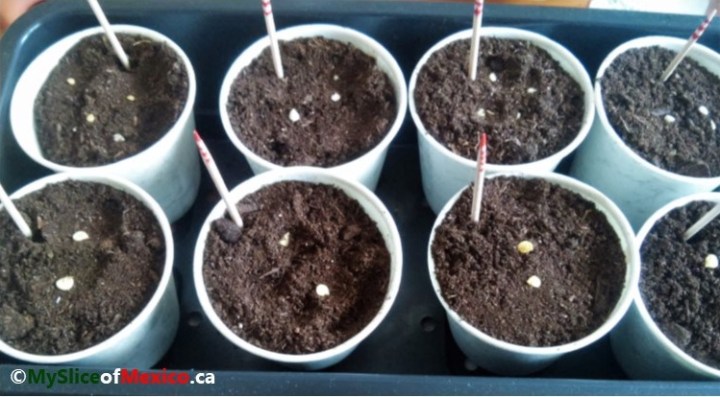
I sprinkled more seed-starter mix on top to cover them. The containers with potting soil went by my south-facing window as I have done in previous years, and the paper cups went under the grow light in my basement:
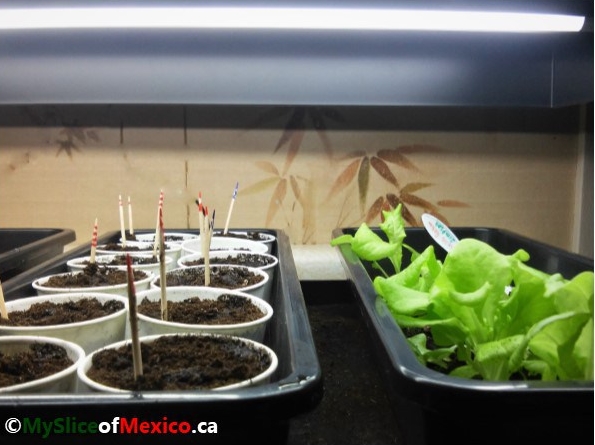
 In the photo above, next to the newly sowed seeds in the paper cups, there is a row of lettuce seedlings that I started from seed on March 25, when I posted the call for gathering supplies. They are looking ready to transplant outside soon, so I will have to check when the ground is workable; the little plants are bright green and looking healthy, and will give me a head start with the lettuce crop. The grow light kit gets its first “thumbs-up” for that! I also tried a few eggplant seeds, which usually take very long to sprout; so far, I only have two seedlings (one is pictured, right.)
Summarizing today’s sowing session: I started five varieties of tomato (Amish Paste in addition to the other four I had mentioned: Brandywine red, “Mystery” purple, Black Cherry and Yellow Pear); Toma Verde tomatillo; four types of peppers: Serrano, Jalapeño, Black Hungarian, and sweet Red Horn; two types of green onions: Kincho scallions and Southport bunching; Italian basil; and Viola Tricolour. That adds up to fourteen different varieties. I sowed the same seeds in potting soil and placed them by the window, and in starter mix under grow lights, to compare performance of each method. In my next gardening post, I will give and update on this batch and my progress outside in the backyard. Happy sowing!
Note: The idea behind sowing two seeds per container is to increase the chance of successful germination by sowing an extra seed. The hard part is when both seeds sprout, and you are supposed to clip one of the seedlings to soil level with scissors; I have to confess sometimes I just can’t do it and end up transplanting one seedling to another container and growing extra plants. I have tried sowing only one seed per container and taking my chances, but found that it is too risky, ending up with not enough to harvest sometimes, such as the year I did not have enough tomatillos to bottle my winter supply of green sauce (tragedy). Now I systematically sow two, and if I can’t find room in my garden for the extras, I offer them to my friends for their gardens.


I love your color coding list. Great idea!
LikeLiked by 1 person
Se me antojaron las flautas, te acuerdas de las flautas de la Obregón? Muy largas con salsa verde y crema mmmmm!
LikeLike
¡Si, qué ricas!
LikeLike