In the Catholic Church calendar, December 12 is marked as the Feast of the Virgin of Guadalupe, Patroness of Mexico and the Americas. In previous years, I have shared posts with detailed information about the history behind her apparitions on the Tepeyac Hill in 1531, shortly after the completion of the Spanish conquest (click on the highlighted text for 2018’s “Our Lady of Guadalupe – The Miracle Continues” and 2019’s “The Feast of Our Lady of Guadalupe”). Since 1531, five structures have been erected in her honour on that site, including two shrines, a chapel, and two Basilicas. A major pilgrimage to the Basilica occurs every year during the first days of the month of December; people come from all around the world and every corner of the country, with walking for hours or lacking a lodge not being a nuisance, just hoping to arrive on time for the early morning service on December 12.
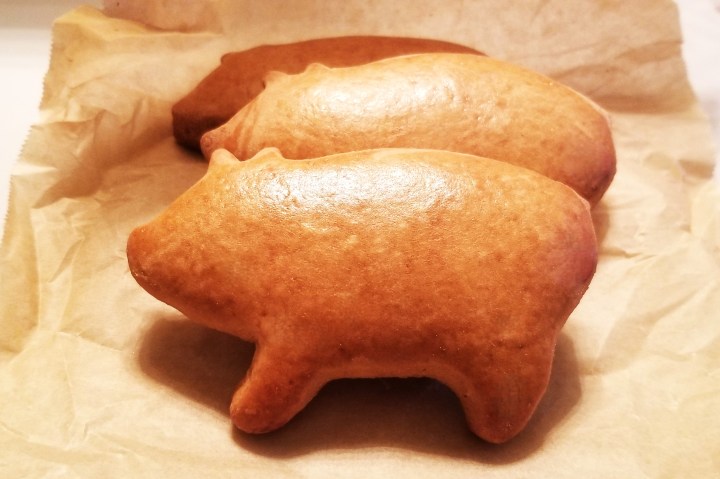
Outside the Basilica, and many other churches in Mexico, there is always a plethora of stands selling religious items, as well as, of course, all sorts of food and refreshments. Originally made with lard and piloncillo (raw brown sugar) Marranitos (piggies) have always been one of these offerings, wrapped in brown paper, to keep warm and take home. This treat has raised from its humble origins as a street food, to earn a place at panaderías (Mexican bakeries), nowadays often produced with vegetable shortening and granulated brown sugar. For my recipe, I chose margarine and dark brown sugar.
Piggies – Marranitos
Printable recipe: Piggies – Marranitos
Ingredients (for 22-24 pieces)
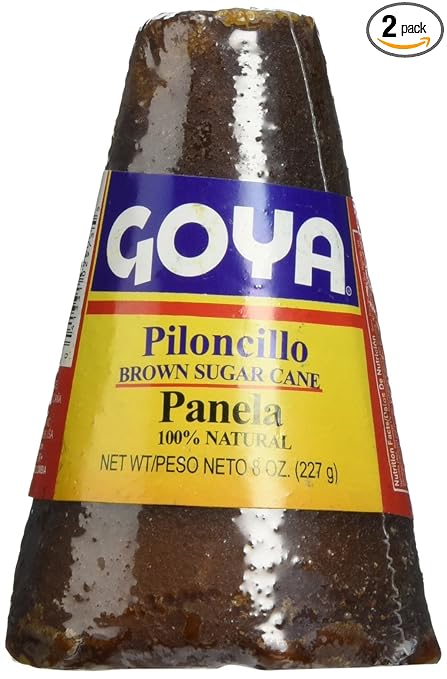
250g piloncillo or 1 ¼ cups dark brown sugar
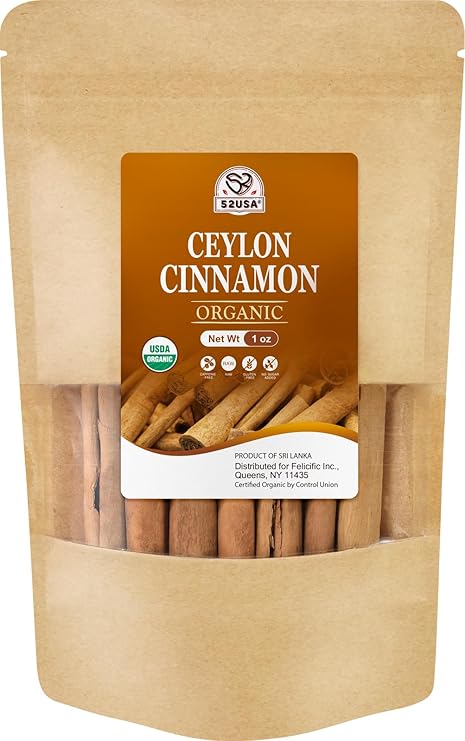
1 stick cinnamon, preferably Mexican (Ceylon)
2 whole cloves
½ cup water, plus 1 tbsp for egg wash
3 cups flour, plus more, as needed
½ tsp baking soda
1 tsp baking powder
1/3 cup lard or margarine
2 eggs
One of my daughters gave me a cute piggy cookie cutter:
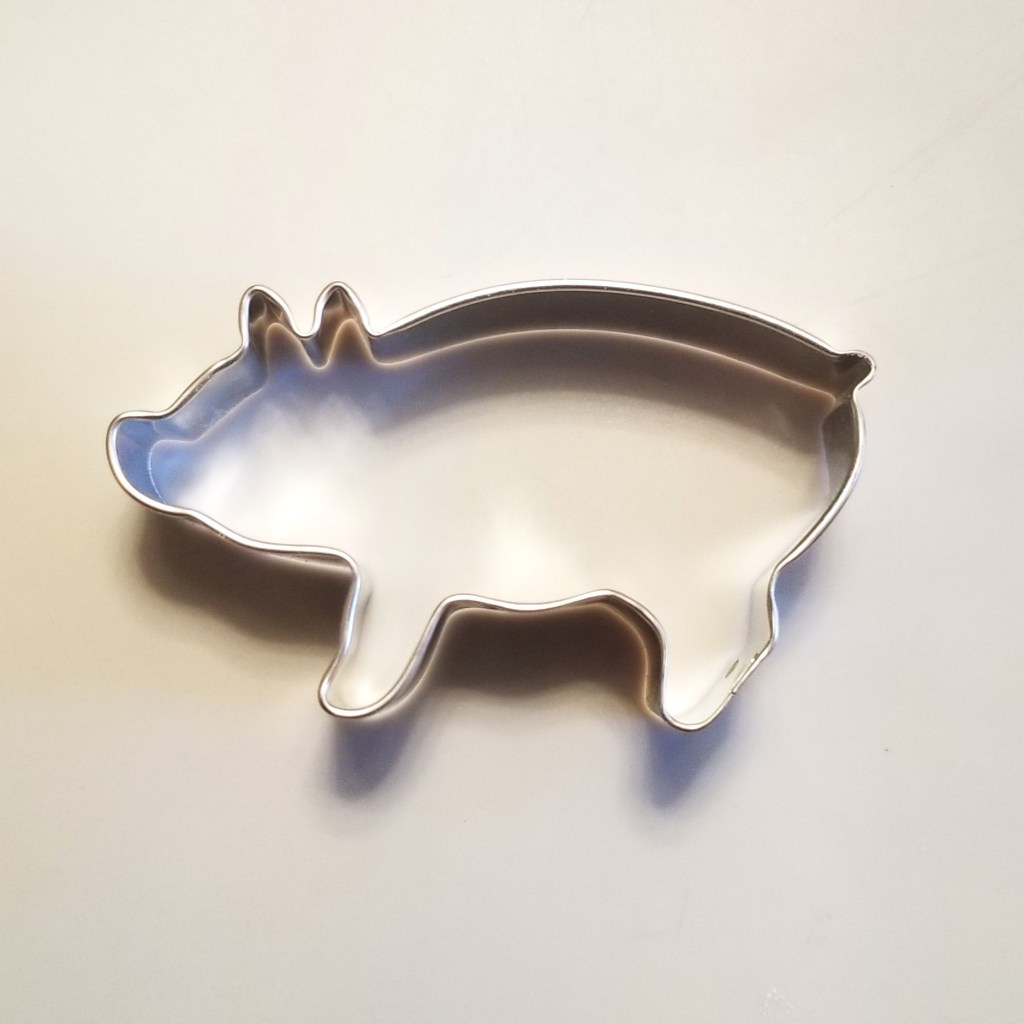
If not available, trace the silhouette on cardboard and cut out a template.
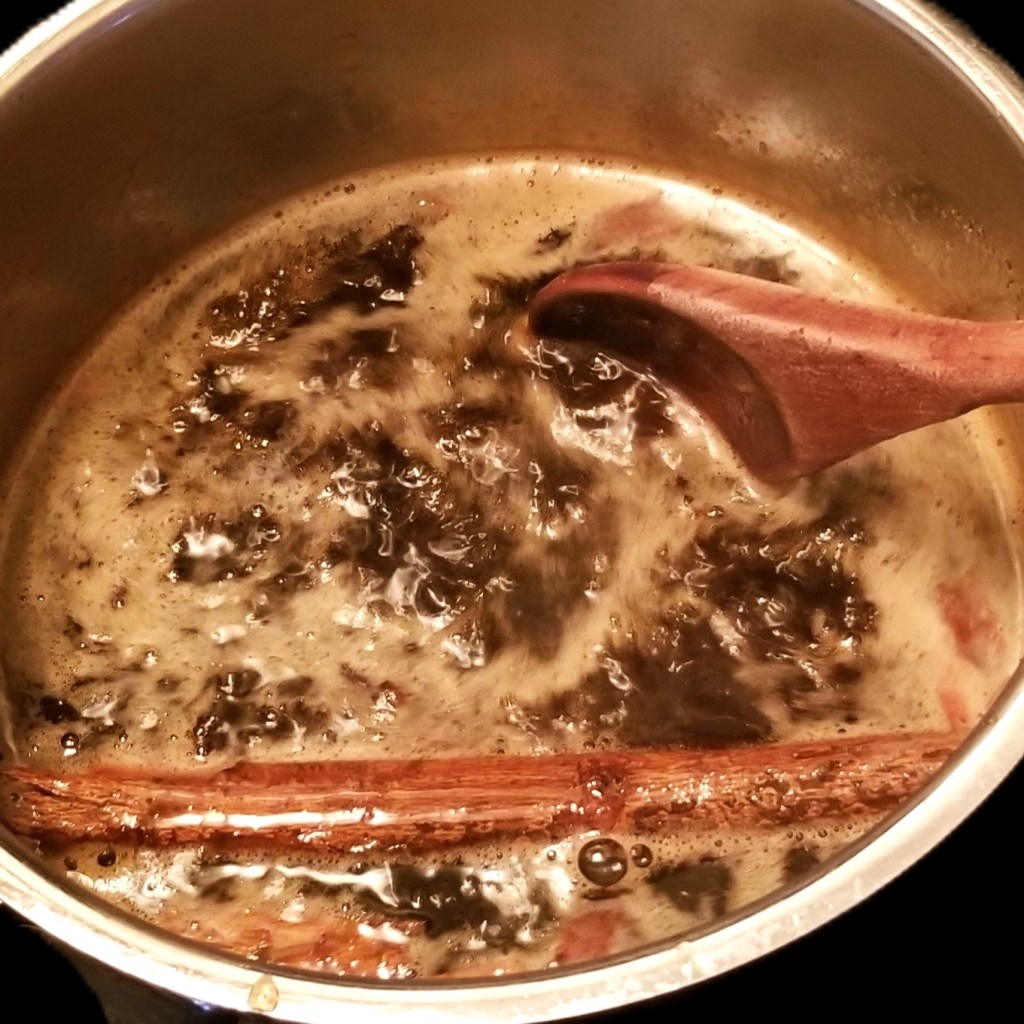
Place brown sugar, cinnamon stick, and whole cloves in a saucepan, then add water (photo below, left with piloncillo, right with granulated):
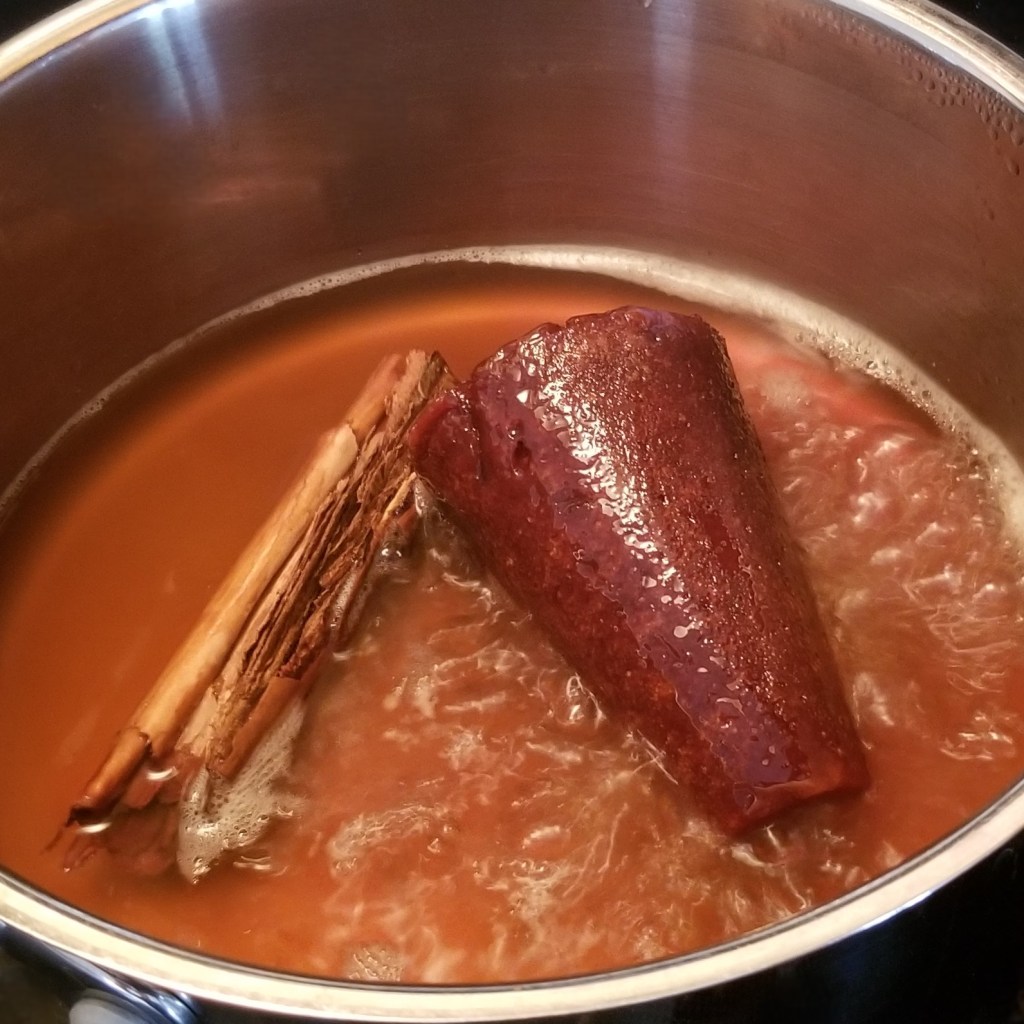
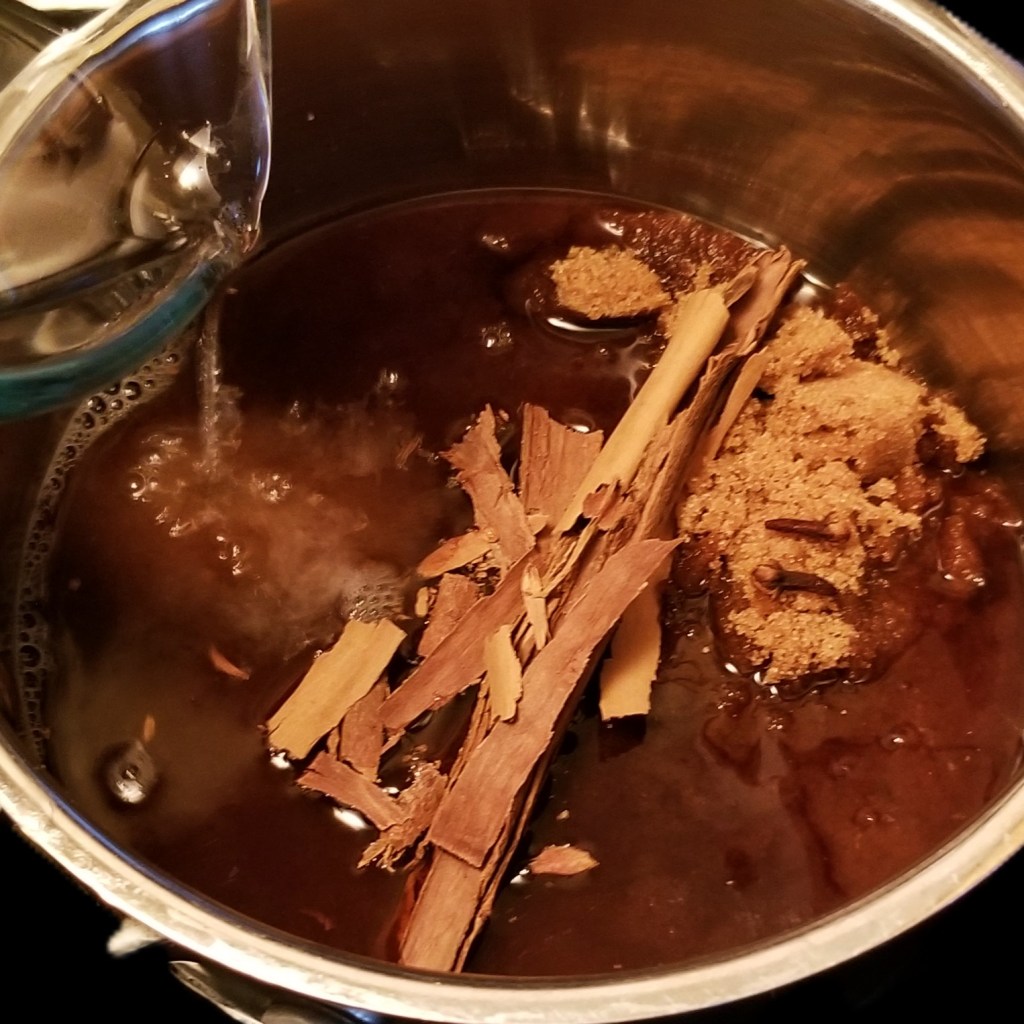
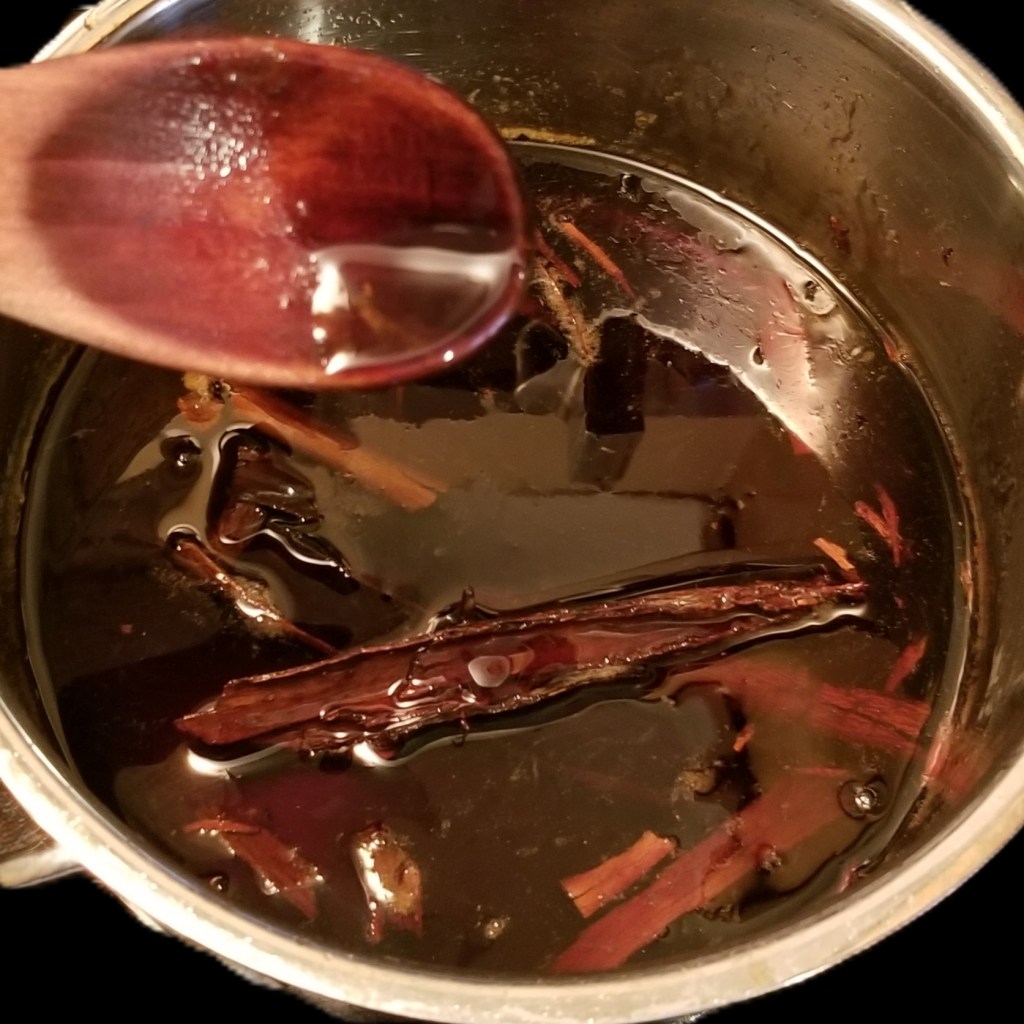
Place saucepan on stove over high heat, and bring mix to boil; continue cooking, stirring occasionally, until sugar has dissolved (photo below, left). Remove from heat and allow the dark syrup to cool down (photo below, right):
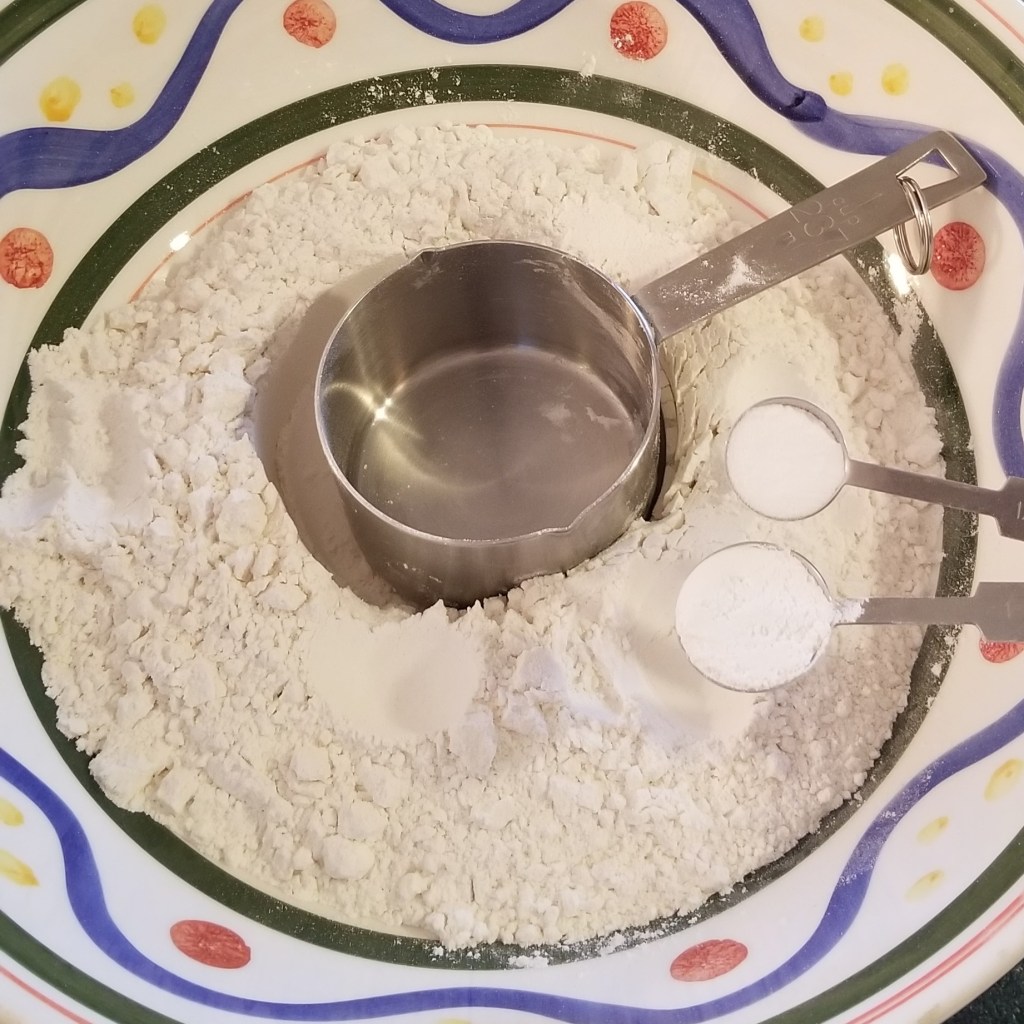
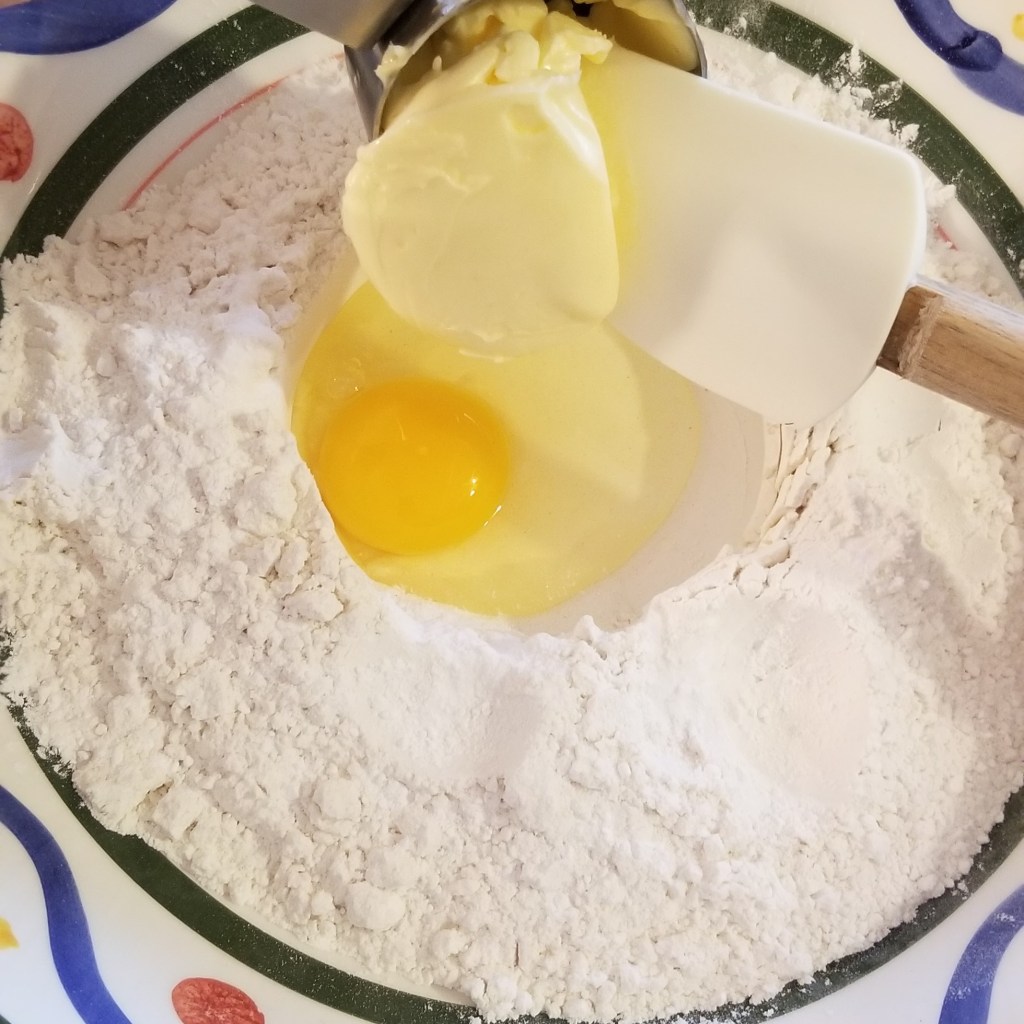
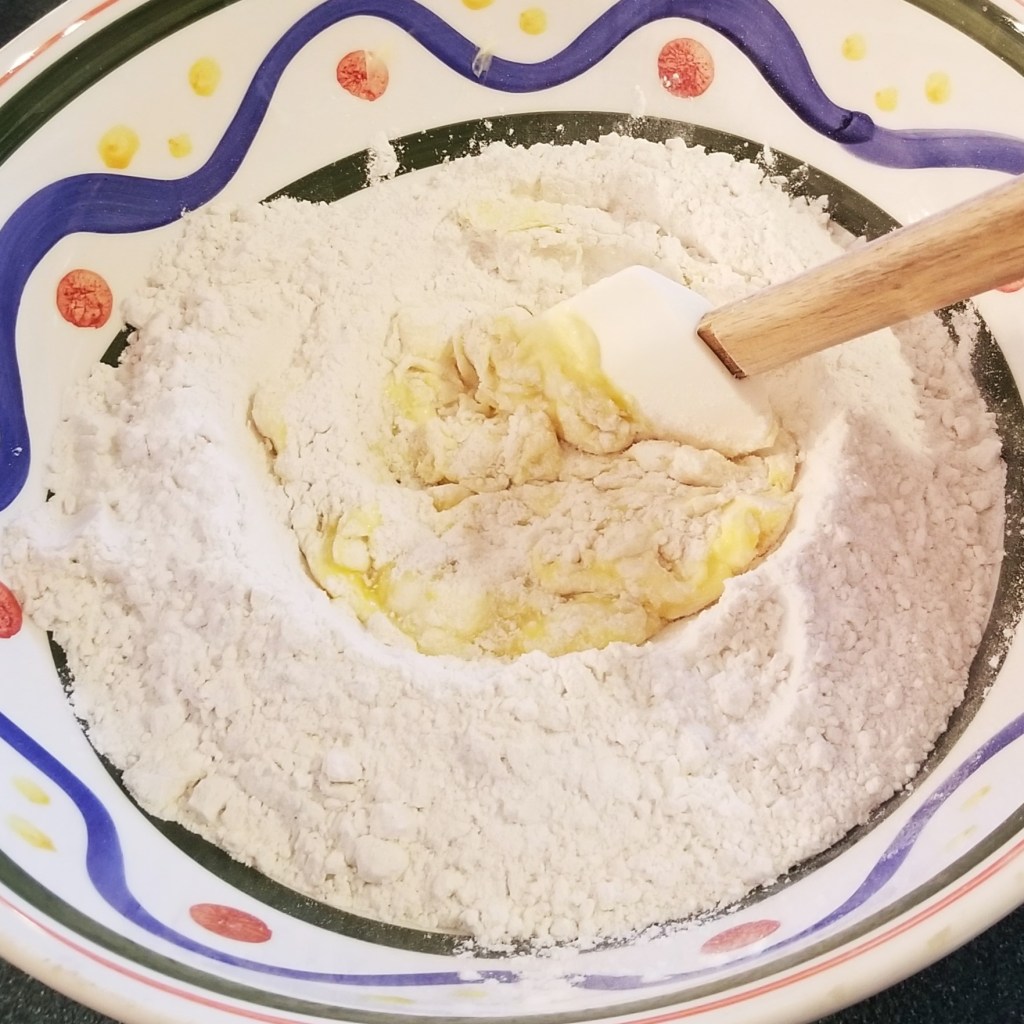
Place flour, baking soda and baking powder in a large mixing bowl, making a well in the middle (photo below, left). Add one egg and the fat to the well (photo below, right, with margarine):
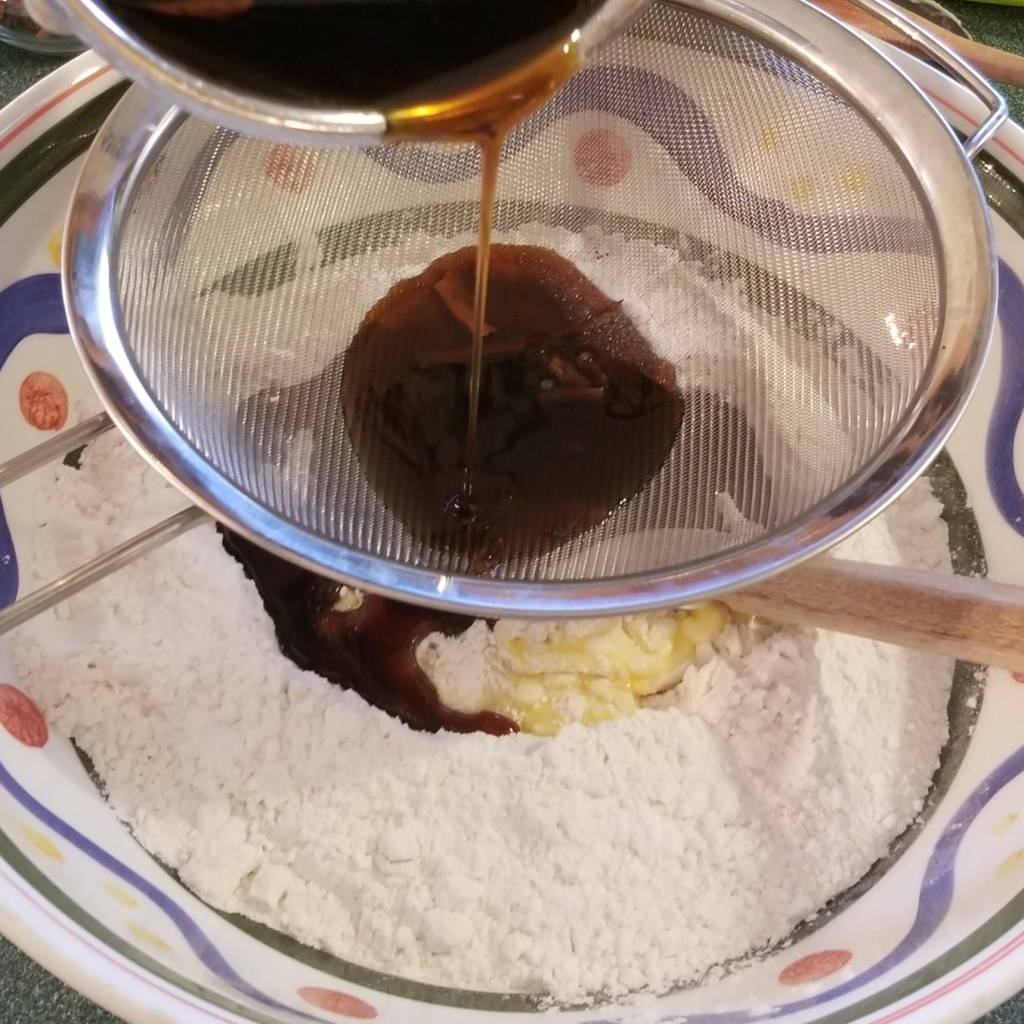
Beat the egg, then mix with fat, and slowly incorporate some of the dry ingredients (photo below, left). Strain cooled syrup onto the mix (photo below, right):
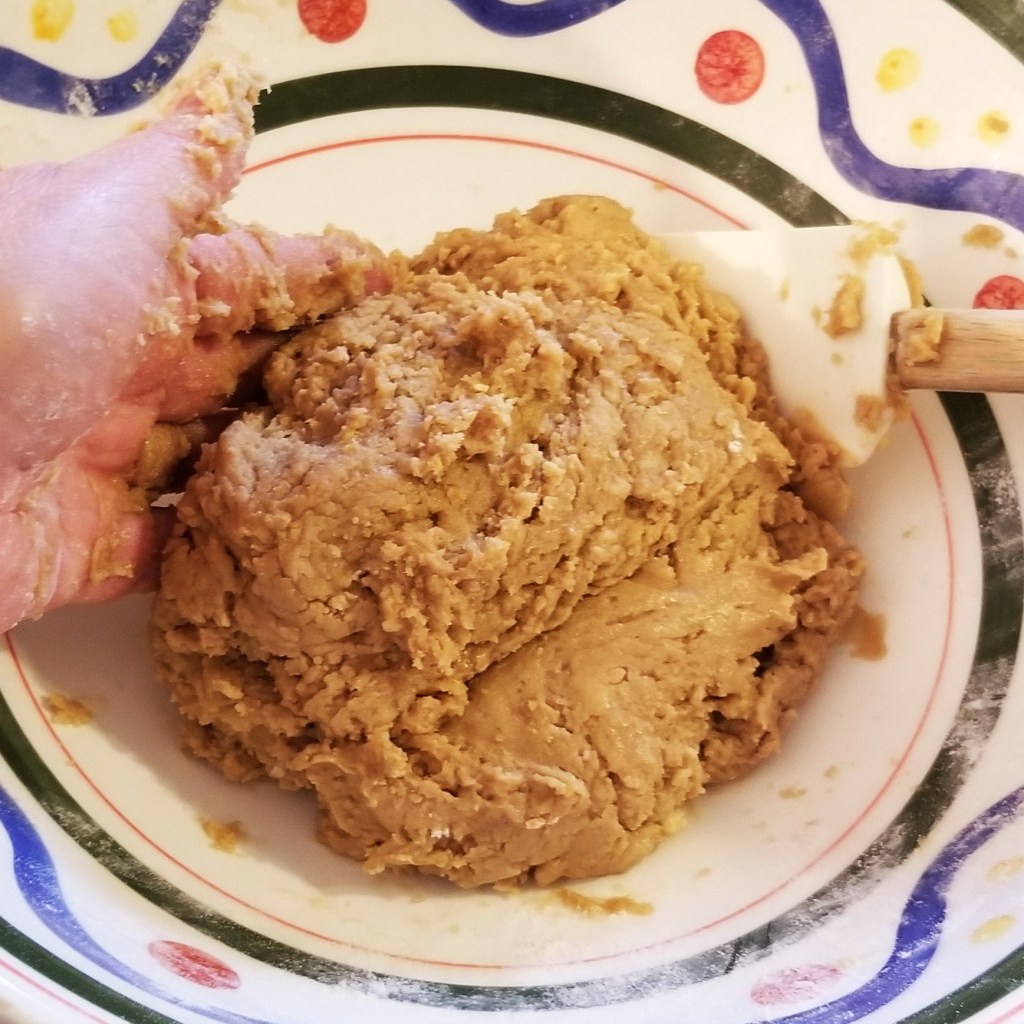
Continue mixing, kneading gently to form a dough (photo below, left). If the dough is too sticky, sprinkle a little flour and knead just a little bit longer (photo below, right):
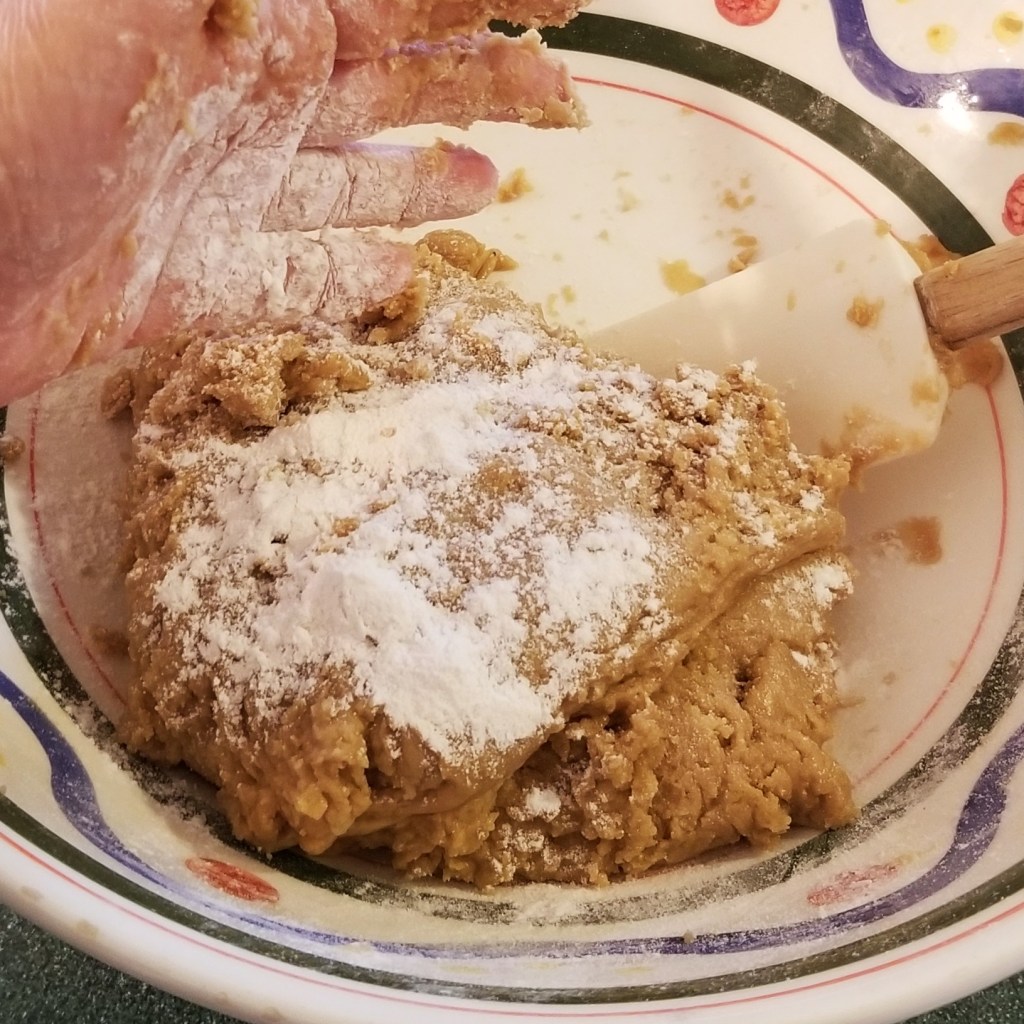
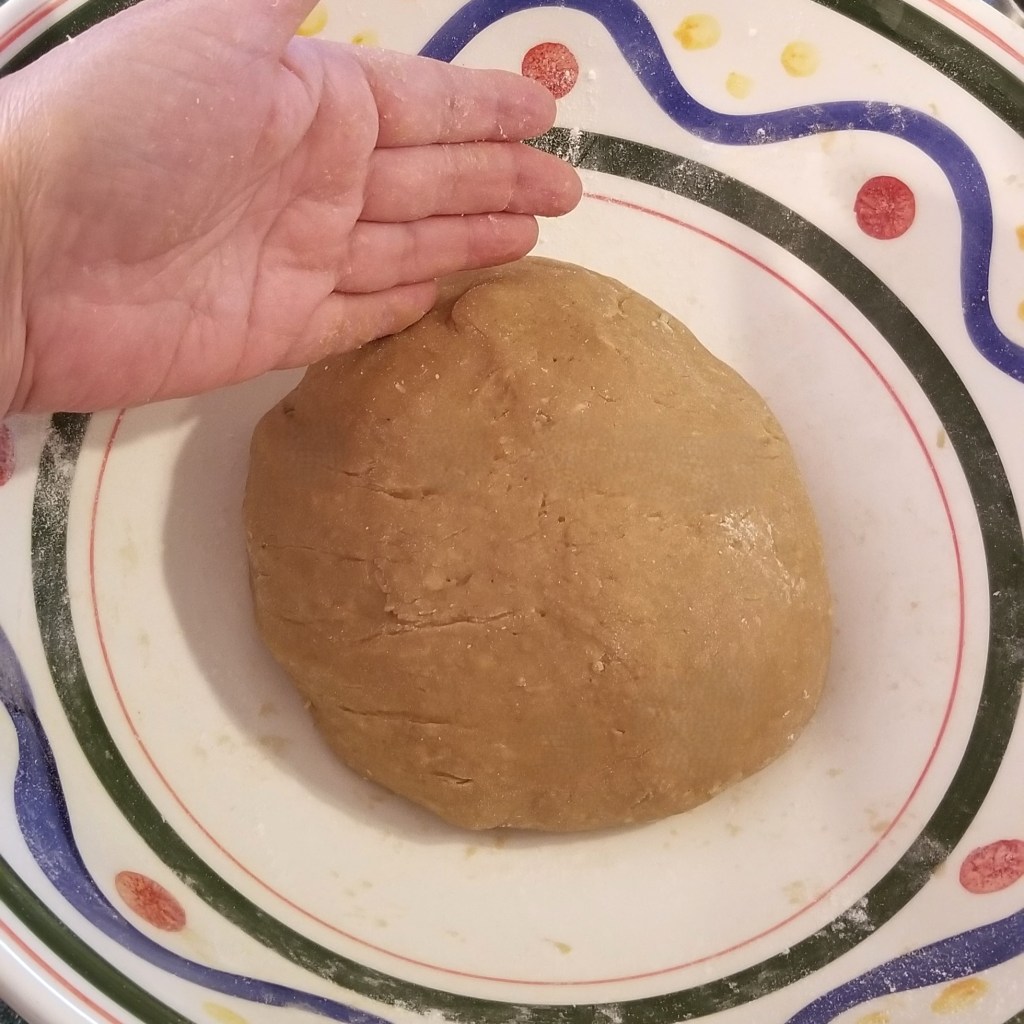
The dough should not be sticky, but still very soft (photo below, left). Wrap or place in a plastic bag (photo below, right):

Allow to rest in the fridge for 20-30 minutes.
Meanwhile, prepare two or three baking sheets by lining with parchment paper. Set aside.
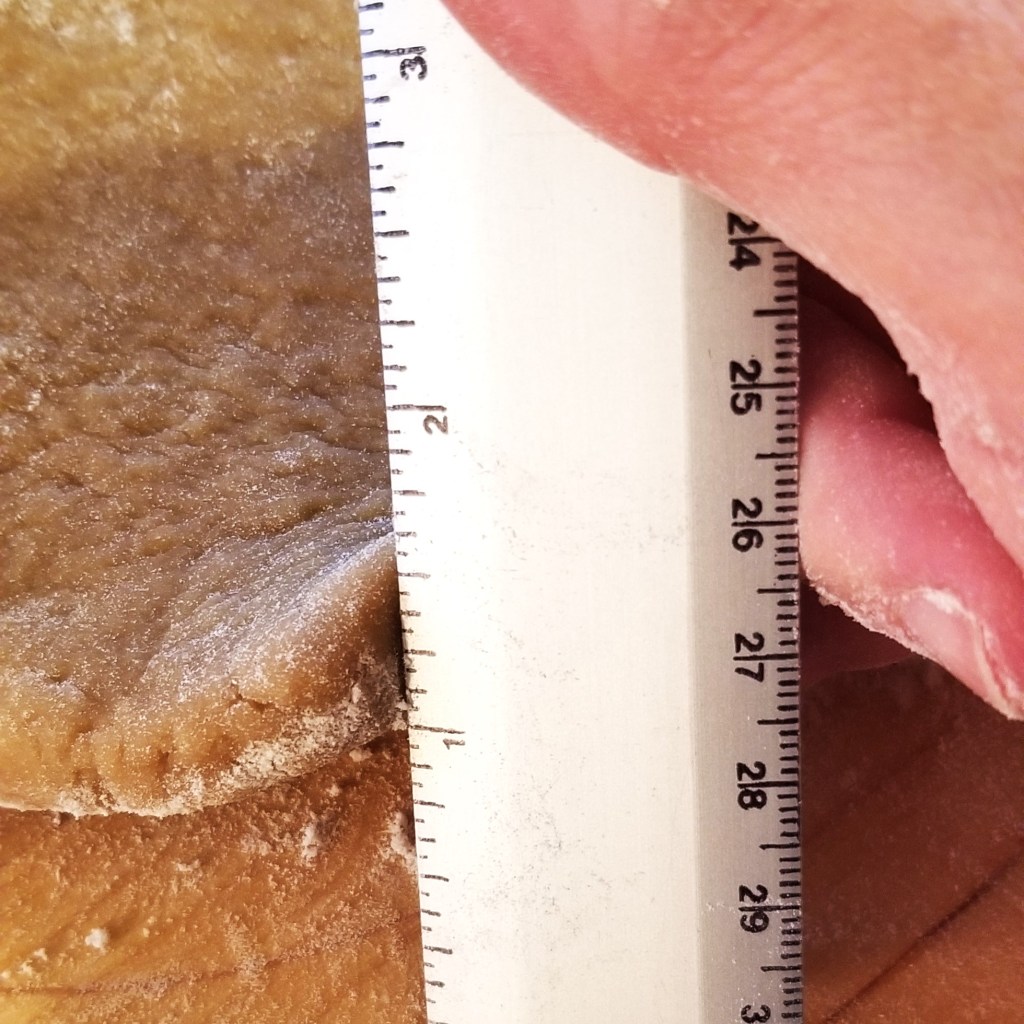
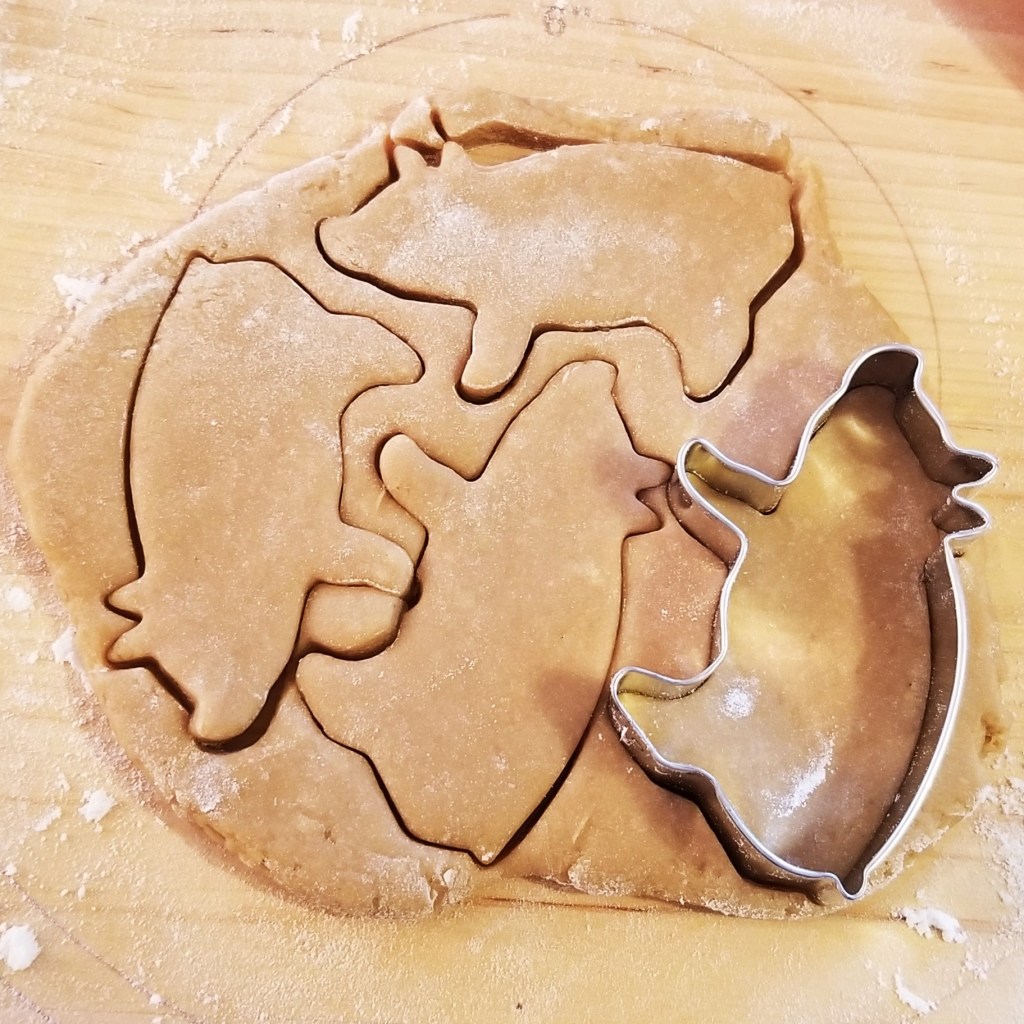
Take dough out of the fridge and unwrap; working with about one third of the dough at a time, roll on lightly floured surface to a thickness of approximately 1.25 cm (half an inch, photo below, left). Cut out piggies, running a knife around the template, or using the cookie cutter (photo below, right):
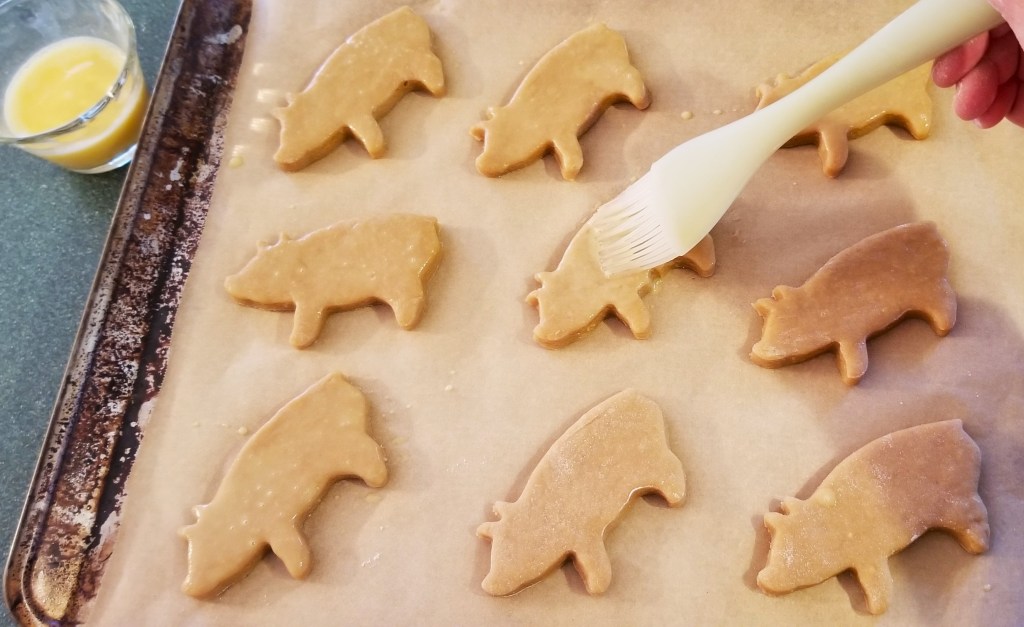
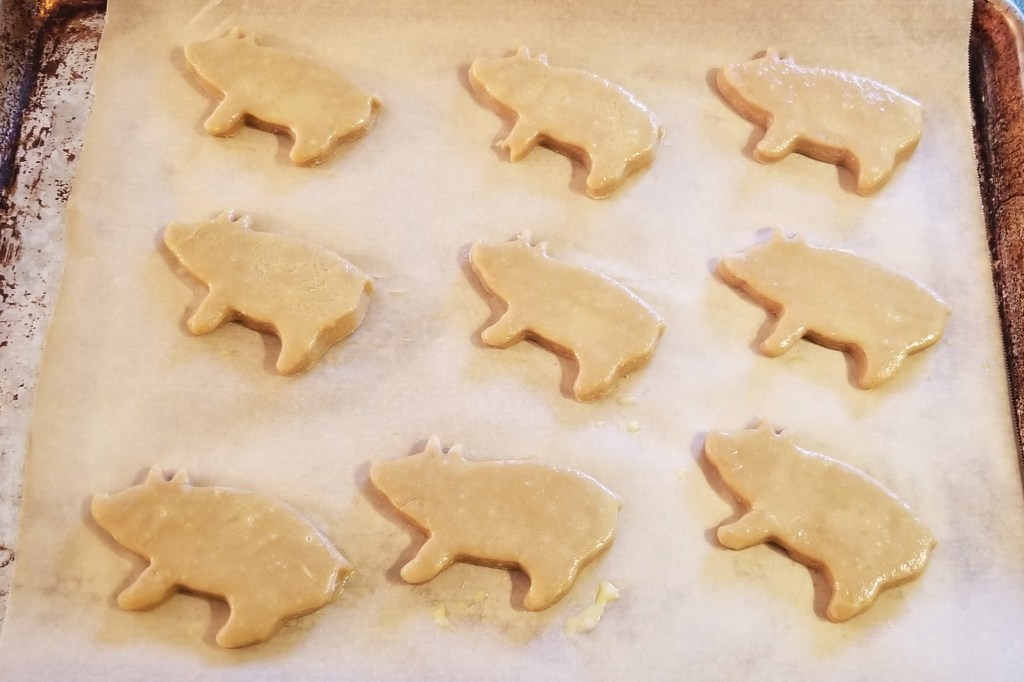
Place piggies on prepared baking sheets. Beat second egg with one tablespoon of water, then brush piggies:
Preheat oven to 350°F (180°C), and continue working with the rest of the dough. I got twenty two piggies, plus a small circle. I needed two baking trays, for nine piggies on each one, plus a small tray for four piggies and the leftover circle.
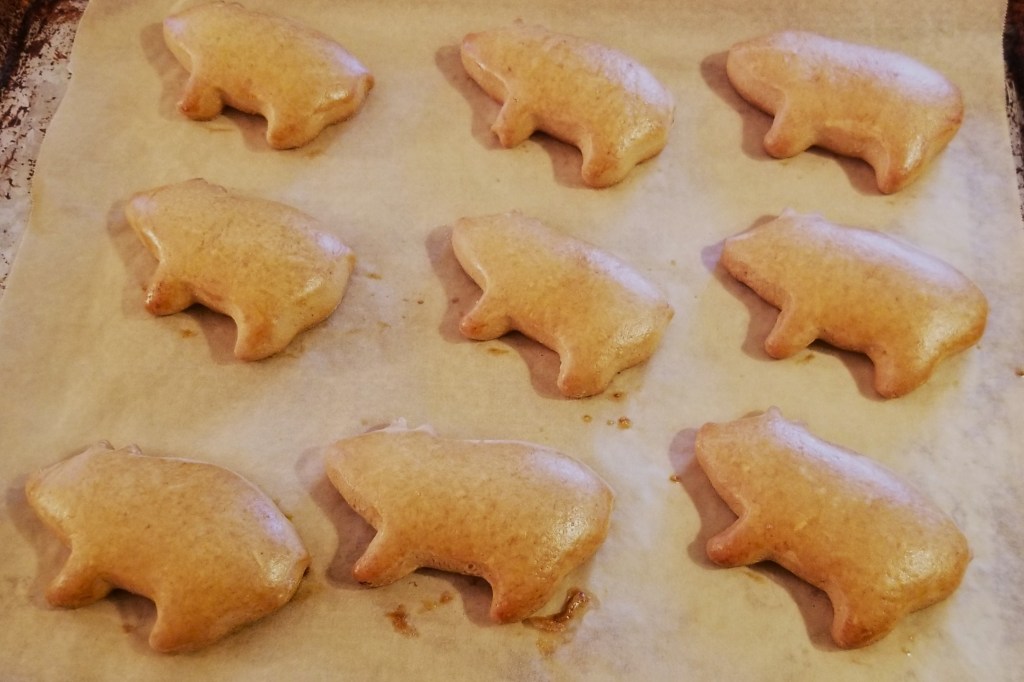
Bake one tray at a time in the centre of the oven, for 15 to 20 minutes, as long as possible to get them nice and dark, but without burning. Below, one tray before baking (left) and after baking for 17 minutes (right):
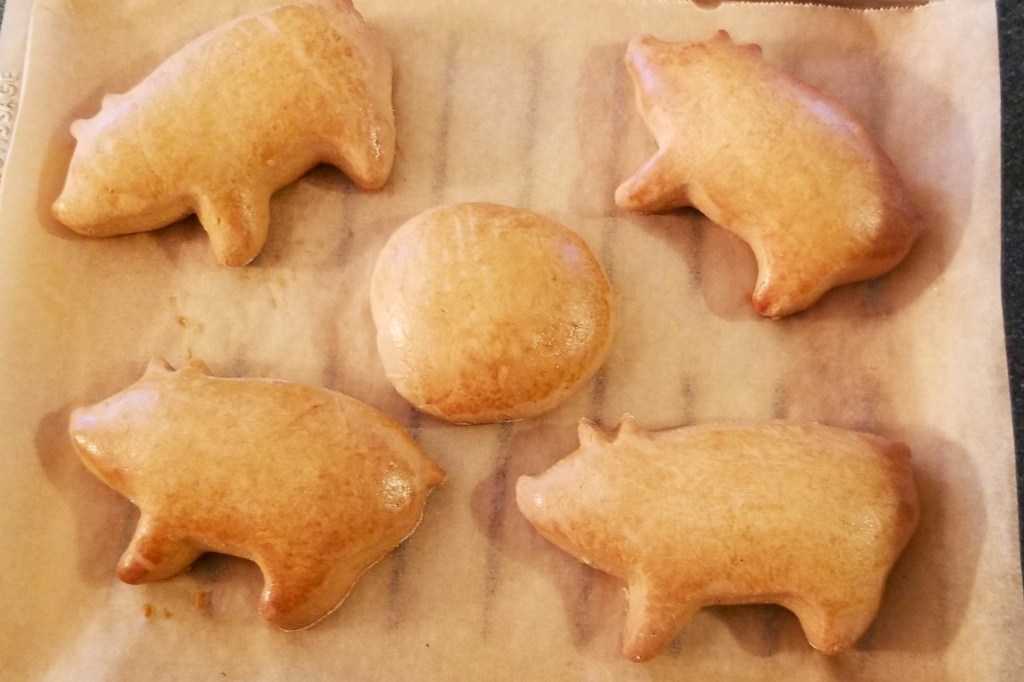
The second tray and the small tray were baked together, for 20 minutes. In the photos below, the small tray before (left) and after baking (right):
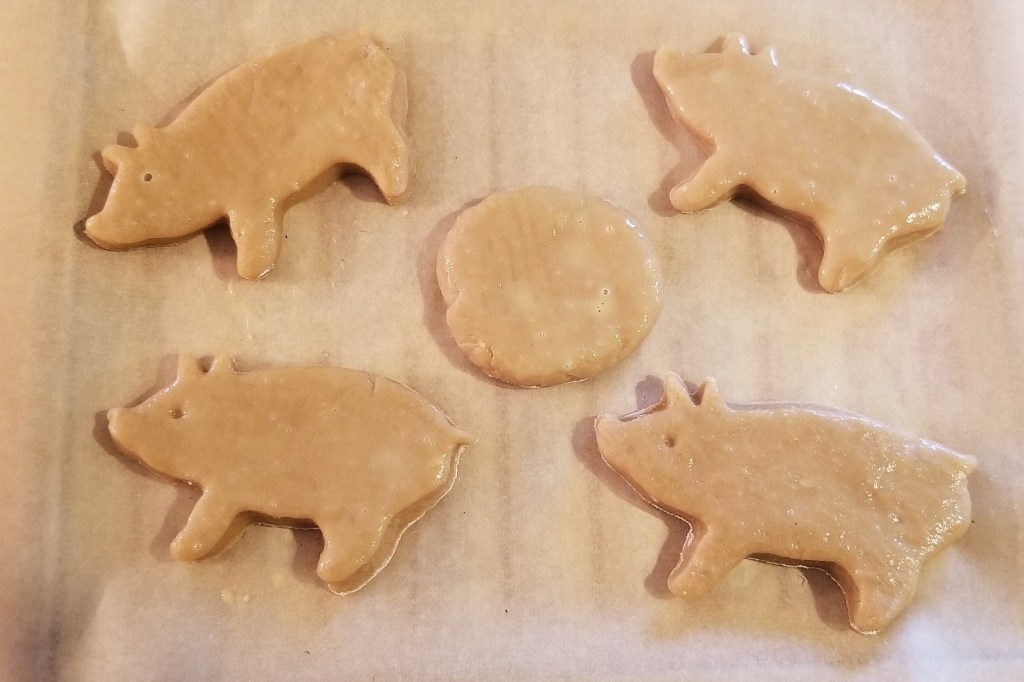
I also tried giving these last piggies an eye with a chopstick, but they disappeared as the dough expanded during baking. No wonder why Mexican marranitos never have eyes.
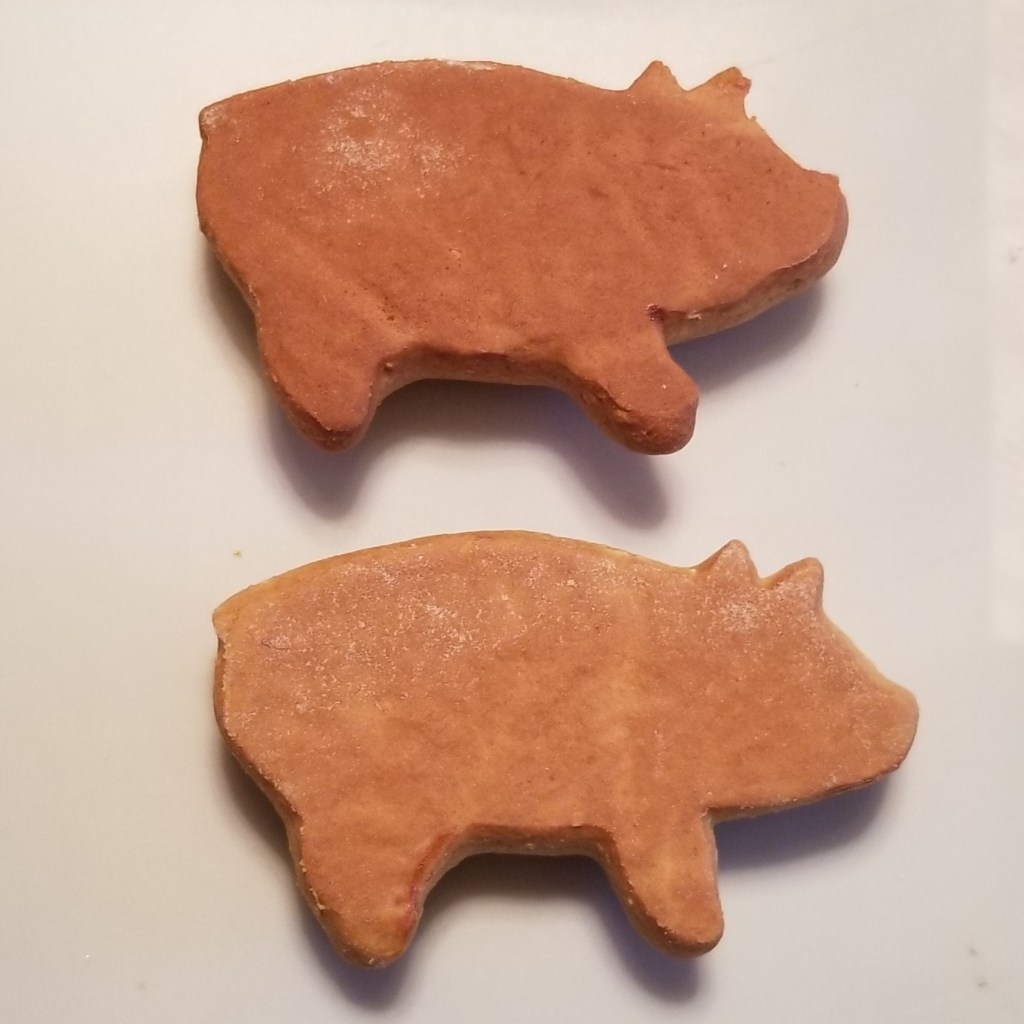
The golden colour of the top side of one piggy baked for 20 minutes is just a tad more intense than one from the 17-minute batch (photo below, left), but the bottom side is noticeable darker (photo below, right):
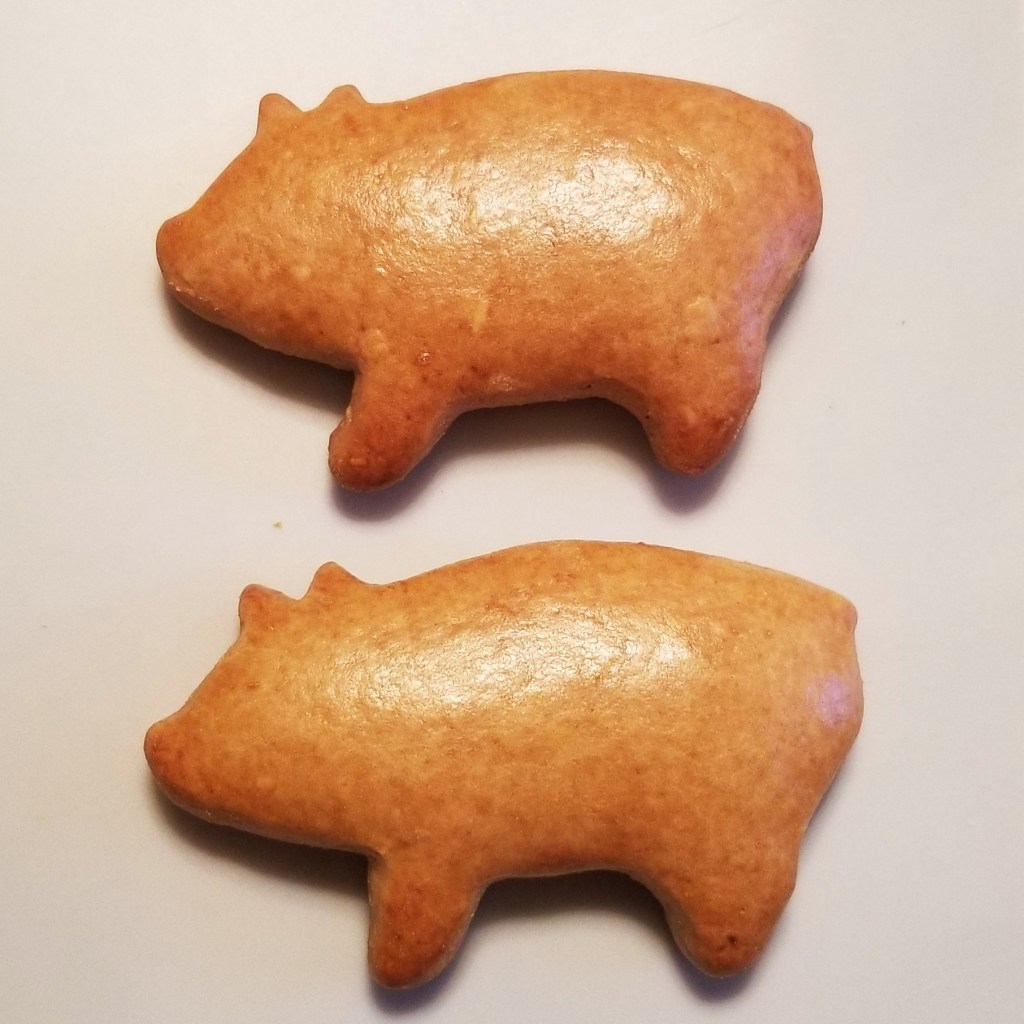
The extra minutes give the marranitos not only a lovely darker colour, but another layer of flavour, with a deeper note of caramel.
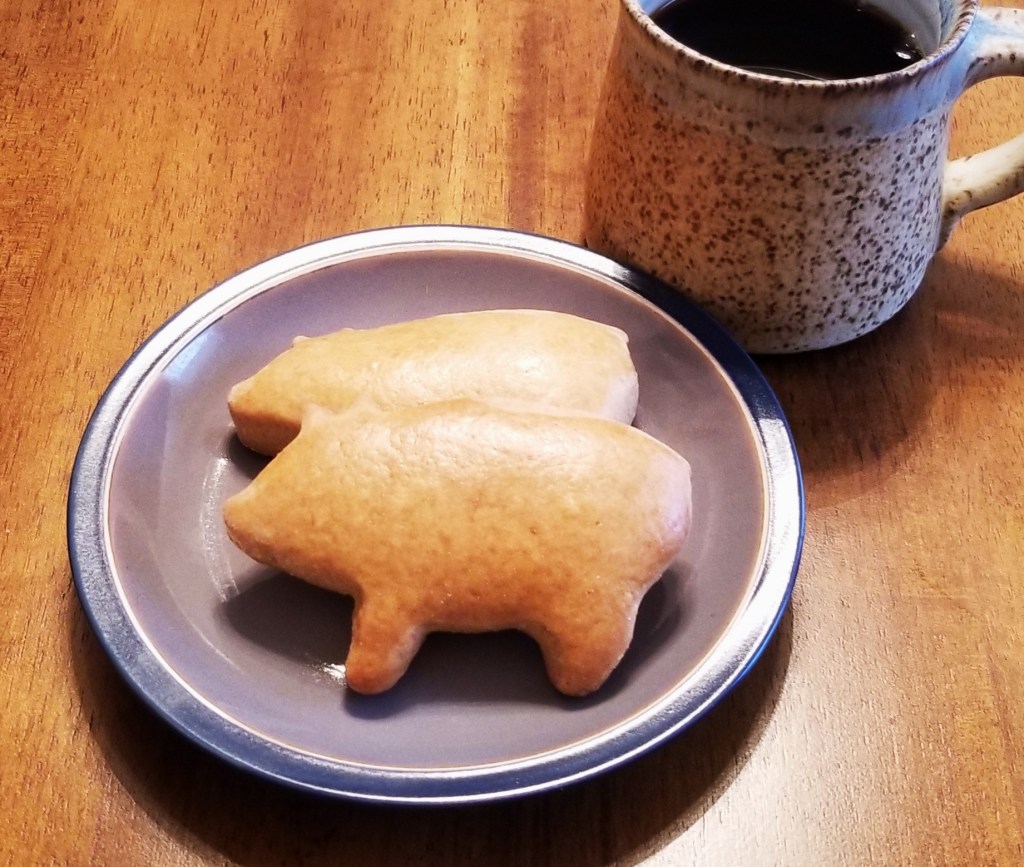
These treats are delicious warm or at room temperature, especially when enjoyed with a mug of café de olla (Mexican coffee from the pot):
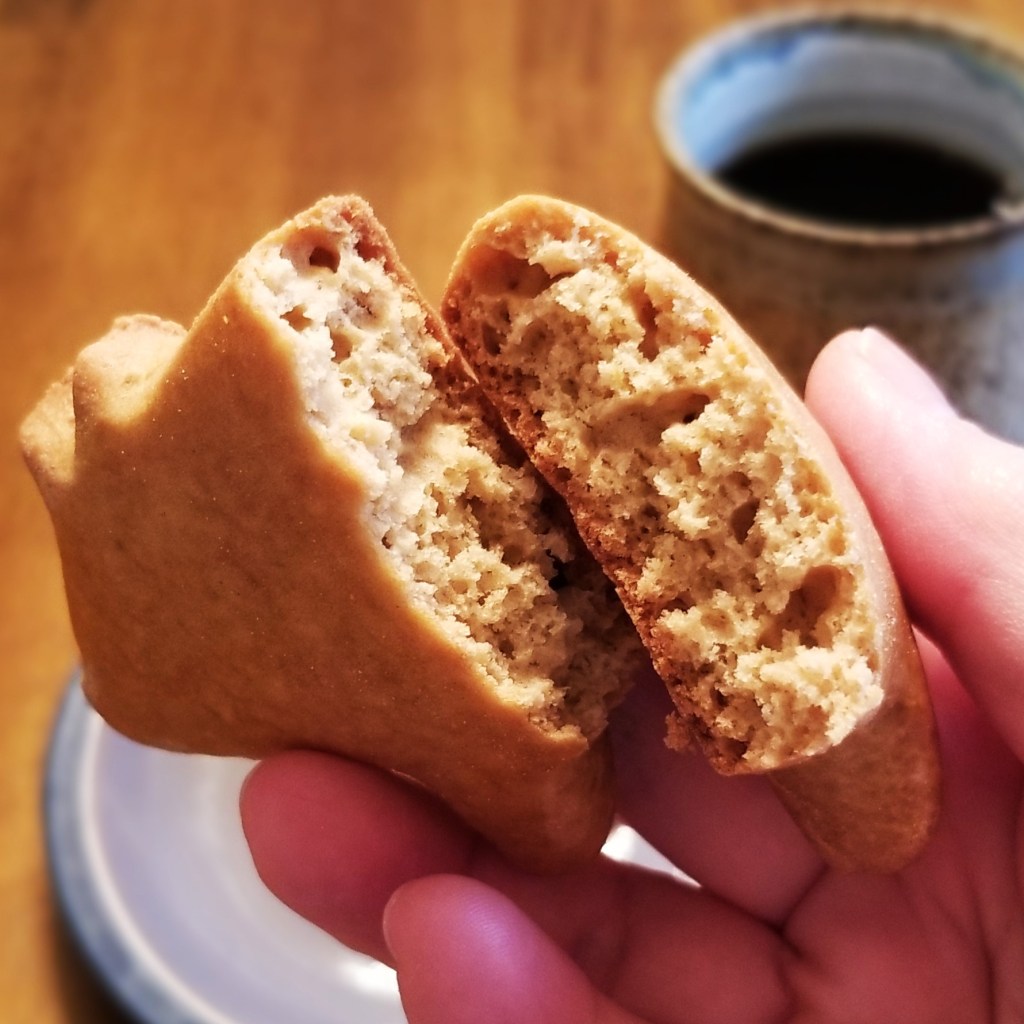
Crispy and golden brown on the outside, while the chosen thickness allows for a cakey, soft crumb:
And aren’t they adorable? Dark and shiny, puffy and pillowy, almost too cute to eat:
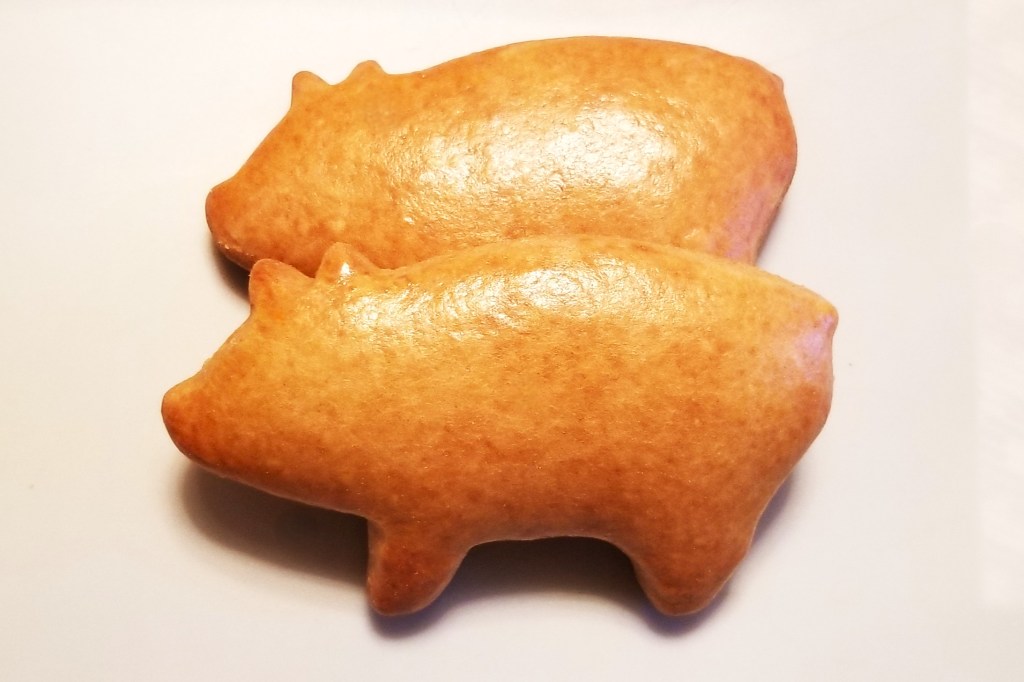
But no worries, the scent of brown sugar and spice is too inviting to resist, and after one bite, it is really hard to stop!
For your convenience, click on the highlighted text below for products available on Amazon™. DISCLAIMER: Any reviews included in this post are my own, for items I have purchased, not provided by any company; as an Amazon Associates Program affiliate, I might receive a commission for any purchases originated from the links below, at no extra cost to you. Thank you to readers who have bought other products starting with a click from my links!
I am sharing my recipe at Full Plate Thursday #772 and 8th Annual Holiday Cookie Exchange with Miz Helen @ Miz Helen’s Country Cottage.
I am sharing my post at Thursday Favourite Things #739, with Bev @ Eclectic Red Barn, Pam @ An Artful Mom, Katherine @ Katherine’s Corner, Amber @ Follow the Yellow Brick Home, and Linda @ Crafts a la Mode.
I am joining Fiesta Friday #619 with Angie @ Fiesta Friday.


They do look cute and sound tasty!
LikeLiked by 1 person
Thanks so much for sharing with us at Full Plate Thursday, 772!Merry Christmas,Miz Helen
LikeLike
Thank you for hosting Miz Helen, Merry Christmas!!
LikeLike