In my previous two posts, I shared photos of chocolate cakes, decorated with buttercream icing. The recipe for the buttercream icing is already on my recipe tab, and I have used it in a few occasions, either natural, or flavoured (for example with matcha), or coloured, as in my previous post. For Valentine’s Day, I shaped the cakes into hearts, but this versatile chocolate cake recipe may be used for round layers, slab cakes, and even cupcakes.
Basic Chocolate Cake – Pastel de chocolate básico
Printable recipe: Basic Chocolate Cake
Ingredients
2 cups all-purpose flour
1 ¾ cups sugar
½ cup unsweetened cocoa powder
1 tsp baking powder
1 tsp baking soda
pinch salt
1 ½ cups milk
2 tsp vanilla
½ cup vegetable oil
2 eggs
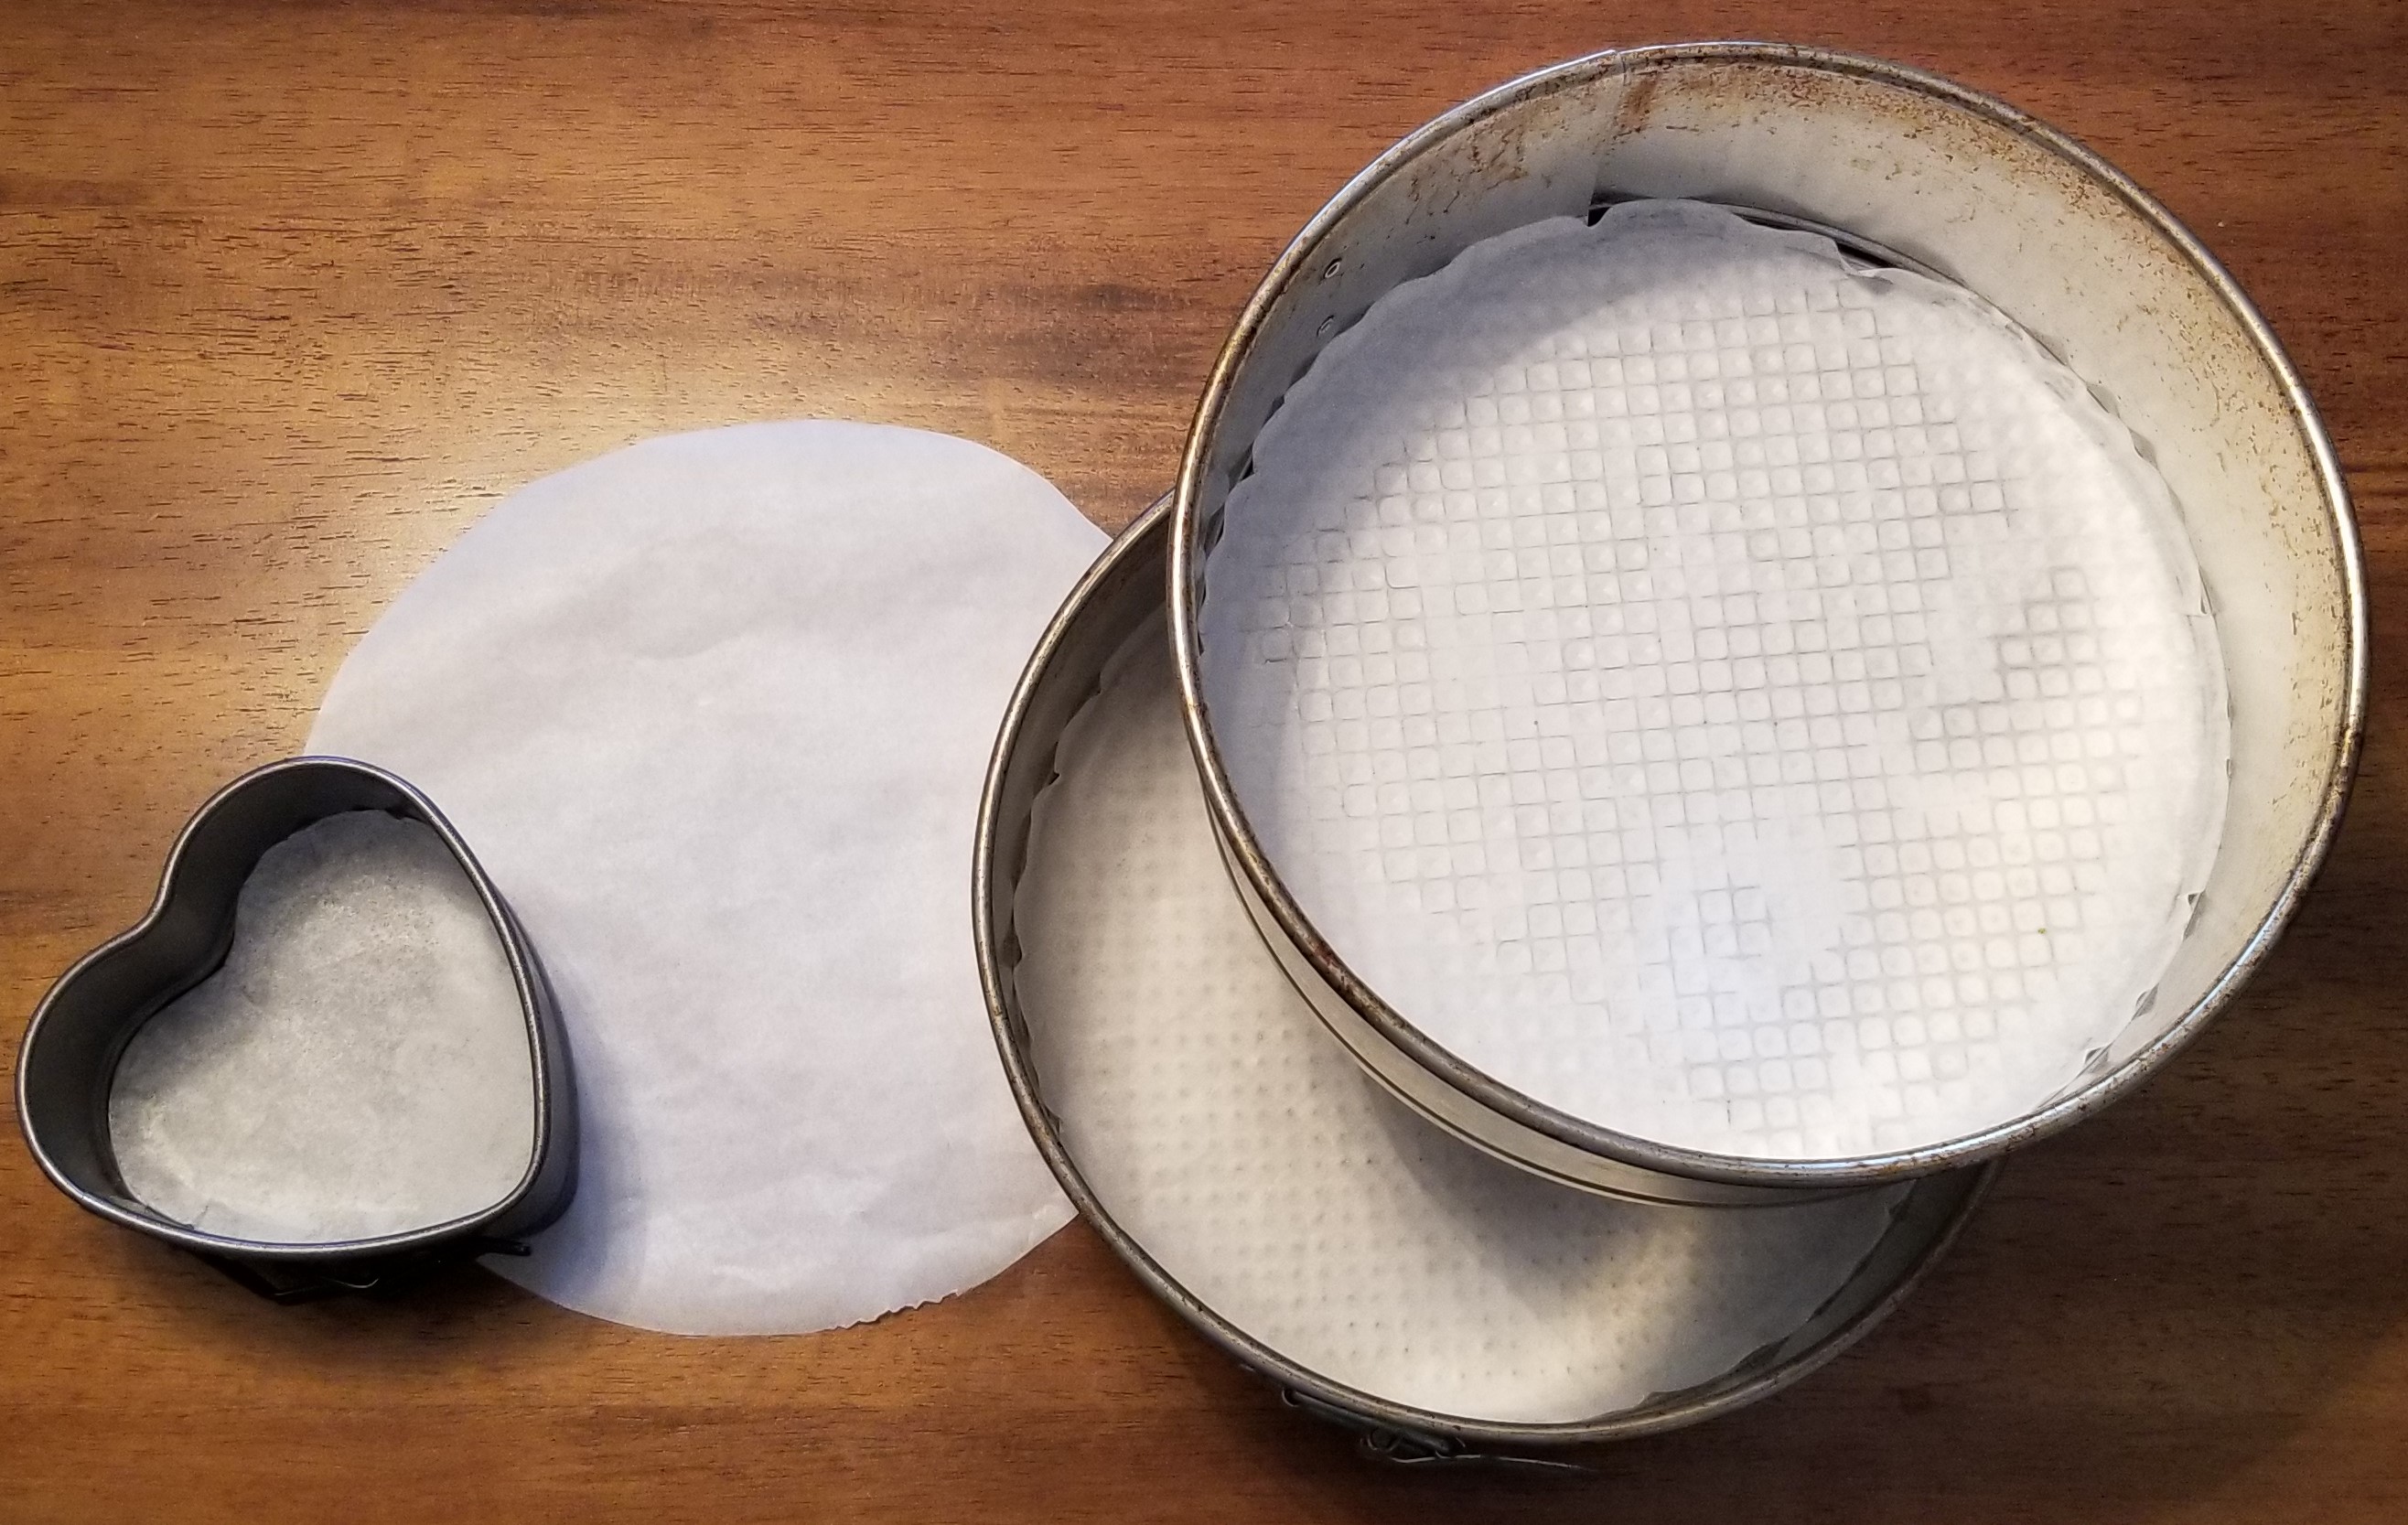
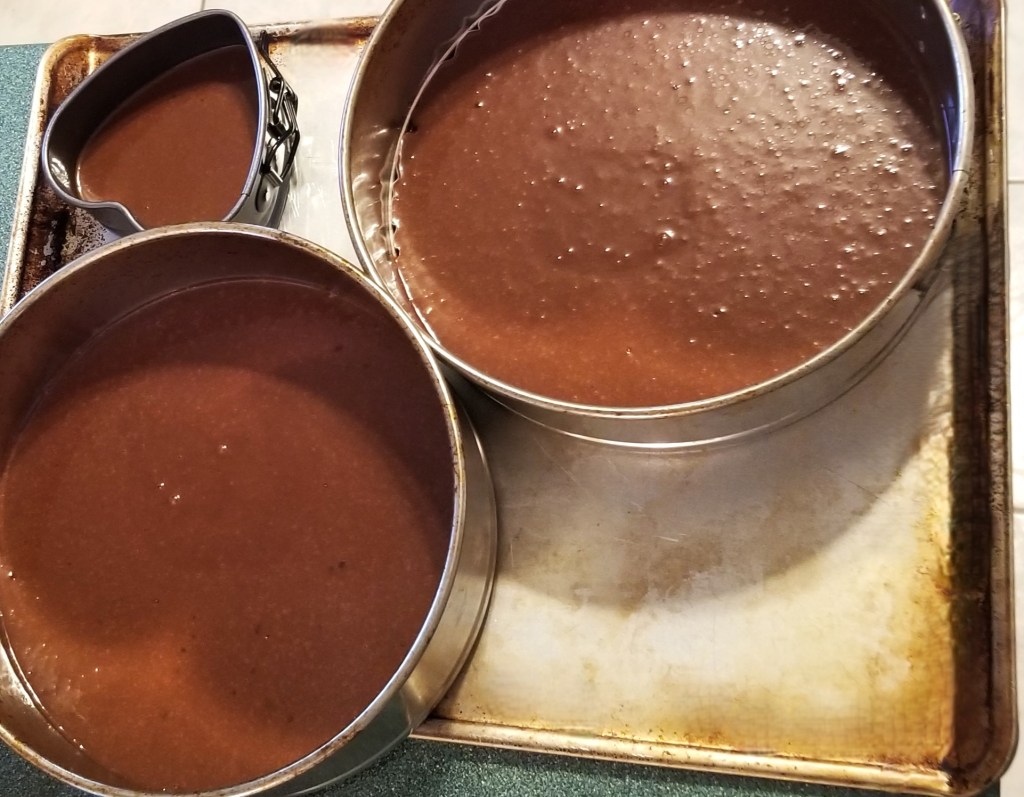
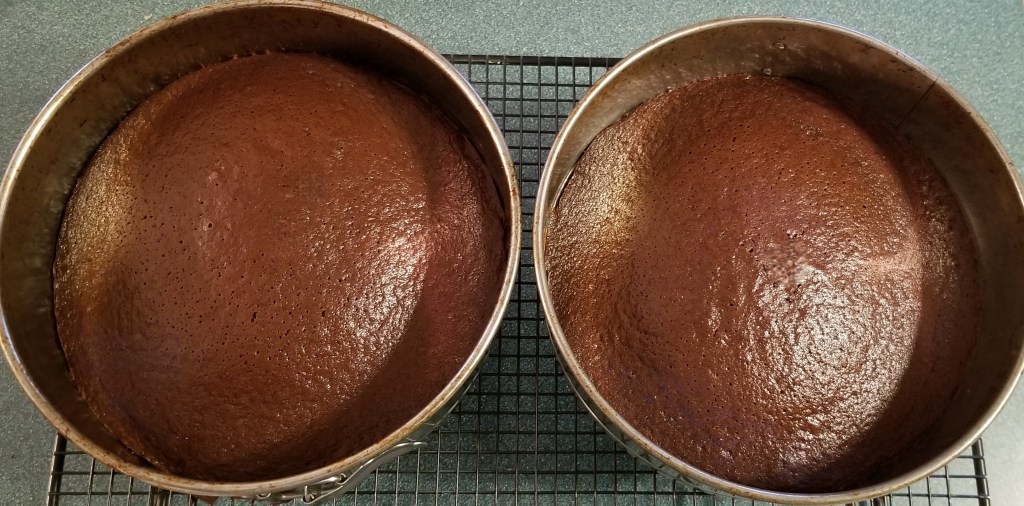
Prepare moulds for baking, by greasing with oil and lining the bottom with parchment paper. The batch is enough, for example, for two 9-inch round pans, or one 9×13 in rectangular pan, or 24 cupcake cups. I used two 8-inch round pans plus a small heart-shaped mould:
Reserve.
Pre-heat oven to 350ºF (180ºC).
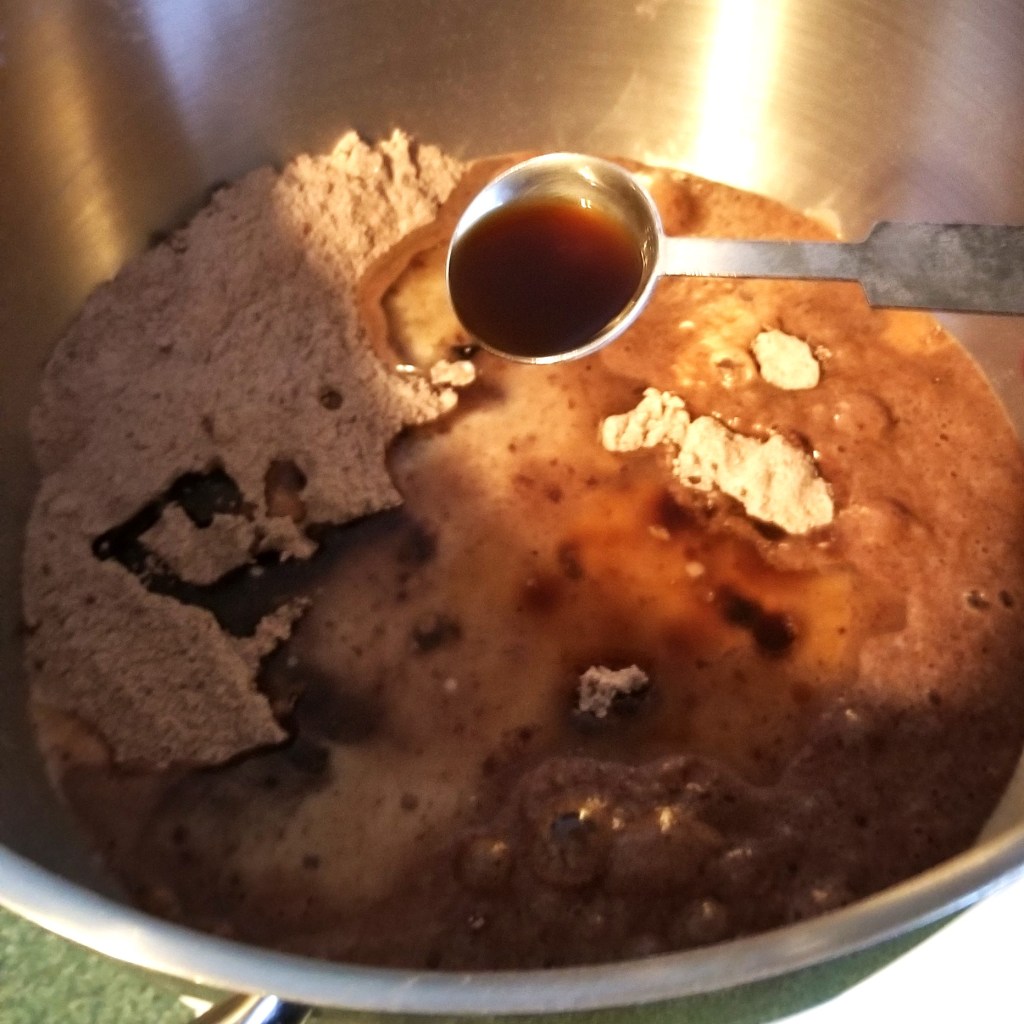
Place dry ingredients in a large bowl: flour, cocoa powder, sugar, baking powder, baking soda, and salt, mixing together with a spatula:

Add milk, oil, and vanilla:
Beat, preferably with an electric mixer, for about two minutes:
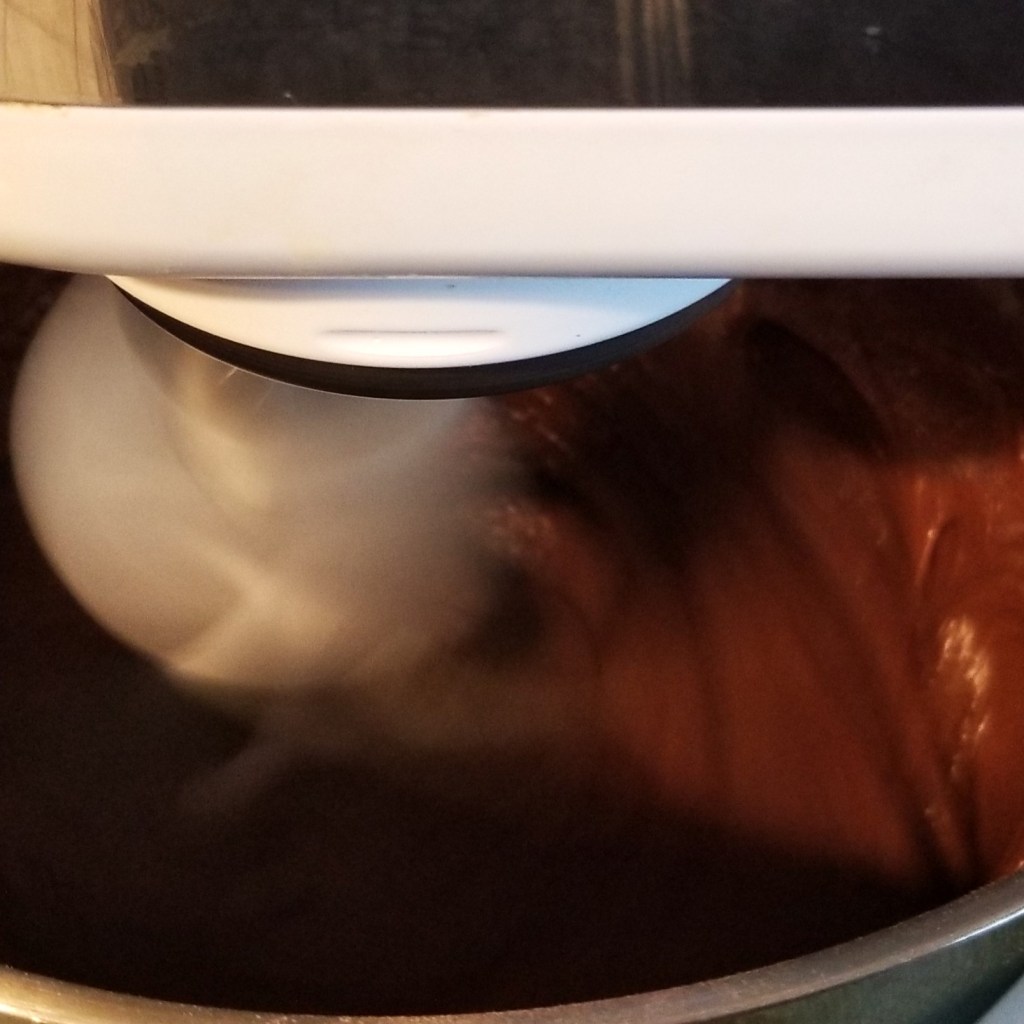
Scrape sides of bowl with a spatula, then add eggs:
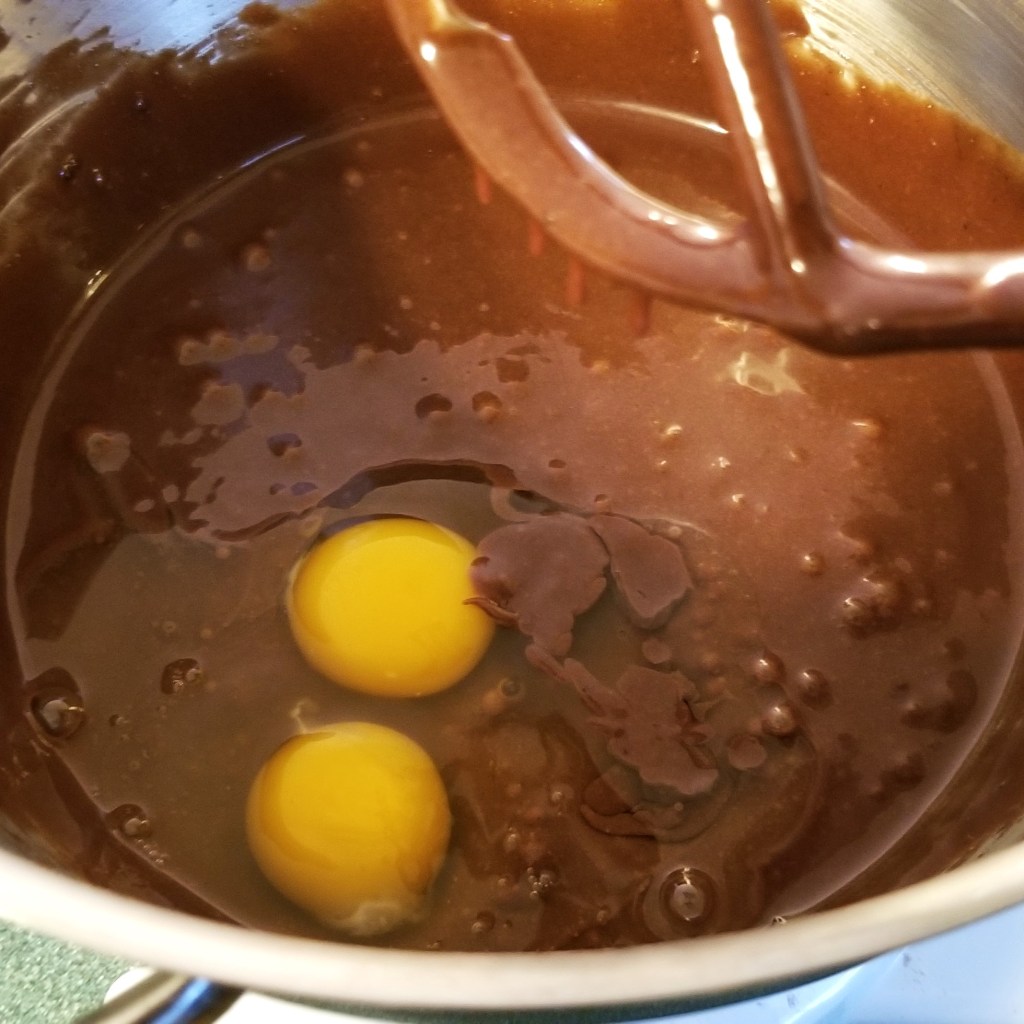
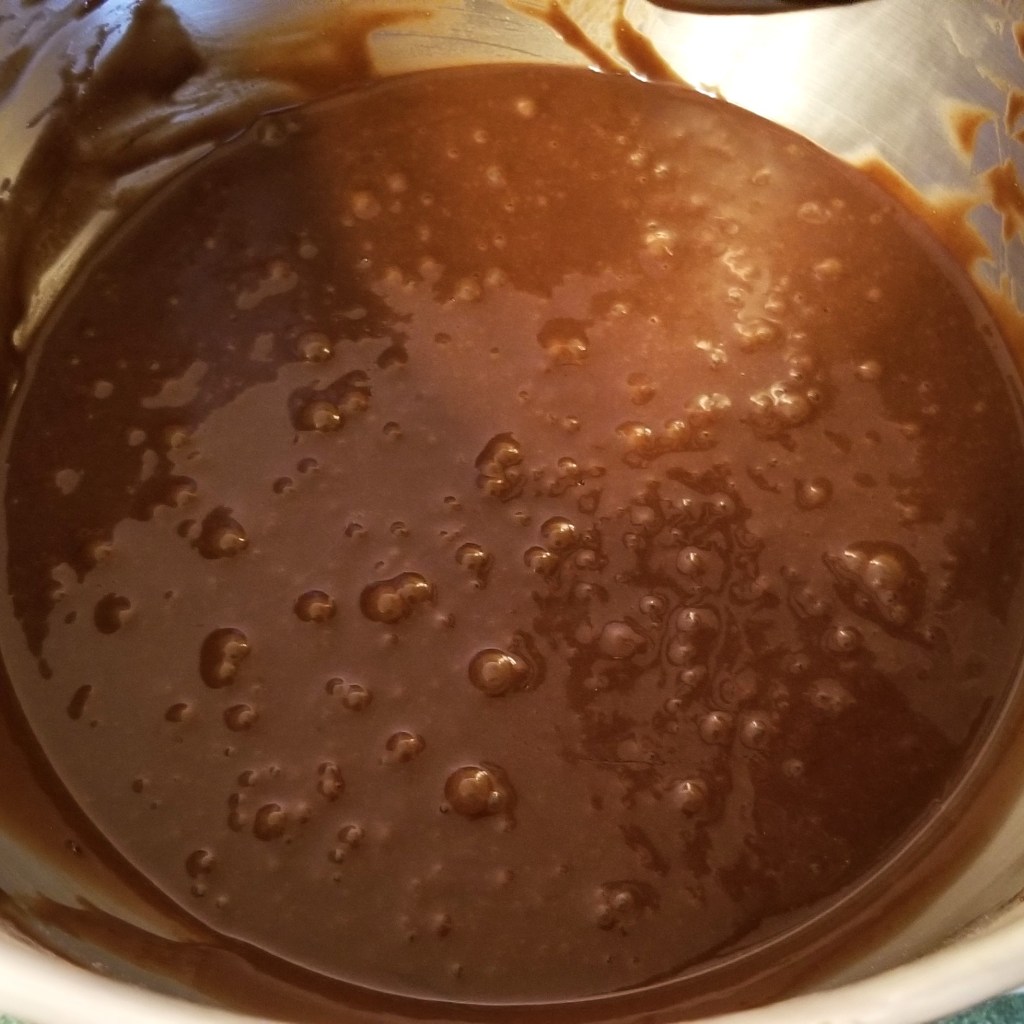
Beat vigorously or at high speed, for another two minutes; the resulting batter will look rather thin:
Pour batter into prepared moulds. Since my moulds are rings with removable bottoms, and the batter is very thin, I placed them on top of a baking sheet, in case there were any leaks:
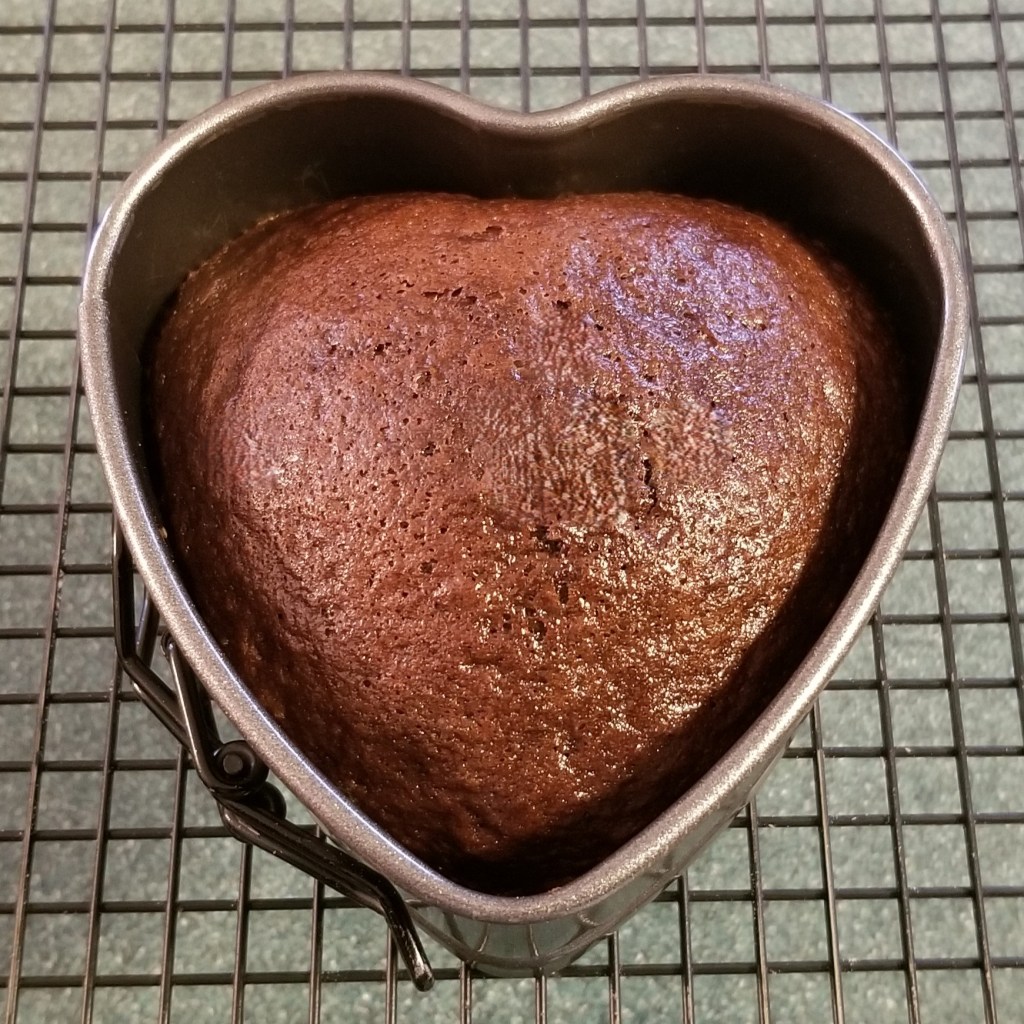
Bake in pre-heated oven, from 25 to 45 minutes, depending on the size of the moulds. Check doneness by inserting a toothpick or thin skewer in the centre; it should come out clean.
The small heart took 25 minutes:
The 8-inch layers took 45 minutes:
Allow to cool down in the moulds for ten minutes before removing.
For finishing these cakes, I used:
1 batch buttercream icing
2 cups apricot jam
Red food colouring
Buttercream Icing – Crema de mantequilla para pastel
Printable recipe: Buttercream Icing
Ingredients
3/4 cup butter, at room temperature
6-8 cups powdered sugar (icing sugar)
1/3 cup milk
2 tsp vanilla
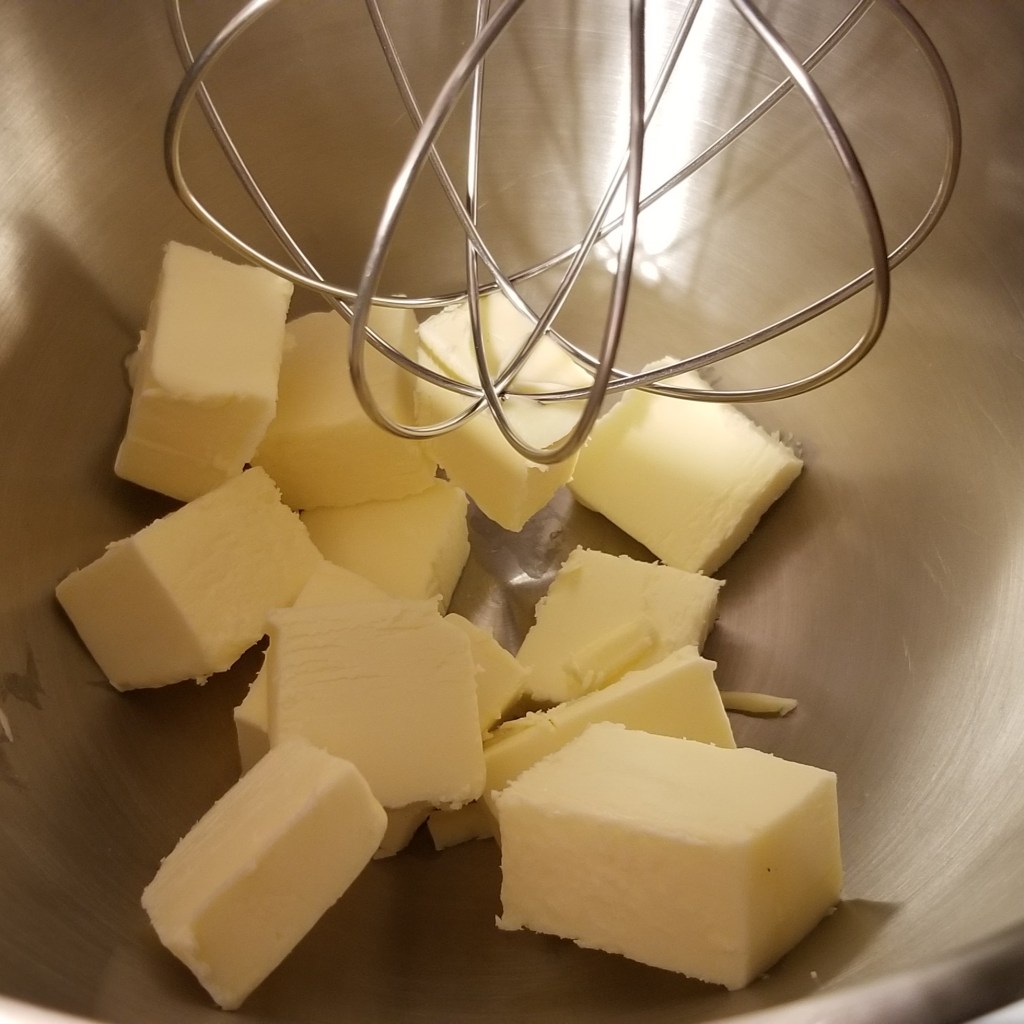
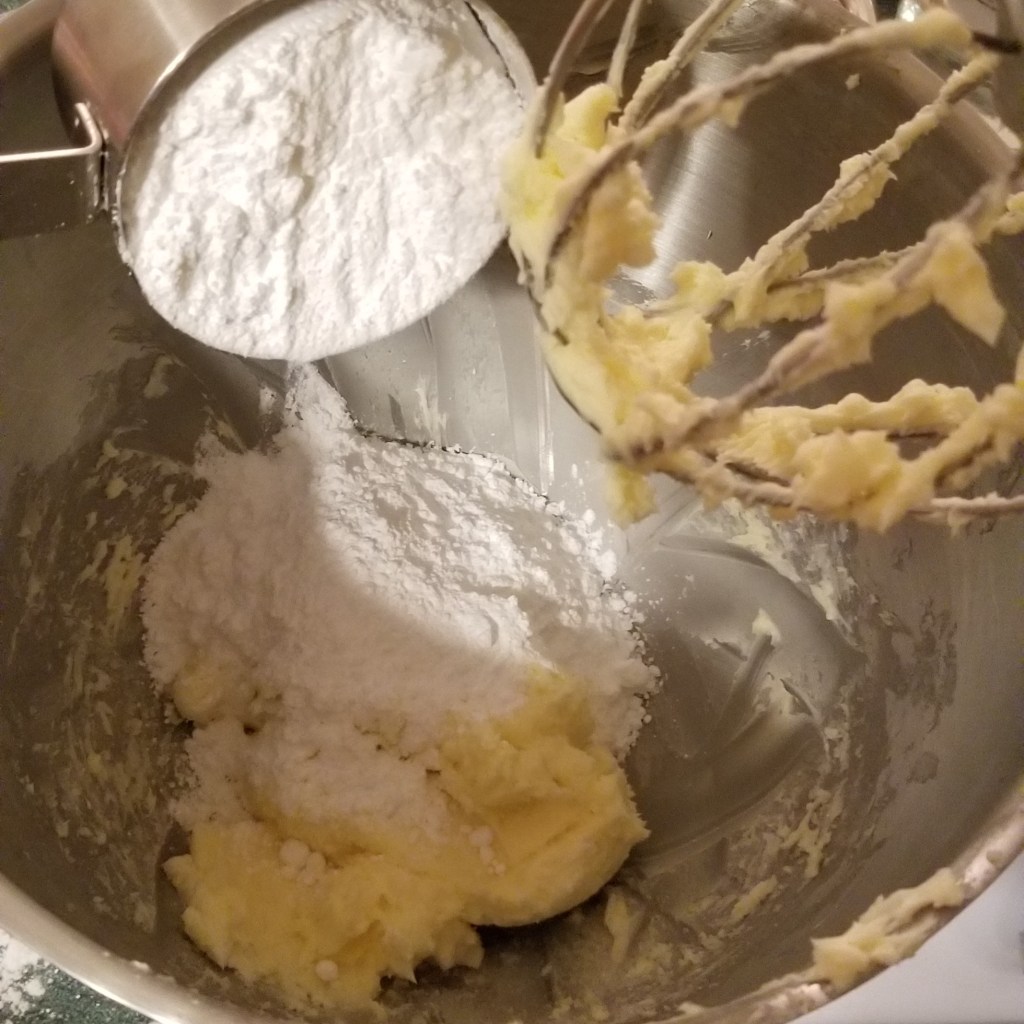
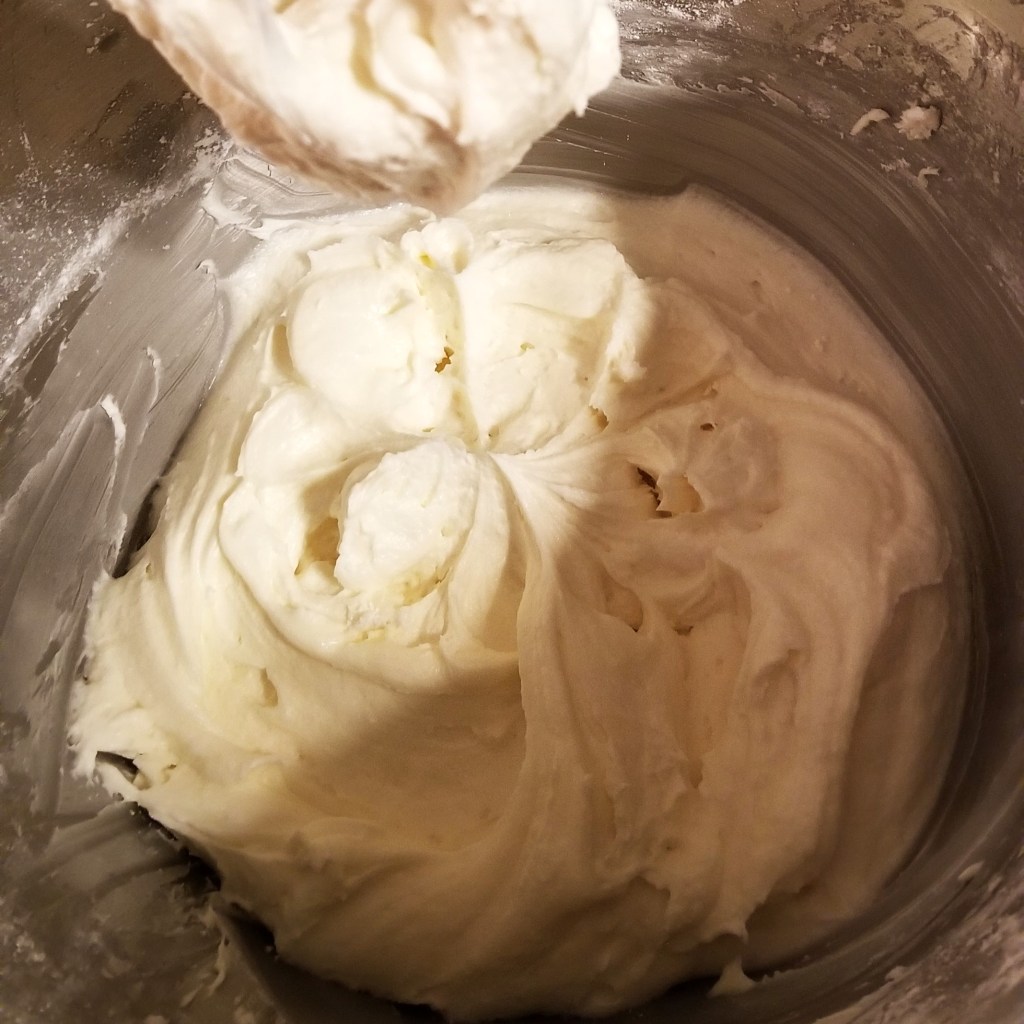
Place butter, cut up into chunks, in large mixing bowl (photo below, left). Beat butter with electric mixer at medium-high speed until very smooth. Gradually add 1 cup of the powdered sugar (photo below, right):
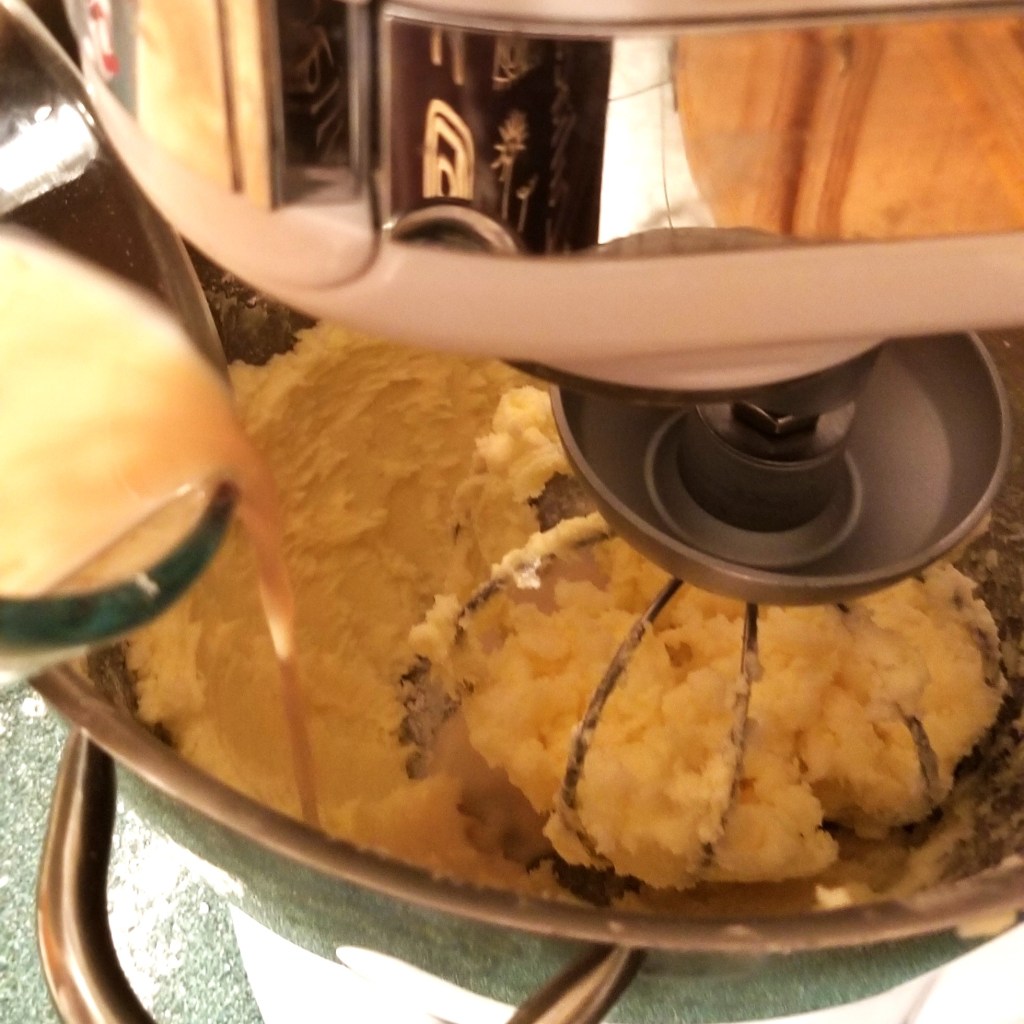
Gradually add milk and vanilla (photo below, left), alternating with another cup of sugar. Reduce speed to medium, and continue adding sugar until the desired consistency, smooth and creamy, is reached (photo below, right):
Assembling the cakes:
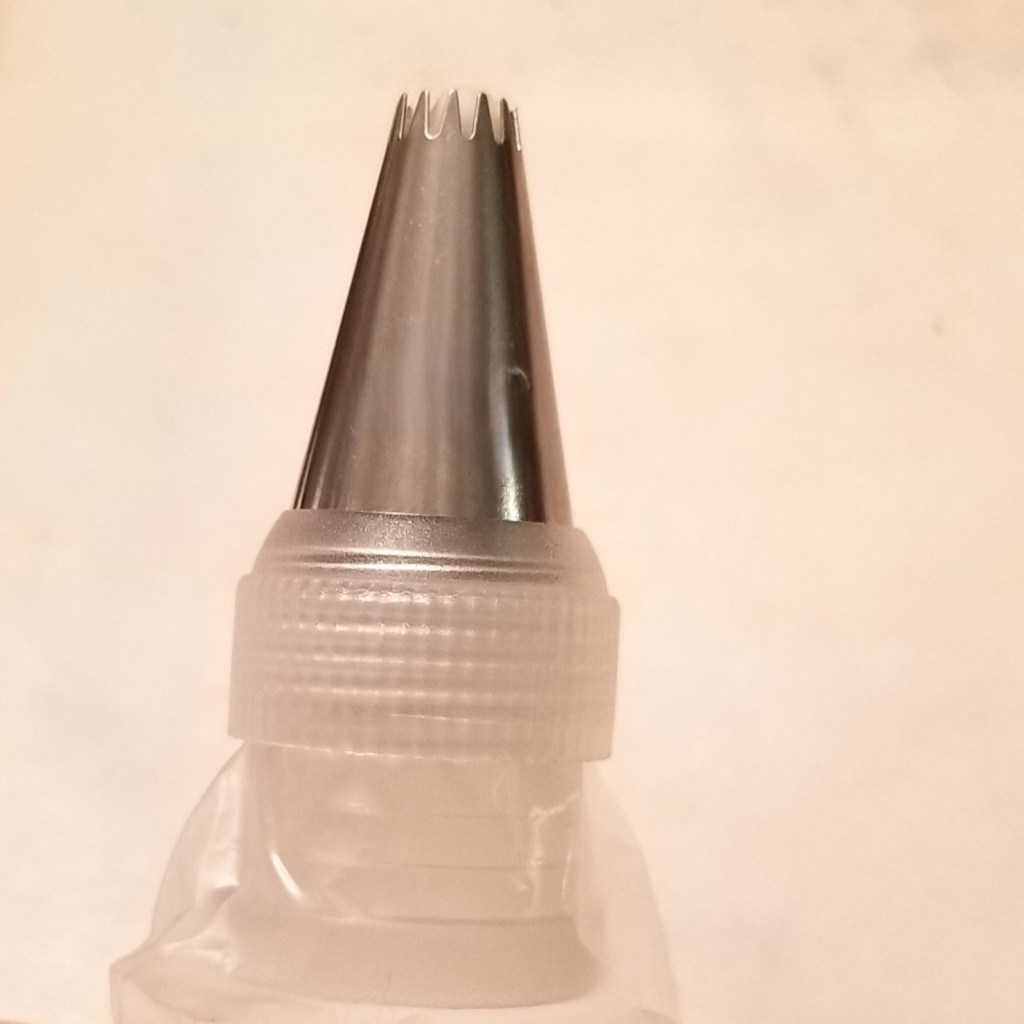
Separate about one cup of icing into a small bowl, then add red food colouring and mix, adding one drop at a time, until desired shade of pink is achieved; I used only two drops; place in a piping bag with tip holder (photo below, left), to attach piping tips as needed (photo below, right):
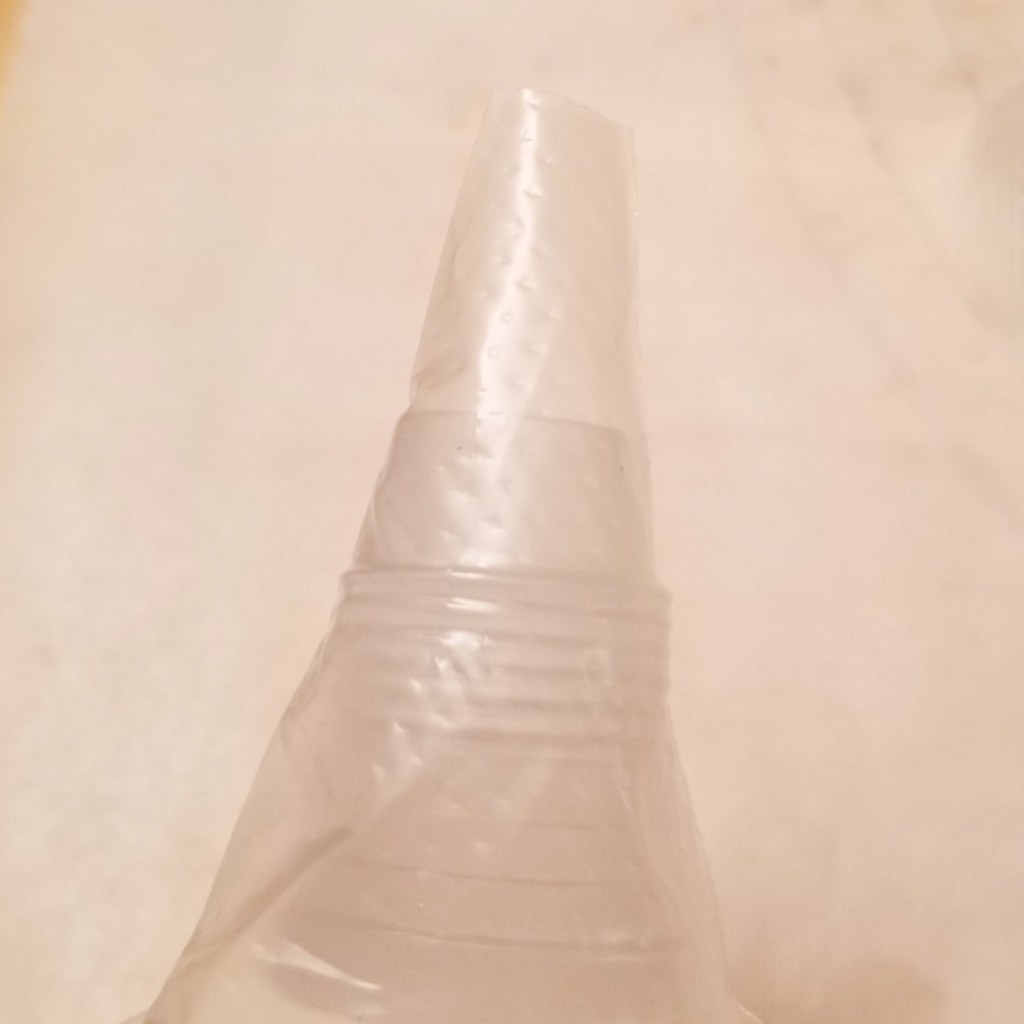
Place about one cup of natural colour icing in another piping bag with tip holder. Reserve all icing, covered to avoid drying.
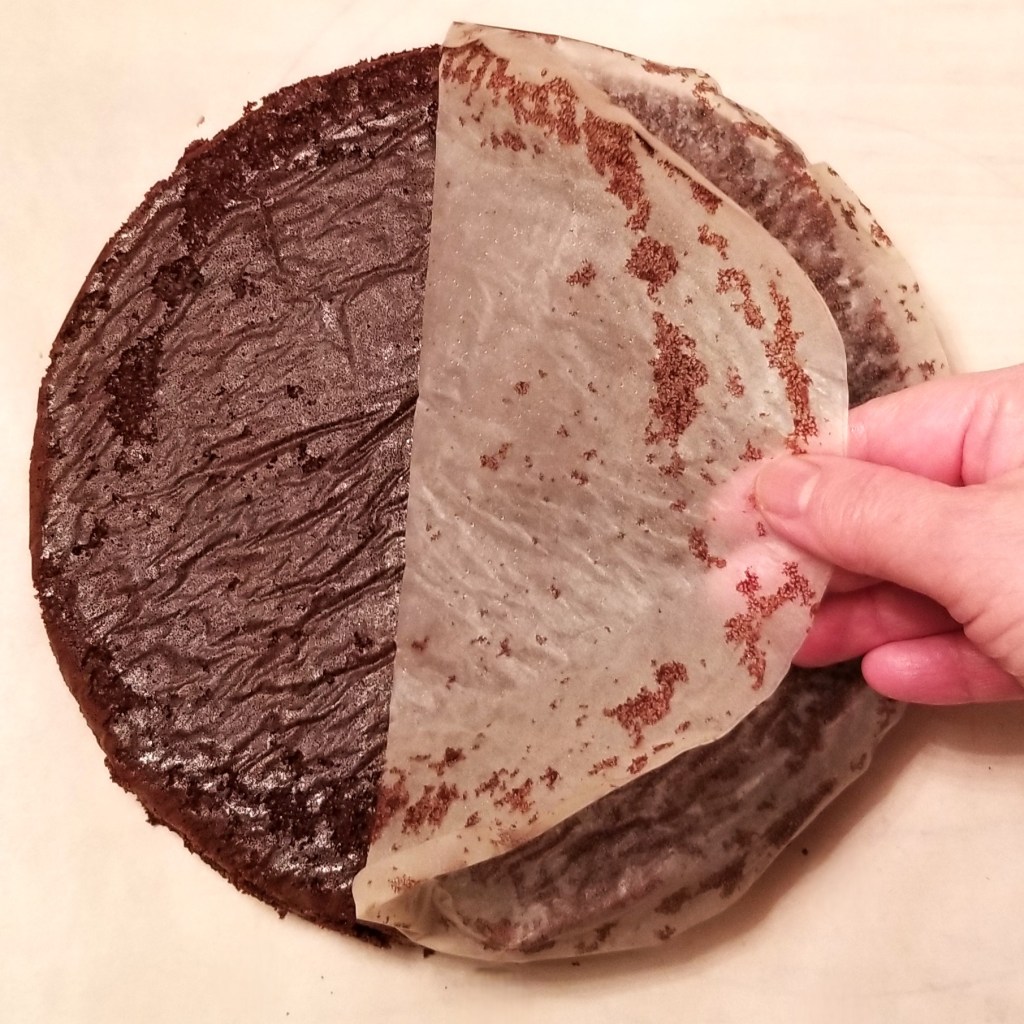
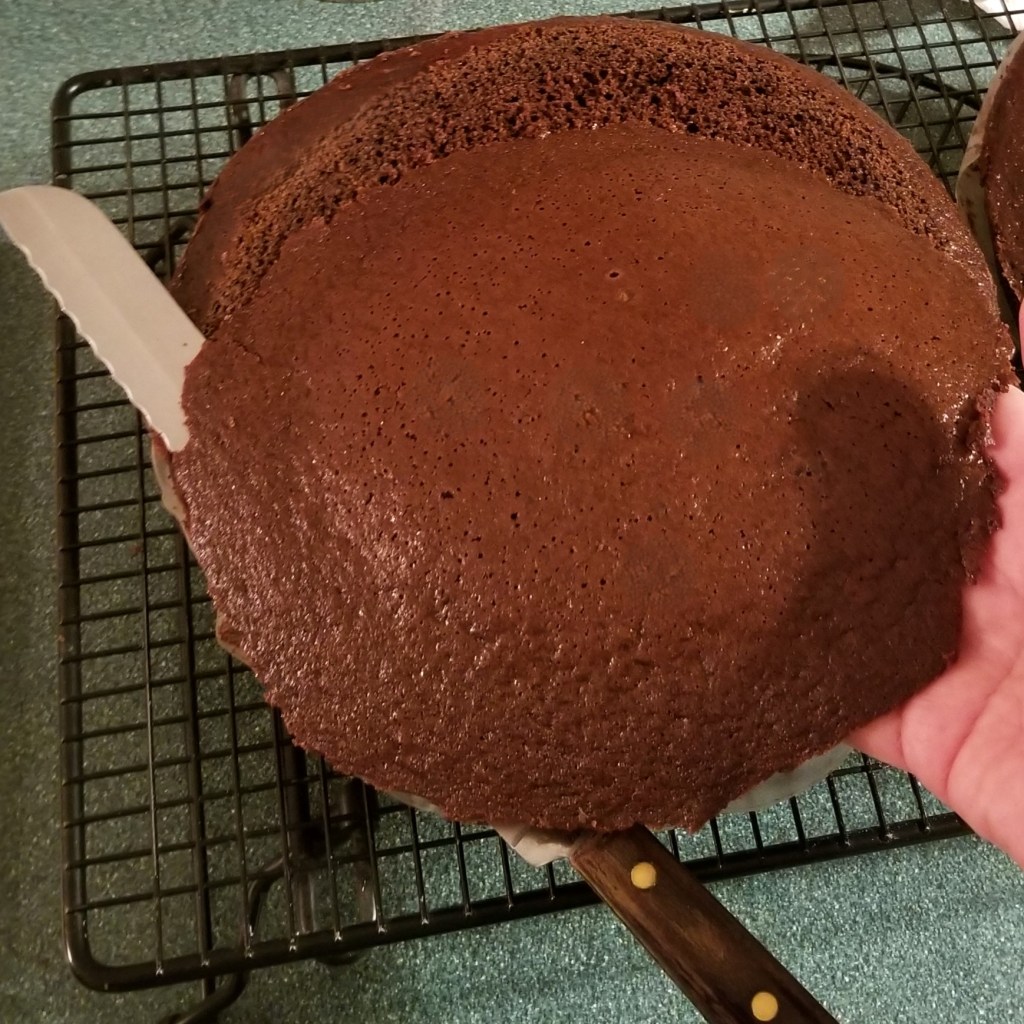
Flip cakes and peel the parchment paper from the bottom (photo below, left). Turn back up and slice tops to level, using a long serrated knife (photo below, right):
Reserve trimmings.
At this point, the round cakes may be filled with apricot jam and covered and decorated with buttercream icing.
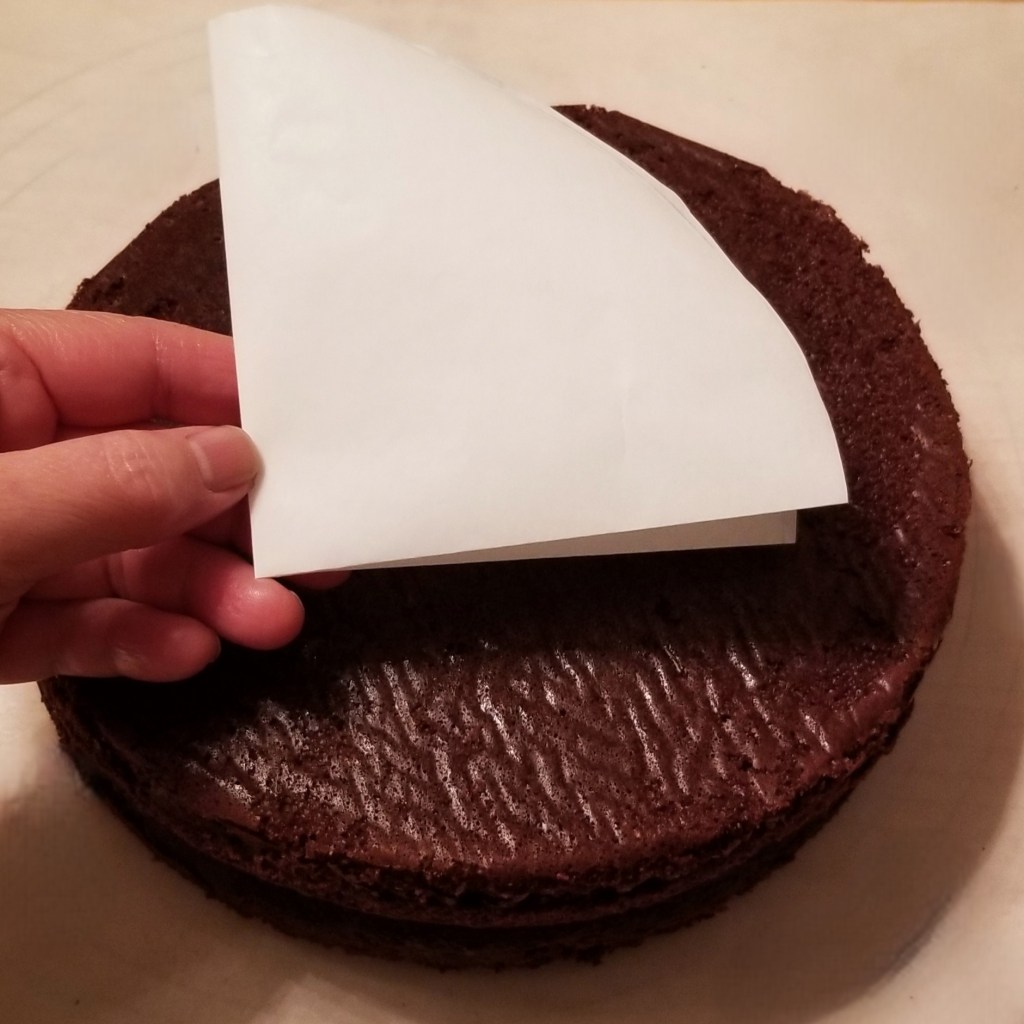
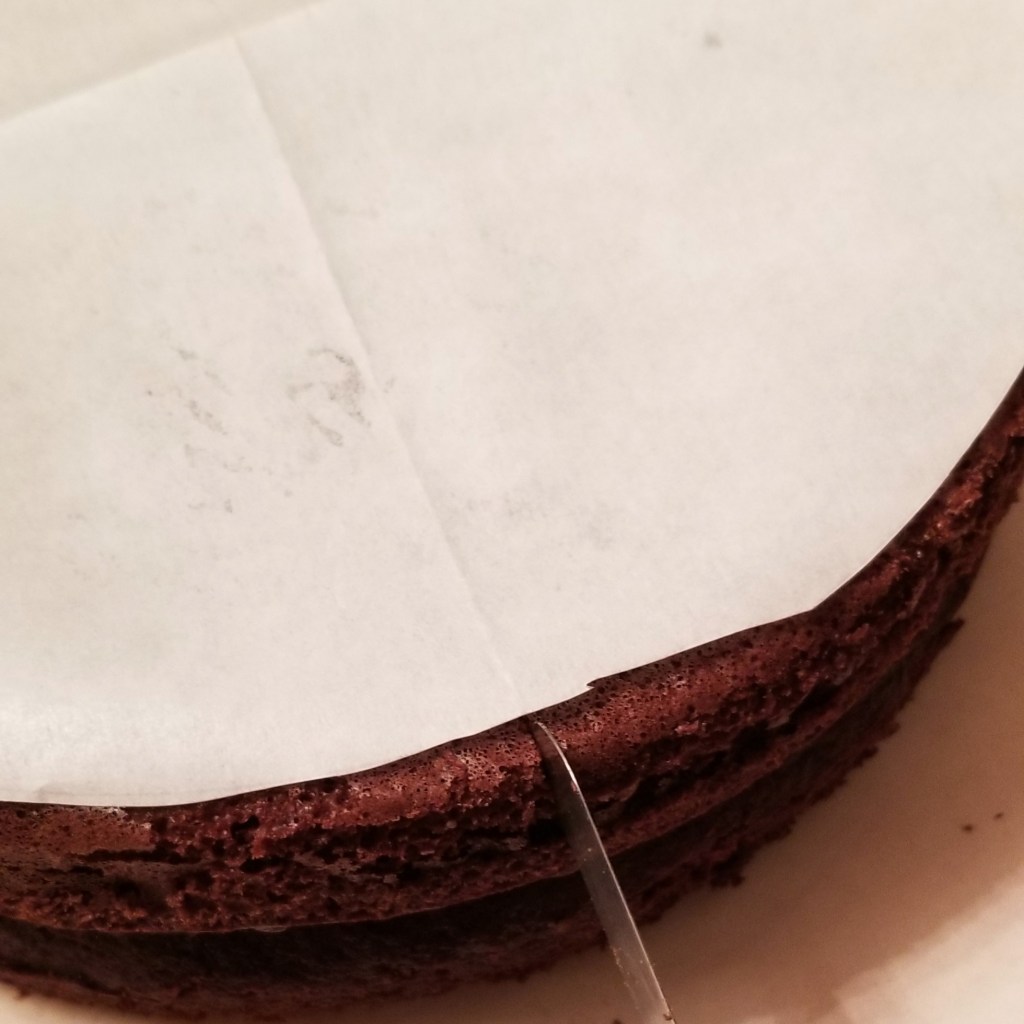
For a heart-shaped cake, stack the two round cakes on top of each other (the top cake may go upside down, for a perfectly flat top). Fold an 8-in parchment paper in half two times, to mark quadrants (photo below, left). Unfold and place on top of the cakes; make small marks on the top cake with the tip of a knife, at each quadrant (photo below, right):
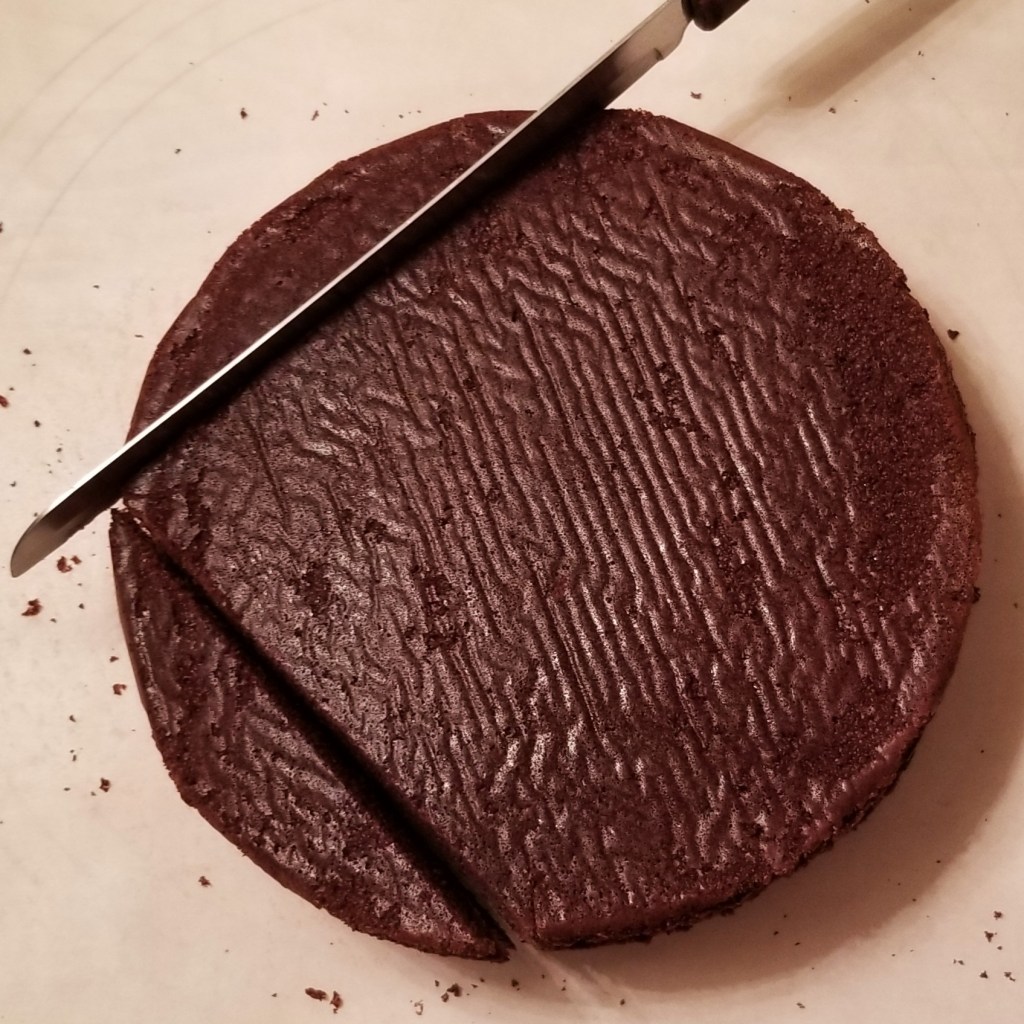
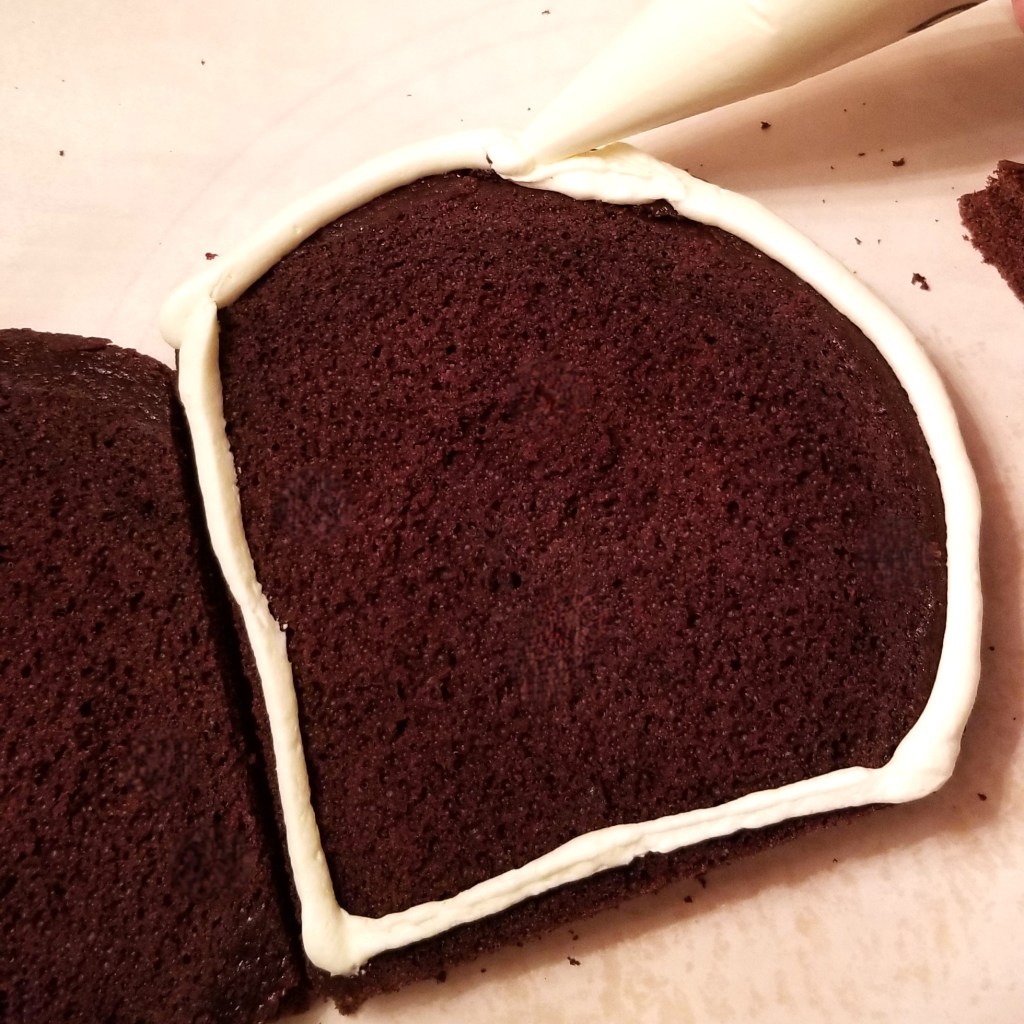
Remove paper, and using one mark as reference, slice off two sections of the cakes, starting at that mark, all the way to the next on either side (photo below, left). Reserve small sections. Fit piping bag with natural colour icing with a wide round tip. Remove top cake, and pipe buttercream icing around the edge of the bottom layer (photo below, right):
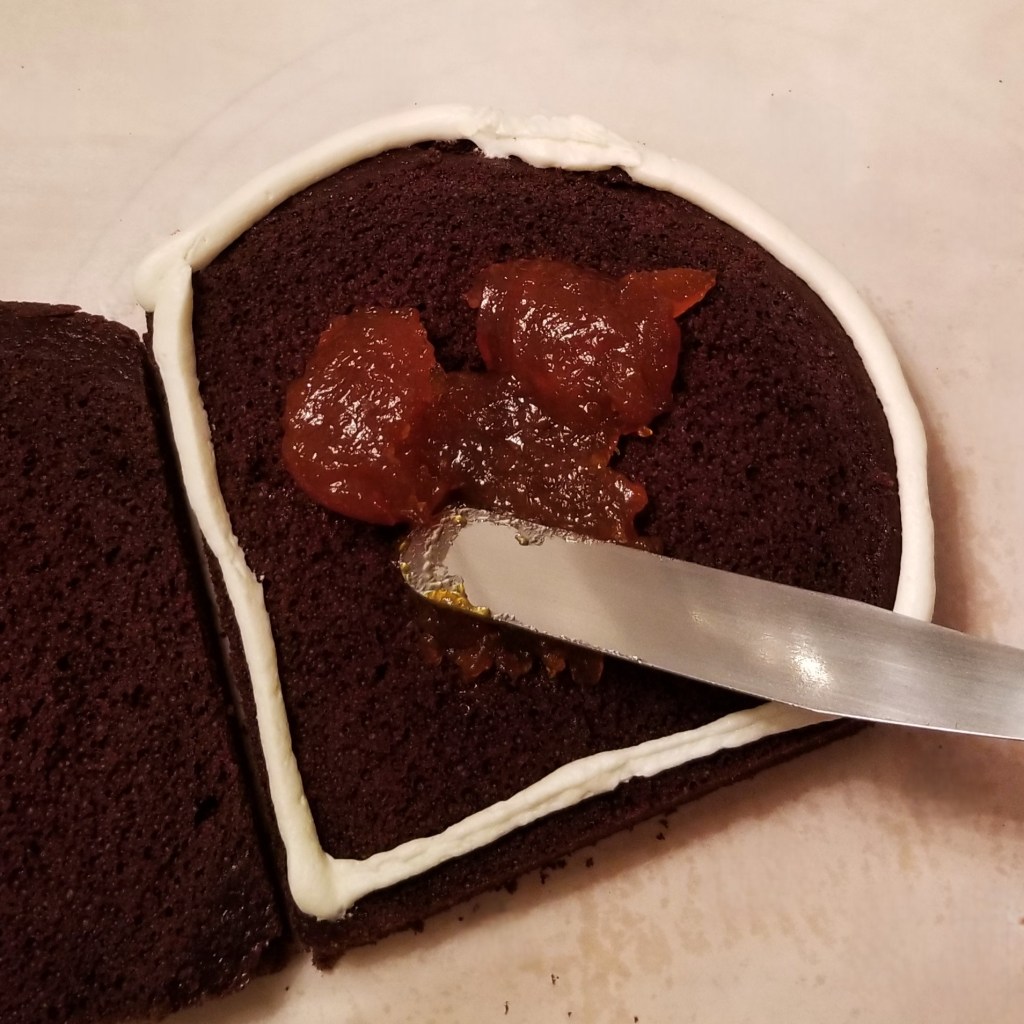
Fill inside the icing with one and a half cups of apricot jam (photo below, left). Repeat with each of the small sections, dividing the rest of the apricot jam between them (photo below, right):
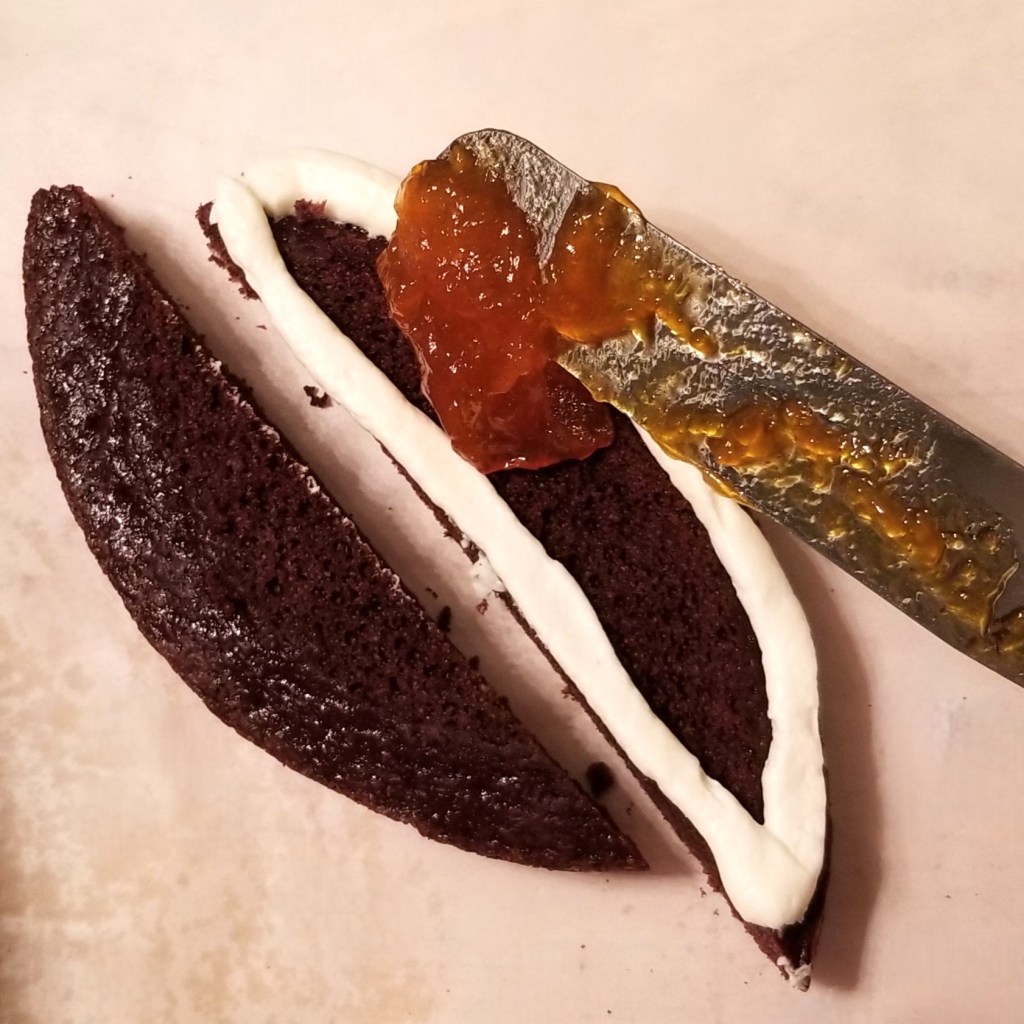
Place corresponding top layers of cake on top of each filled cake. Take one of the small sections at a time, at press against the round edge of the large cake (photo below, left); use some extra icing to keep it in place, as needed, then repeat on the other side with the second small section, to complete the shape of a heart (photo below, right):
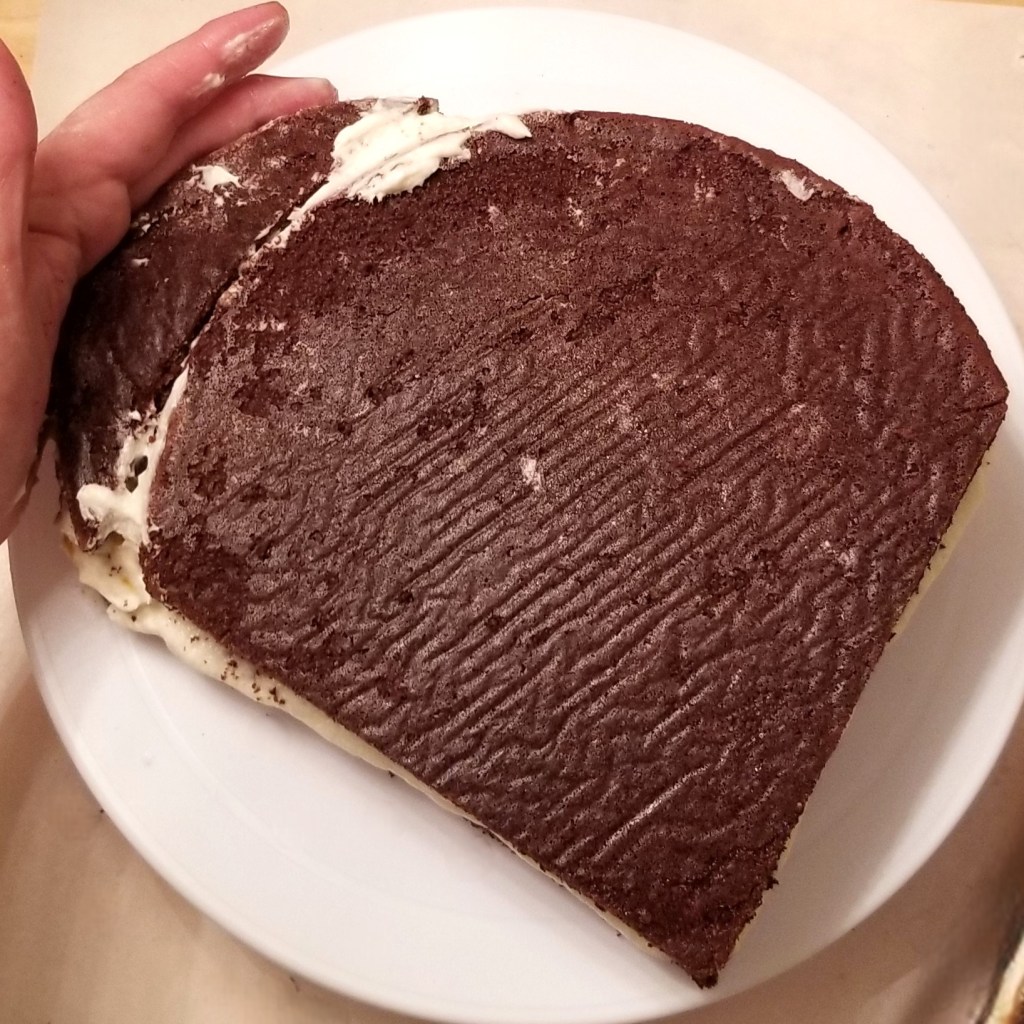
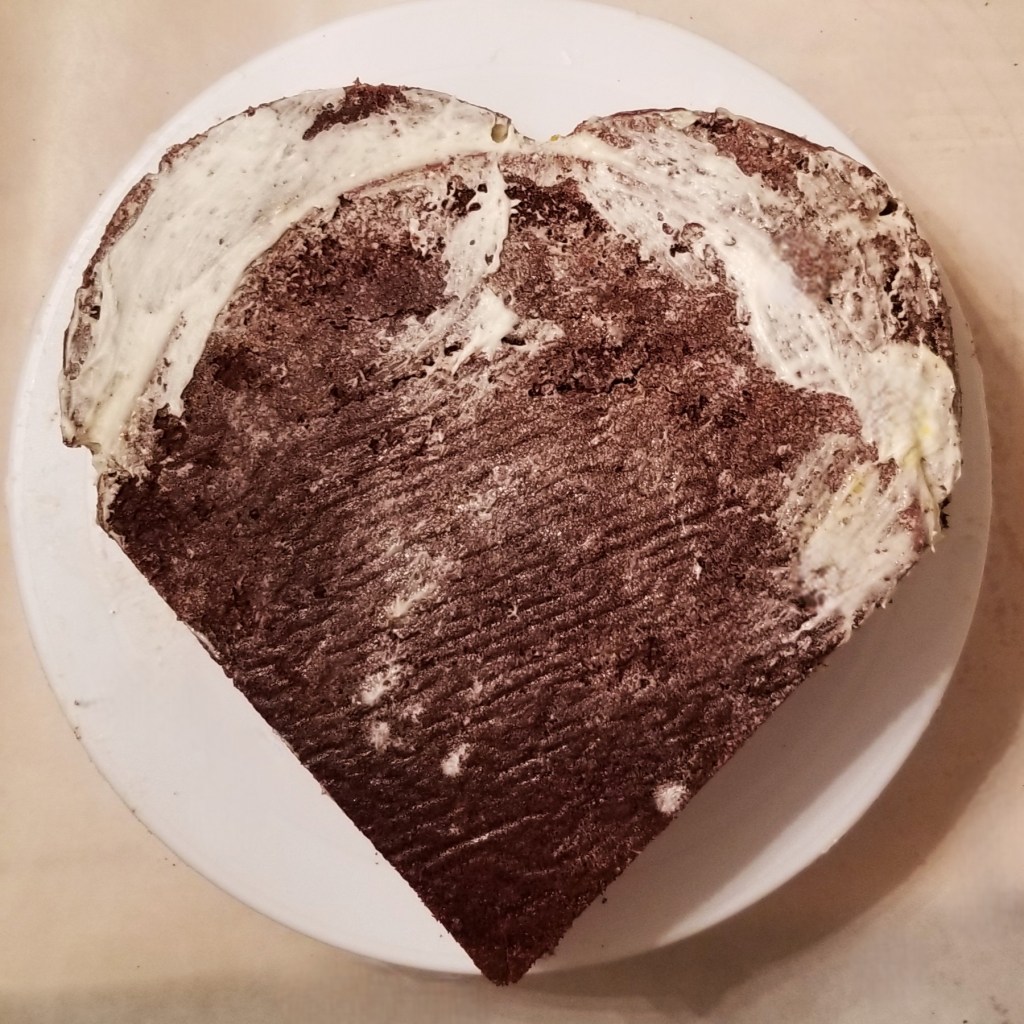
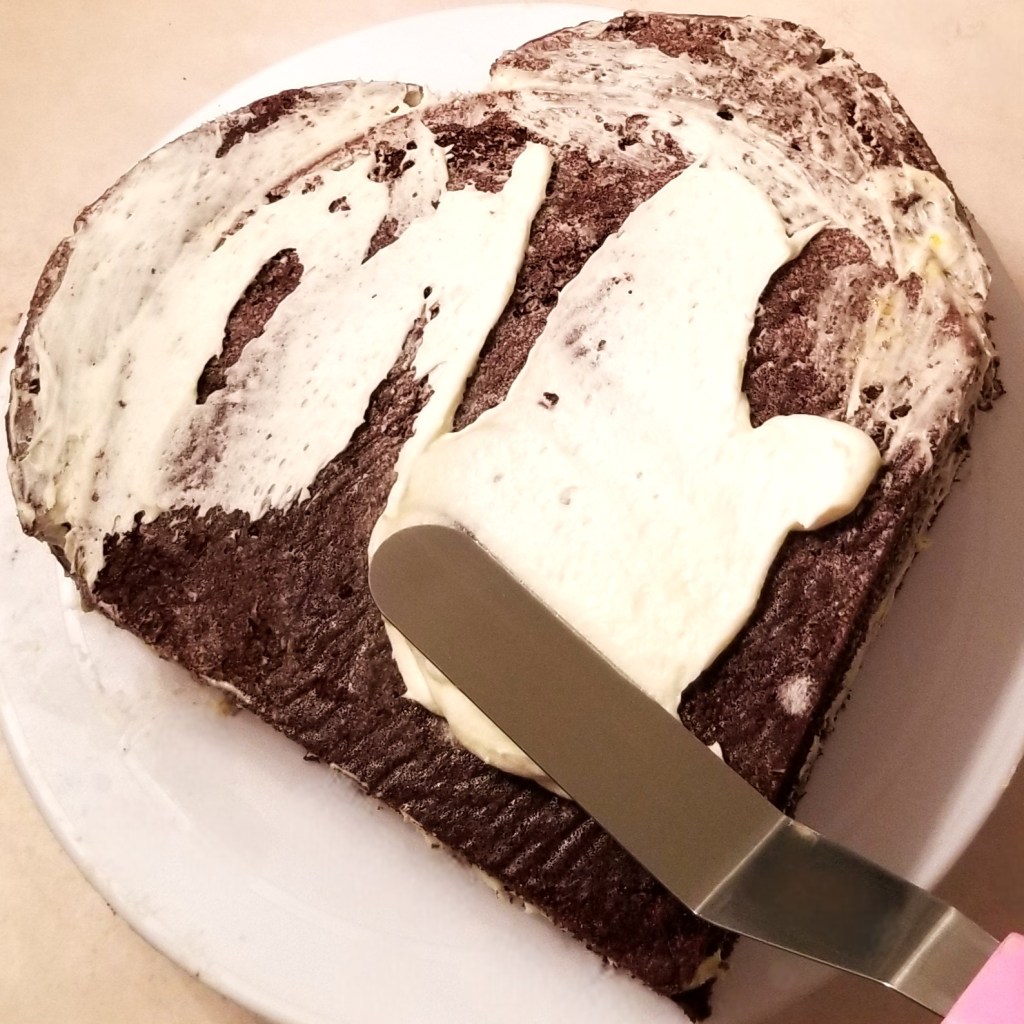
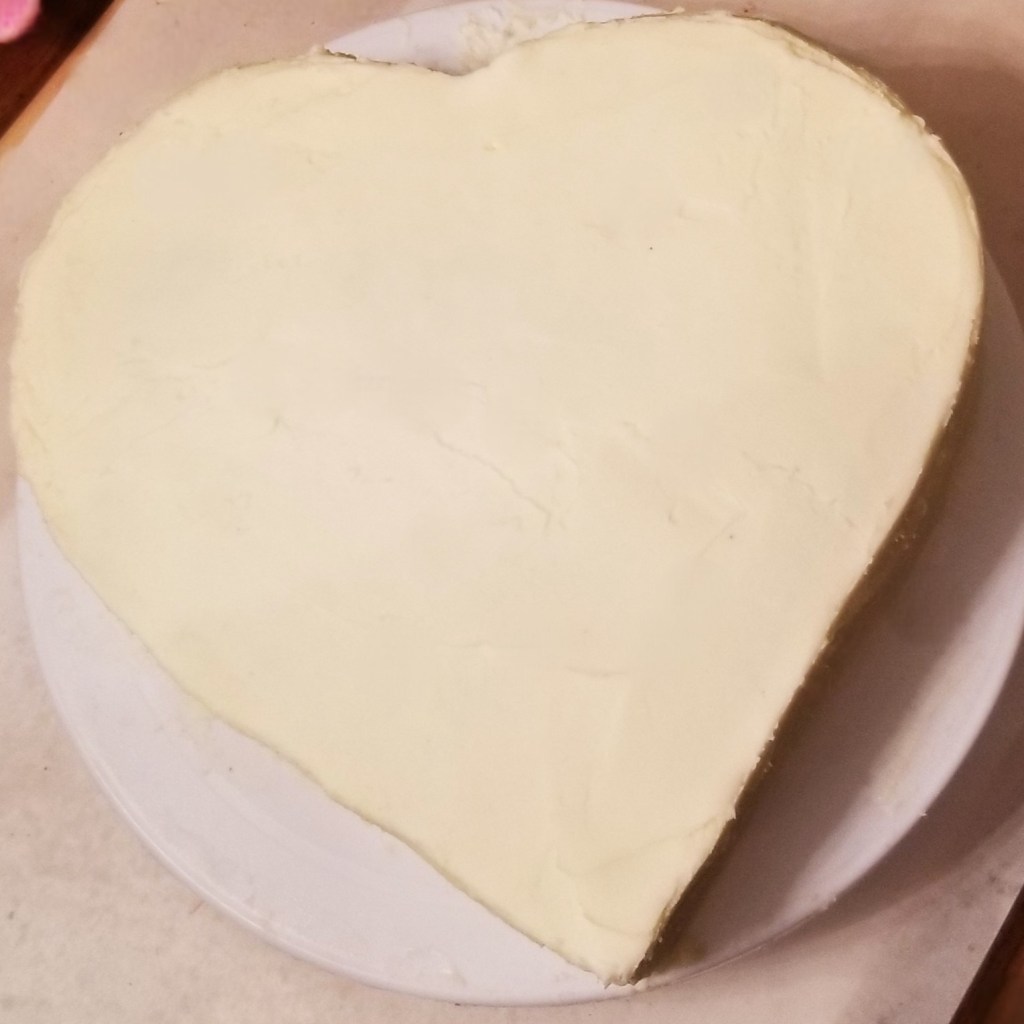
Spread top and sides of heart with some of the remaining natural colour icing (photo below, left). Place in the fridge for at least ten minutes. Remove from fridge; the heart-shaped cake has been “crumb coated”, and it is ready for the final decorating (photo below, right):
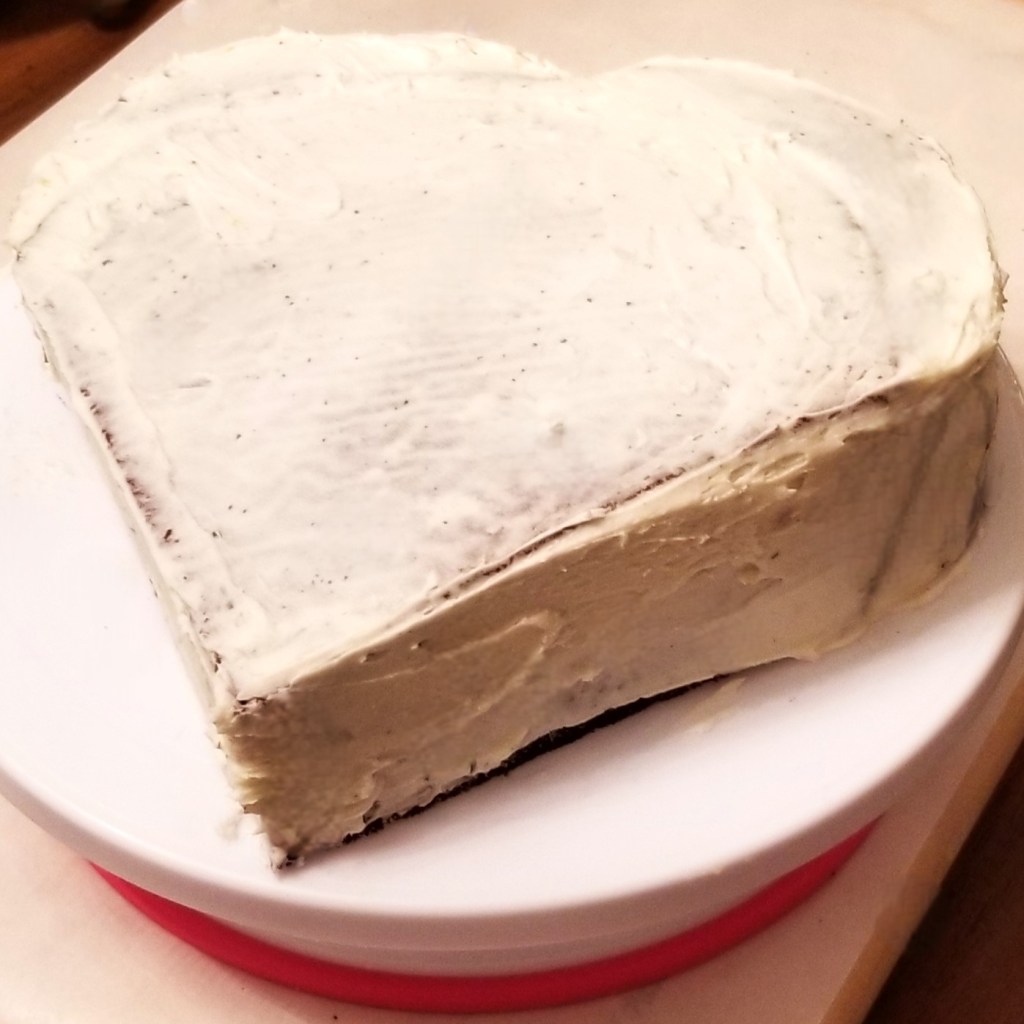
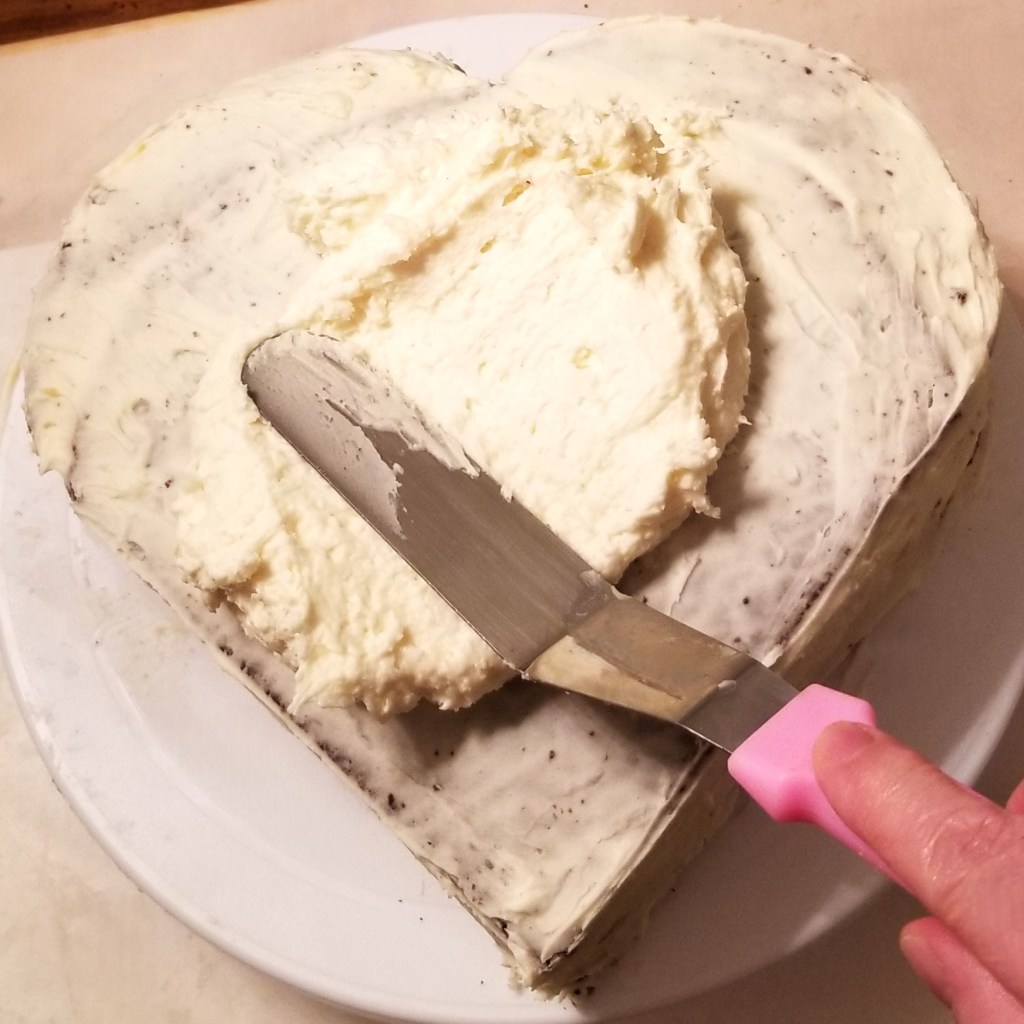
Scoop a generous amount of natural colour icing on the top of the cake and spread (photo below, left). Smooth top and cover sides of the cake, as well (photo below, right):
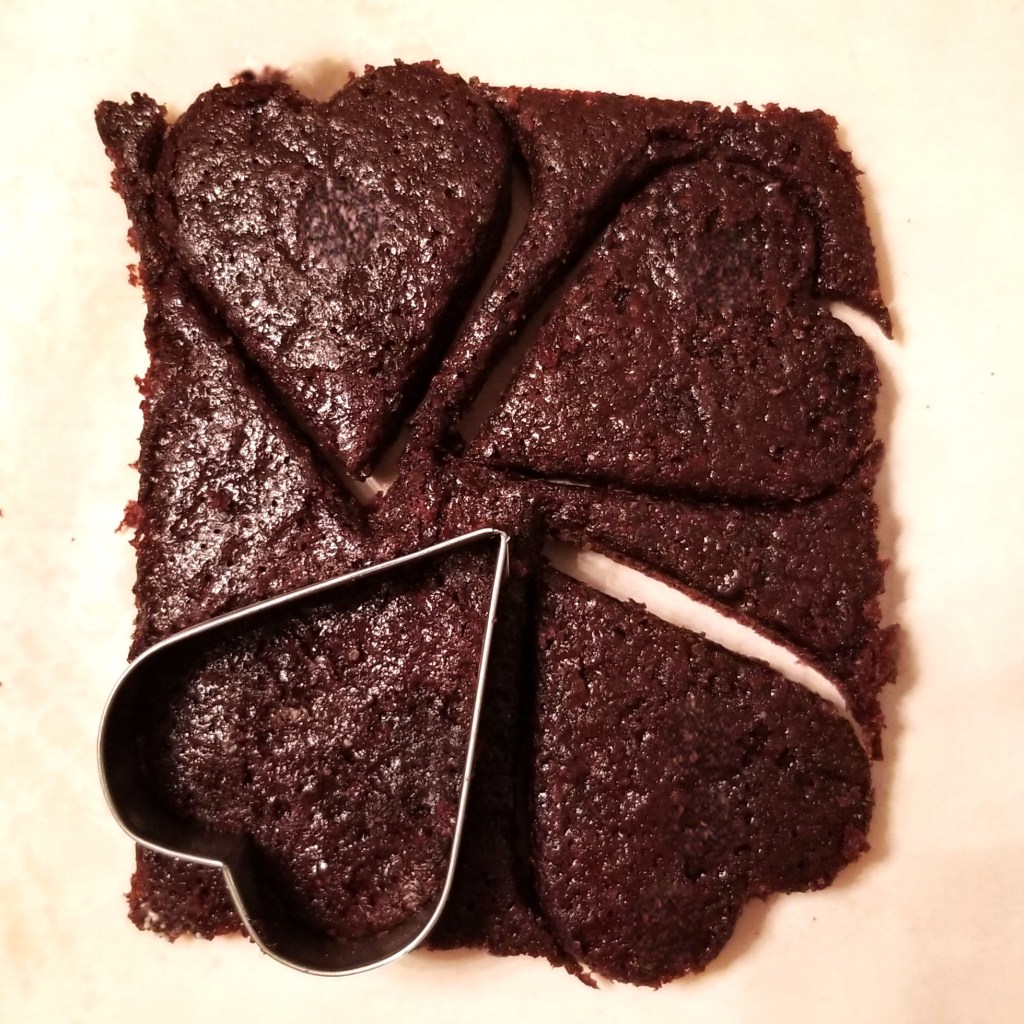
Use cookie cutters (for example, heart) to cut out small shapes from the reserved cake that was sliced-off the tops:
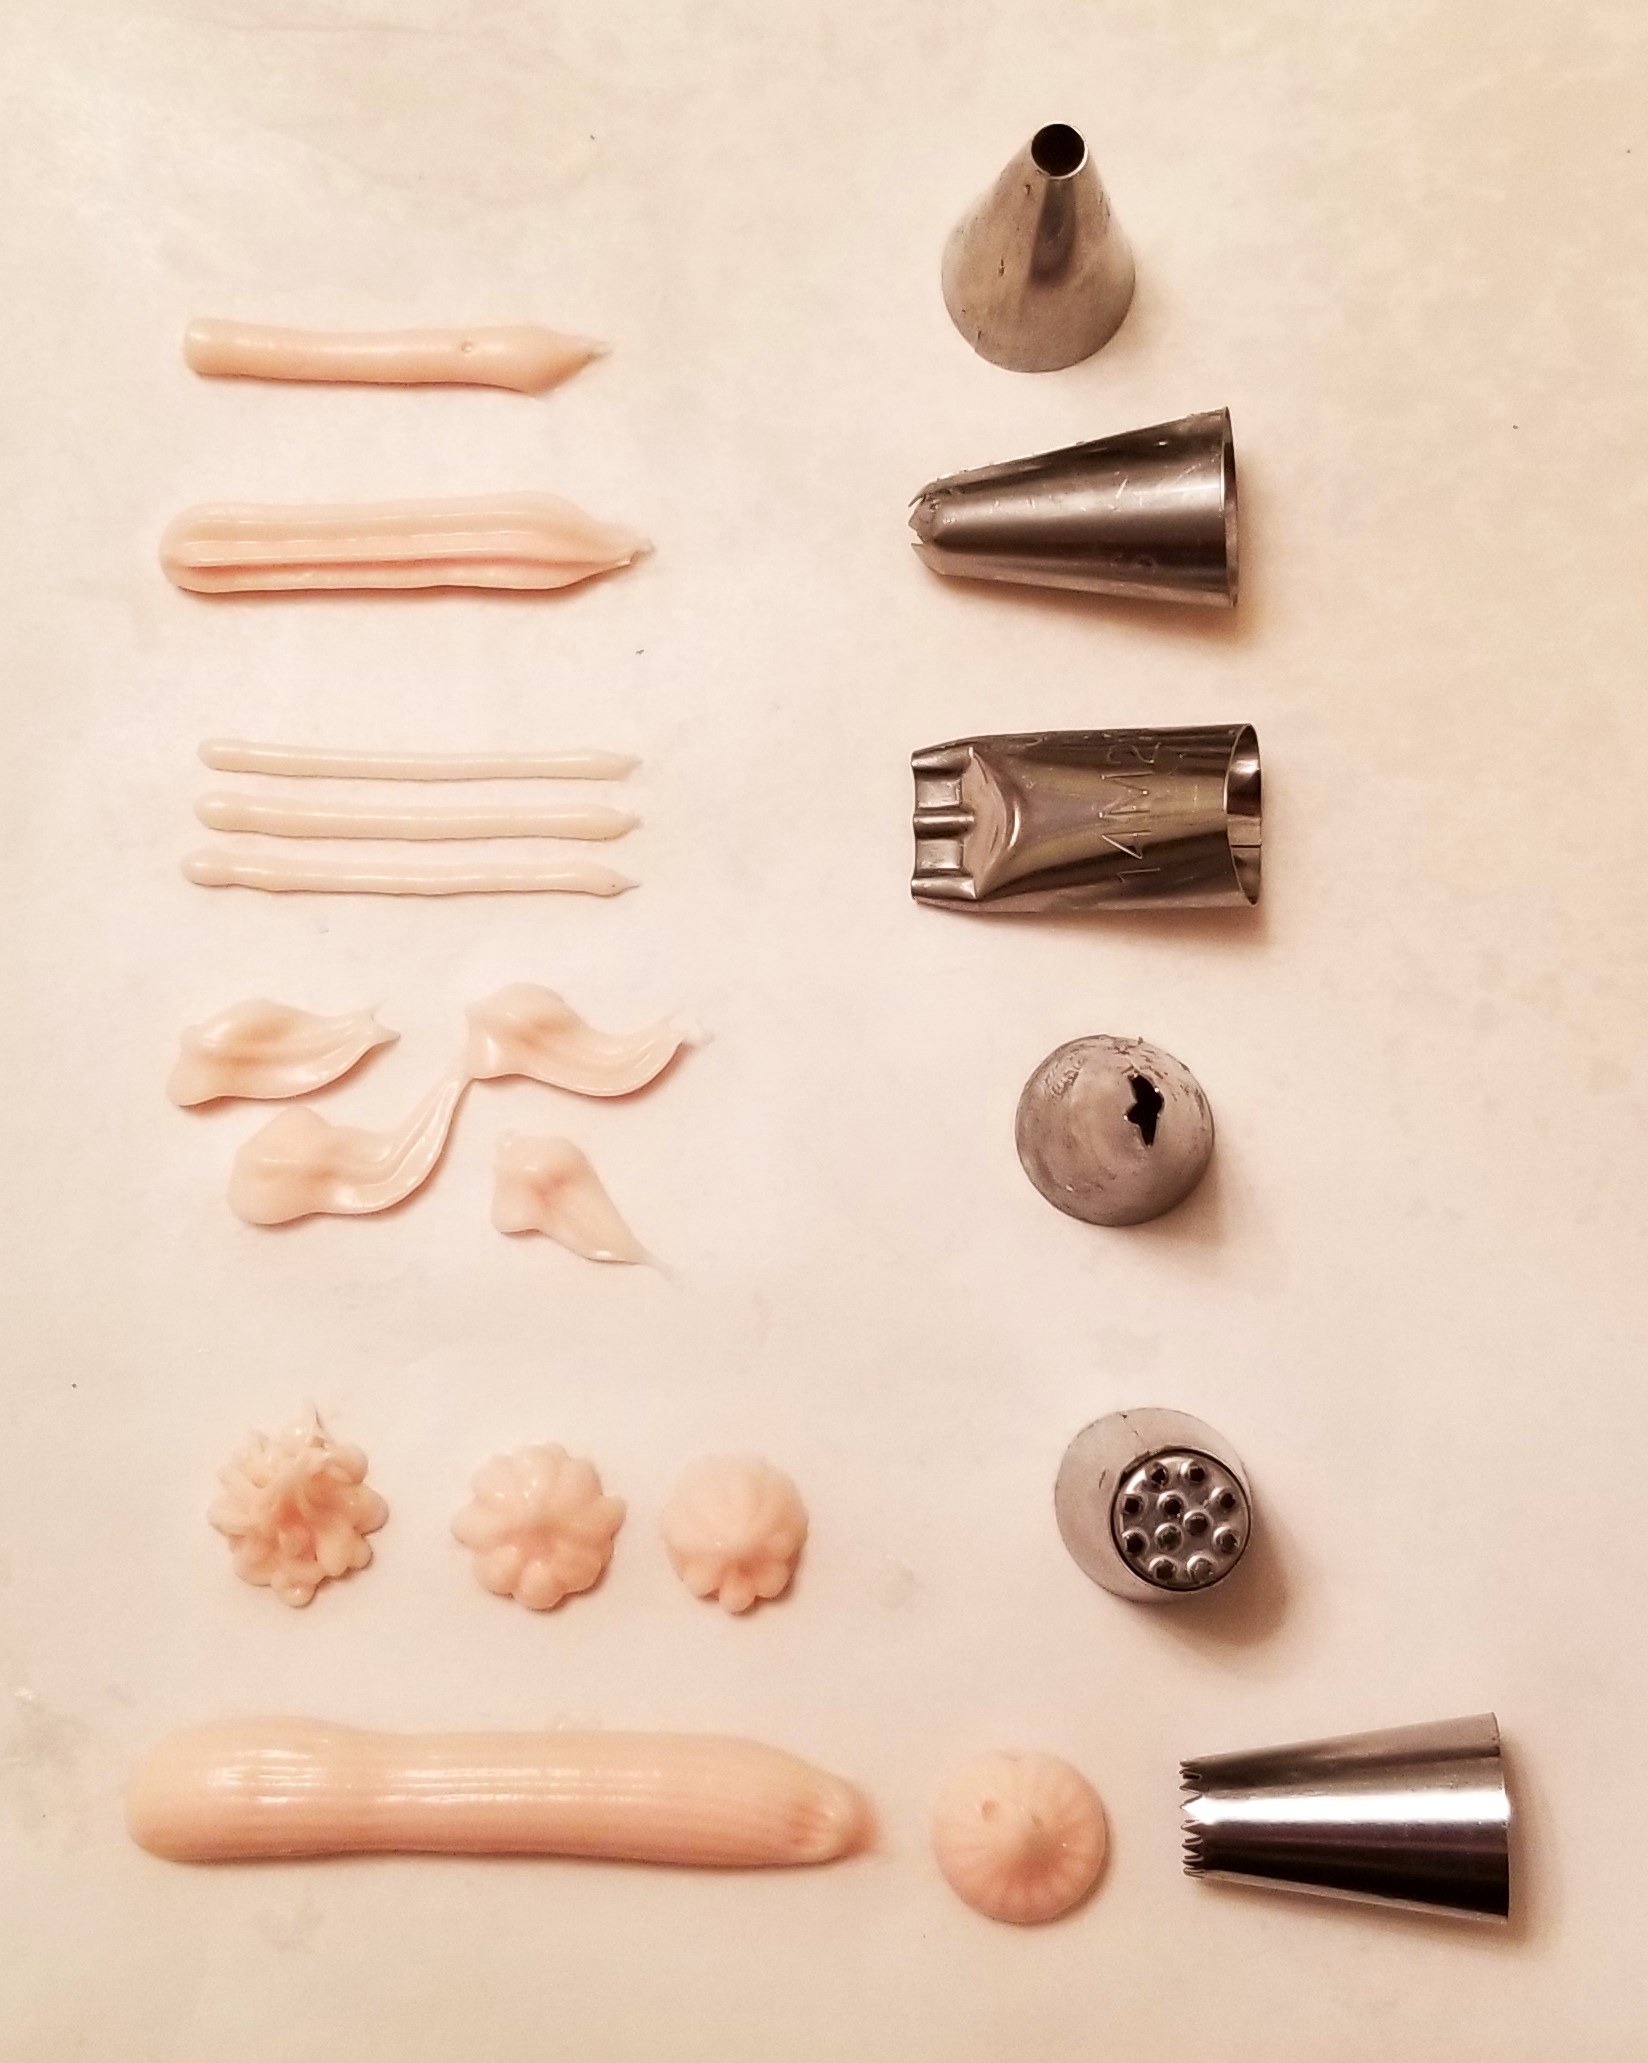
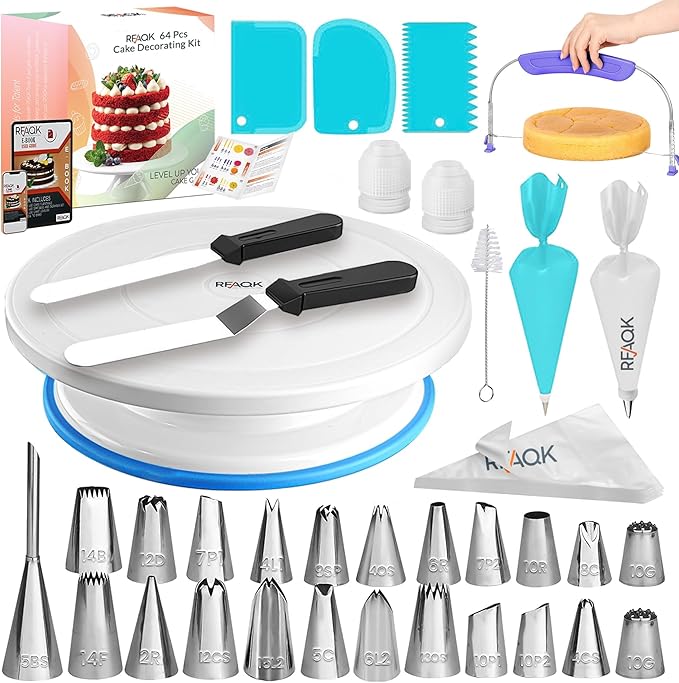
I got a cake decorating kit for Christmas, and it was a lot of fun to try for these cakes, using the turning plate, and the piping bags with different tips:
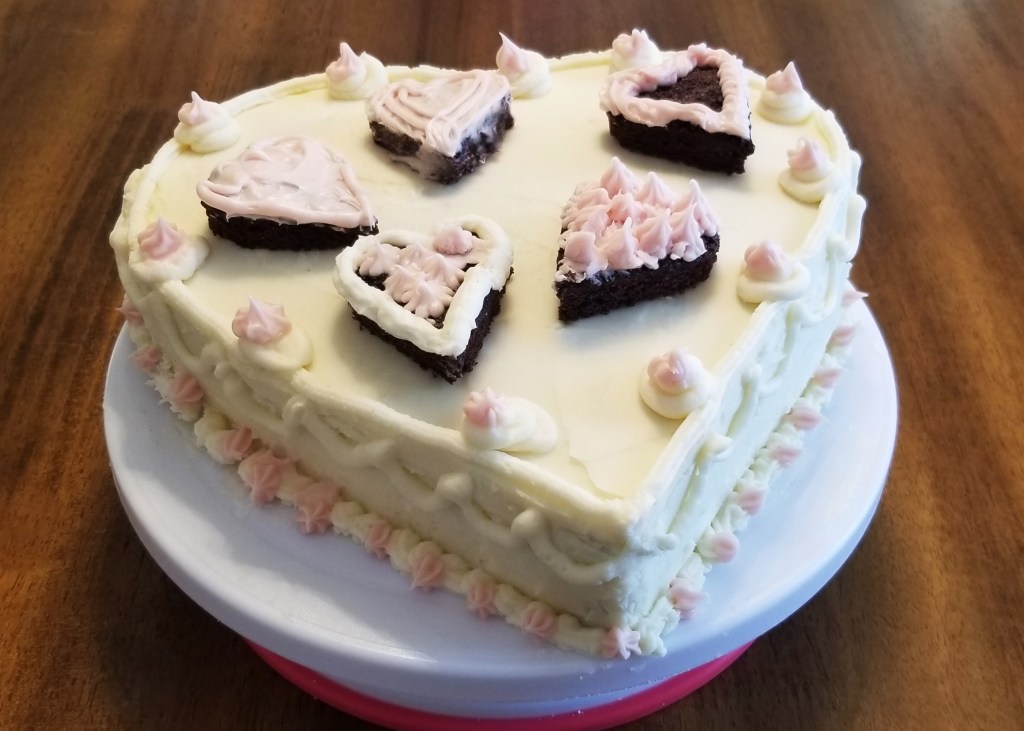
Decorate the cake and cut-out shapes, to finish the cake in white and pink:
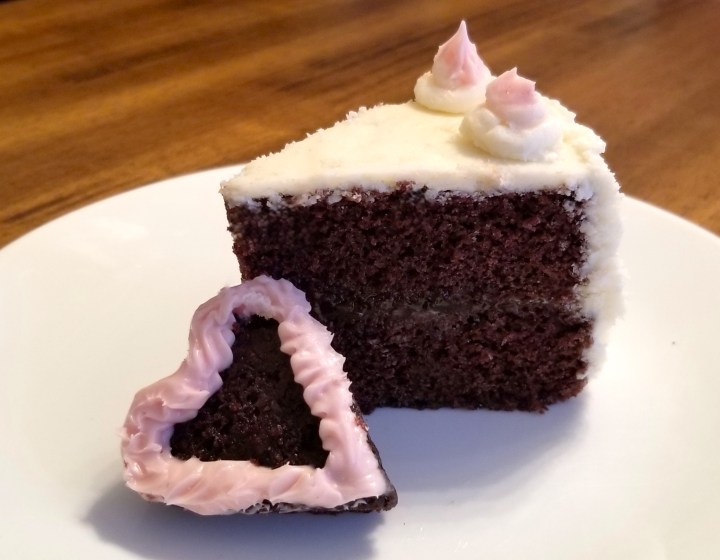
For the small heart-shaped cake, I left the top intact, just sliced horizontally in half, filled with apricot jam and crumb-coated as before, and then it was decorated all in pink:
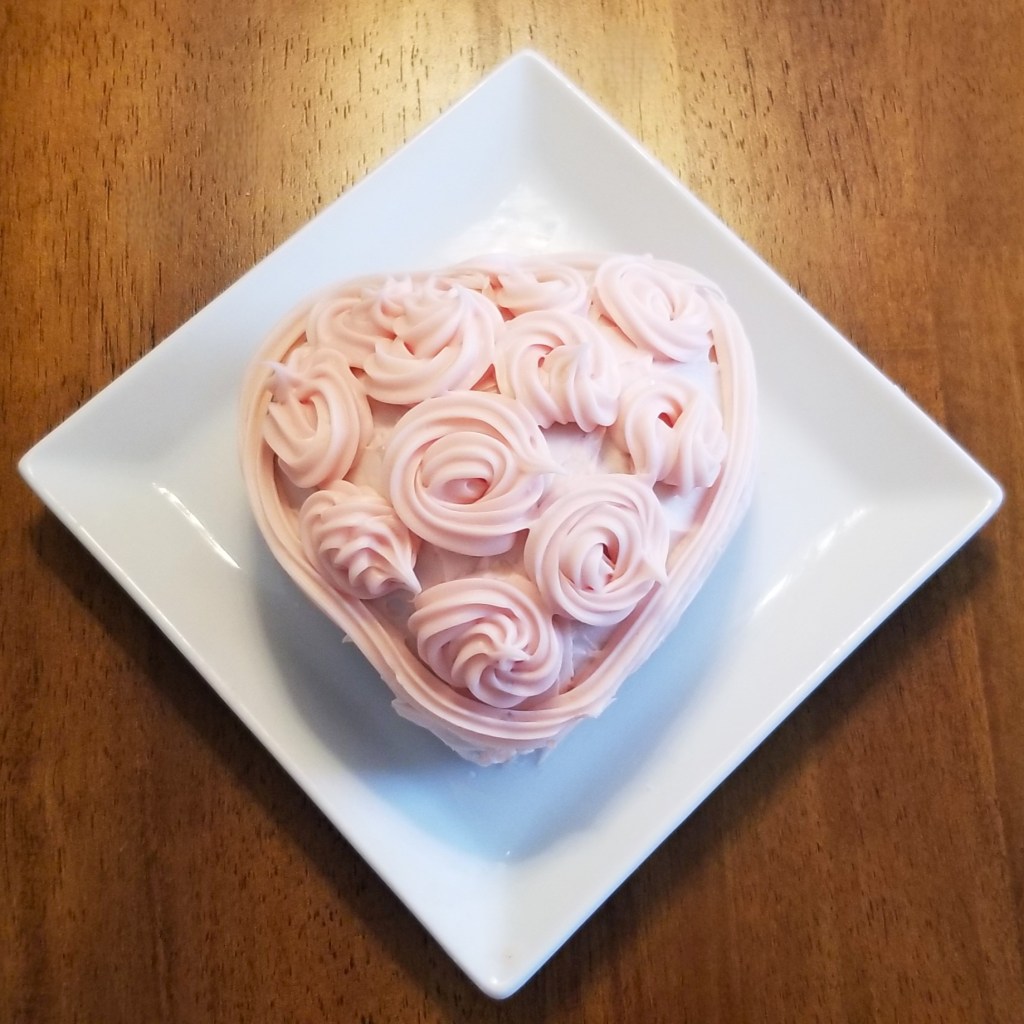
The combination of chocolate cake, apricot filling, and buttercream icing was lavish and very tasty.
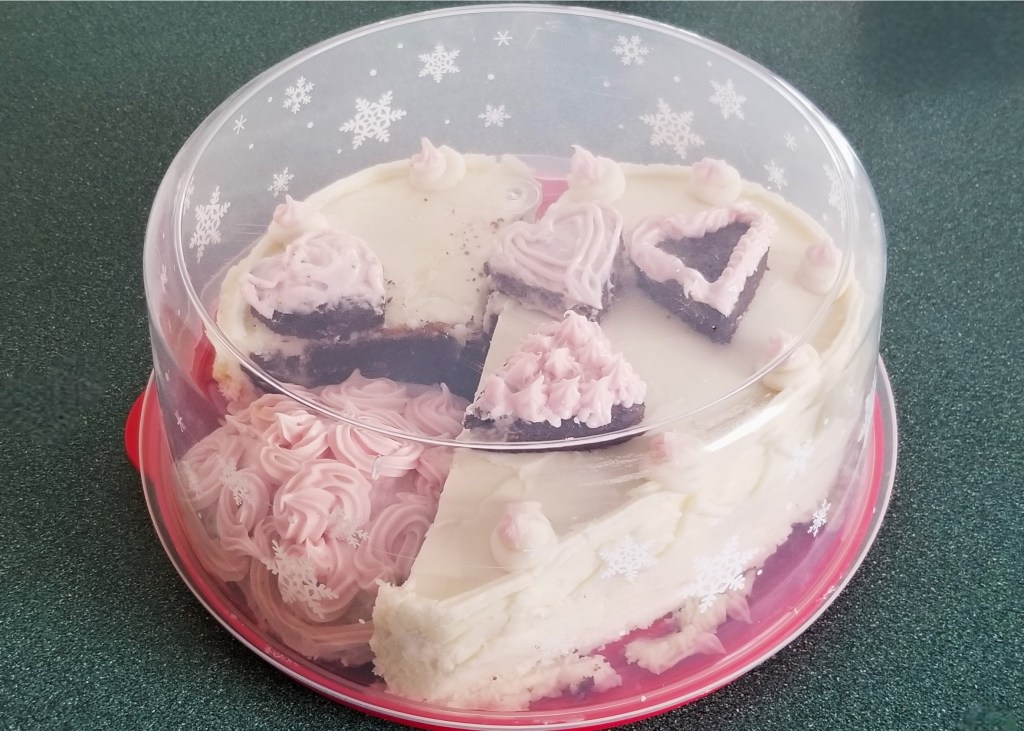
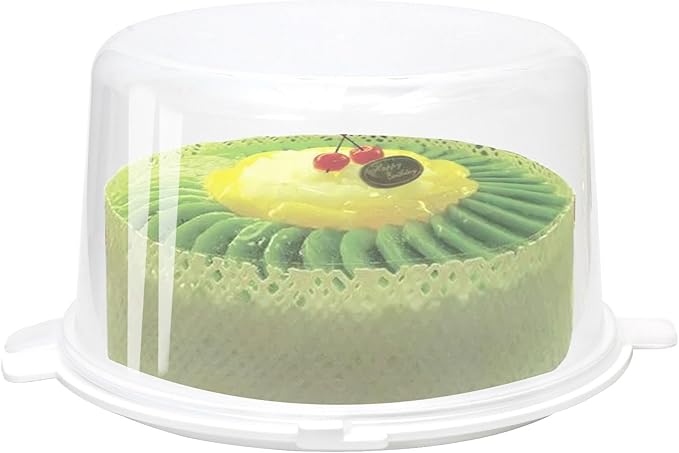
Any leftovers fitted neatly in my plastic cake tray with dome, so they kept fresh and moist in the fridge for a few days:
For your convenience, click on the highlighted text below for products available on Amazon™. DISCLAIMER: Any reviews included in this post are my own, for items I have purchased, not provided by any company; as an Amazon Associates Program affiliate, I might receive a commission for any purchases originated from the links below, at no extra cost to you. Thank you to readers who have bought other products starting with a click from my links!
I am bringing my recipe to Full Plate Thursday #735 with Miz Helen @ Miz Helen’s Country Cottage.
I am sharing my post at Thursday Favourite Things #699, with Bev @ Eclectic Red Barn, Pam @ An Artful Mom, Katherine @ Katherine’s Corner, Amber @ Follow the Yellow Brick Home, and Linda @ Crafts a la Mode.
I am joining Fiesta Friday #578 with Angie @ Fiesta Friday.


