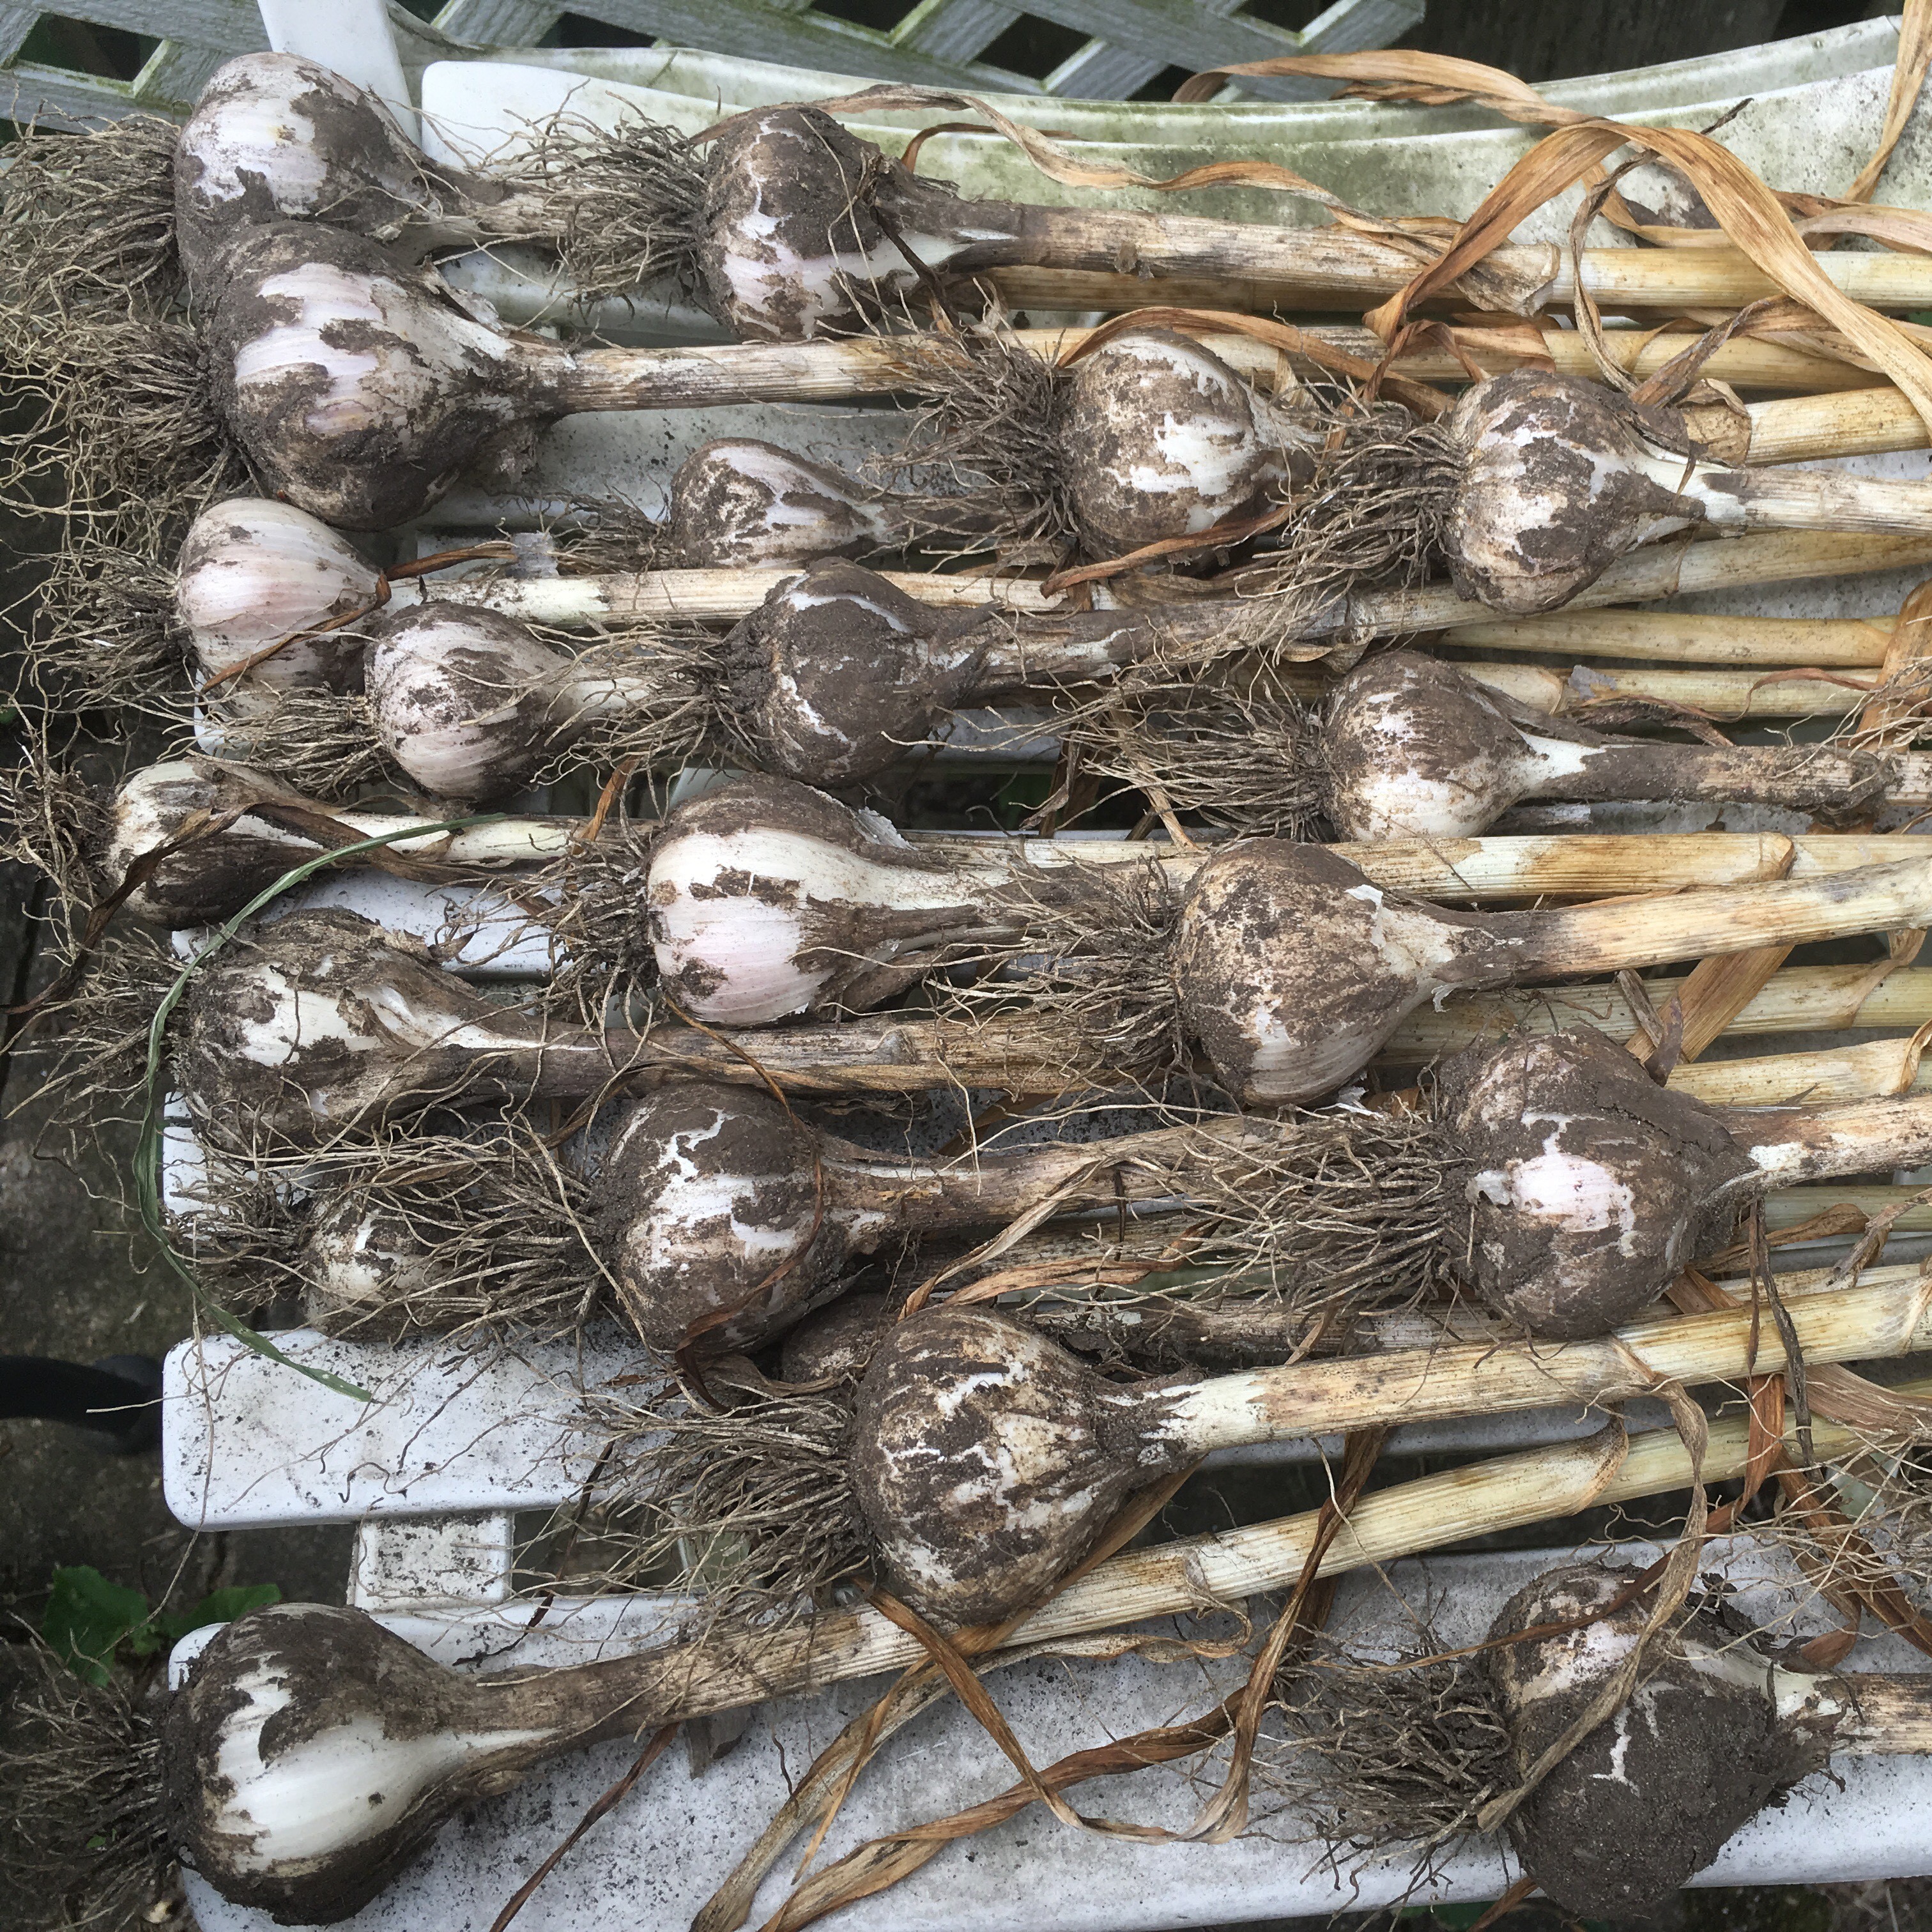
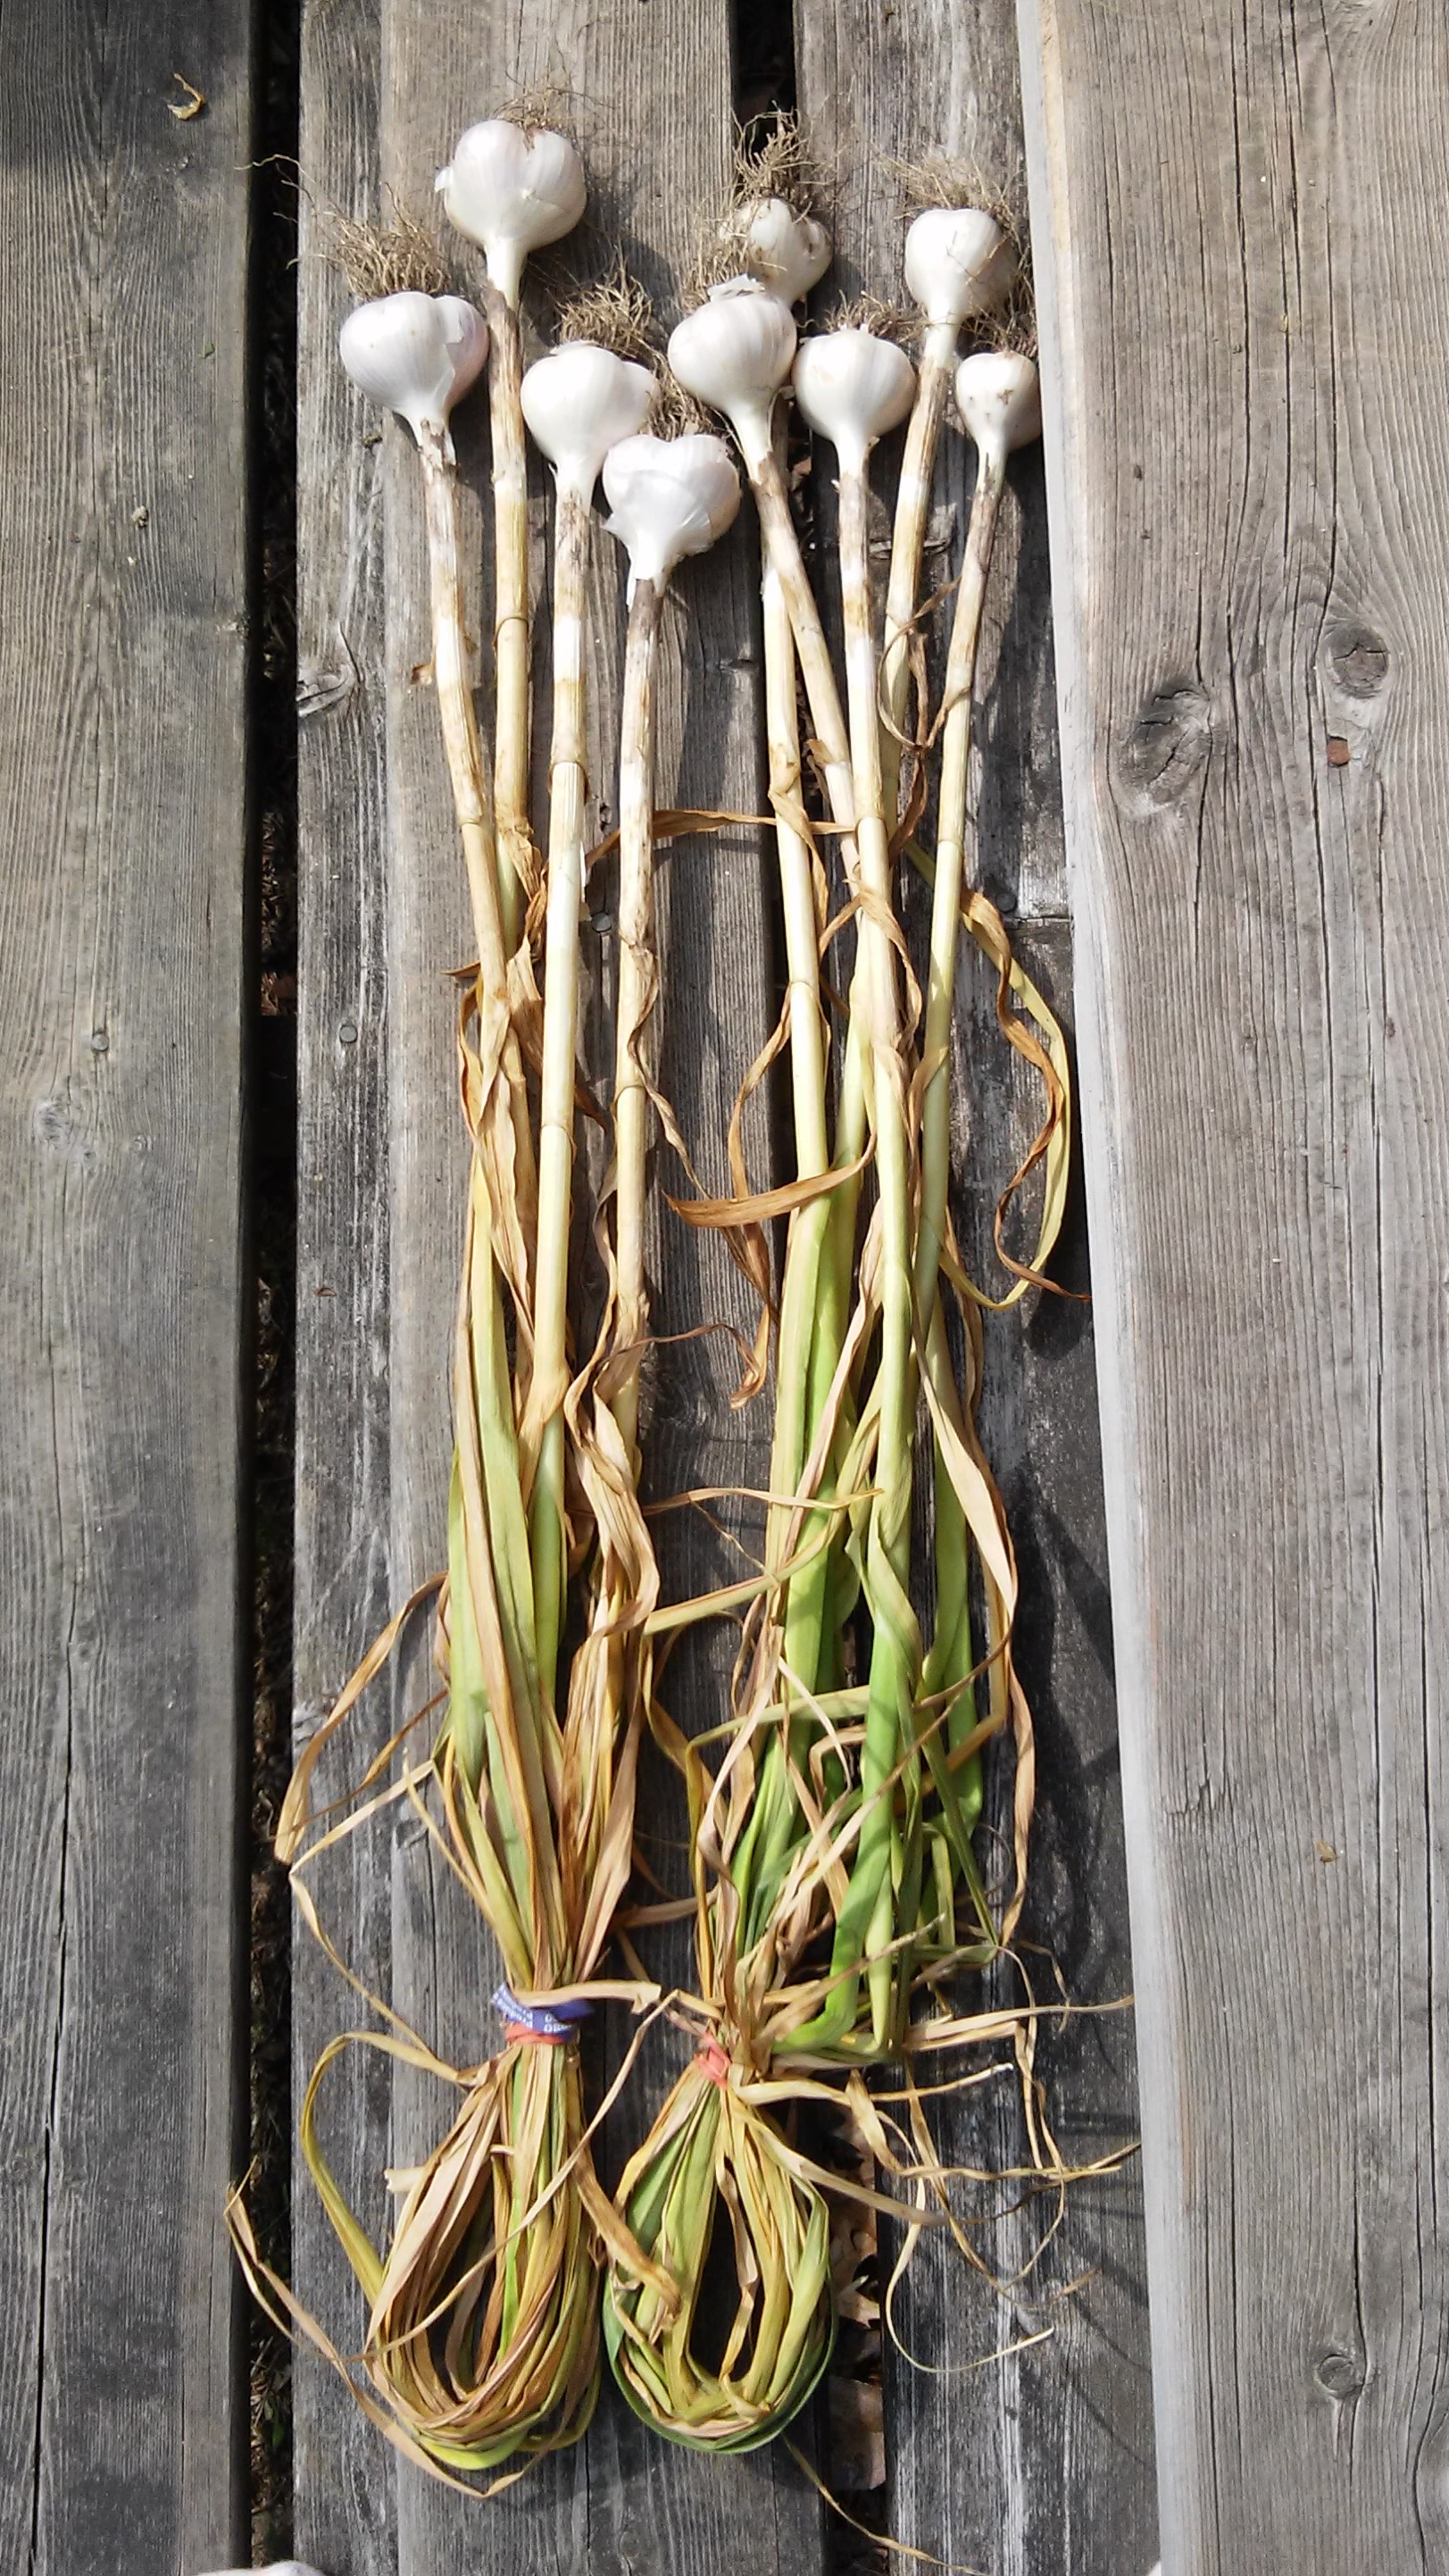
As I mentioned back in July when I harvested my garlic, the selection of cloves for the next crop started that very same day. I had a total of 44 garlic bulbs (photo below, left). I started by simply removing the most outer papery layer, then lightly brushing the dirt off the roots of each bulb (center) until clean (right):
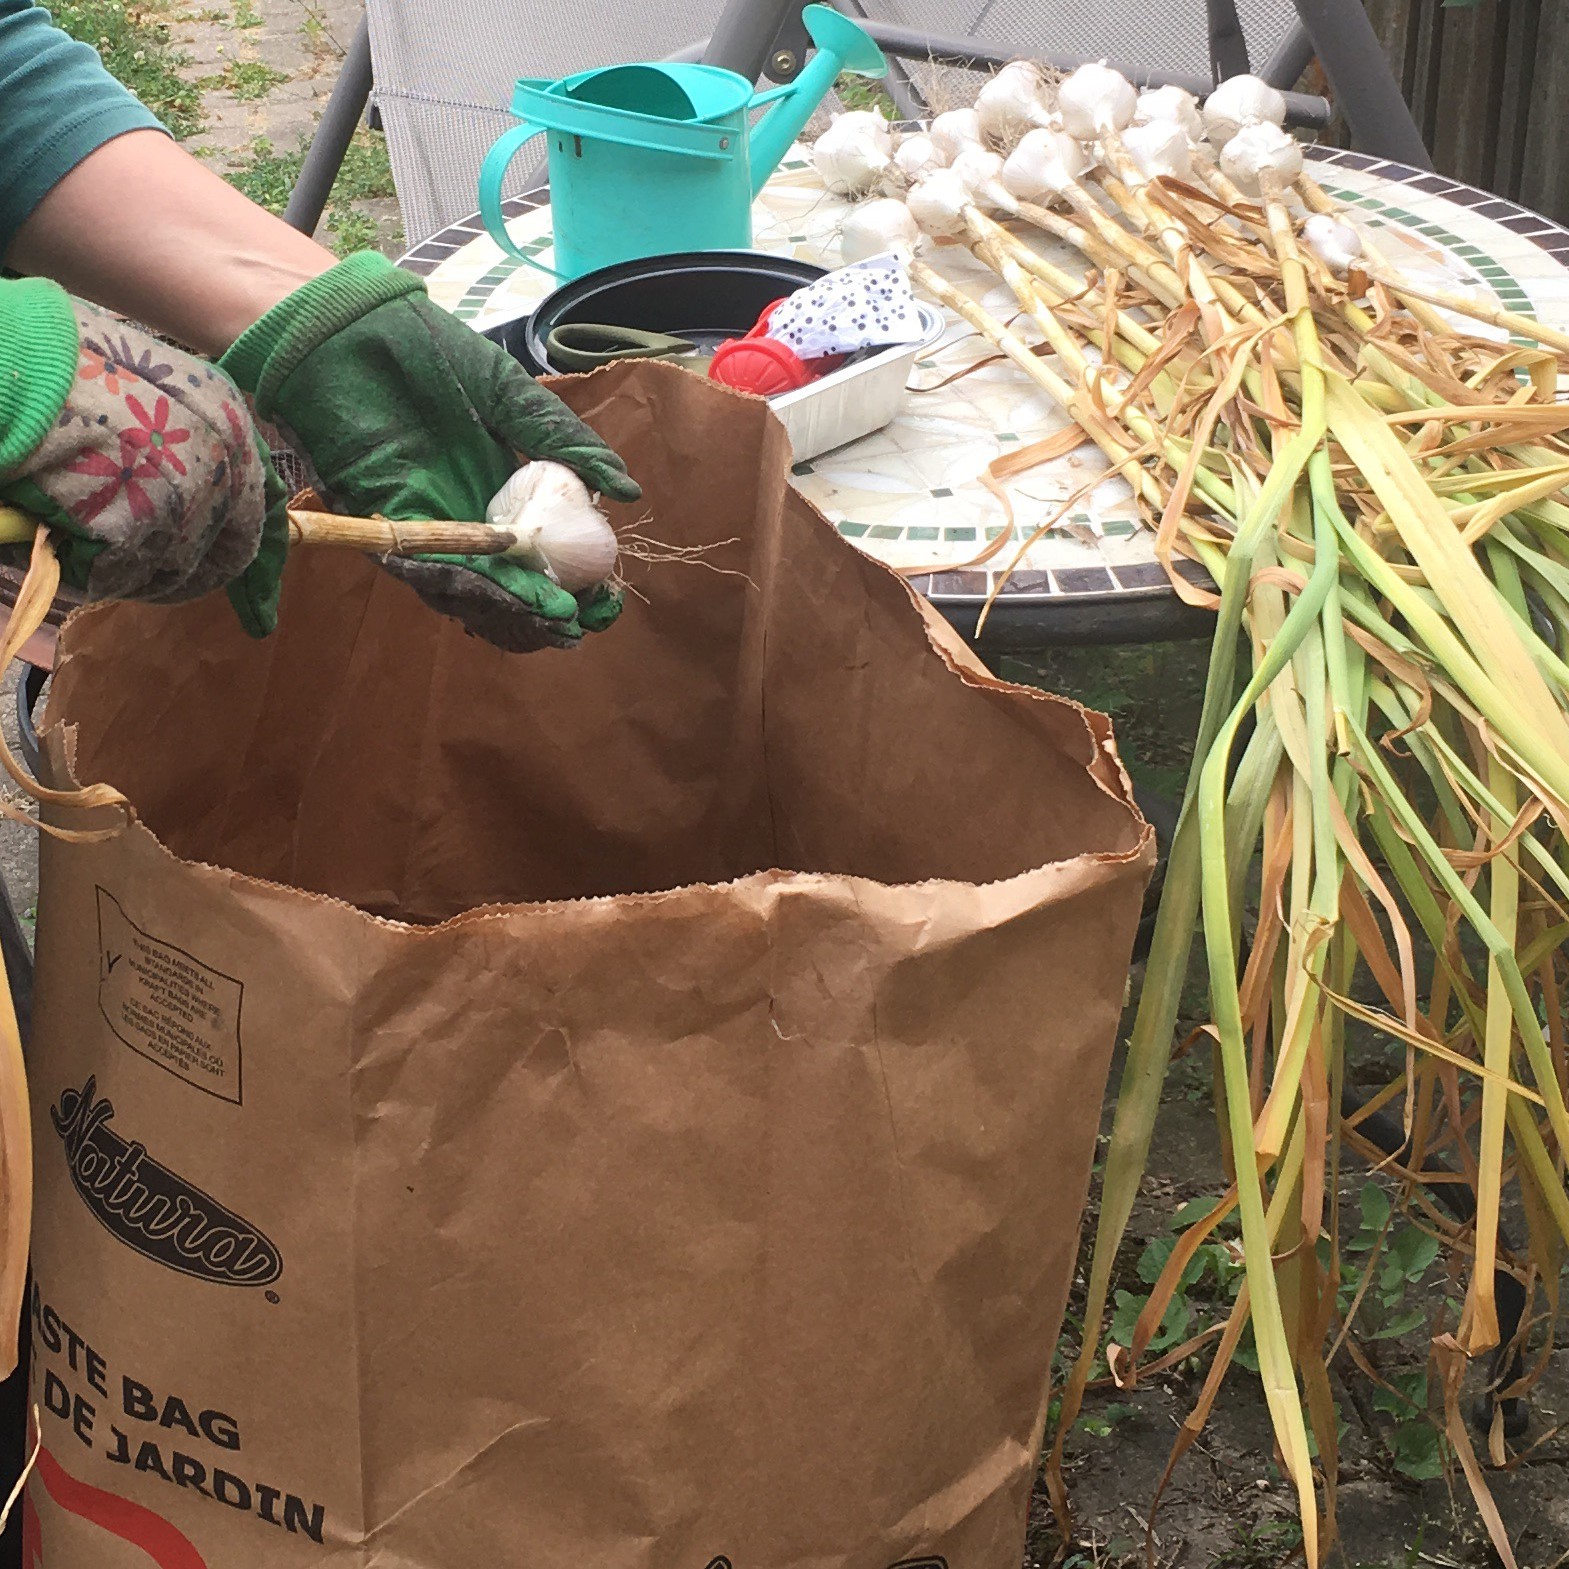
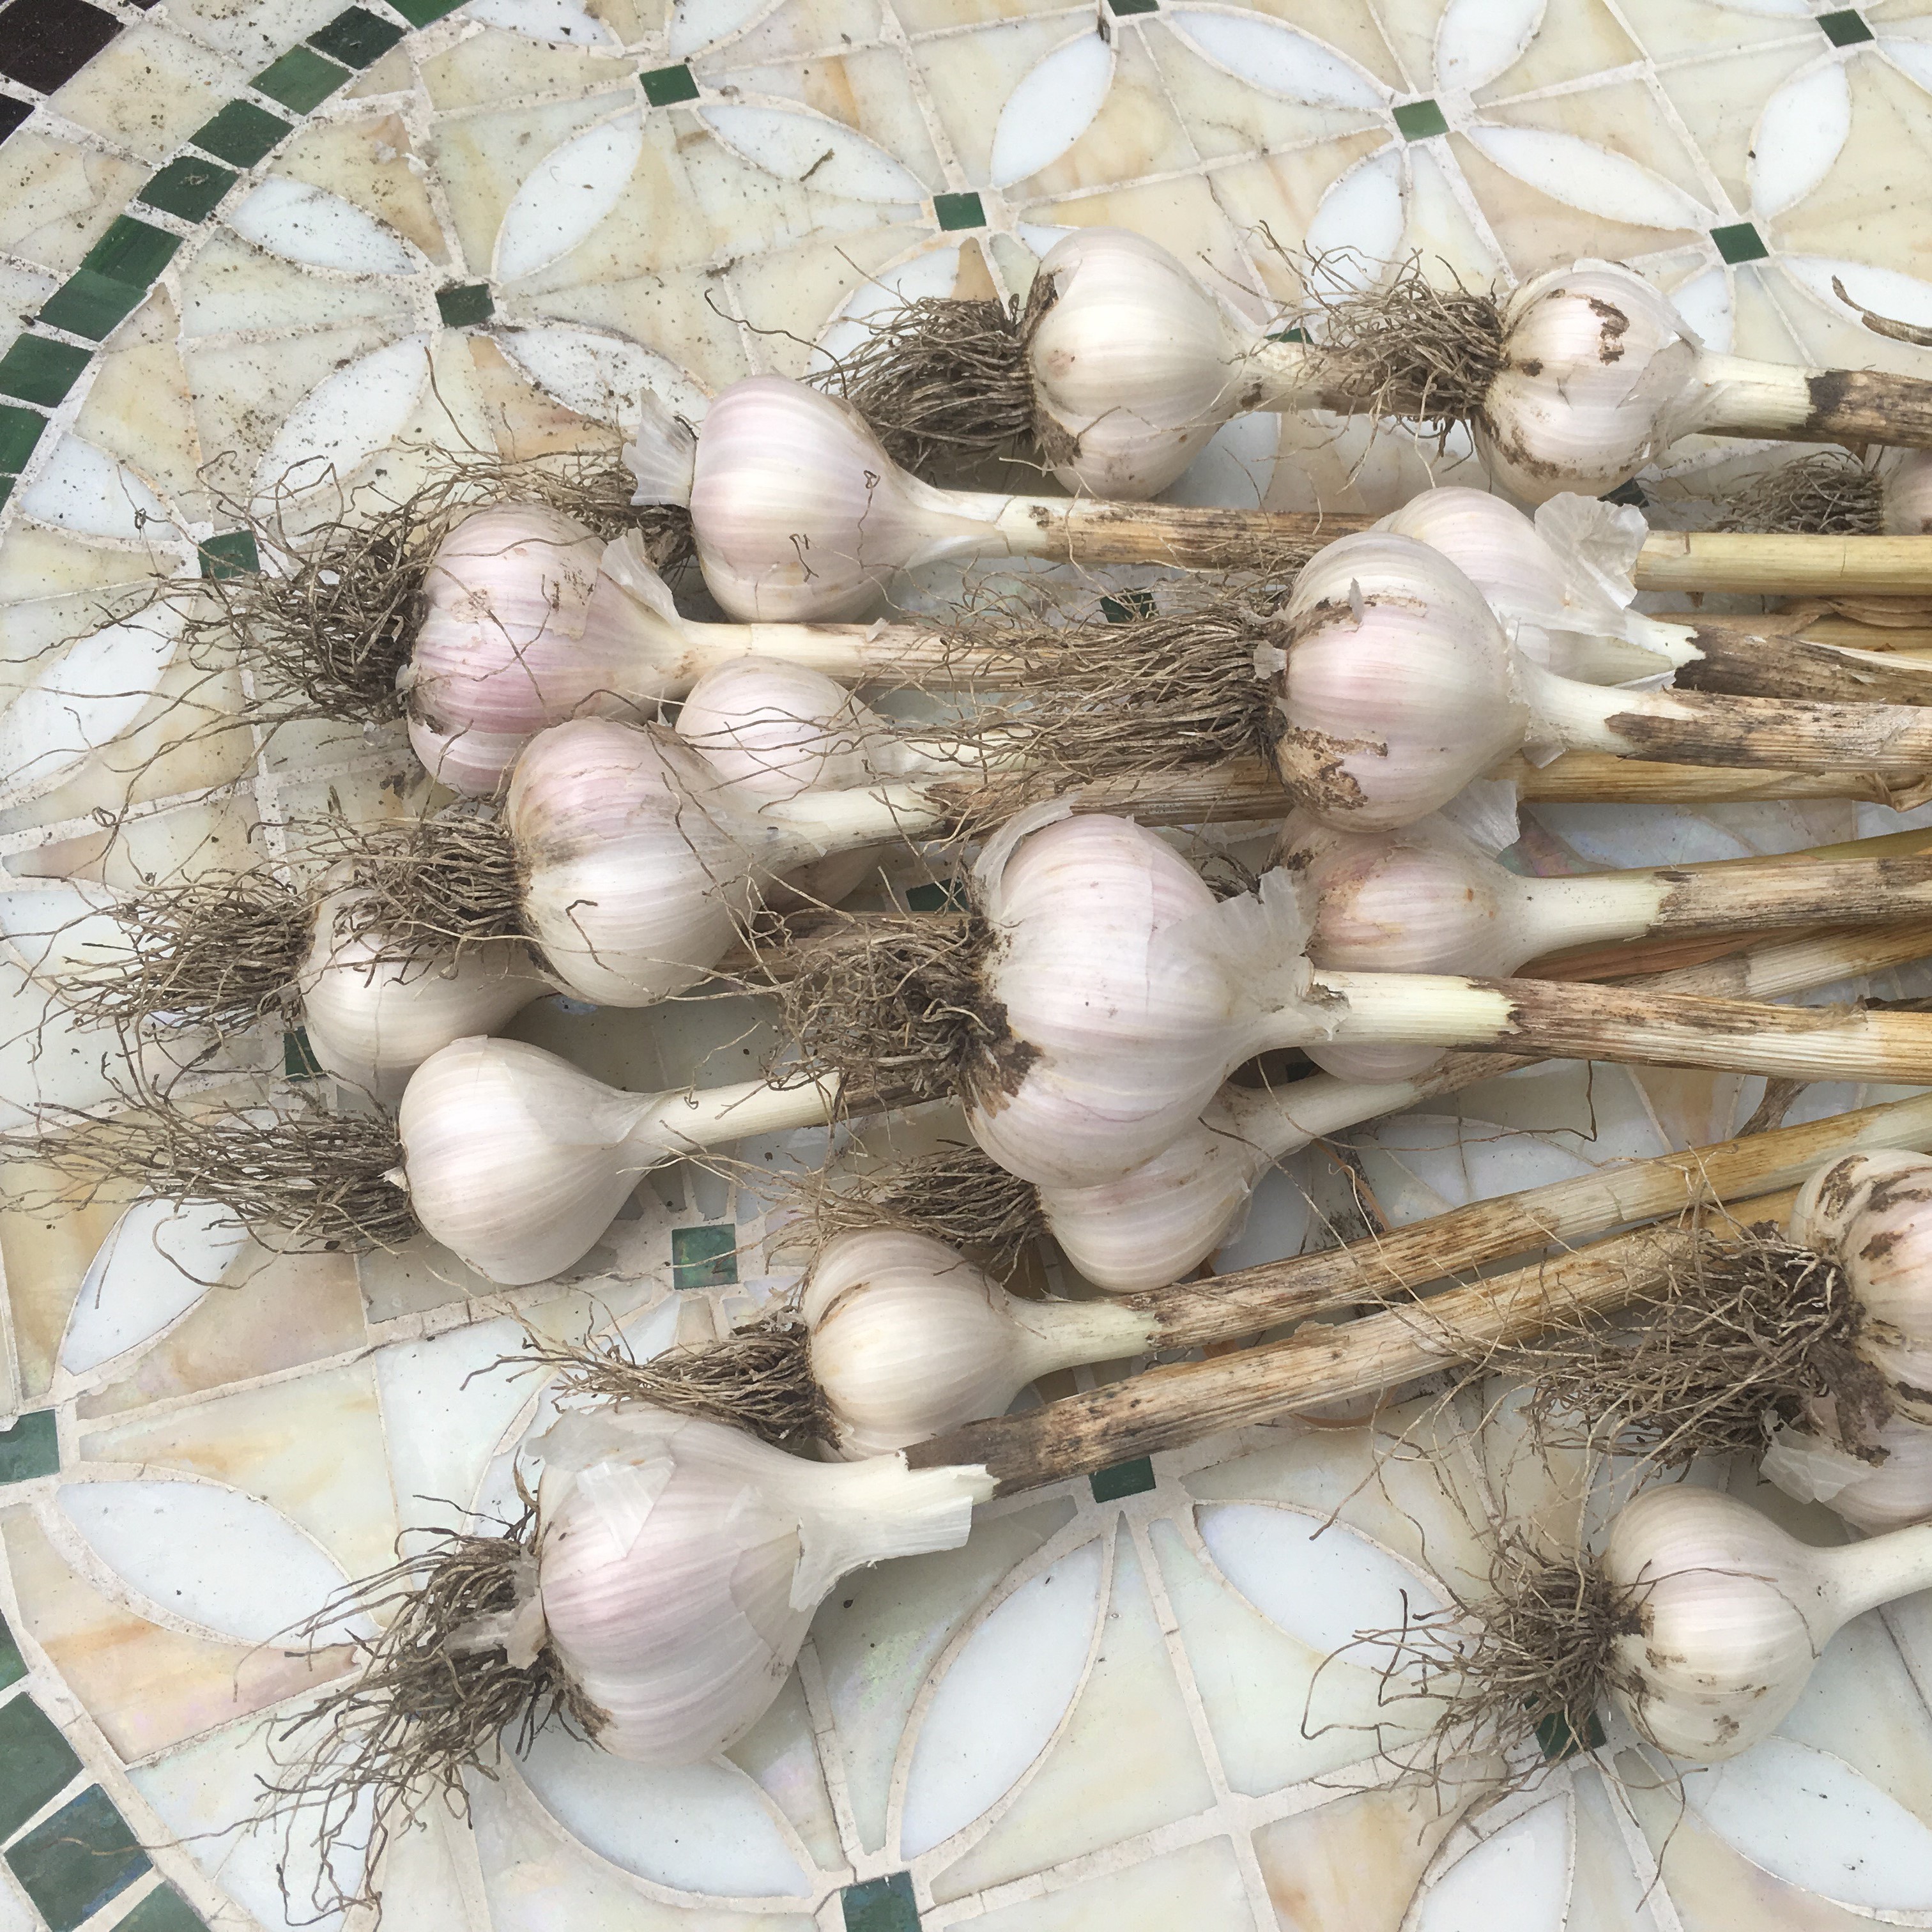
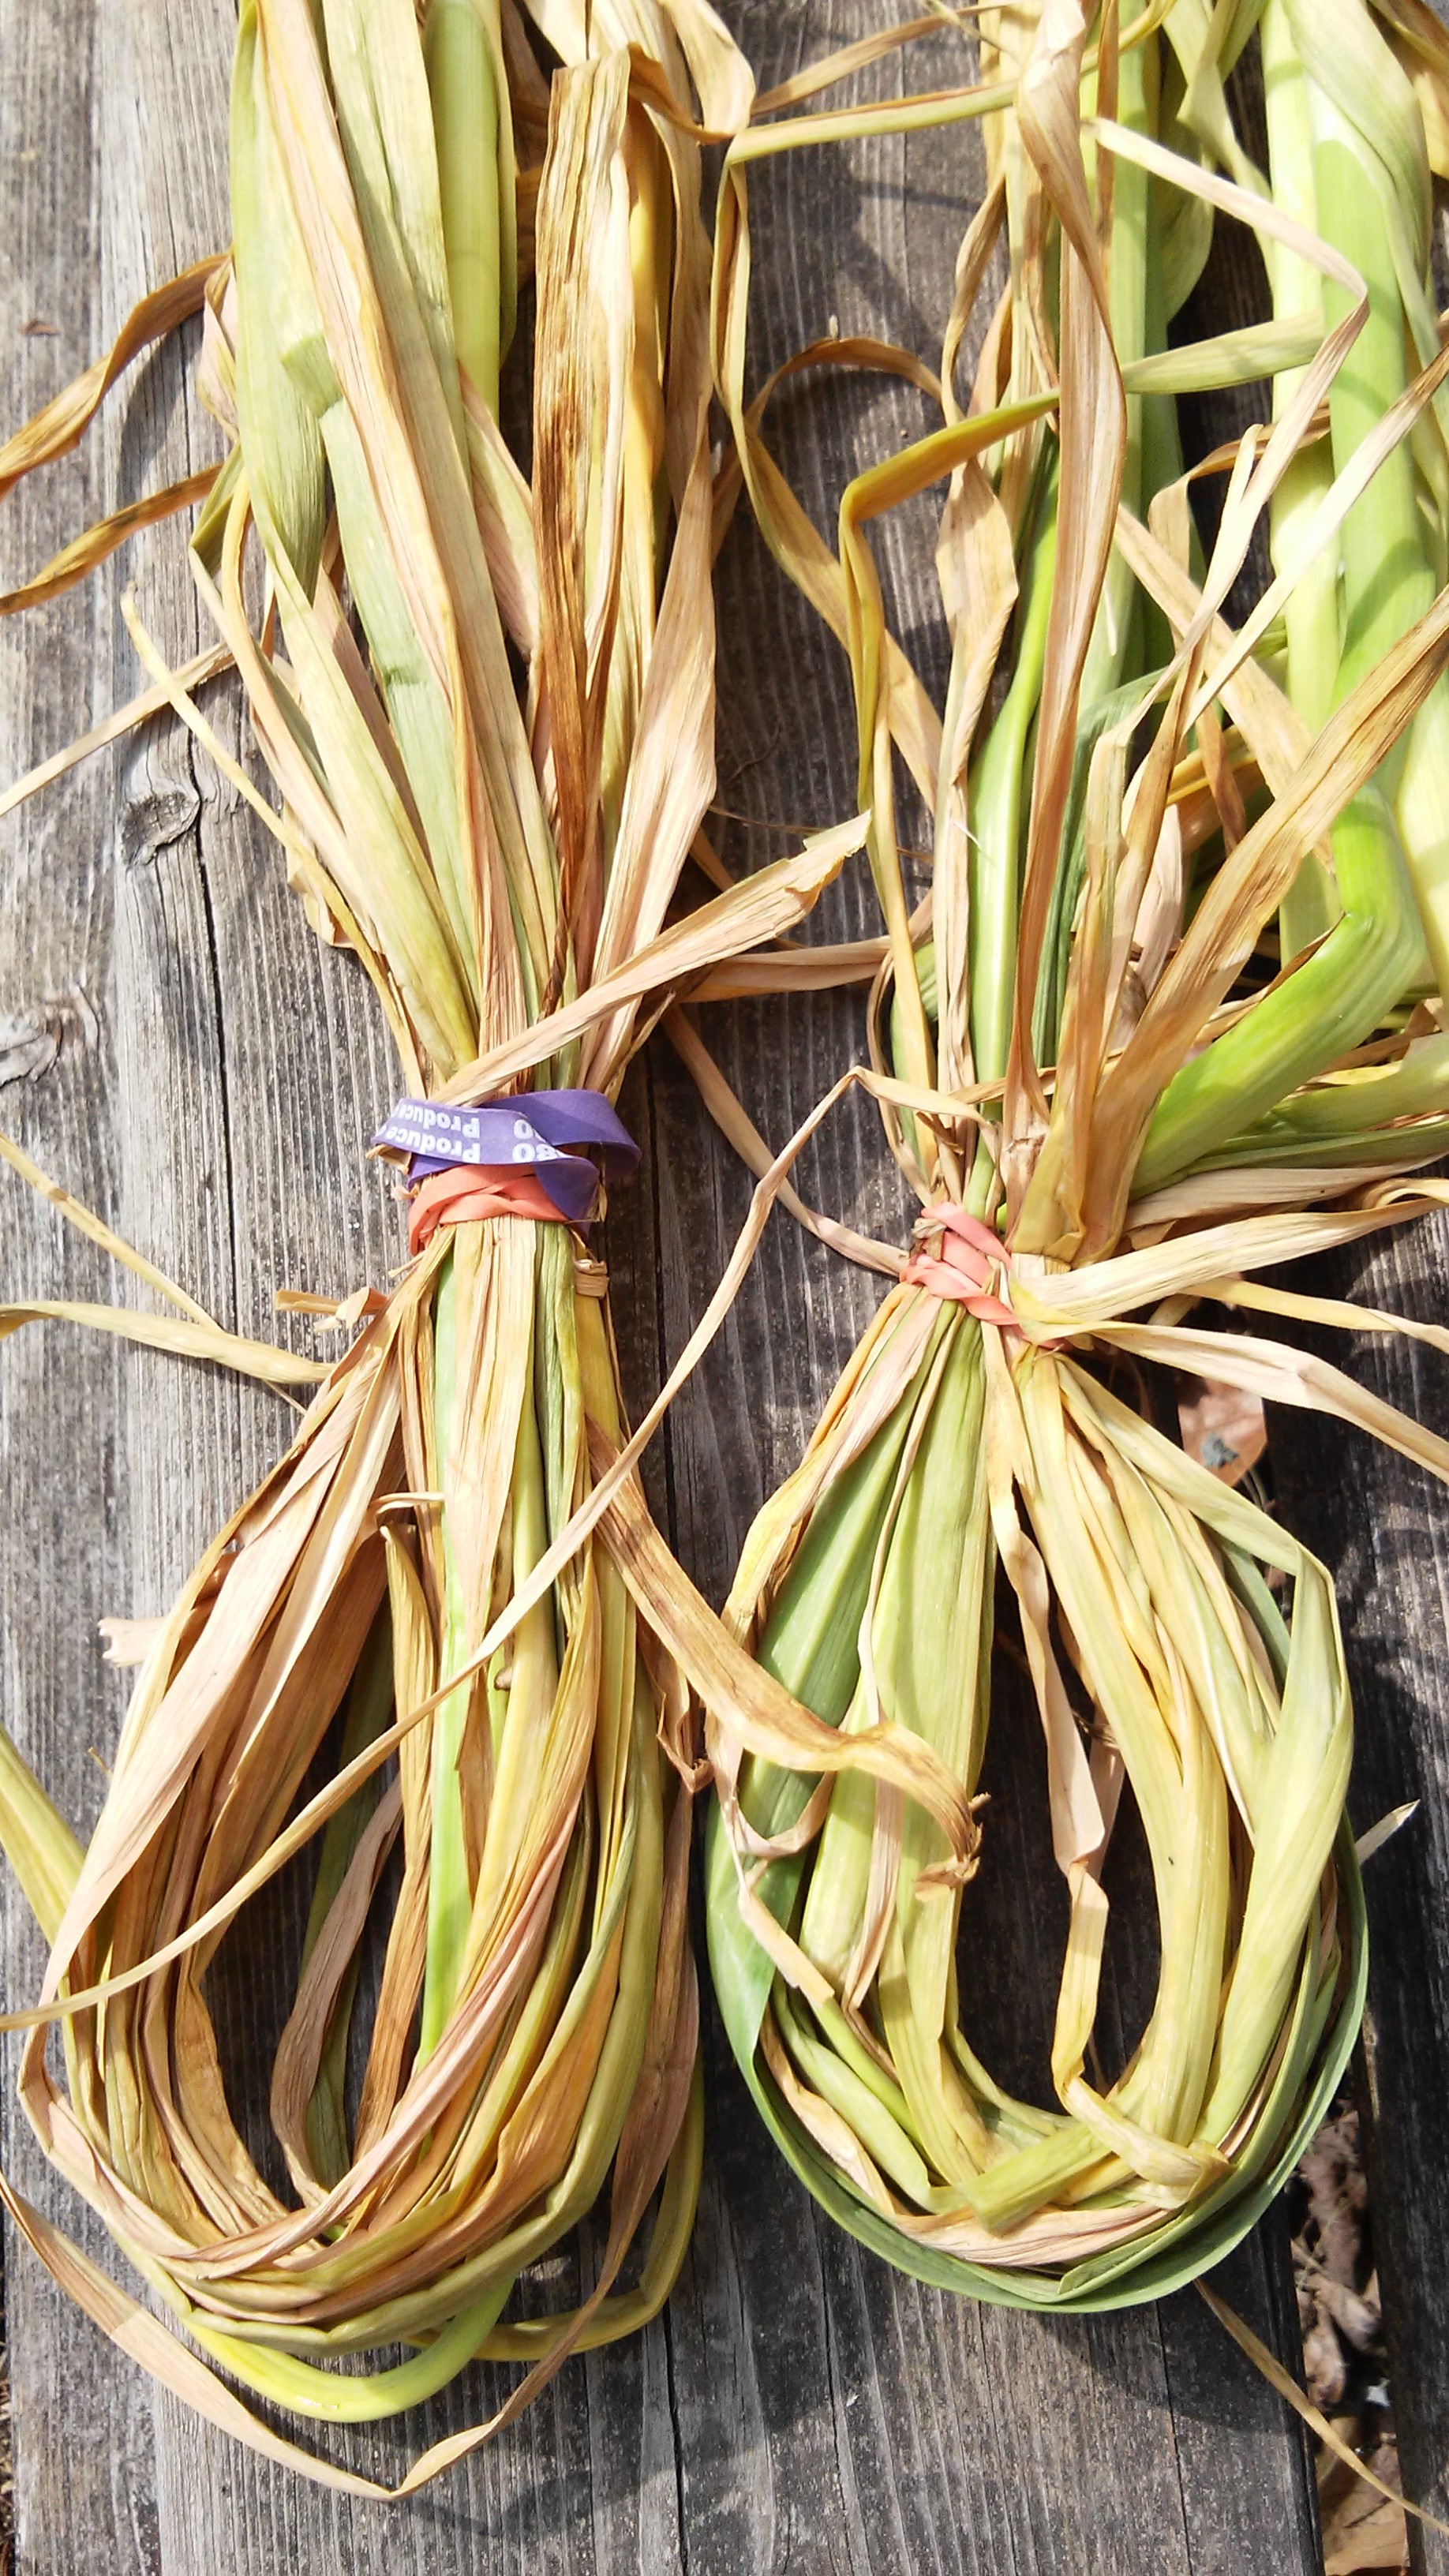
As I was doing this, I formed groups of four or five bulbs by size; in the photo below, notice the exemplary large bulbs bundled in the left, compared to the smaller ones in the bundle of the right. For each bundle, I made a loop with the tops and used rubber bands to keep them together (detail in photo, right):
The bulbs must be cured for a few weeks in a dry spot, away from direct sun; I used clothes hangers to hold the bundles by the loop, and hung them in my basement. After curing time, when the tops had completely turned brown, I started cooking with the smallest bulbs, or those with damaged skins. When sowed, each clove will develop into a whole bulb so, in order to keep a sustainable source for planting year after year, it is necessary to save as many cloves as bulbs are expected for harvest. A standard estimate is to save about one quarter of the largest bulbs for the next crop, but in reality, each variety of garlic may have a different average number of cloves per bulb; I guessed that in my case, I roughly needed to save 10 bulbs (4-7 cloves per bulb.)
Note: For the Northern hemisphere, this is the last chance to get garlic bulbs for this sowing season. Fellow bloggers Nanny Grannie and Mary @ Cactus Catz are in zones 8B (West Coast), and 9A in Tucson, respectively, and are interested in growing garlic; they probably have a large variety to choose from for their zones, either from catalogues of companies in their areas, or by seeing what organic garlic is available at their local farmers’ markets. I commented back in July: “For details on how to select the best varieties for specific gardening zones, there is plenty of information on-line [, but] in a nut shell, there are two groups of garlic: hardneck garlic is better suited for cold climates, and softneck for milder zones. In terms of characteristics, hardneck have complex flavours and produce scapes (edible flower buds), whereas softneck have more cloves per bulb and a longer shelf life, so these properties might influence the choice as well.” Planting is recommended about four to five weeks before the first expected frost, or sometime in late fall for zones without hard frost. For example, for my area, in growing zone 6B, the first average frost date is the third week of October, so I should be sowing just about now. Because their zones are milder than mine, Nannie Grannie and Mary may start sowing any time between late October and early December. Another blogger – The Universal Gardener – is in Subtropical Australia, and he has mentioned that in mild zones, you may sow in early spring and cajole your crop to grow for a fall harvest, but he has found that late fall or early winter (May-June in the Southern hemisphere) is the best sowing season for his softneck garlic.
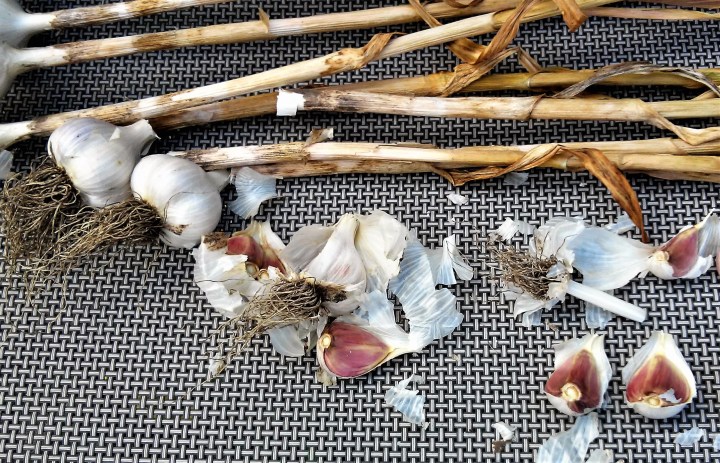
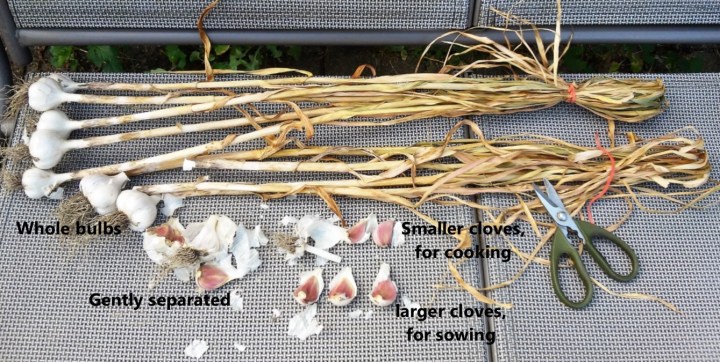
I started getting ready for sowing two days ago, by choosing a few bundles with the largest bulbs. I removed the rubber bands and cut the dry tops, obtaining whole bulbs (whole bulbs is what you receive in the mail from a catalogue order, or if buying at a local market.) I gently opened the bulbs, separating the cloves, trying to disturb the papery wraps as little as possible; within each bulb, some of the cloves were bigger than others, so I separated the small ones (which I will use for cooking), and picked the largest until I had 45, for sowing (see detail in the photo at the top of the post):
Yesterday, I cleared a patch that was used to grow radishes, and then remained undisturbed the rest of the summer; it was completely covered in weeds! In the photo below, my progress at cultivating this patch may be appreciated, which was done with the help of my handy dandy tools (cultivator, Hori-Hori knife and mini-scythe):
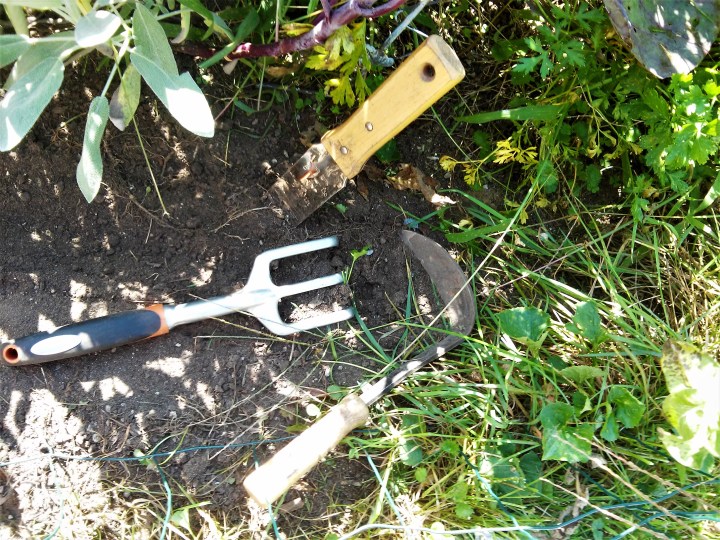
Seed companies recommend allowing 6 inches between cloves and 8-12 inches between rows, but I usually get away with 4 inches between cloves and 6 between rows. The cloves need to be about 4 inches deep, at least in my zone, since the soil surface will be freezing and thawing all throughout winter, and those swings really can cause damage to the crop. I measured two rows, six inches apart, in the small patch I had created, and dug them four inches deep:
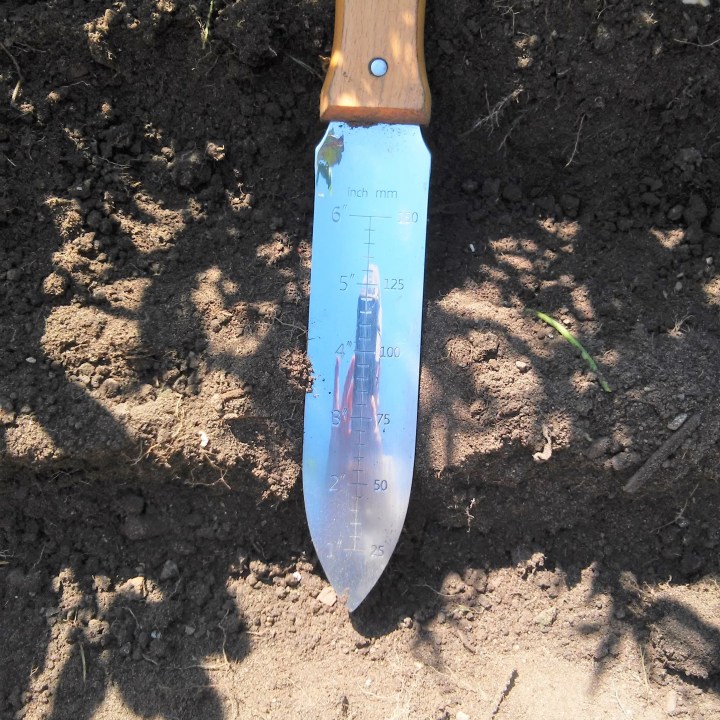
(Did you notice my selfie on the Hori-Hori knife I used as a ruler? It was unintended, but I should copyright that photo, LOL.)
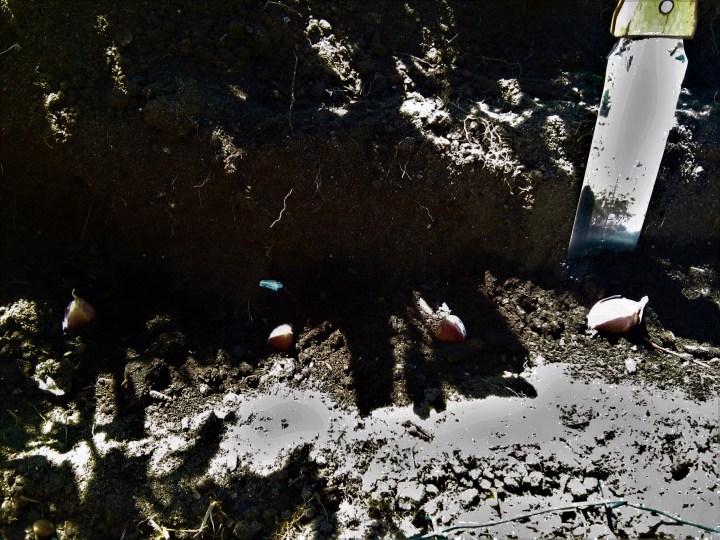
I sprinkled the bottom of each row with compost, and then placed individual cloves, four inches apart, with the pointy end up, along the rows:
I sprinkled a little more compost on top, then covered with dirt to soil level. It was so hot yesterday, though, that after sowing about one third of my cloves, I decided to stop and wait a few days until the weather cools down. After that, there will be nothing to do but leave the garlic cloves to their own devices; they will sprout and develop roots before going dormant until spring. Then, with just a bit of TLC, each clove will grow into a plant with a whole bulb by summer time. Another example of the gifts of Nature, what a wonderful world!


I was thinking about planting in a barrel, but the 4” depth and the freeze/thaw might be an issue. What do you think?
LikeLike
I know I would not try it here, because the freeze/thaw would be fatal, and I would say yes for a mild area with no frost, but for mild areas with frost, such as Arizona and Colorado, I really think it could be an issue. Also, for what I have read in your comments, you are not exactly crazy about babying your crops, right? The container would require close monitoring for moisture levels. Are you pressed for space or why are you considering the barrel?
LikeLiked by 1 person
Yes, my entire garden is about 100 s f!
LikeLike
Oh, I see. I do not know, I think it might be too much for the garlic, but maybe you could try just a few in the barrel, and plant some in the ground to compare. Sorry I am no help in this one. 😦
LikeLiked by 1 person
Thanks for the tag, Irene. I was disappointed with my yield this year which I’ll write about in a later post. Your post was great – very informative. Cheers.
LikeLiked by 1 person
Sorry to hear that; looking forward to reading all your posts!
LikeLiked by 1 person
wow! you remembered me thinking about garlic. I didn’t remember telling you but when I started the post, I thought oh, I’d like to grow garlic. lol. You might have told me but I forgot — can I use garlic I buy from the grocery store?
LikeLike
Hee hee 🙂 Some people use them, but the grocery store garlic might be imported (not suitable to grow locally), and if not organic, possibly treated with chemicals precisely to keep the cloves from sprouting (shelf life, sigh). If you are able to find organic garlic grown in a mild area around Arizona (California, British Columbia, or local) those might work. I bought organic ginger at the store once, and it has been growing great; for garlic, I could not find any local and organic, so I cannot say. I took the bullet and spent about $15 +shipping for one pound of garlic bulbs; I have to say, that was four years ago, and I have been able to save cloves for the next crop just fine, so I guess my investment is paying off.
LikeLiked by 1 person
oh, I didn’t realize that they treat them with chemicals. Wait! The ones from the 99 cent store often start put up a green leaf if I don’t use them quick enough — they are little ones from Mexico. They should be fine, right? I’ll try one of them. It can’t hurt. But I guess I won’t find out until spring whether it’s ok or not. Oooh, ginger? That would be cool to try too.
LikeLike
wow 99 cent! I guess you have nothing to lose (well, just 99 cents, hehe). Mexican garlic might be good for your zone, right? And yes, you would plant them in October for a late spring harvest. You could try those and maybe also anything else you could find around, and compare.
For ginger, I bury the pieces in a pot, so I can bring them inside when it gets cold, then take them back outside in late spring; ginger likes partial shade and medium soil moisture, and absolutely cannot withstand frost; I harvest in early fall, so very soon. Young ginger is amazingly juicy, and white and pinkish, so if you make it into Japanese pickle, it naturally turns pink in the brine.
LikeLiked by 1 person
oh wow, I didn’t know the pink was natural. I had just assumed the pickled ginger had some kind of coloring.
I will try them then. The 99 cent store sells the little garlic in about 3 or 4 pack for 99 cents so I’d have a few to try with.
LikeLike
There is a naturally pink ginger; another kind has red shiso leaves, so it is bright pink, almost red; then, there is the artificially coloured kind, as well.
I hope the garlic works for you; when you separate the cloves, pick the biggest for sowing, and cook the small ones. Happy gardening!
LikeLiked by 1 person