Click here to go to printable recipe: Zucchini Squares
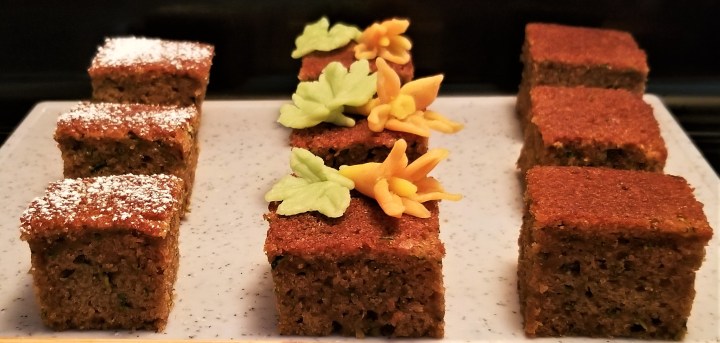
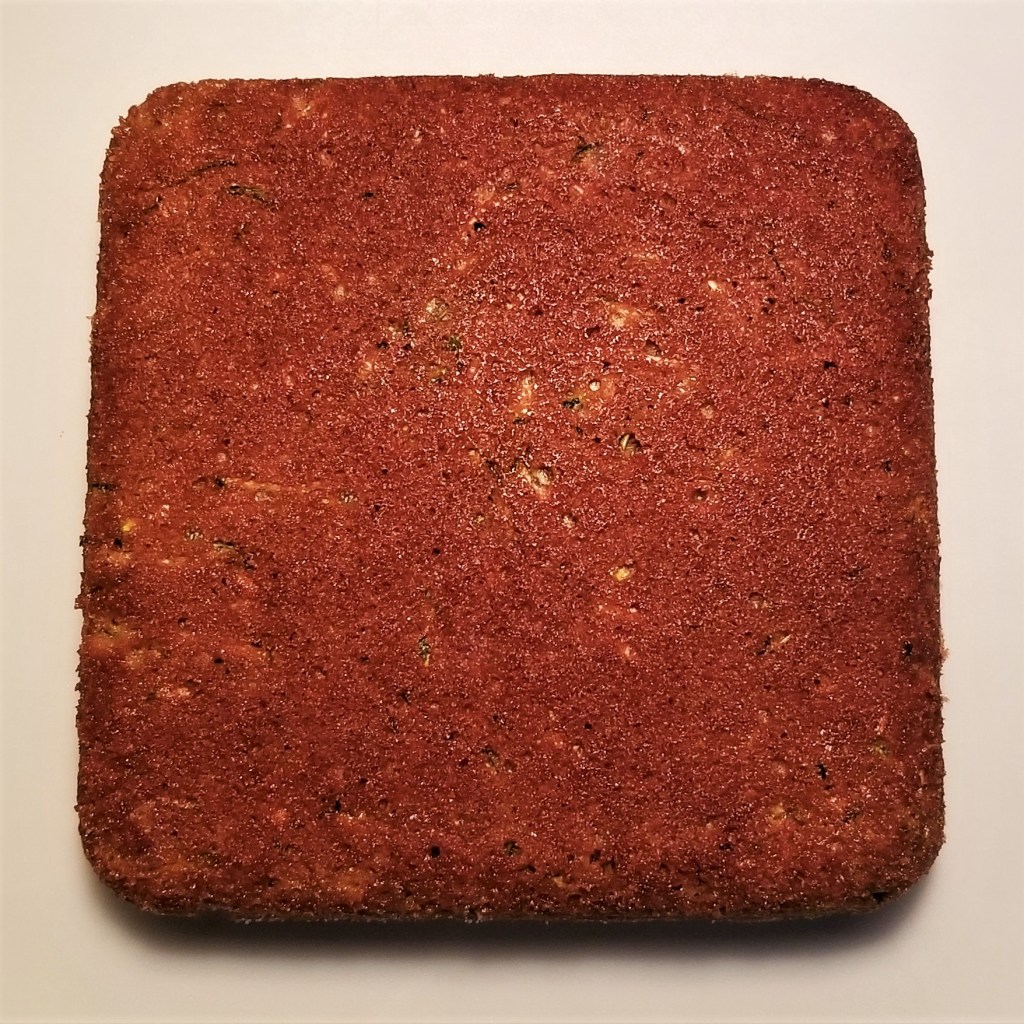
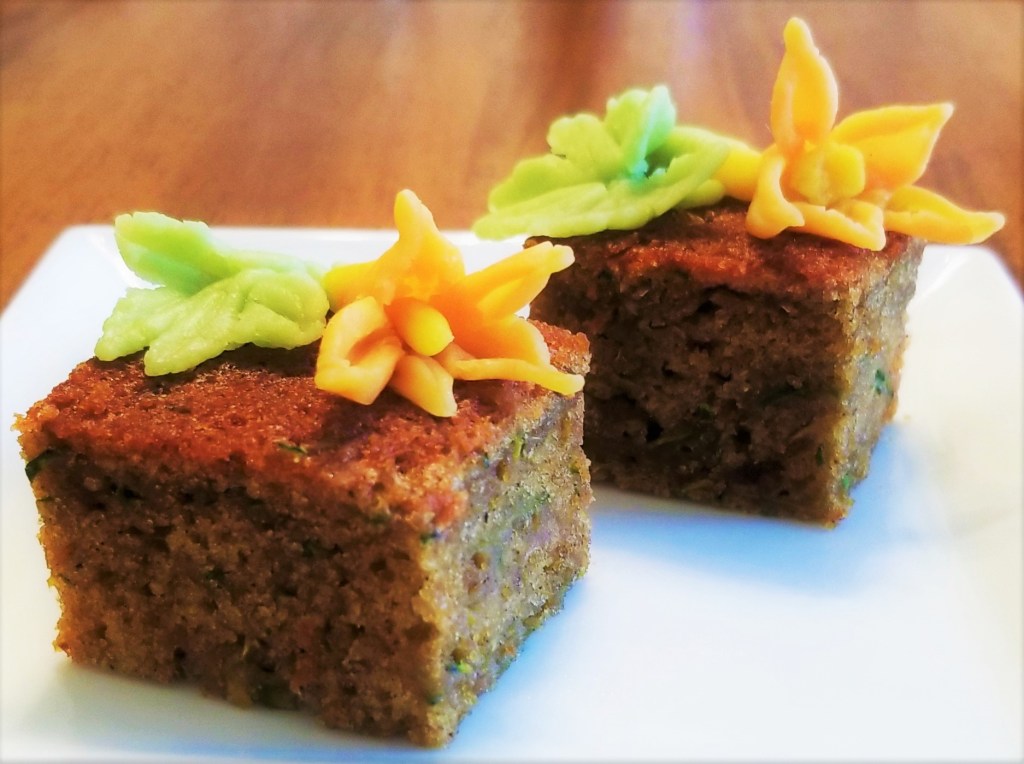
Although many recipes for cakes and bread that call for fruit or vegetables were basically intended to save excess of these crops from waste, many have become classic favourites, such as banana bread or carrot cake. In Mexico, zucchini cake and squares have been favoured sweet bakes for decades, to take advantage of the often vast summer squash supply. My take on this treat was developed from Martha Stewart’s recipe for Spice Zucchini Bread, which I downloaded a few years ago; its introduction implies that it is intended as a way to sneak in veggies, so the kids will not detect a scintilla of zucchini in it. I worked with a completely opposite principle, featuring zucchini by using a larger amount, and by grating the veggies coarse, which allows for bright green speckles to be appreciated in the delicious and moist crumb of the final product. The original recipe also calls for several flavourings and spices in generous quantities; I modified the amounts, and skipped some, to still add a punch of flavour to the mild taste of zucchini, but without overpowering it. Finally, instead of a loaf pan, I used a square one to elevate the presentation of the bake; squares may be served directly from the pan for a casual snack, but alternatively, trimmed and cut into perfect squares with precision, then served plain, or decorated, as shown in the photo at the top of this post.
Zucchini Squares – Panquecitos de calabacita
Printable recipe: Zucchini Squares with directions for marzipan flowers
Ingredients (for 16 squares)
2 medium zucchini; washed
1 cup brown sugar
2/3 cup vegetable oil, plus 1 tbsp for greasing pan
2 tbsp sugar, for coating pan
2 large eggs
1 tsp vanilla
1 ½ cups flour
½ tsp baking powder
½ tsp baking soda
1 tsp ground cinnamon
½ tsp ground nutmeg
½ tsp ground ginger
½ tsp salt
For decorating:
Icing sugar
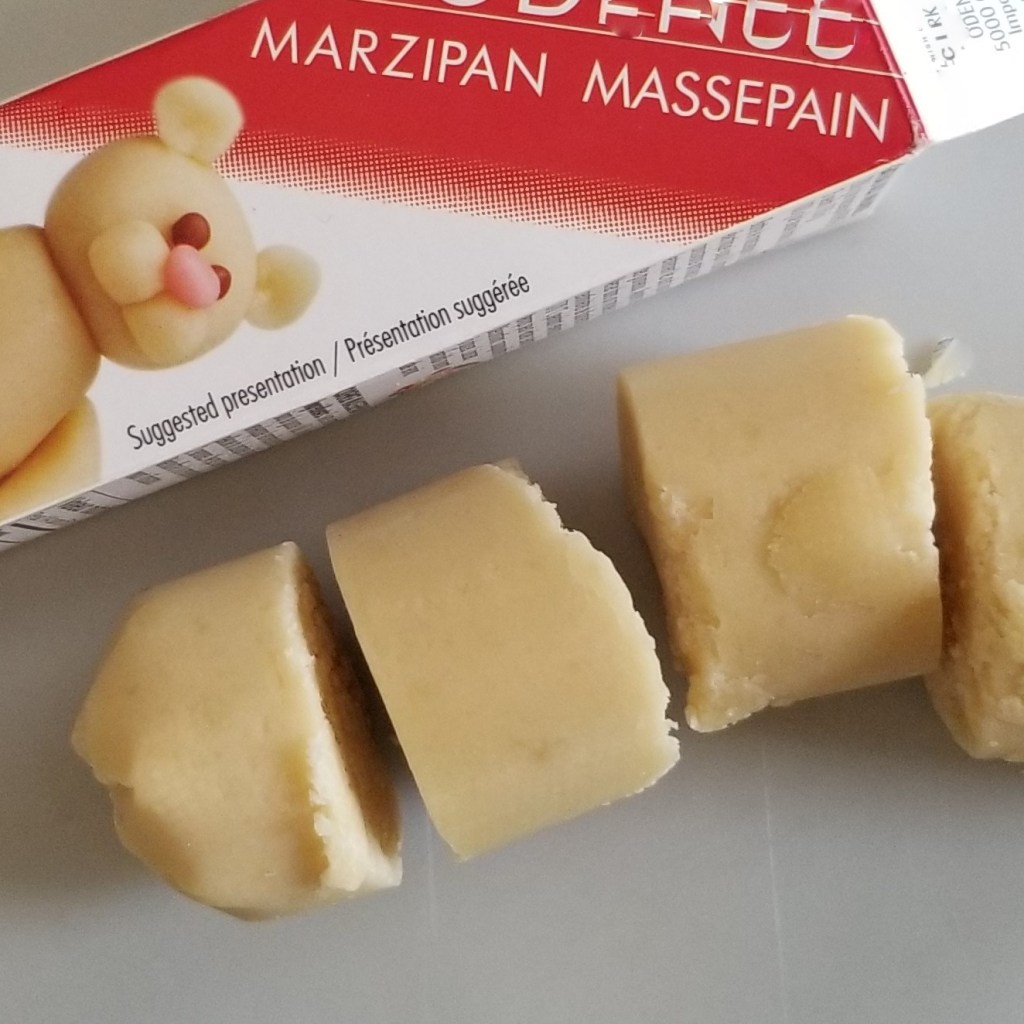
Almond marzipan paste
Food colouring in green, yellow and red
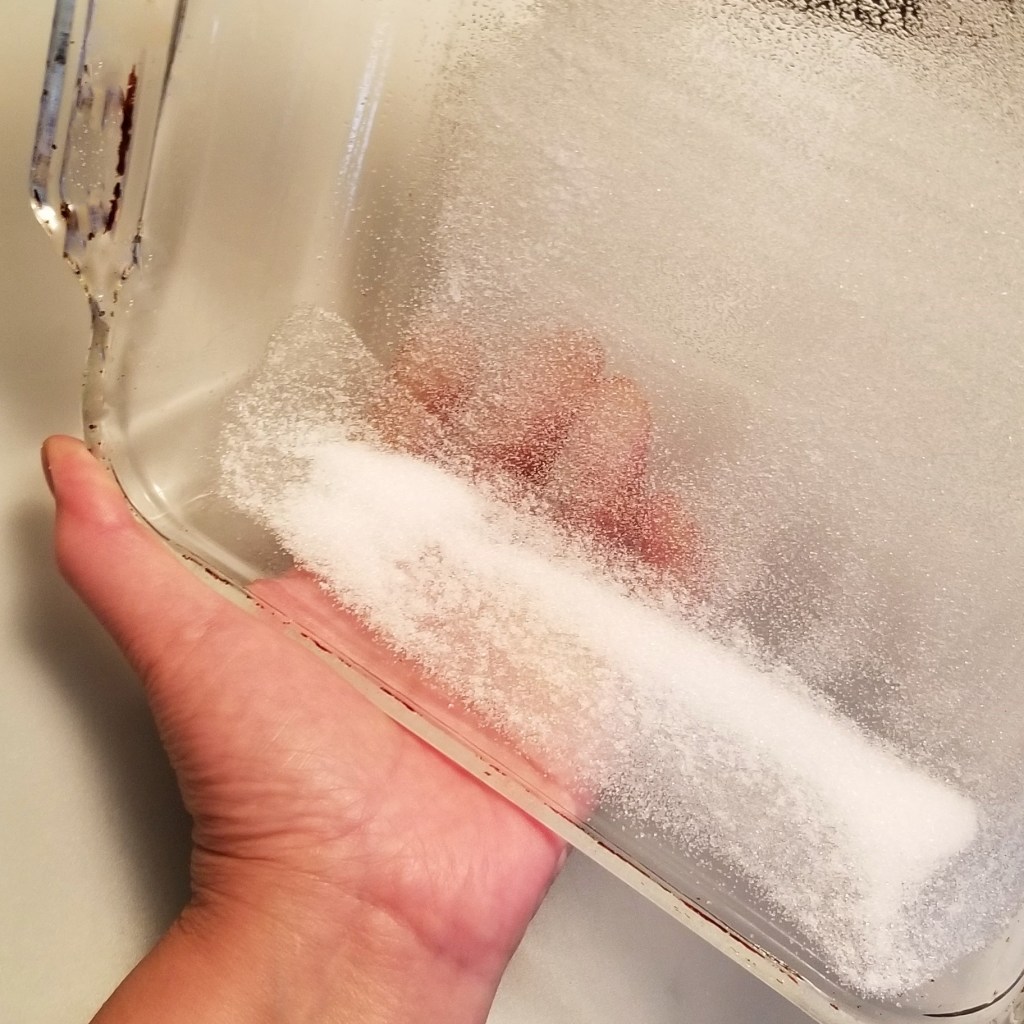
Prepare an 8×8 inch (20×20 cm) baking pan by greasing with one tablespoon of oil, then sprinkling two tablespoons of sugar on top (photo below, left). Tilt the pan around, to spread the sugar, coating bottom and sides (photo below, right):

Reserve.
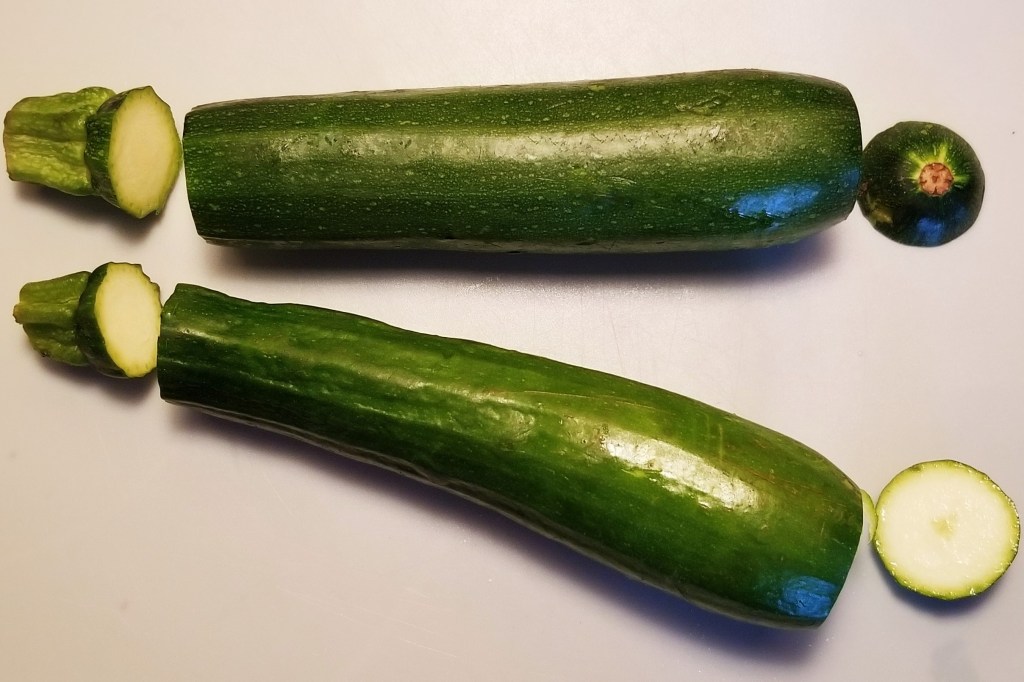
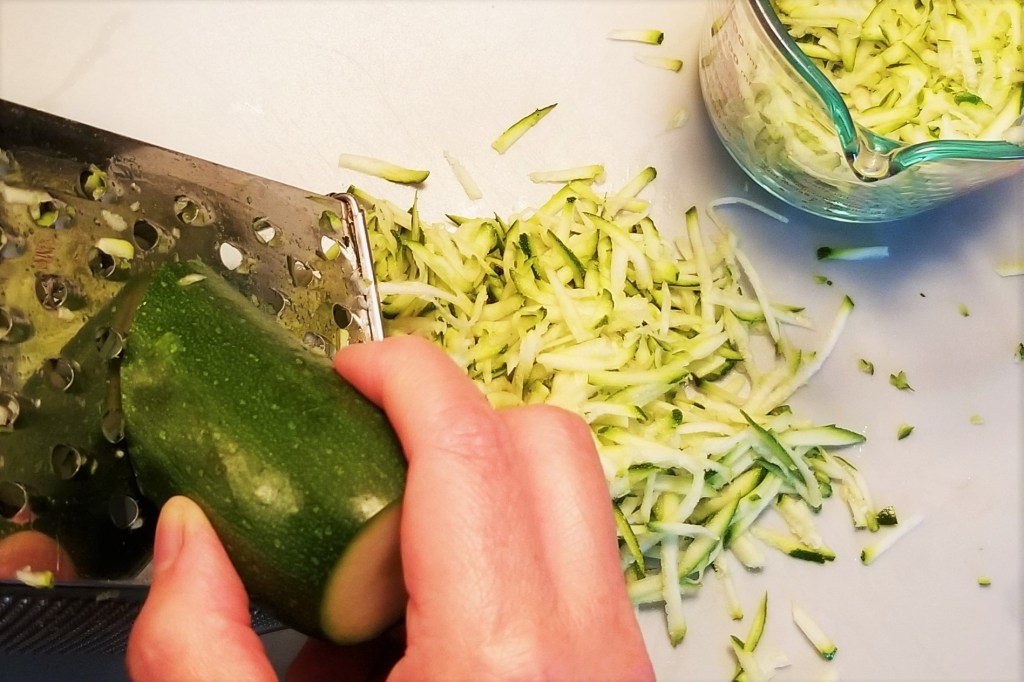
Remove and discard ends from zucchini (photo below, left). Use the large side of a box grater, to shred zucchini; measure about two cups of thinly julienned zucchini (photo below, right):
Reserve.
Preheat oven to 350°F (180ºC).
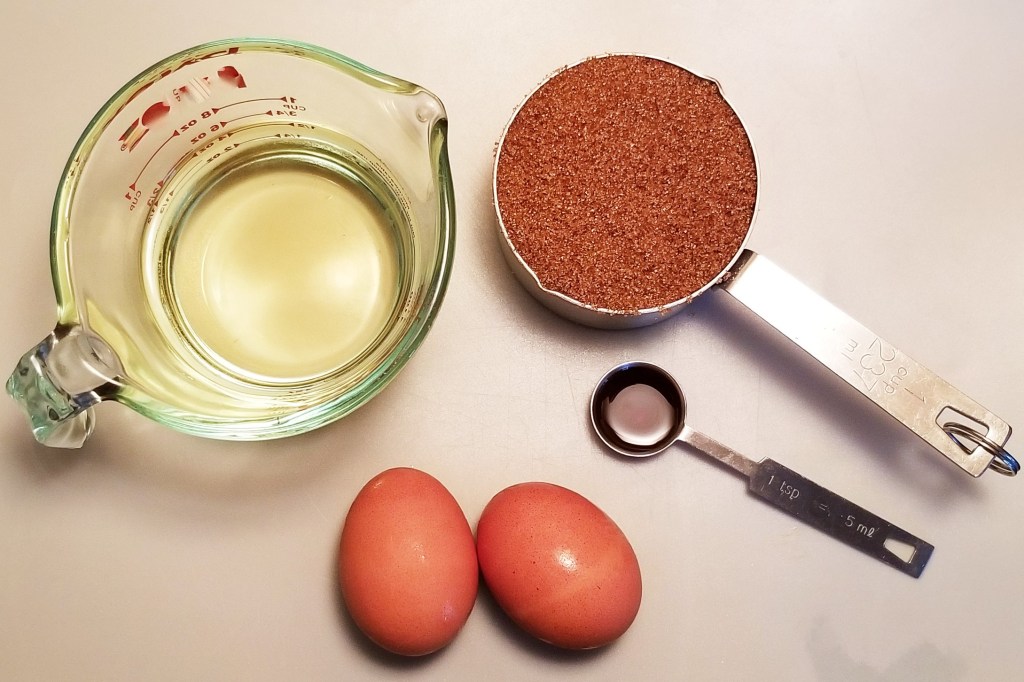
Set up oil, brown sugar, vanilla, and eggs:
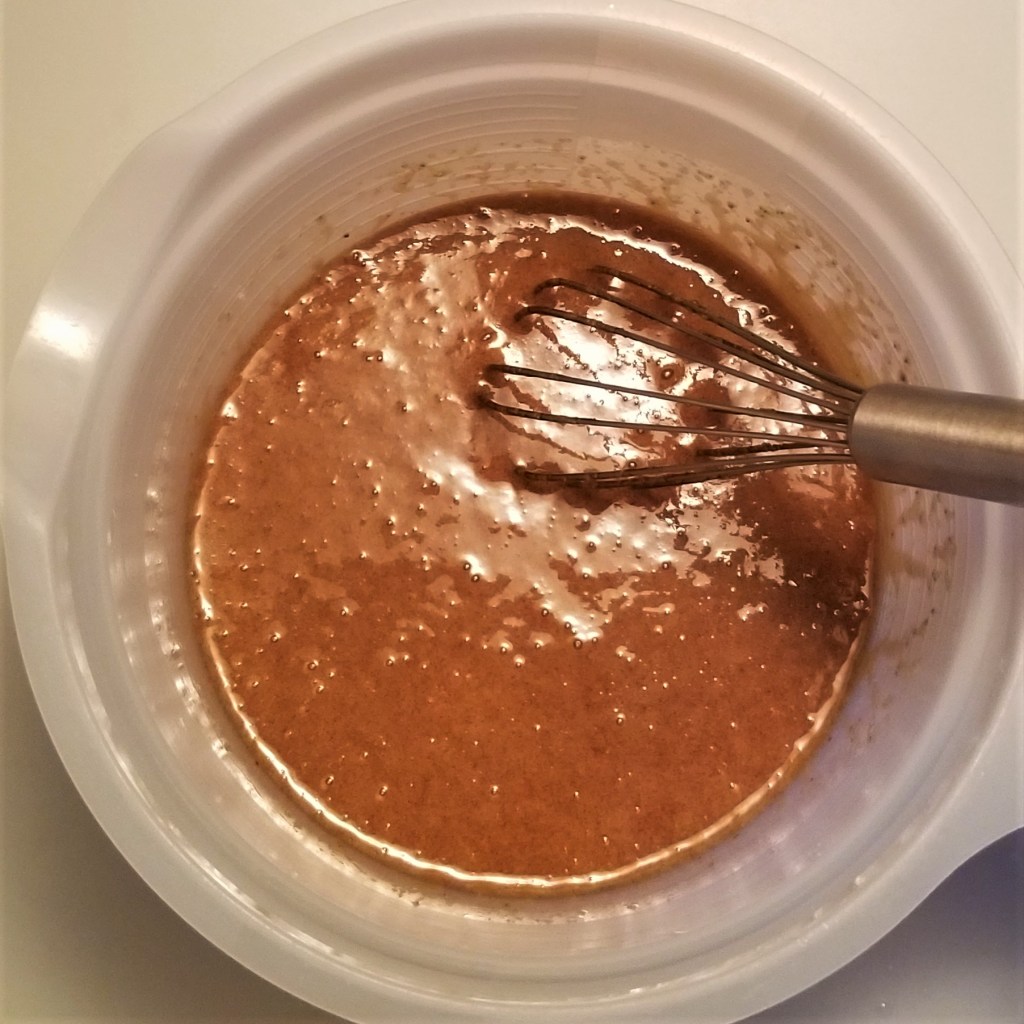
Transfer to a mixing bowl (photo below, left); mix with an egg beater to incorporate until uniform (photo below, right):

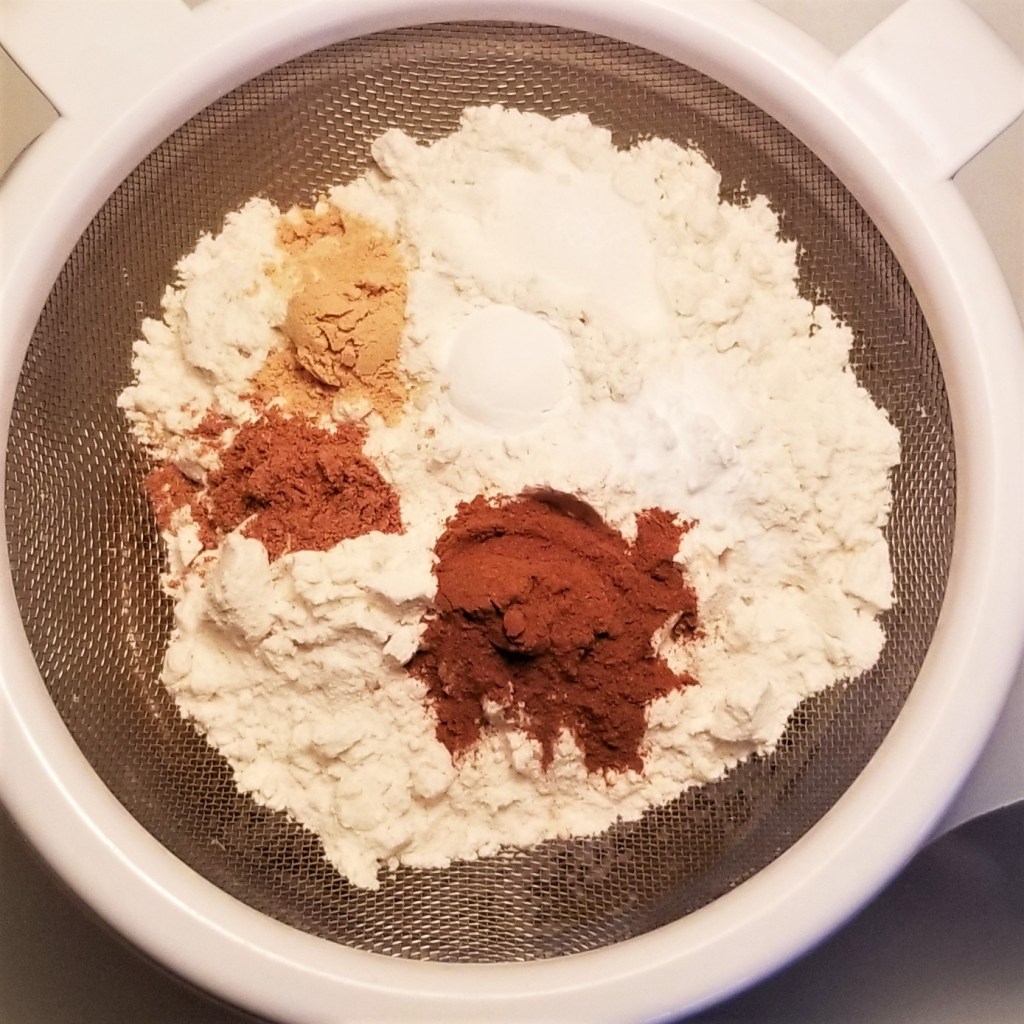
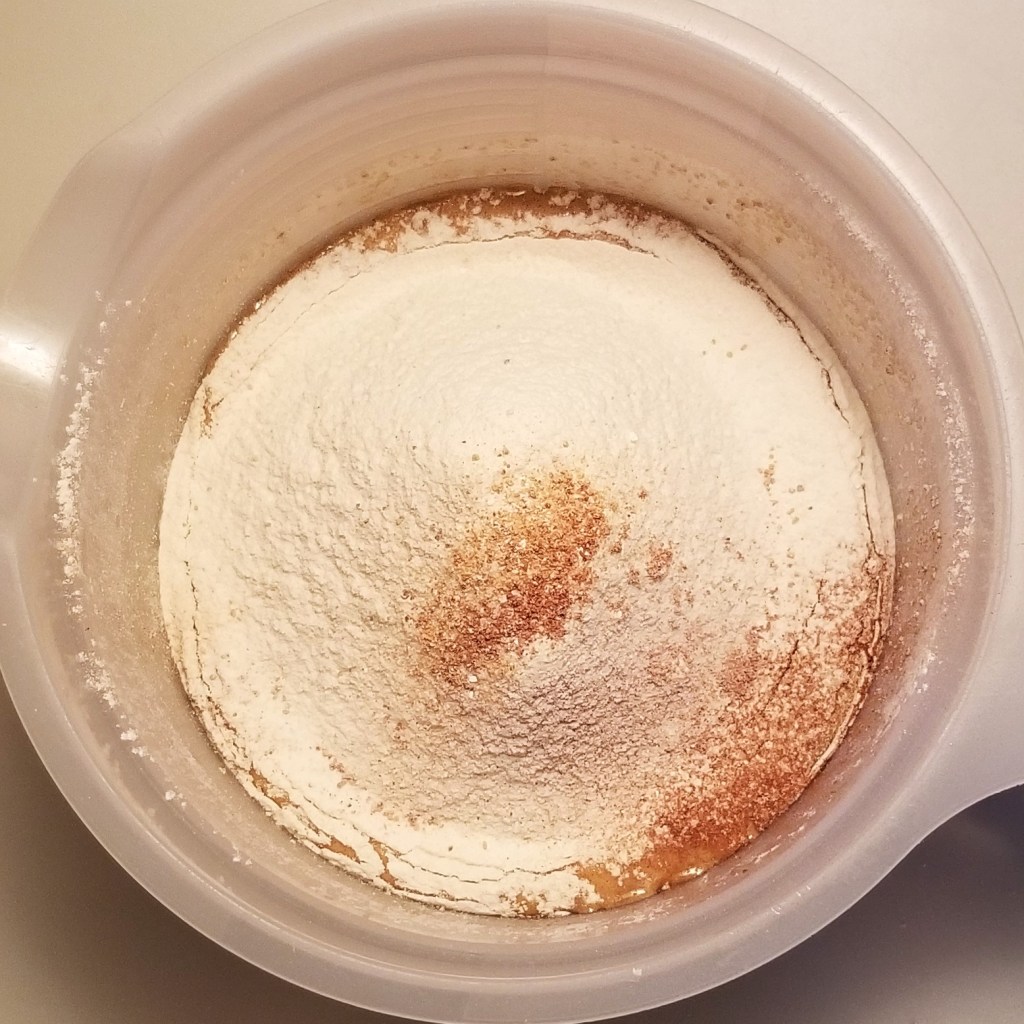
Place a fine colander on top, and add flour, baking powder, baking soda, salt, and ground cinnamon, nutmeg, and ginger (photo below, left). Sift dry ingredients through the mesh onto wet paste in the bowl (photo below, right):
Mix to incorporate (photo below, left). The batter will be smooth and rather thick, this is normal (photo below, right):


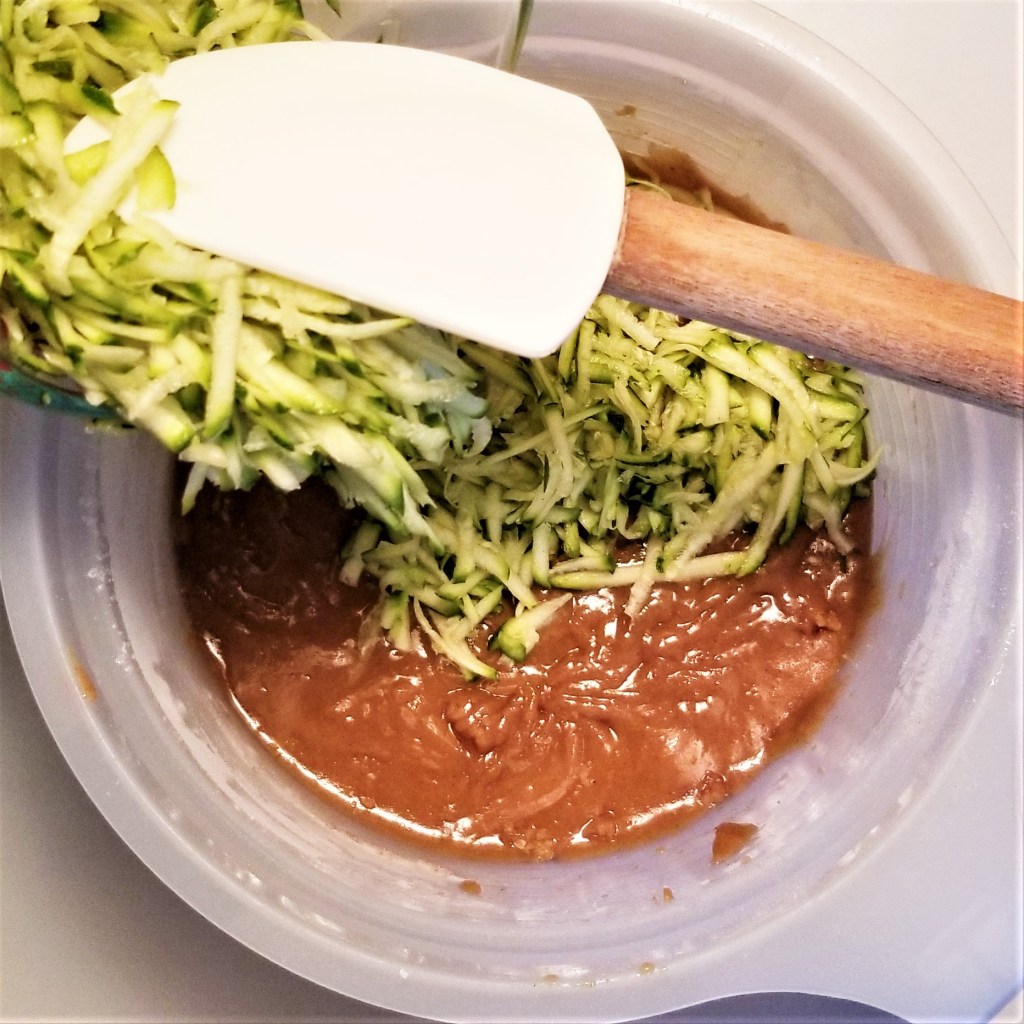
Add reserved shredded zucchini (photo below, left); use a spatula to fold zucchini into the batter (photo below, right):
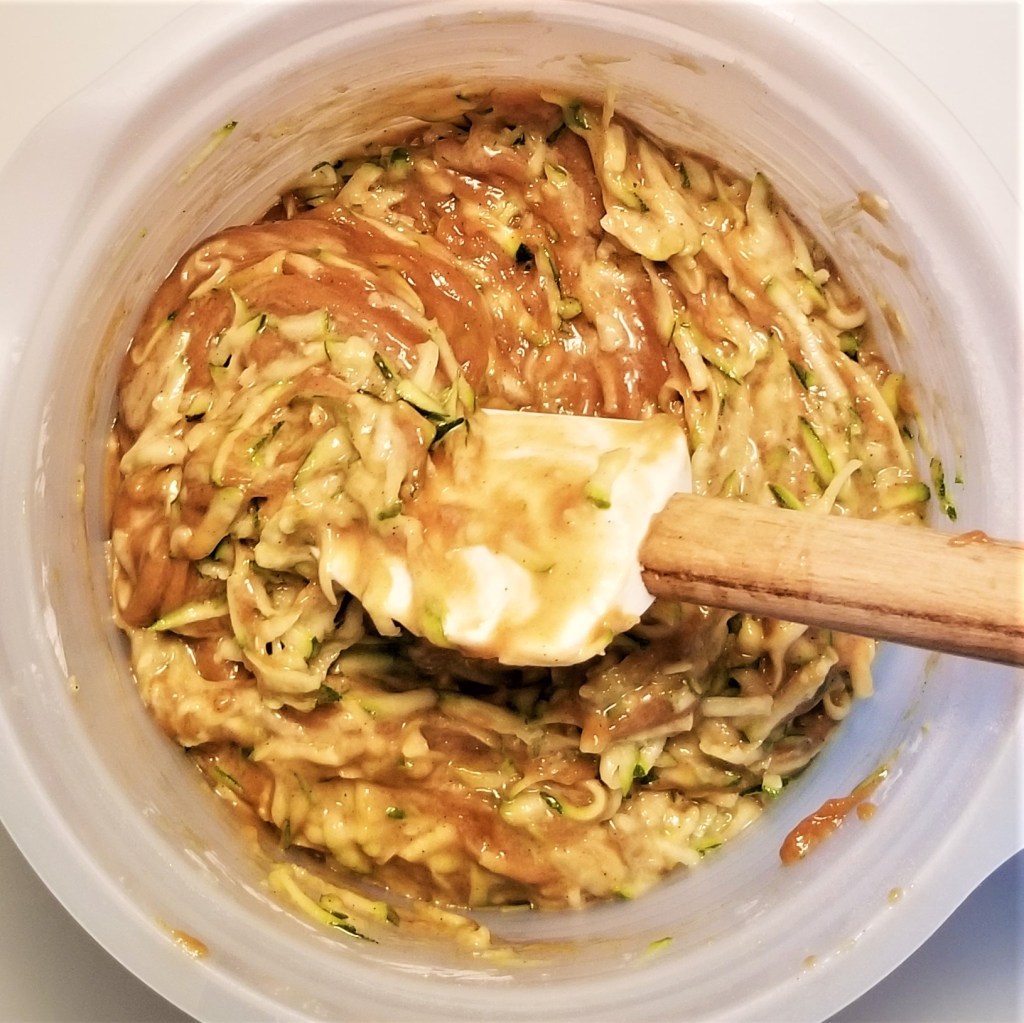
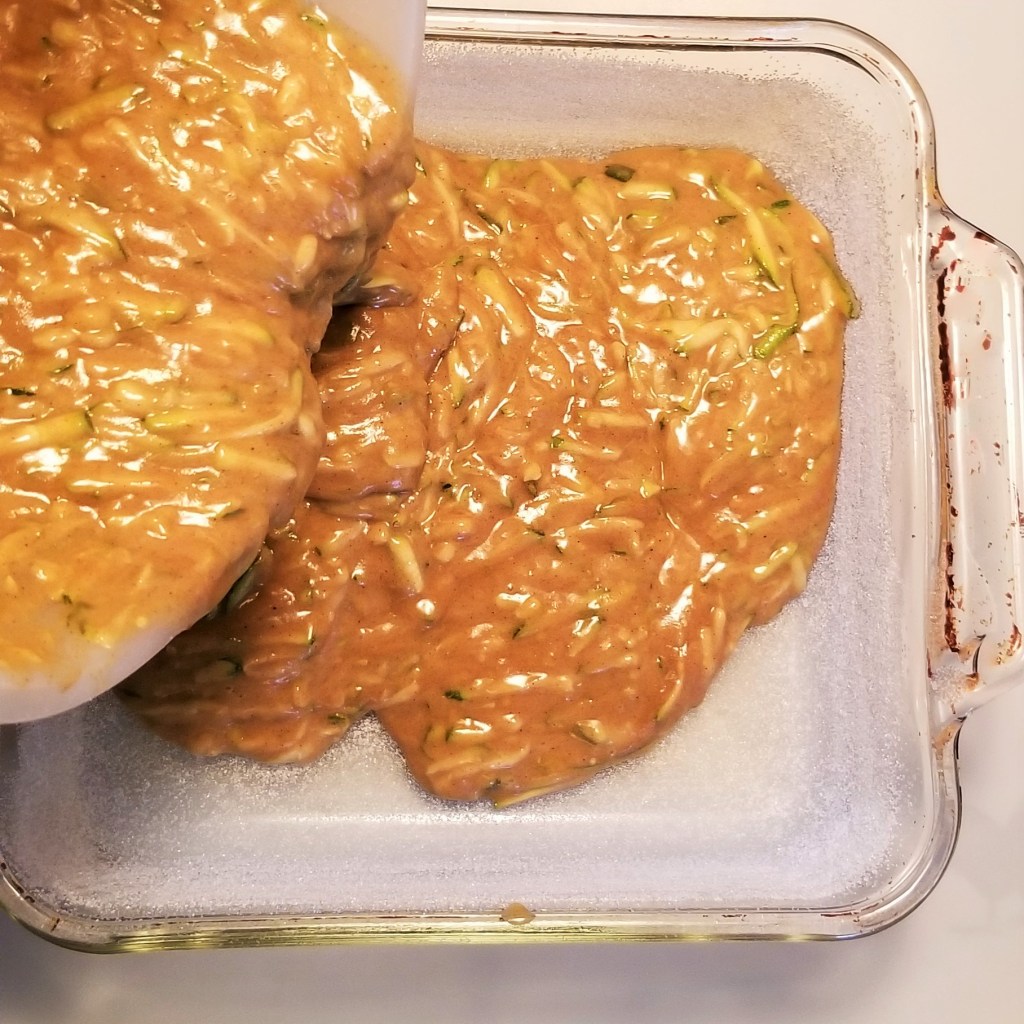
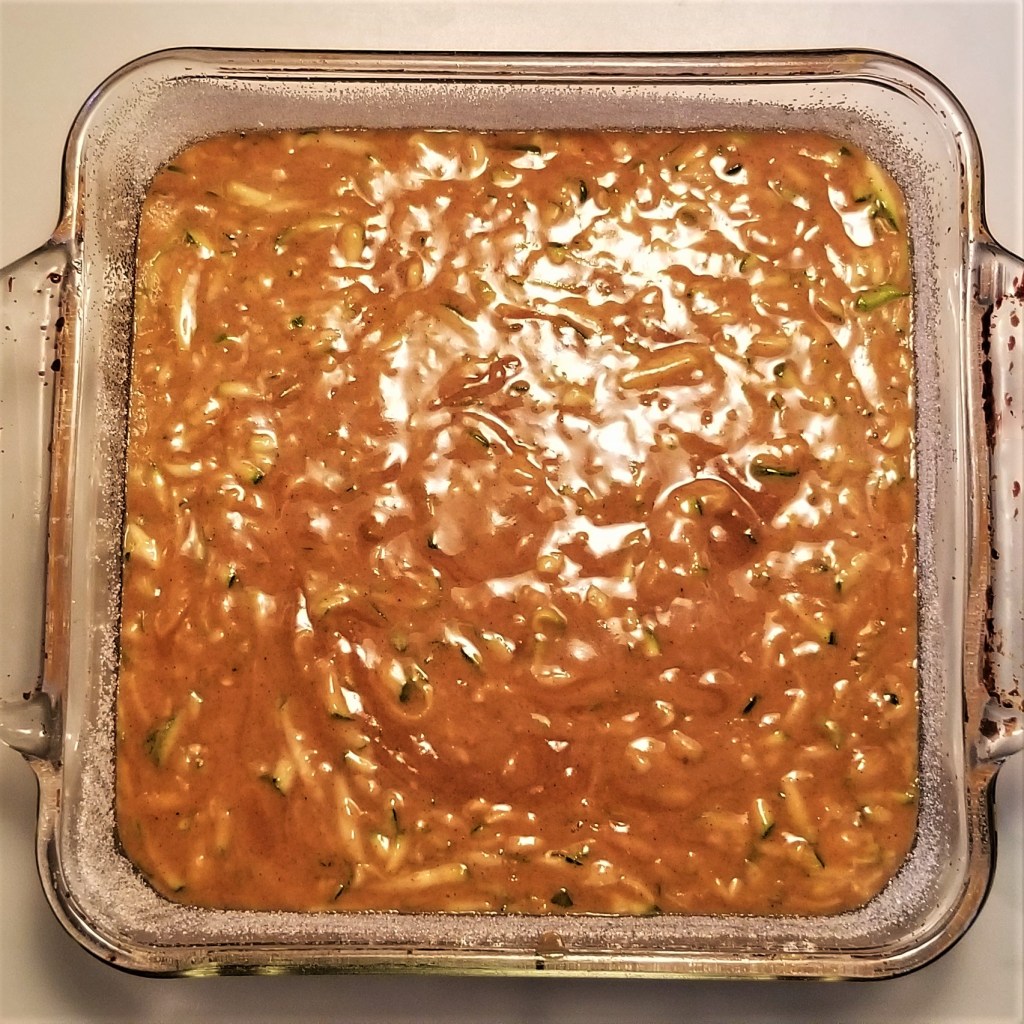
Once uniform, pour batter into the prepared pan (photo below, left). The thickness of the batter allows for a uniform distribution of the zucchini, not sinking to the bottom (photo below, right):
Bake in preheated oven for about 40 minutes, then transfer to a cooling rack. The top should have risen and turned golden brown, and a knife or skewer comes out clean when inserted in the middle of the pan:

Allow to cool to room temperature. For a casual snack, slice directly in the pan, and serve.
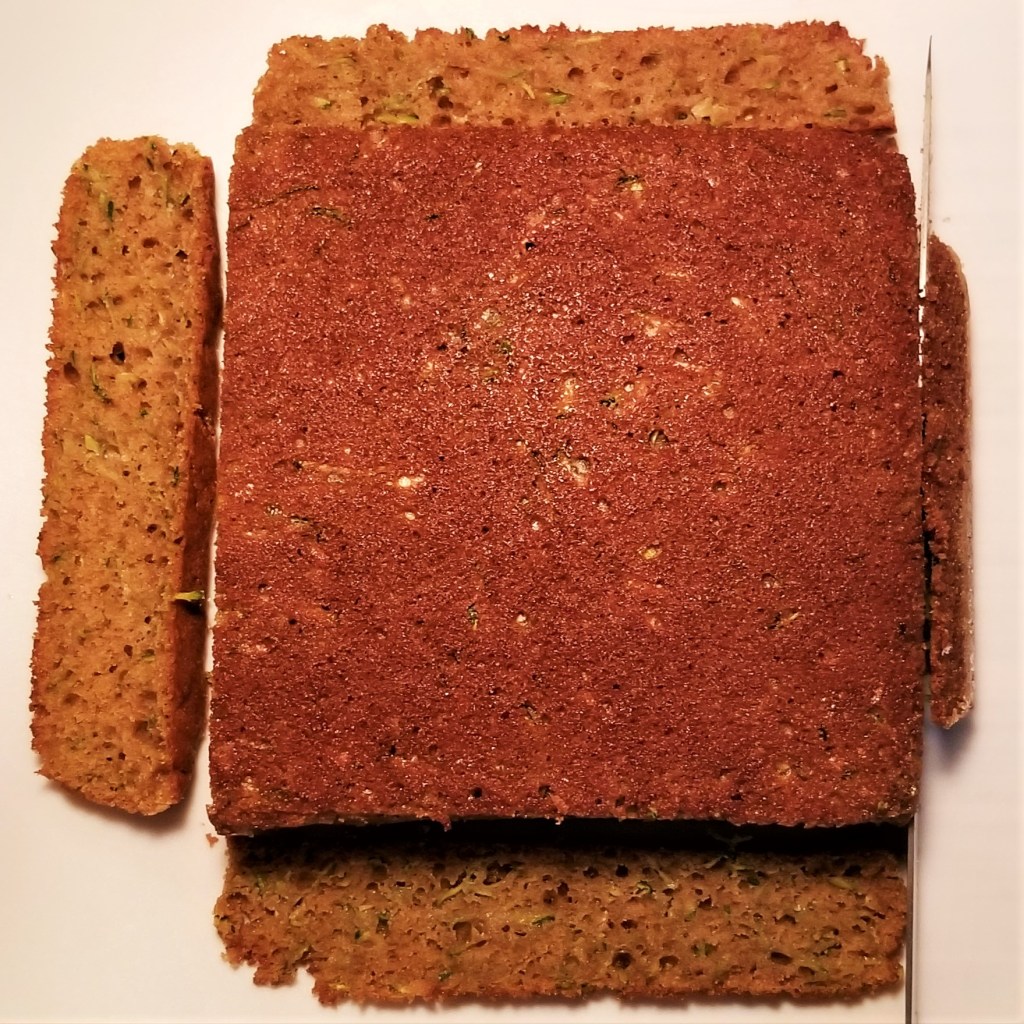
For decorating squares, trim off the top of the cake with a serrated knife, to make it flat. Flip over onto a cutting board, so the bottom of the cake faces up (photo below, left). Trim all four sides for straight, uniform edges (photo below, right):
(The edges are a delicious reward for the baker, LOL). Slice cake in half one way, then again each half the same way, to obtain four strips; run the knife across the middle of the strips, for eight equal slices (photo below, left). Run the knife across the middle of each row of slices, to obtain sixteen squares (photo below, right):
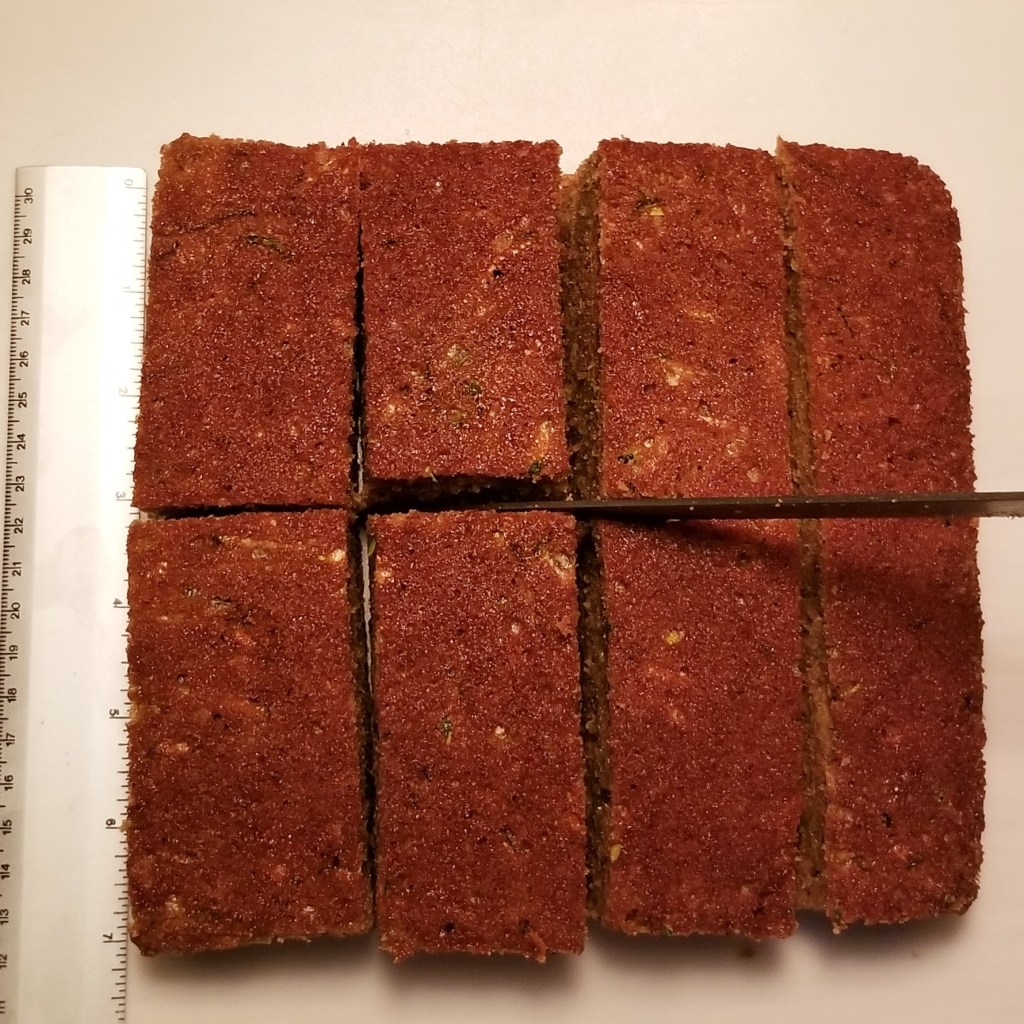

Each square will be a little under two inches (five centimetres) per side, and the sides will be straight and uniform, as seen in the photo below:
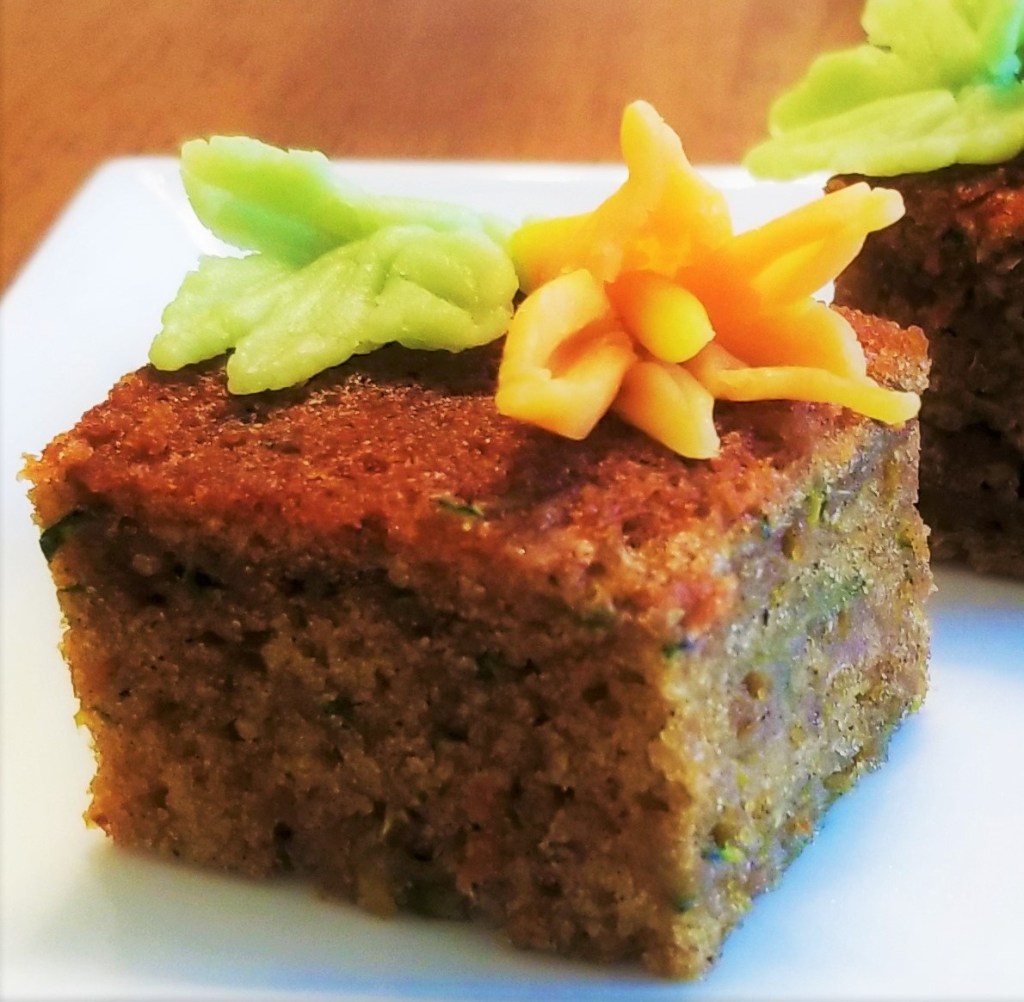
Some squares may be left plain, others dusted with icing sugar, or decorated with marzipan:
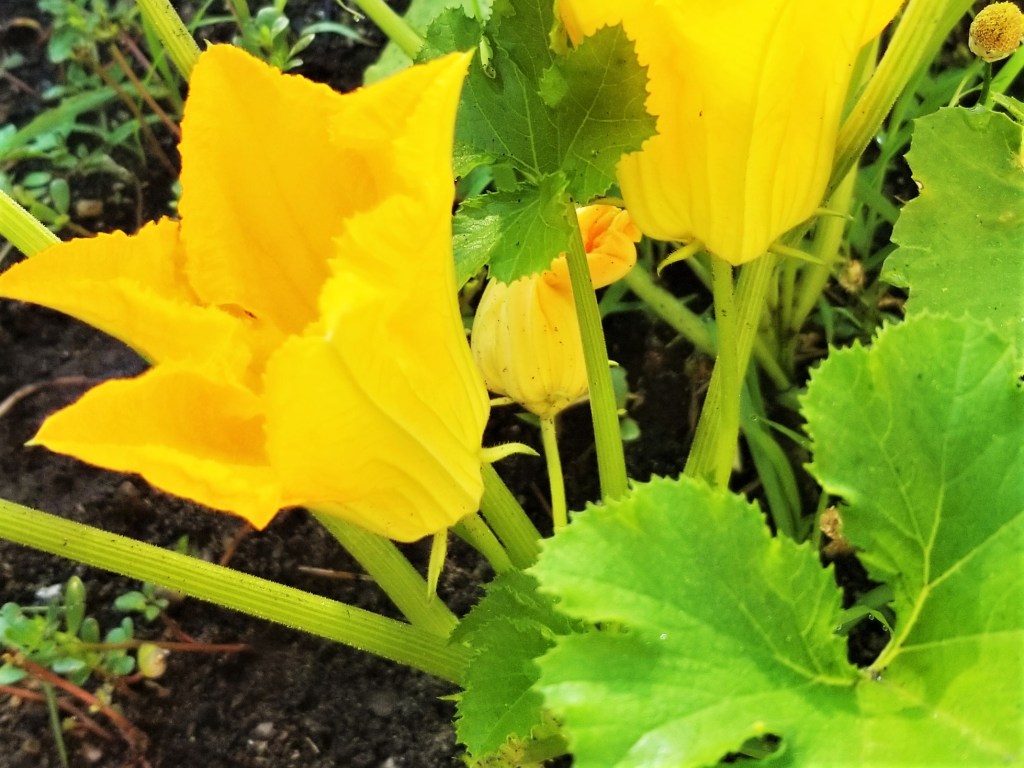
The marzipan decorations resemble zucchini flowers and leaves:
To make decorations, start with a bar of almond marzipan, slicing into sections, about one inch (2.5 cm) long (photo below, left). Cut each section into slices, and add one or two drops of food colouring, for example green (photo below, right):
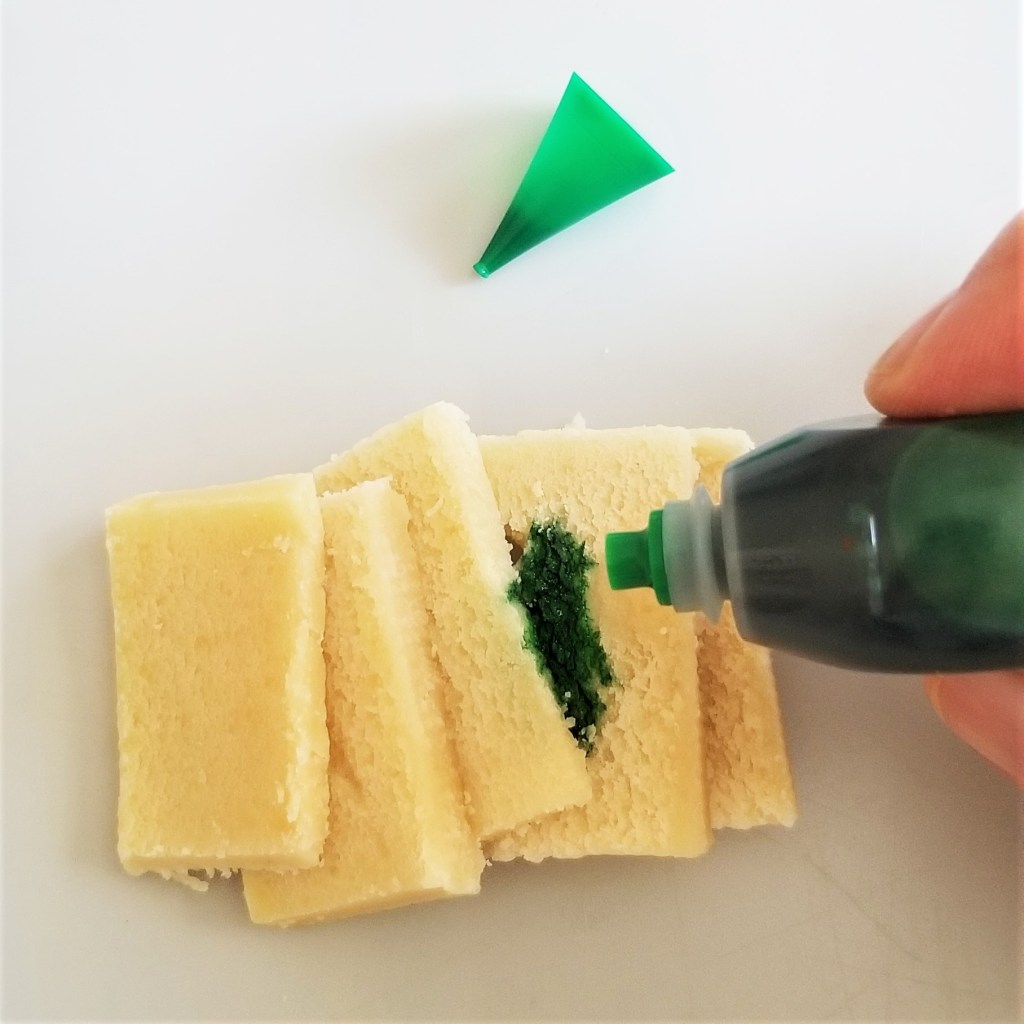
Knead to form a uniform tinted ball. Continue with other sections, adding yellow, or one drop of red and two of yellow for orange, and leaving some of the rest without colouring. Also mix some orange and yellow, to create a lighter shade of orange:

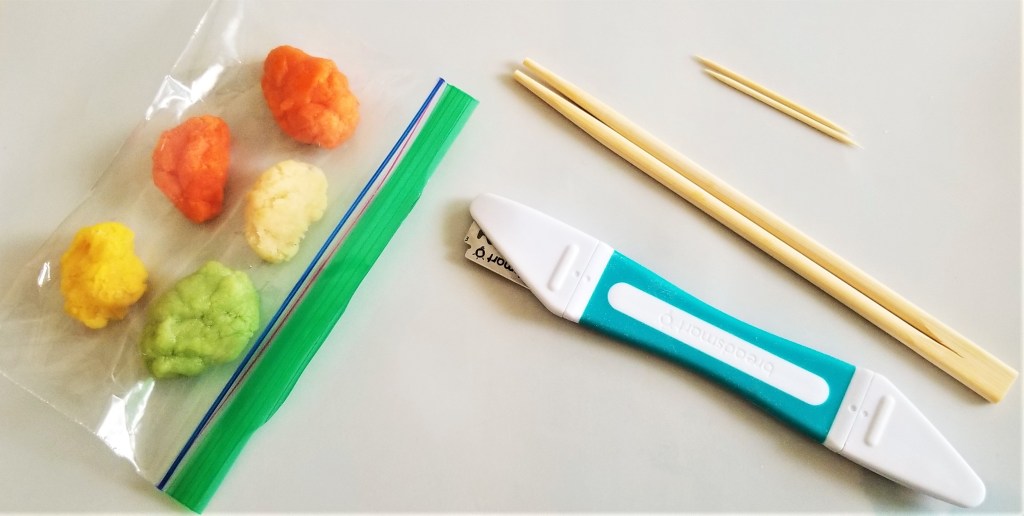
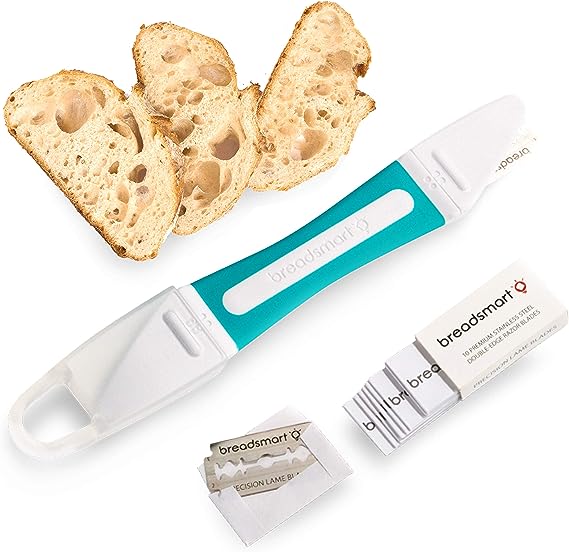
Place marzipan in a container or plastic bag. If a modelling kit is not available, assemble a few simple kitchen tools, such as a sharp knife or bread scoring blade, wooden skewers or chopsticks, and toothpicks:
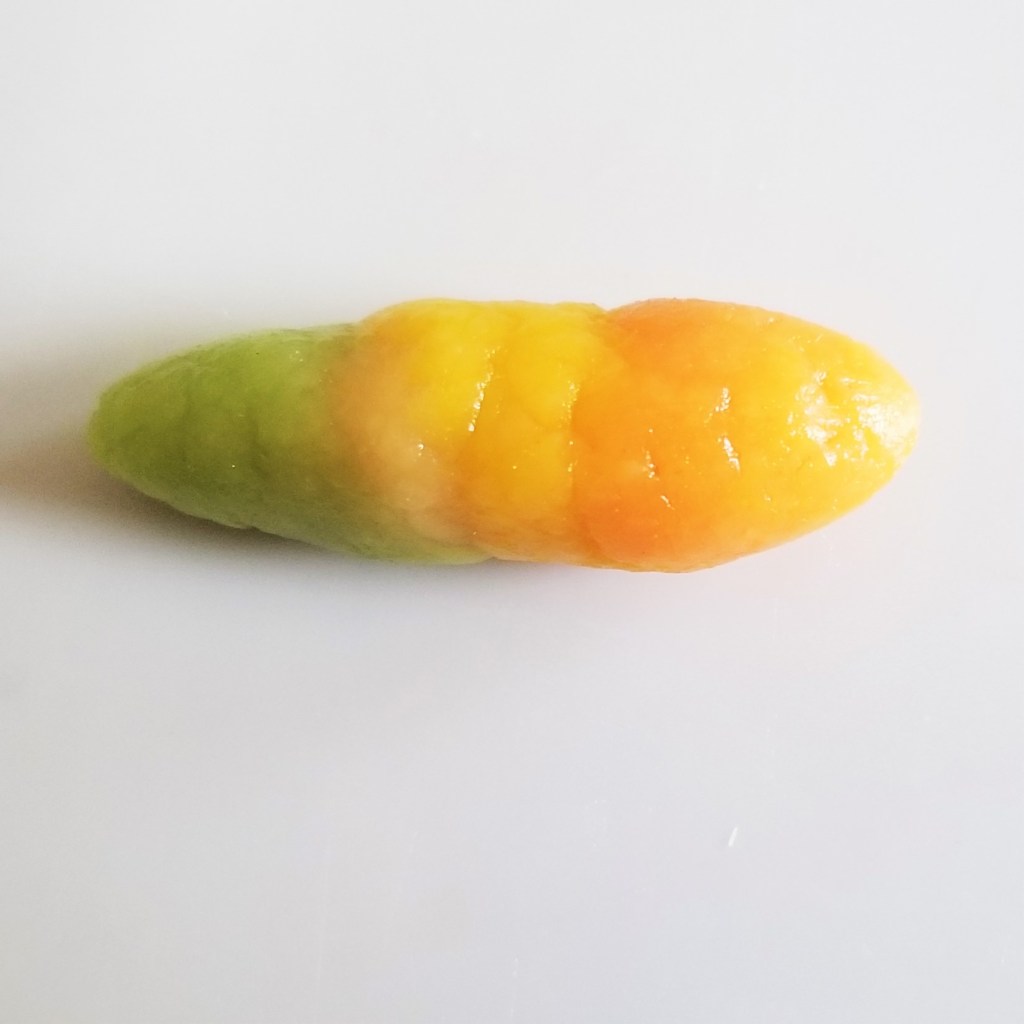
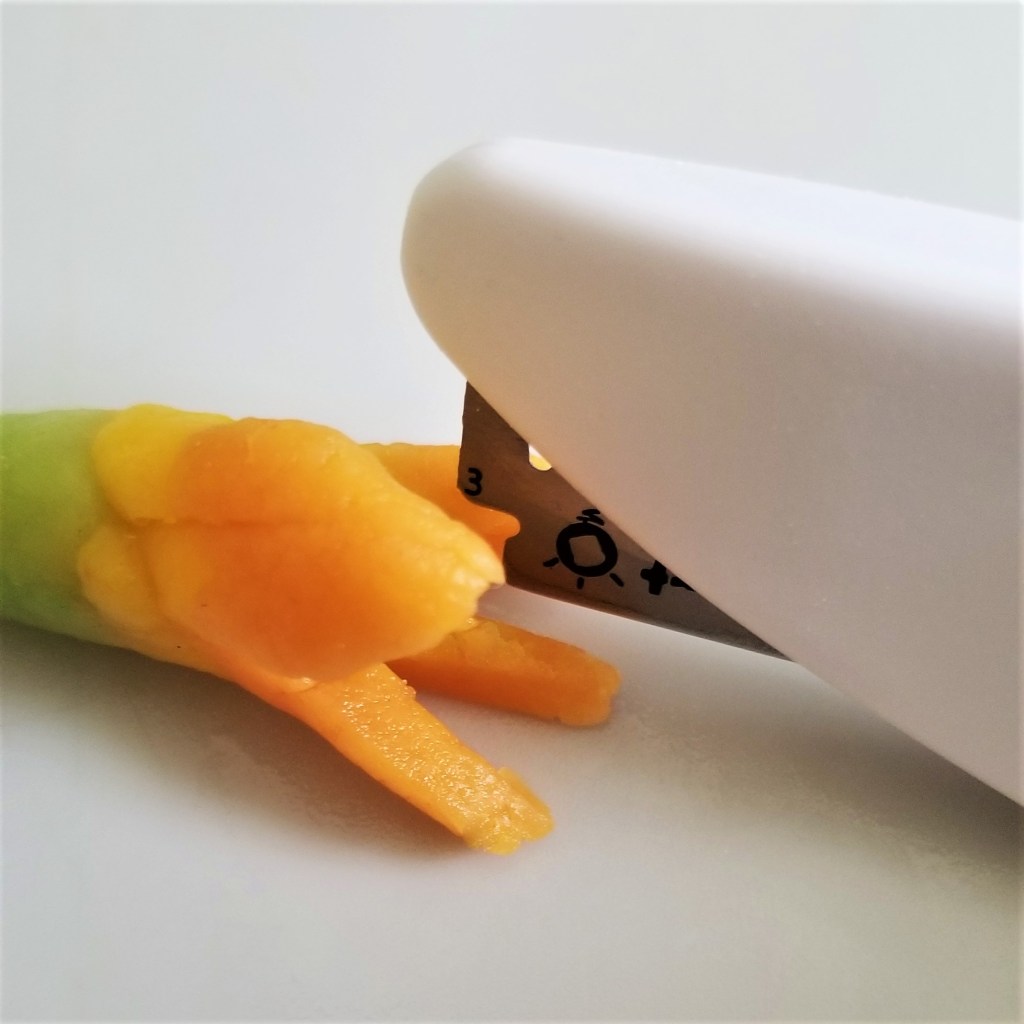
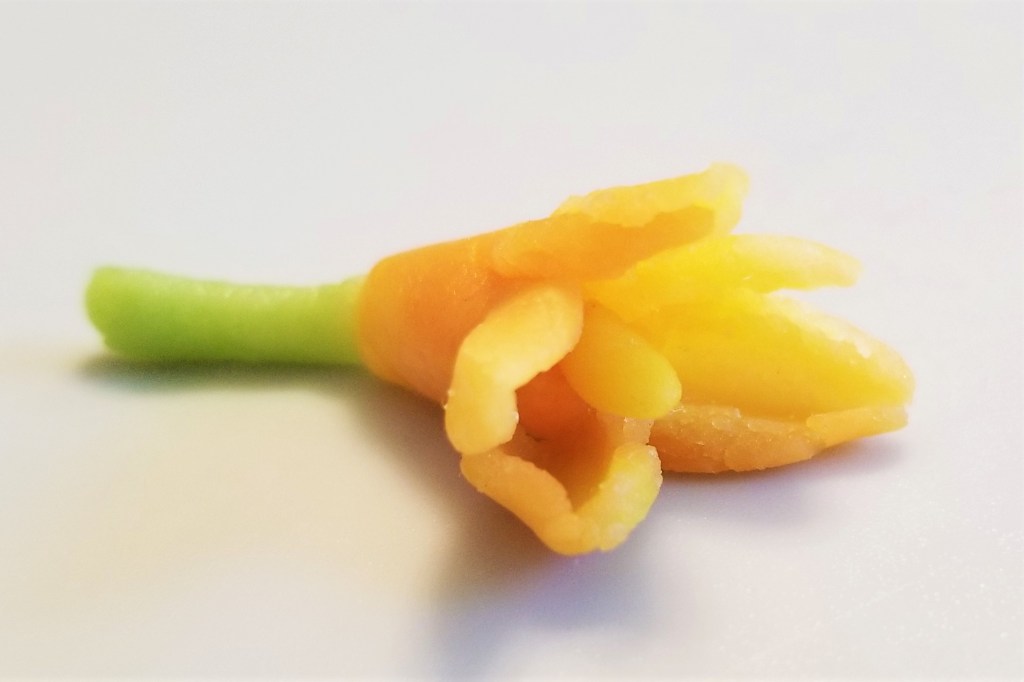
For a female flower, start with a little bit of green, plain, yellow and light orange marzipan, kneading them together in that order, to form a tapered rod, about one inch (2.5 cm) long (photo below, left). Using sharp tool, score the orange end, dividing into five equal sections (photo below, right):
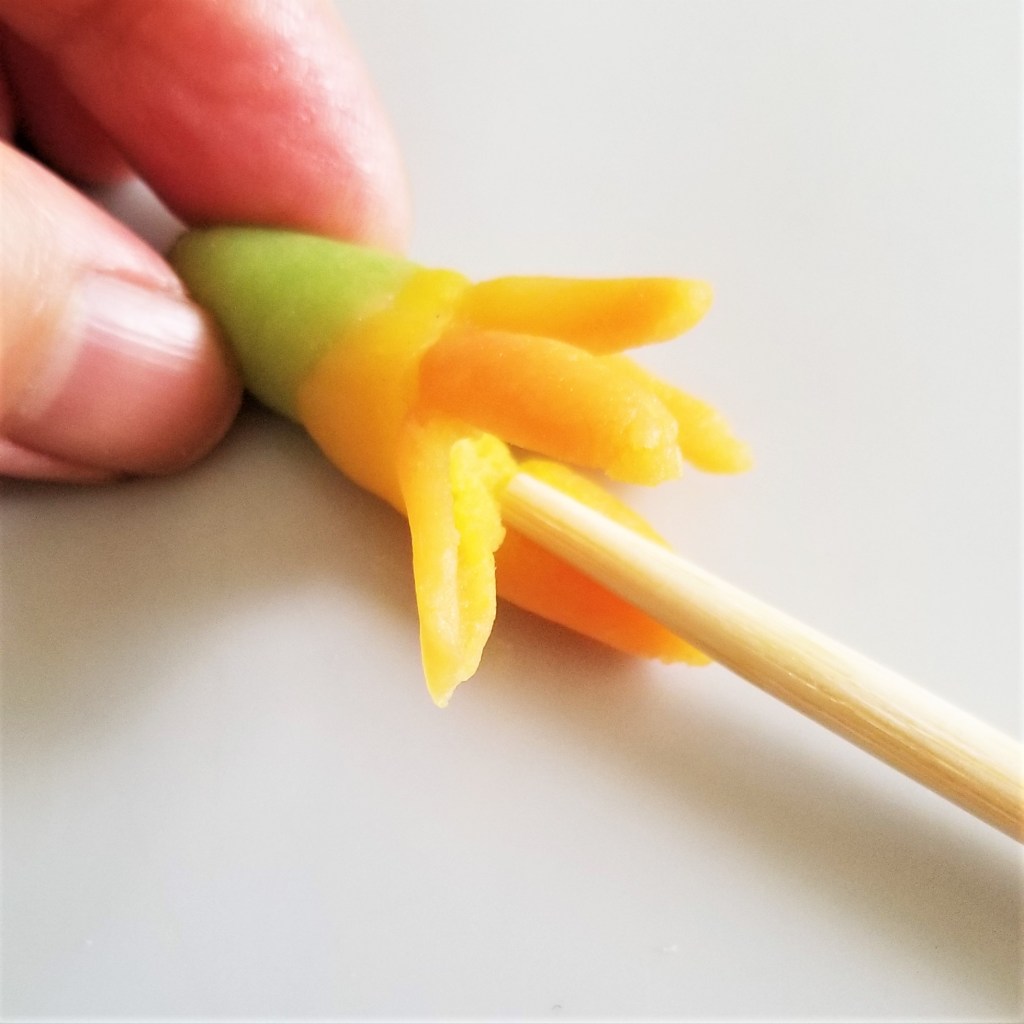
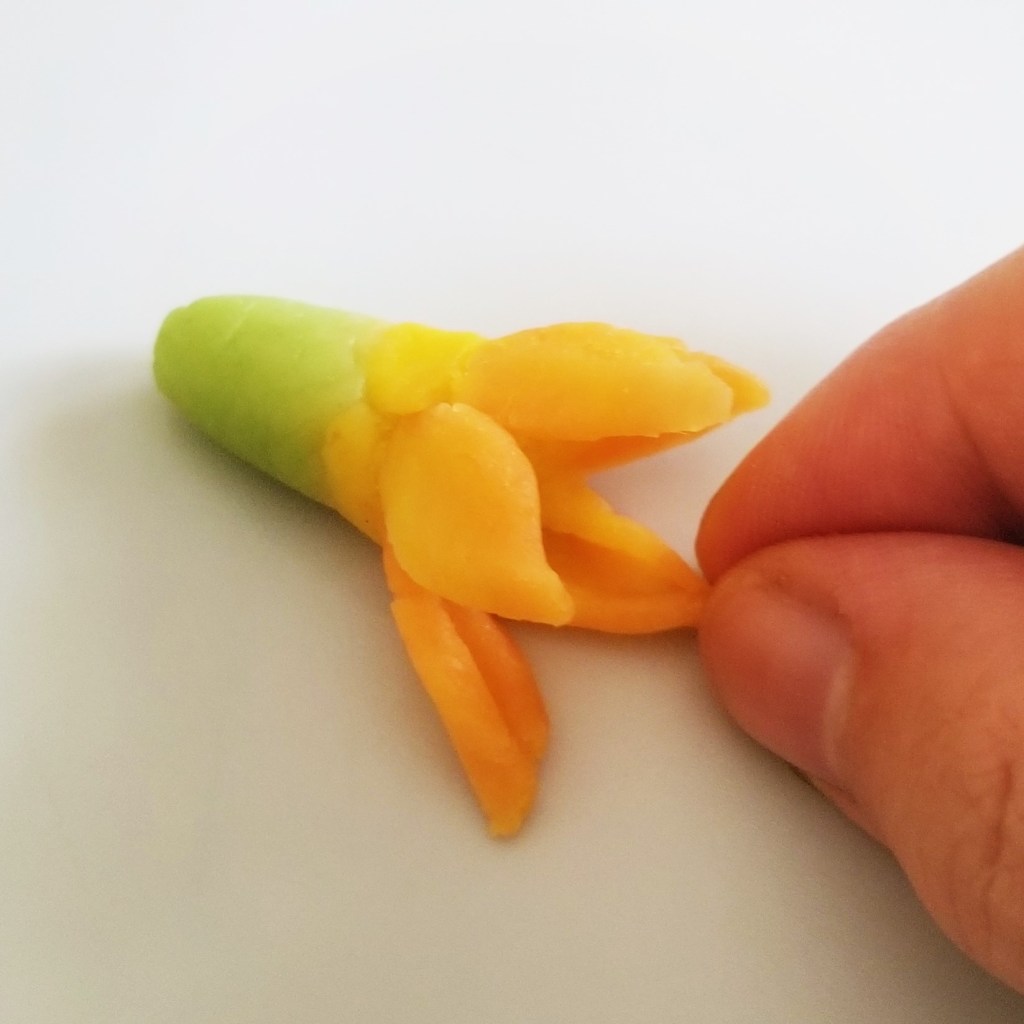
Using a chopstick or thick skewer, flatten each orange section, to form petals (photo below, left). Pinch the tip of each petal, to make it pointy (photo below, centre). Holding the flower from the bottom, press centre with chopstick, to form a cavity (photo below, right):

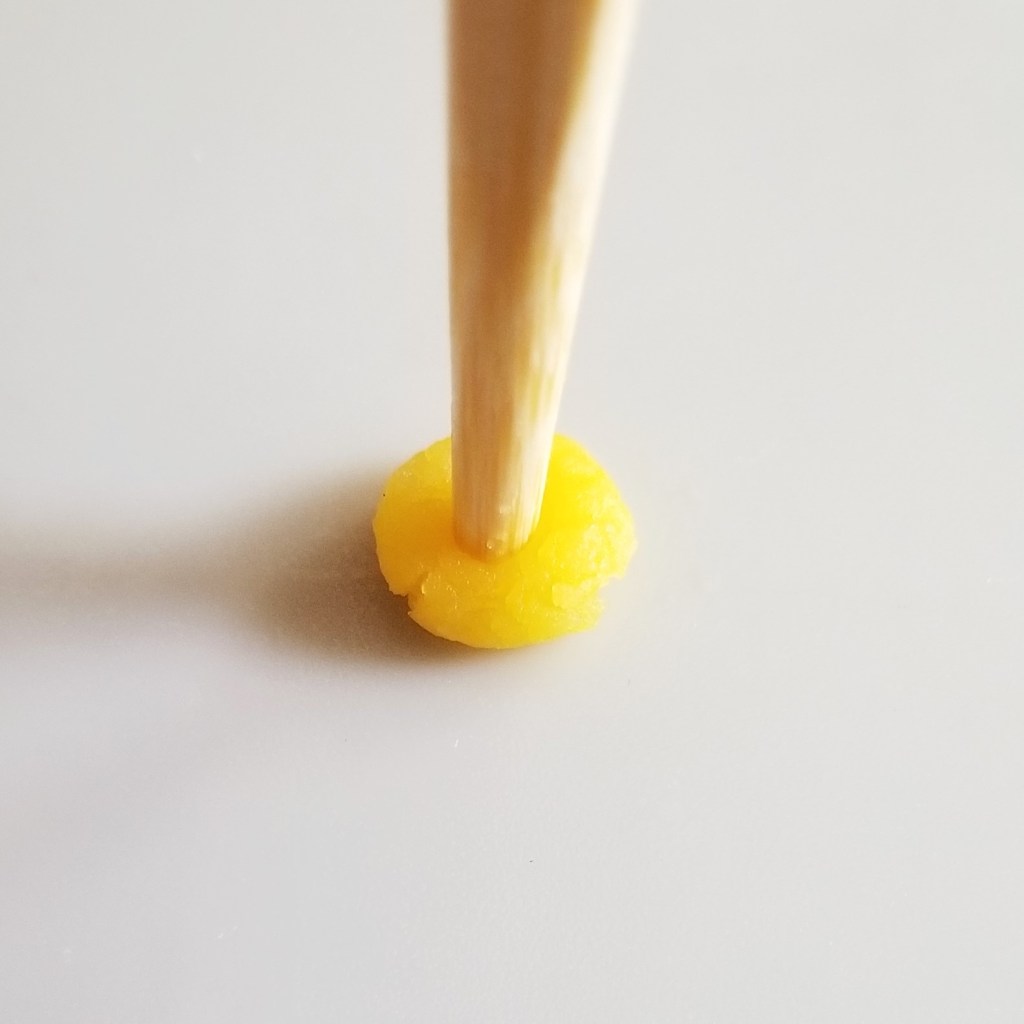
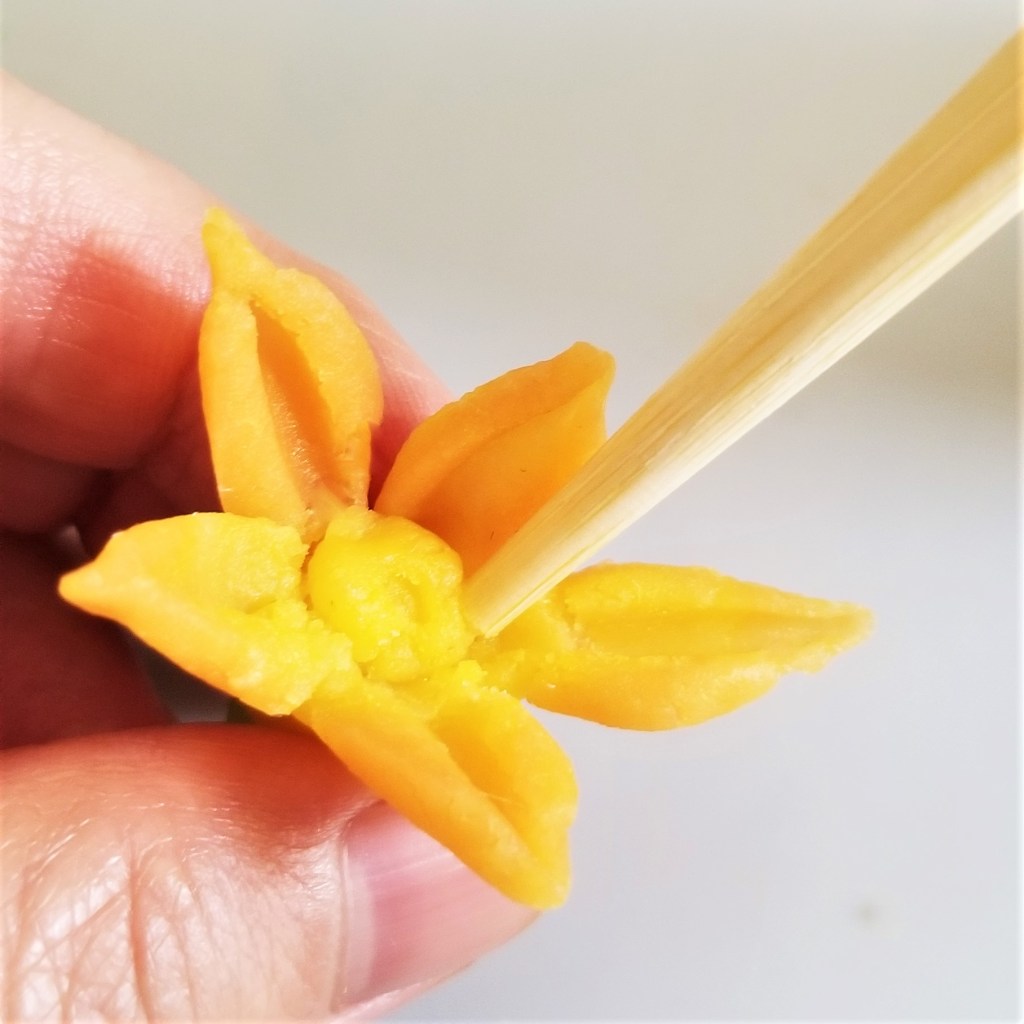
Take a tiny piece of yellow marzipan and form into a disc; press centre with the tip of a chopstick (photo below, left). Place disc in the centre cavity of the flower, modelling the edges to make it look like pistils, and gently pressing to stick to the flower (photo below, right):
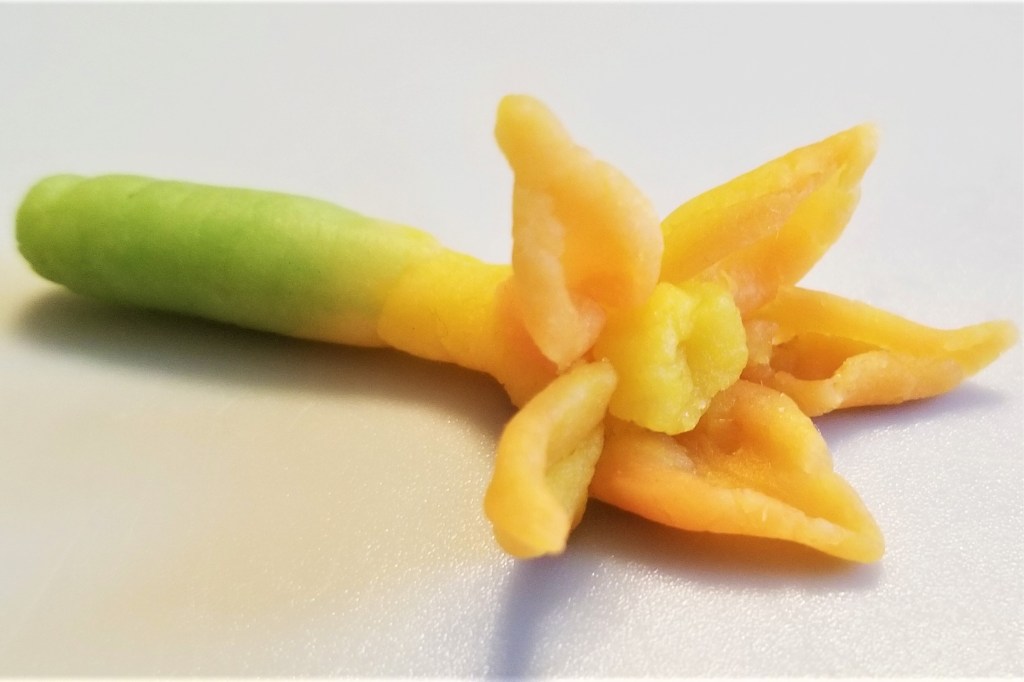
Female flowers have the proto-fruit attached, so just roll the green end into a rod:
For a male flower, follow the same directions, omitting the green end, to form an orange flower; for the centre, form the stamen by rolling a small portion of yellow marzipan into a tiny rod (photo below, left). Place the stamen in the central cavity of the flower (photo below, right):


Roll a small portion of green marzipan into a thin stem, and attach to the bottom of the male flower:
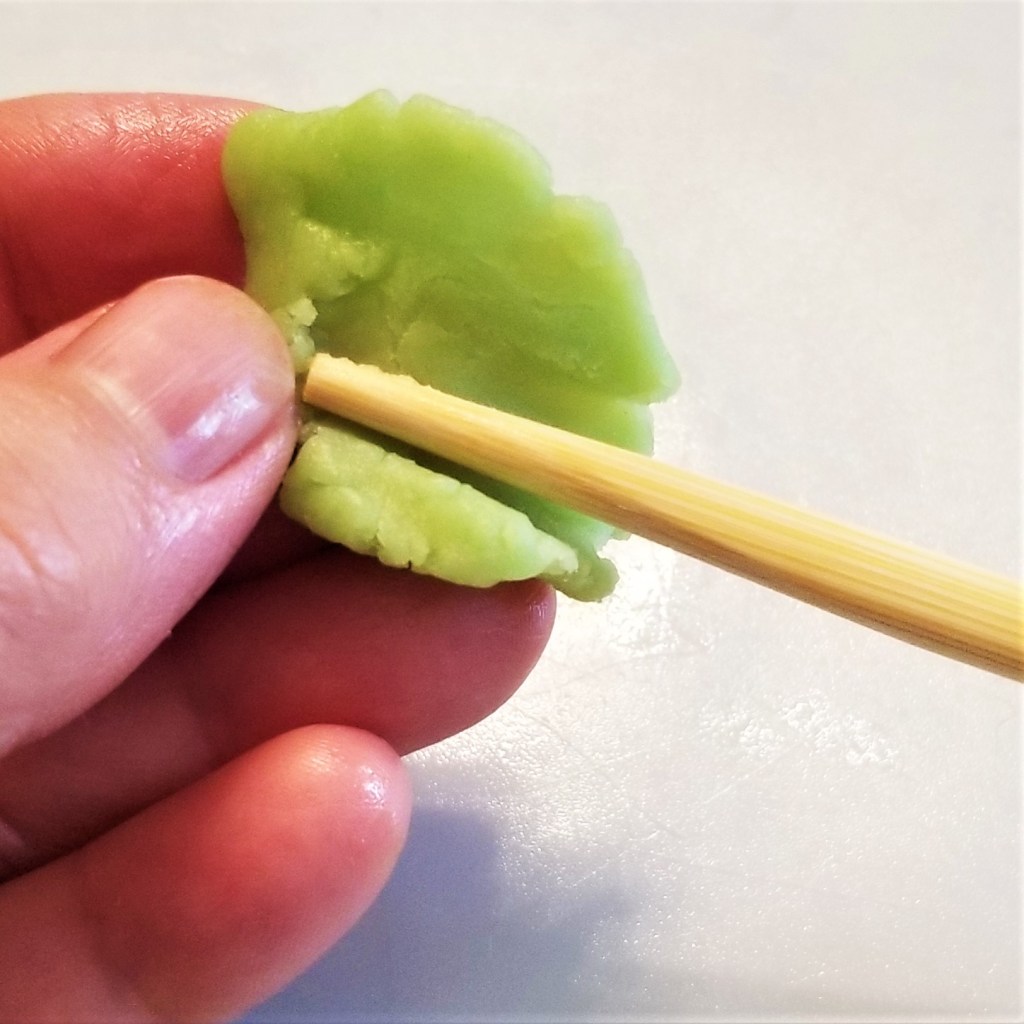
To make a leaf, start with a green disc, then roll the tip of the chopstick back and forth, to thin and form lobes (photo below, left). Score veins in the middle of each lobe with a toothpick, for more detail (photo below, right):

Arrange one flower and one leaf on top of a zucchini square. In the photo below, a square with a male flower (left) and another with a female flower (right):

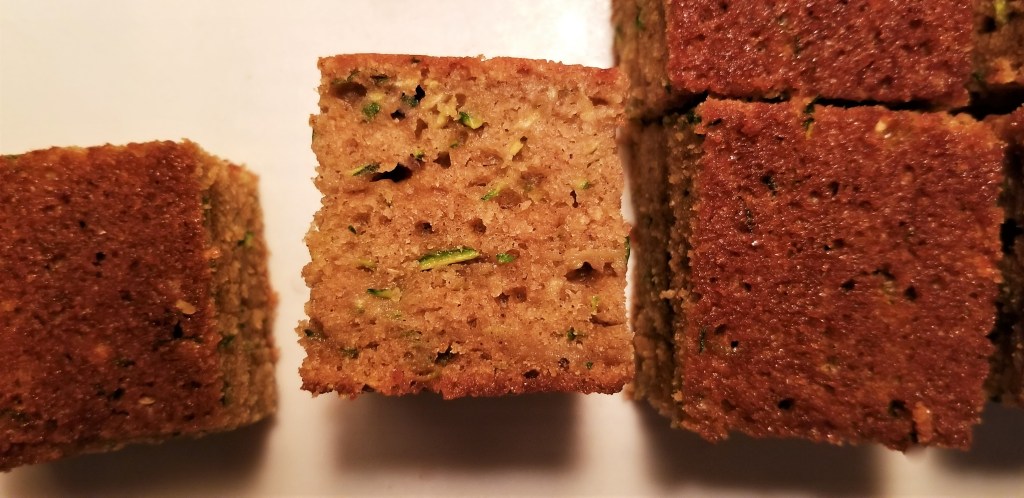
The flowers add a beautiful touch, and also an extra sweet bite. The squares are moist and light from the shredded zucchini, and also look interesting, speckled with green bits all around:
For your convenience, click on the highlighted text below for products available on Amazon™. DISCLAIMER: Any reviews included in this post are my own, for items I have purchased, not provided by any company; as an Amazon Associates Program affiliate, I might receive a commission for any purchases originated from the links below, at no extra cost to you. Thank you to readers who have bought other products starting with a click from my links!


Once again, I am joining The Great Bloggers’ Bake-Off, this year with the theme “Express Yourself”:
Last year, thanks to my recipe for Nova Scotia Style Oatcakes, I was lucky enough to be granted the Star Baker Award, under the “Best Cookie” category, and the organizers have honoured me with a featured Star Baker Interview this year. Check it out @ Caramel’s post “Catching Up with Irene”.

UPDATE: Thank you to Caramel for reviewing my entry during the party, on the weekend of August 26-27, 2023:
Irene’s Zucchini Squares
I am bringing my recipe to Full Plate Thursday #655 with Miz Helen @ Miz Helen’s Country Cottage.
I am also sharing my post at Thursday Favourite Things #624, with Bev @ Eclectic Red Barn, Pam @ An Artful Mom, Katherine @ Katherine’s Corner, Amber @ Follow the Yellow Brick Home, and Linda @ Crafts a la Mode.
I am joining Fiesta Friday #500 with Angie @ Fiesta Friday, this week co-hosting with Pauline @ Beautiful Voyager.
I am sharing my recipe at What’s for Dinner? Sunday Link-Up #435 with Helen @ The Lazy Gastronome.


Congratulations on your award! Zucchini is arriving and I know what to make of it!
LikeLiked by 1 person
Best zucchini bread recipe ever. I made them today.
I didn’t see a measurement in the ingredients for the vanilla so I used 1 teaspoon.
I appreciate your detailed instructions!
LikeLike
Oh, I missed the vanilla? Yes, one tsp is right, I will correct that. So happy you tried it and liked it, thank you for the feedback!
LikeLike
Ok, I have added the 1 tsp vanilla both to the list on the post, and the printable recipe. Thank you for pointing it out, Colleen!
LikeLike
I love your recipe; it reminds me of something I would eat in Mexico from the Panaderias. That zucchini flower on top of the zucchini squares makes it extra special!
LikeLiked by 1 person
Thank you for your awesome blog!!
LikeLiked by 1 person
That’s a great interview! I love seeing you make those little flowers and leaves. They’re adorable!
LikeLiked by 1 person
Thank you, Eilene!
LikeLiked by 1 person
This recipe looks very nice. I like the marzipan flowers.
LikeLiked by 1 person
Thank you, Robbie!
LikeLiked by 1 person
The meticulously accurate flowers of both types made me smile. Thank you for sharing and I look forward to trying this in the future.
LikeLiked by 1 person
I guess as a backyard gardener I had to try and model true to nature, hehe. Hope you get to try the recipe; these squares really are very tasty.
LikeLiked by 1 person
Thanks for joining our party and I love love love that you did a zucchini flower marzipan. Bookmarking this recipe for sure!
LikeLike
Thank you, Pauline, and thank you for hosting!
LikeLike
These not only look delicious, they are beautiful!! They will be featured this sunday – Thanks for sharing at the What’s for Dinner party. Hope your weekend is amazing!
LikeLiked by 1 person
Thank you so much, Helen, and thank you for hosting, see you there!
LikeLike