
In my previous post, I talked about my encounter with these buns called birotes, in Guadalajara, in the Mexican state of Jalisco, so this post is all about making a batch at home in Canada, far away from their place of origin. As I mentioned, the “secret” of this bread is to prepare a batch of starter with yeast in it, and letting it ferment for a few hours. This pre-fermented yeast mixture is called a poolish (from the French pouliche), used in French baked goods, such as baguettes, to obtain a richer flavour and a nice rising of the final dough. The poolish or “mother dough”, called “pata” in Mexico (which literally translates to “leg” or “paw”) is then mixed into a batch of dough, which also contains some yeast. Sprinkling with water before or during baking encourages the formation of a crispy exterior (some professional ovens have a steam/water spraying feature for this purpose.) The result is a very crispy bun, with a chewy and compact crumb, similar to artisan baguette, but unique in its own way and shape. According to many tapatíos (people from Guadalajara), they have the prerogative of baking (and naming) authentic birotes, and unless the buns are made in Guadalajara, no foreigner should use that name. For this reason, I shall call mine “birote style.”
I checked several recipes, and they all followed those same steps, although the amount of yeast varied quite greatly from one to another, with all the recipes calling for amounts that seemed to me somewhat high. I decided to use amounts comparable to the directions for artisan French baguette in the yeast company’s website, although higher, especially for the dough, to make them more consistent with other birote recipes.
Extra Crusty Buns (Birote Style) –
Pan extra crujiente (estilo birote)
Printable recipe: Extra Crusty Buns – Birote style
Ingredients
Pre-fermented starter (pata, poolish, mother dough)
2 cups flour
1 ¼ tsp quick rise instant yeast
1 ½ cups lukewarm water
1 tsp sugar; optional (recommended for cold weather)
Dough
4 cups flour
3 ¼ tsp quick rise instant yeast
1 ½ cups lukewarm water (or more, as needed)
1 tsp salt
1 batch pre-fermented starter
To spray
1 cup water
1 tsp salt; optional
About the yeast in this recipe, I used two envelopes of Fleischmann’s™ Quick Rise Instant yeast, which had 8 g of dry yeast granules each. Measuring with a 1/2 teaspoon, I got four leveled plus what is shown in the spoon in the photo below, from one of the envelopes:

I put all the granules back together, measured one whole teaspoon and reserved (for the second dough, later) and used the rest of the packet, about one and one quarter teaspoons, for the starter.
To prepare the starter (Active time about half an hour, plus 6-8 hr resting time): If using sugar, dissolve in half a cup of lukewarm water. Sprinkle yeast over and gently mix. The photo below shows 2 cups of flour in a bowl, remaining 1 cup of lukewarm water, and yeast mix:

Add both liquids to the flour (photo below, left) and incorporate with hands or a spatula; I like to use one hand and a spatula (photo below, right) so I can feel the texture and have one hand clean, in case I need to add something (or answer the phone, or take photos, too!):
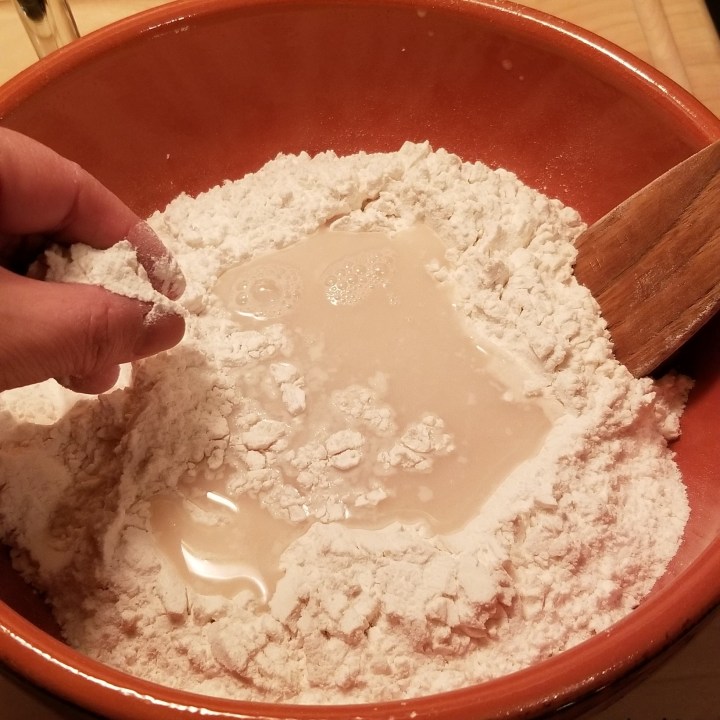

Continue mixing (photo below, left) until the dough may be formed into a ball, and it is coming off the bottom of the bowl; it will still be quite sticky (photo below, right):


Cover dough with a clean kitchen towel, and place in a warm spot, away from drafts. Let rest for at least 6 hours. The photos below show the dough before resting (left) and after approximately 7.5 hours (right):
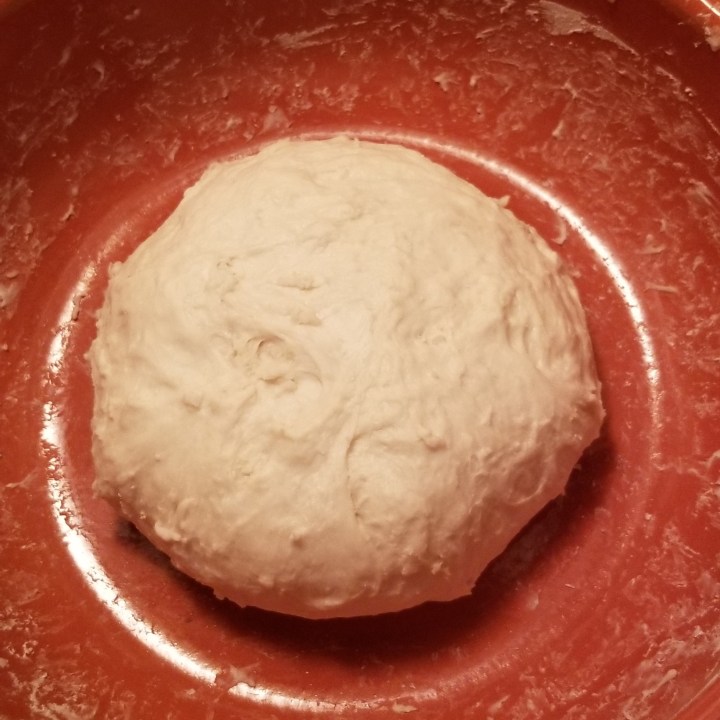
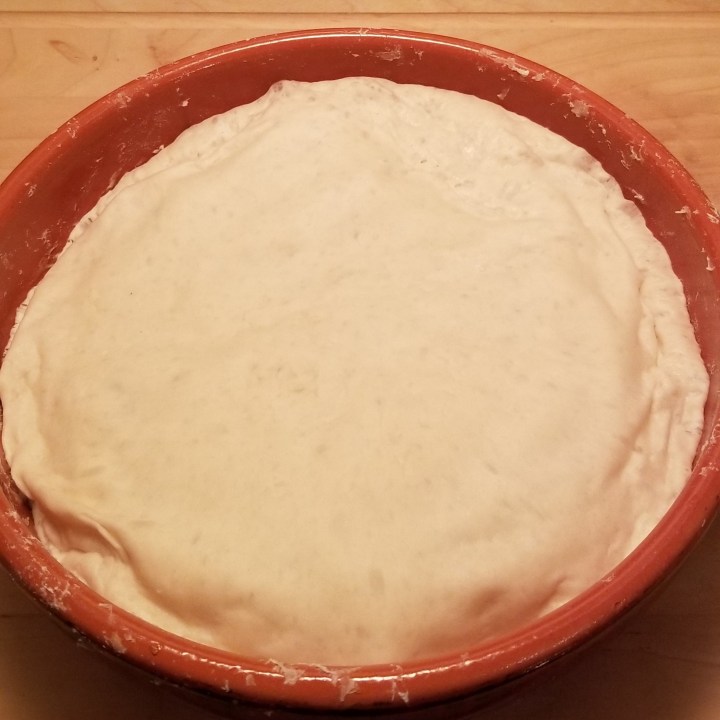
Punch the dough with a spatula or knife; it will deflate like a balloon (photo below, left). Form into a ball again (photo below, right):


Cover with towel and set aside.
To prepare the dough (About 2.5 hours plus baking time): Prepare two baking sheets by covering with parchment paper; reserve. Mix half a cup of lukewarm water with one tablespoon from the flour; for the dry yeast, one whole envelope plus the reserved 1 tsp from the first, makes three and one quarter teaspoons in total:

Sprinkle yeast over water/flour mix and gently stir. In a large bowl, mix the rest of the flour with the salt, then pour yeast mixture in (photo below, left); add the pre-fermented starter, then incorporate everything together (photo below, right):


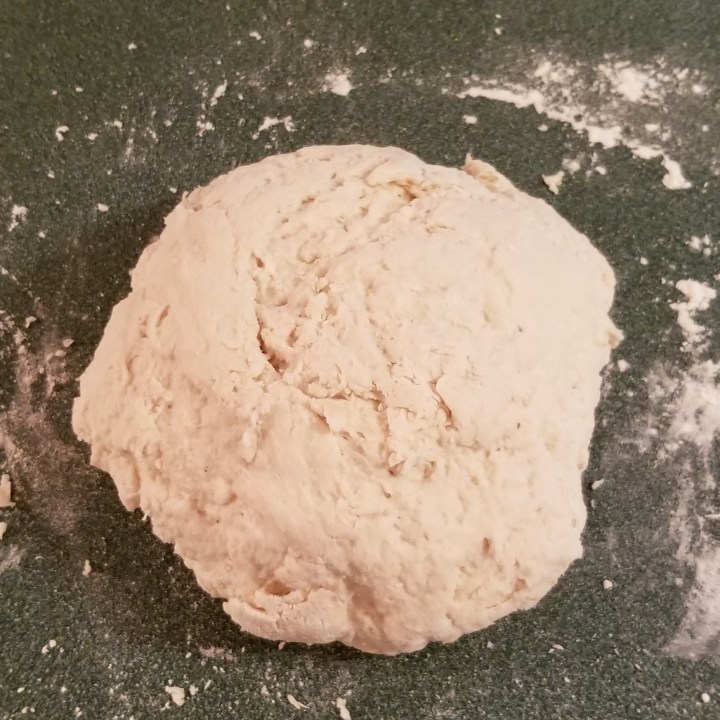
Continue mixing, adding lukewarm water gradually, until a ball may be formed (I used one and one quarter cups of water). Transfer ball to a working surface sprinkled with flour (photo below, left). Knead dough with both hands, pulling and folding, until it becomes elastic and does not stick to the working surface or hands, approximately ten minutes (photo below, right):
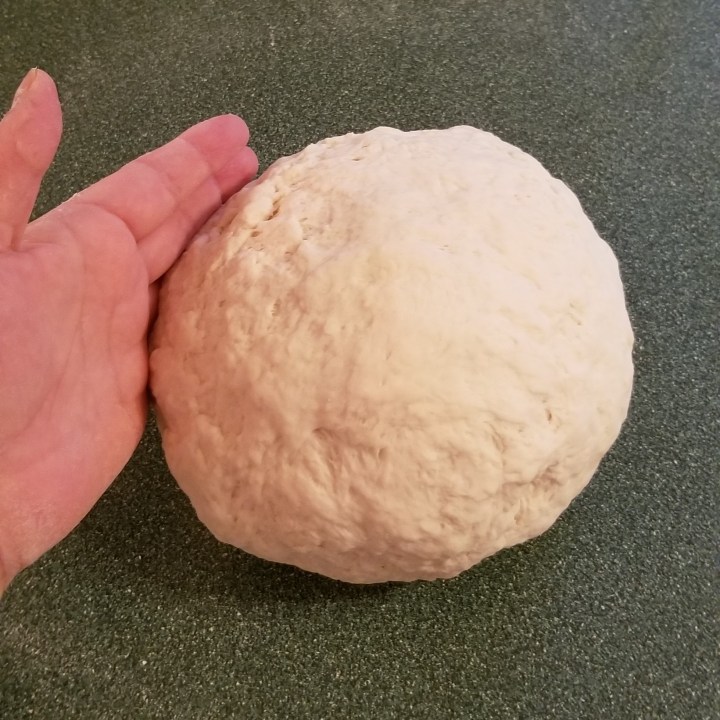
Divide into twelve portions, about 4 oz (120 g) each; roll each portion into a ball, place in a bowl and keep covered with a kitchen towel (photo below, left). Working with one ball at a time, use hands to press and flatten ball gradually, pinching and folding to form an elongated shape (photo below, right):


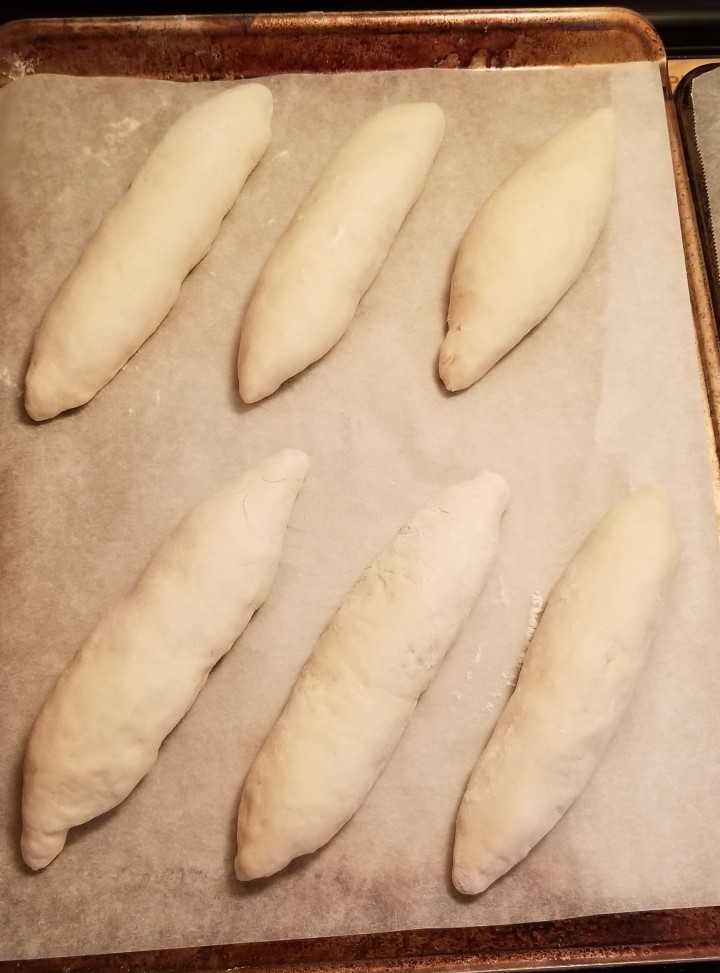
The final shape should be a tapered cylinder, about seven inches long by one inch in diameter at the thickest cross-section :

Place on prepared baking sheet, seam facing down; continue with each dough ball, placing six cylinders per sheet:
Cover trays with kitchen towels and let rest in a warm spot until the cylinders rise and look puffy (mine took one hour, but it will depend on room temperature and humidity):

Preheat oven to 375ºF (190ºC). Score each bun along the centre with a very sharp knife. In the photo below, it may be appreciated that the buns have developed a skin, and the knife did not make a clean line:
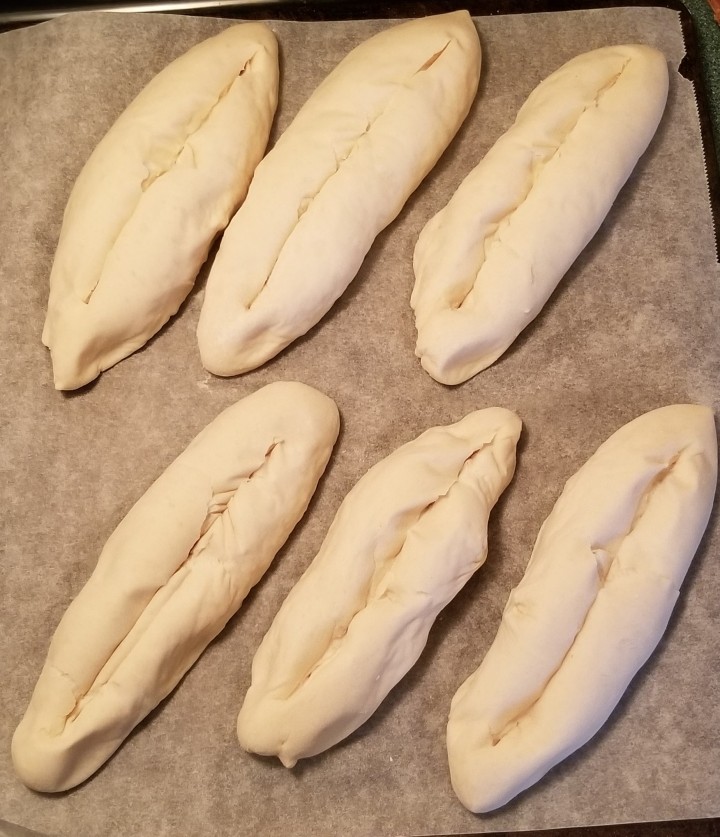
When the dough has a skin, the bread might not develop a proper crust. Spraying the buns with water (with added salt, optional), helps remedy this problem. Even if there is no skin, moisture on the surface of the buns will help develop a nice crust. Spray the buns before placing in preheated oven:

Bake in trays for 15 minutes. Increase temperature to 400ºF (200ºC), and switch top tray to bottom, and bottom to top, rotating trays so the front side faces the back, for another 15 minutes of baking. After that, check every five minutes, baking until the buns are crispy and golden brown:
Transfer to a cooling rack:
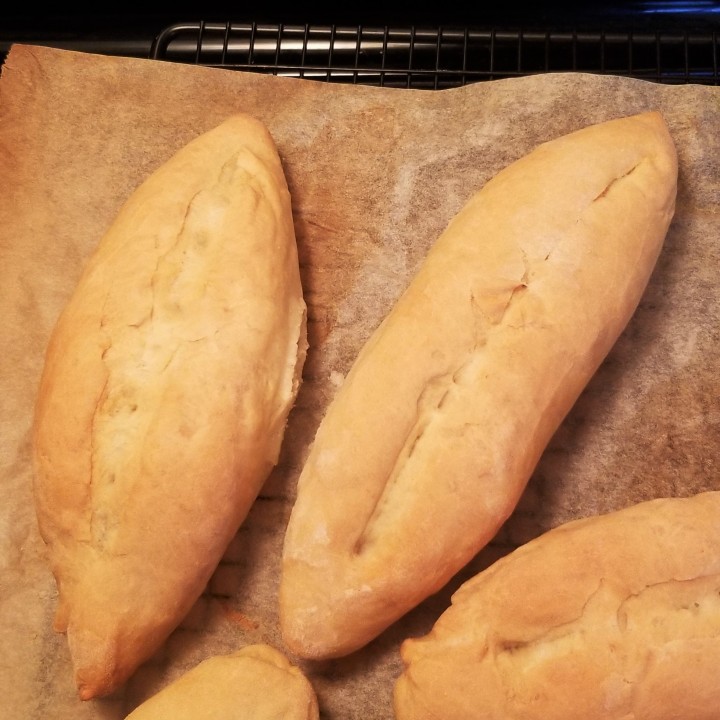
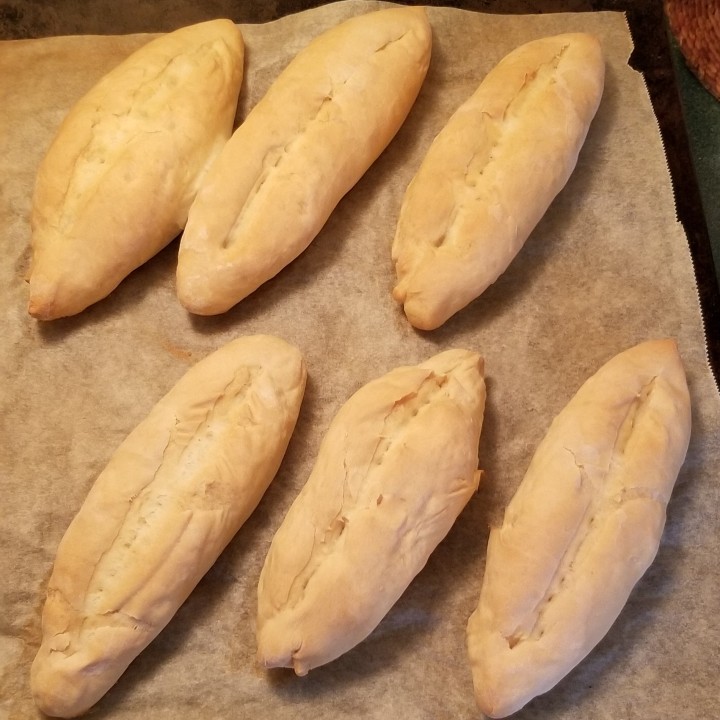
The buns were crispy and hard on the outside:

And deliciously chewy with a compact crumb, inside:

They might have not been “real” birotes, but they sure looked (and tasted) like them:

Birotes are perfect to enjoy with a salad or a soup, use for tortas (Mexican sandwiches) or, particularly, to sop up a delicious Mexican sauce. Because of their compact crumb and clean flavour, birotes maintain their integrity when soaked, and still are able to absorb flavours, and tame, to some extent, even the most explosive sauce. These characteristics give birotes the eminent suitability for tortas ahogadas (Mexican sandwiches “drowned” in sauce.) In my next post, I will share my recipe for these hot sandwiches (both in temperature and spiciness!)
NOTE: I really must run now, but I will come back later to add a printable recipe! UPDATE: The printable recipe has been added!
I am bringing my recipe to Thursday Favourite Things #425 with Bev @ Eclectic Red Barn, Pam @ An Artful Mom, Katherine @ Katherine’s Corner, Amber @ Follow the Yellow Brick Home, Theresa @ Shoestring Elegance and Linda @ Crafts a la Mode. UPDATE: I was thrilled to see my recipe featured at this Eclectic Red Barn’s party; thank you, Bev!
I am sharing my recipe at Full Plate Thursday #470 with Miz Helen @ Miz Helen’s Country Cottage.
I am bringing my cookies to Fiesta Friday #314 with Angie @ Fiesta Friday, co-hosting this week with Liz @ Spades, Spatulas & Spoons.
I am also sharing my recipe at What’s for Dinner? Sunday Link-Up # 239 with Helen @ The Lazy Gastronome.


That is dedication, Irene. ❤
LikeLike
Thank you, Tracy!
LikeLiked by 1 person
Irene, these look amazing! We’d love to have you share with us at Farm Fresh Tuesdays Blog Hop each Thursday! I just love your recipes!
Melissa | Little Frugal Homestead
LikeLike
Thank you so much, Melissa, I’ll go check it out!
LikeLike
Those look divine! I like the idea of using a pre-fermented and then adding more yeast afterwards before kneading. It reminds me somewhat of when using sourdough if it isn’t warm enough to get it rising well. I will be trying these and will report back to you afterwards.
LikeLike
Awesome, looking forward to your review, MsJadeLi!
LikeLiked by 1 person
🙂
LikeLiked by 1 person
Reblogged this on Smorgasbord Blog Magazine and commented:
For those of you who enjoyed the post from Irene Arita this week about the staple bread in Guadalajara, Mexico. Here is the recipe to make this wonderful tasting bread with a step by step guide..head over to bookmark.. I have..
LikeLiked by 1 person
Fantastic recipe Irene and I have bookmarked and shared.
LikeLike
Thank you so much, Sally!
LikeLiked by 1 person
Pleasure..x
LikeLiked by 1 person
Reblogged this on Crackling Pork Rinds.
LikeLike
The bread here is awful..sweet so I have to make my own this sounds perfect…Have bookmarked..Thank you Irene 🙂
LikeLike
I hope it is helpful!
LikeLiked by 1 person
I think it will be will let know how they turn out…anything with yeast rises quickly here which is why I don’t mind making bread/rolls…Thank you for sharing Irene 🙂
LikeLiked by 1 person
I love bread like this. Is sourdough started the same as the pre-fermented? Thanks for sharing at the What’s for Dinner party.
LikeLike
No; sourdough starter relies entirely on environmental yeast (“wild yeast” if you will); you start with just flour and water and patiently ferment to get a mother dough.
I was brave enough to make this bread here because the instant yeast starts and speeds the process. Not the same flavour, either; this is more of a rustic baguette.
LikeLike
Irene – if I already have a sourdough starter, could I make these using the starter, but also adding yeast to the flour? If so, how much starter should I use?
LikeLike
Hi, Patricia, thank you for your comment. I cannot say for sure how this recipe would work with sourdough starter, but I would think that the flavour and texture would be somewhat different from birotes. If you still want to use the sourdough starter, maybe I would try preparing the “pata” with about 1/2 cup of starter and 2 cups of flour the night before, and then continue the recipe. I hope this helps.
LikeLike
If it has yeast is not birote. Birote is from a natural laven that is feed with bear, lime and egg. Birote is a soughdough bread that is different from all other soughdoughs because of the ingridients of lime, beer, and egg. This is
LikeLike
I assume you mean added yeast, since natural levain contains yeast. In my previous post I explained, as you mention, that the true birote is made wirh a “mother” sourdough starter, but that many bakers nowadays mimic the process with added commercial yeast as an accelerator. That’s why my recipe is for “birote style” buns. And since I used added yeast, I didn’t need to feed the mother/starter dough with any other ingredients.
LikeLike