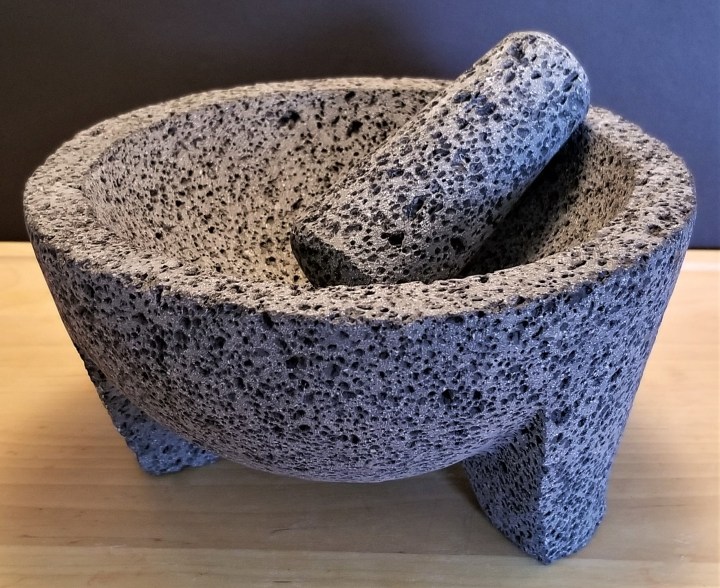
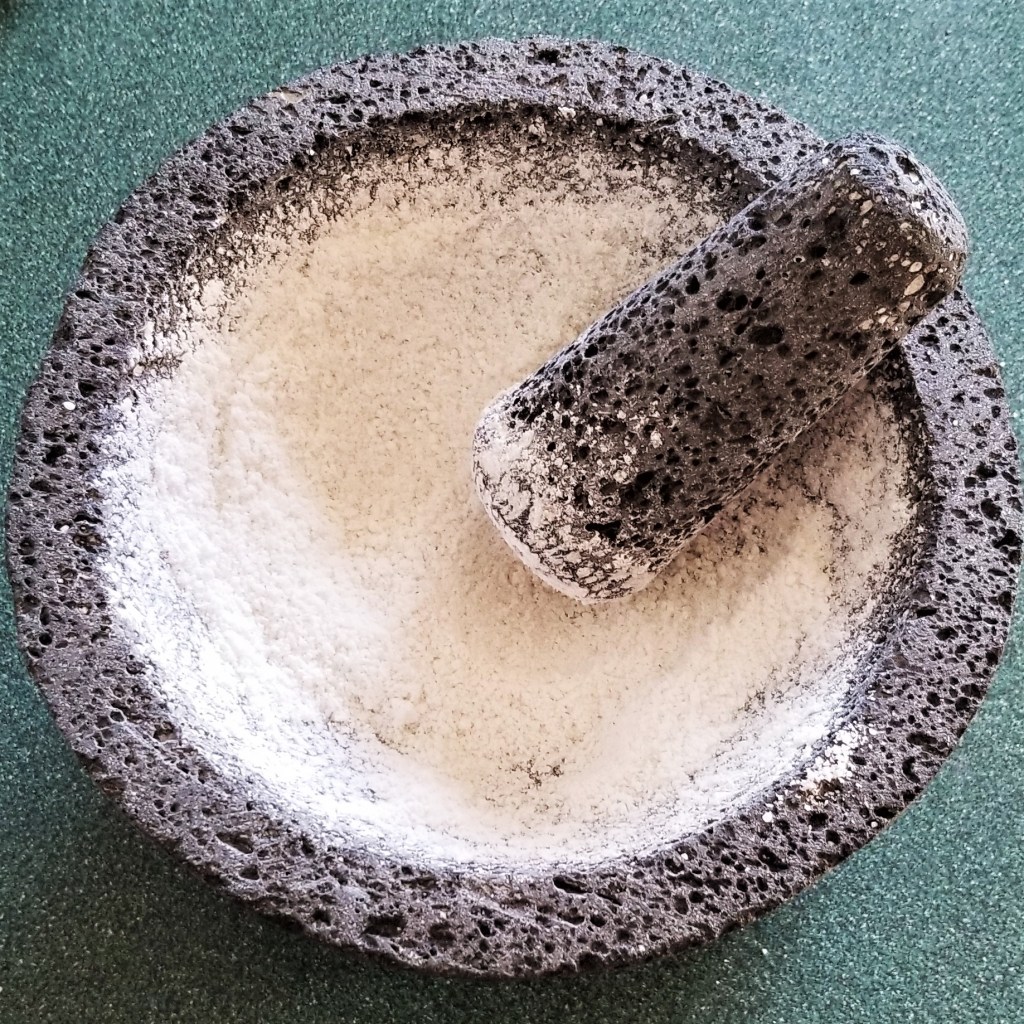
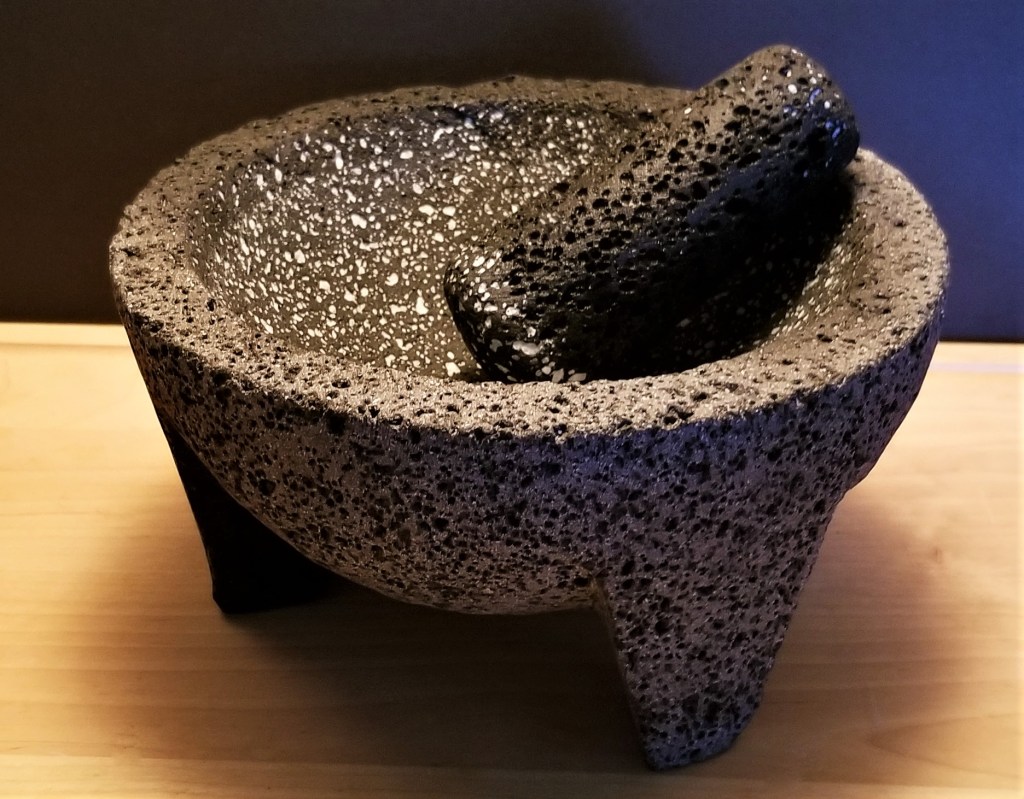
In my previous post, I shared some pictures of my new molcajete (as seen in the photo, above), a volcanic rock mortar that comes with a pestle of the same material, called tejolote. Molcajetes have been used in Mexico since pre-Hispanic times; the word comes from the Nahuatl molcaxitl, a compound word from mulli – sauce and caxitl – bowl. The word tejolote, for the pestle, comes from the Nahuatl texolotl, also a compound word from teci – to grind (related to tetl – stone) and ōlōtl – a corn cob (because it is shaped like one).
My daughter gave me this molcajete as a Christmas present, and she did her research of the piece before buying; one of the main tasks when looking for an authentic molcajete is to determine if it was:
a) Made in Mexico. – Easily checked by reading the specifications or instructions.
b) Carved from volcanic rock . – knock-offs might be described as “made with volcanic rock”, often moulded from a mix of volcanic rock gravel and cement; if it specifically says “carved from volcanic rock”, then, provided the manufacturers would not just straight lie in writing, it means it was actually sculpted from a block.
When buying a molcajete at a market, though, there will be generally no labels or printed instructions. Some people say the colour should be almost black, and a grey tone would give away cement as the main ingredient, but there is actually a whole range of shades of grey (nothing to do with the novel, LOL) for vesicular basalt rock – the kind of porous volcanic rock used for molcajetes – depending on the source. Vesicular basalt results from the relatively slow cooling of low-silica magma, allowing vesicles to leave pores in the cooled, solid structure. High iron content will give the pieces a black or dark grey colour, but other minerals, such as calcium- and sodium-rich feldspar can lighten the tone quite substantially. For example, the Mexican state of Estado de México is one of the main crafters of both black and grey molcajetes, and in fact, black rock is becoming scarce there, so grey molcajetes are made at a larger scale, and are therefore, more common and affordable. Other sources suggest to run a key or coin on the surface of the molcajete; cement will be easy to scratch, and the scent from the mark could give away its characteristic smell, as opposed to a more mineral, often sulphur-like scent, of volcanic rock.
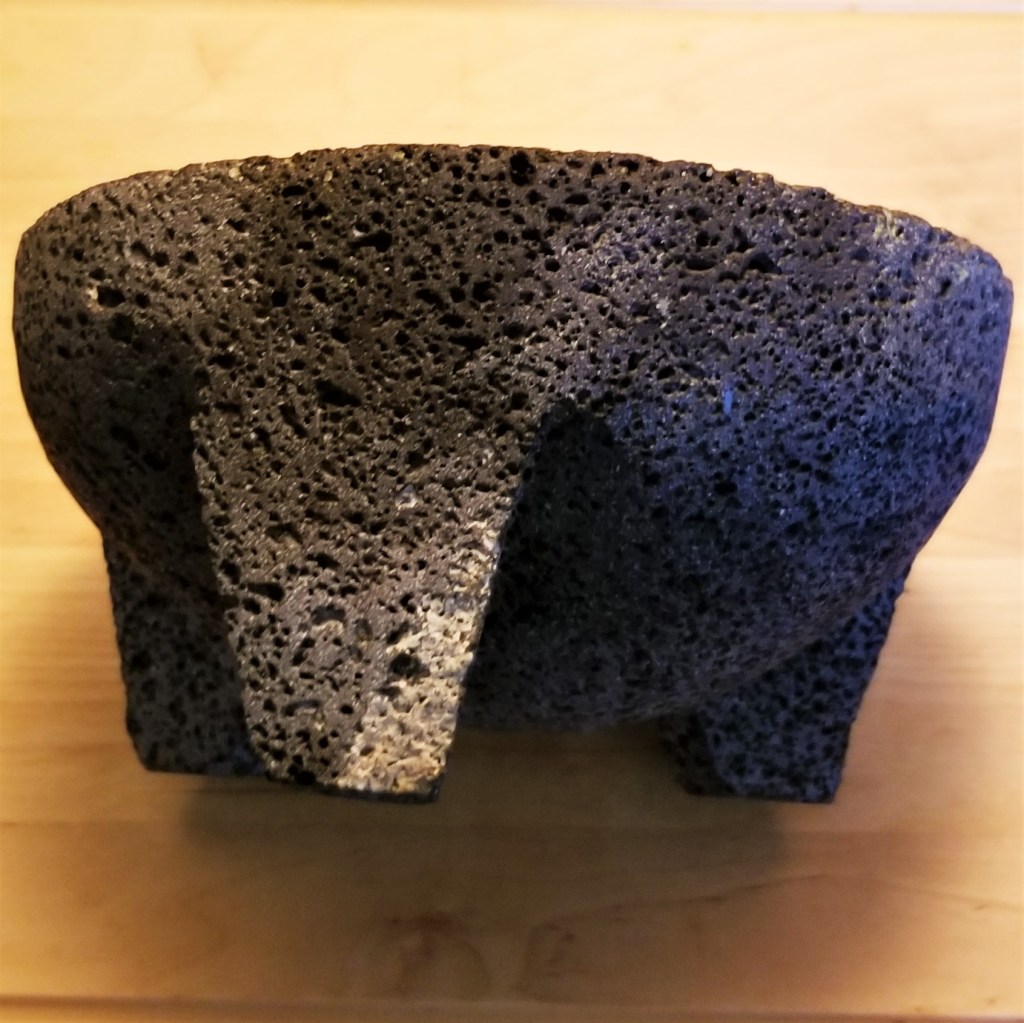
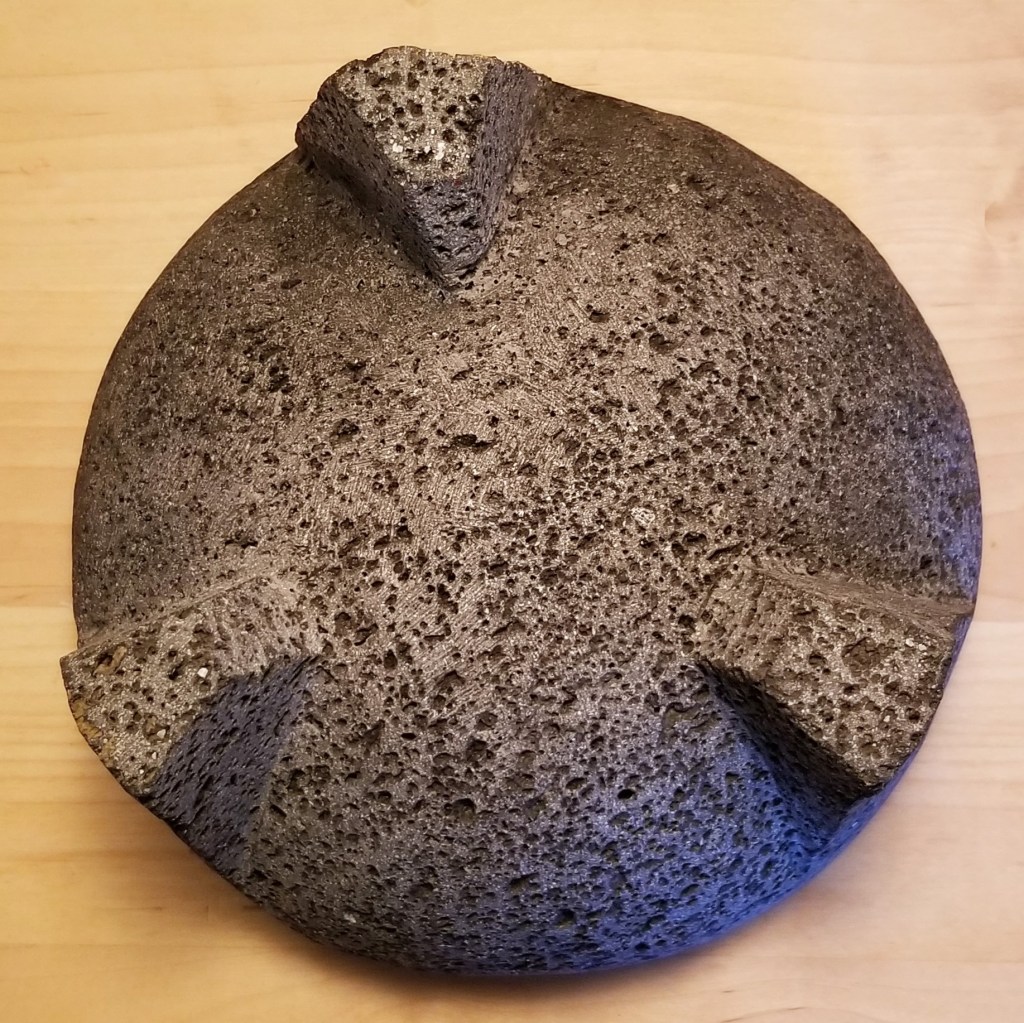
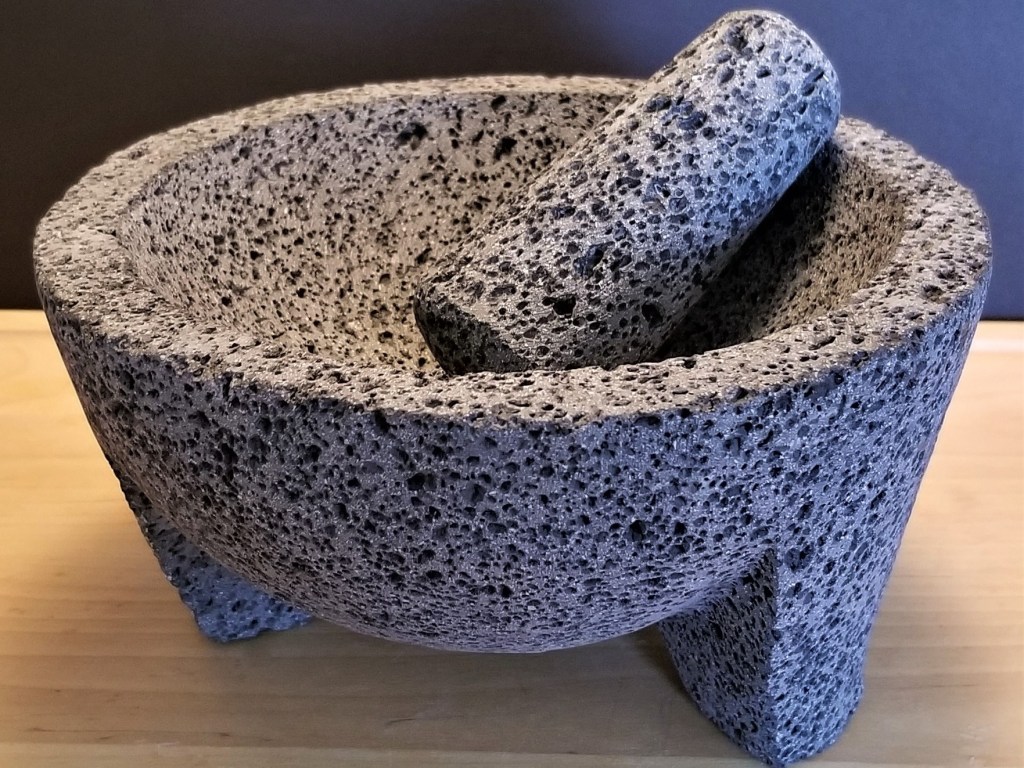
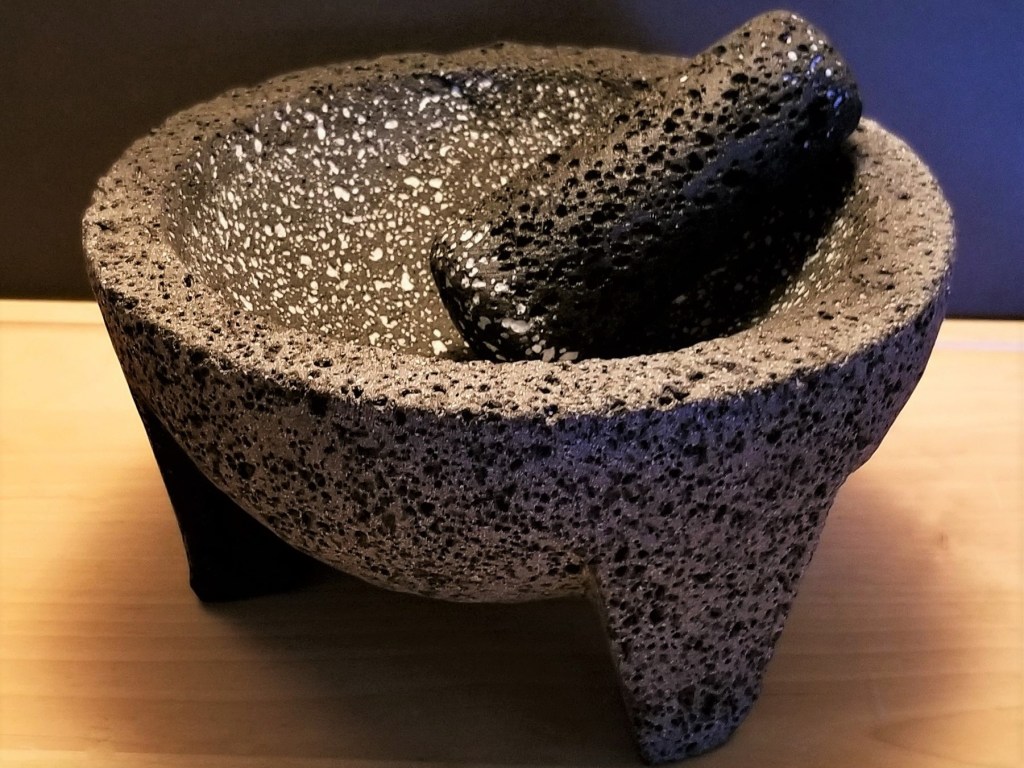
Visual inspection is a good way to recognize a volcanic rock molcajete. A cement piece will be very smooth, and the shape and pores, very uniform; and beware of a stack of identical pieces! My molcajete in particular, has a very well defined form and straight lines, but the shape is not completely symmetric; pores are intricate and give roughness to the edges, and some impurities (probably feldspar) are visible in two of the three legs, which are all slightly different, as well:
Once at home, a brand new molcajete must be providently cured, to partially polish the surfaces that will be in contact with food, as well as to remove any loose rock particles.
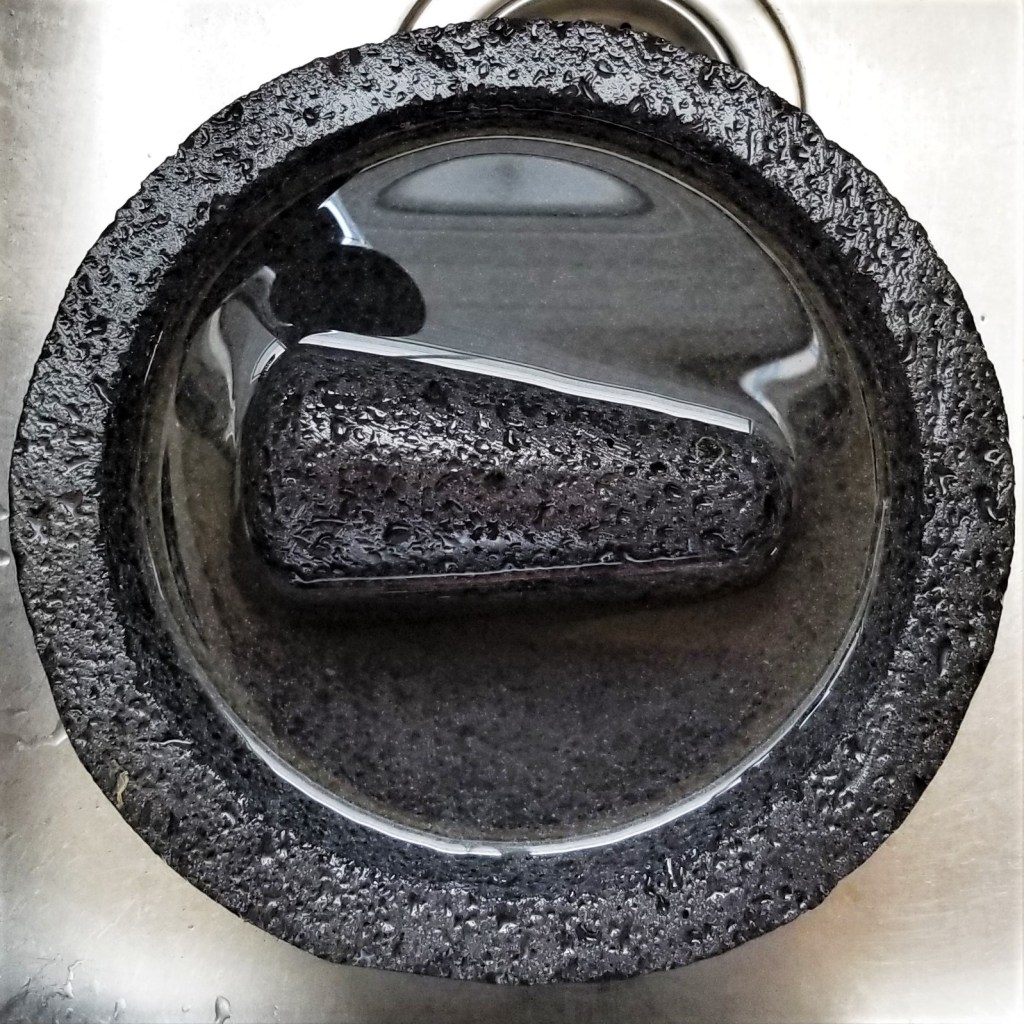
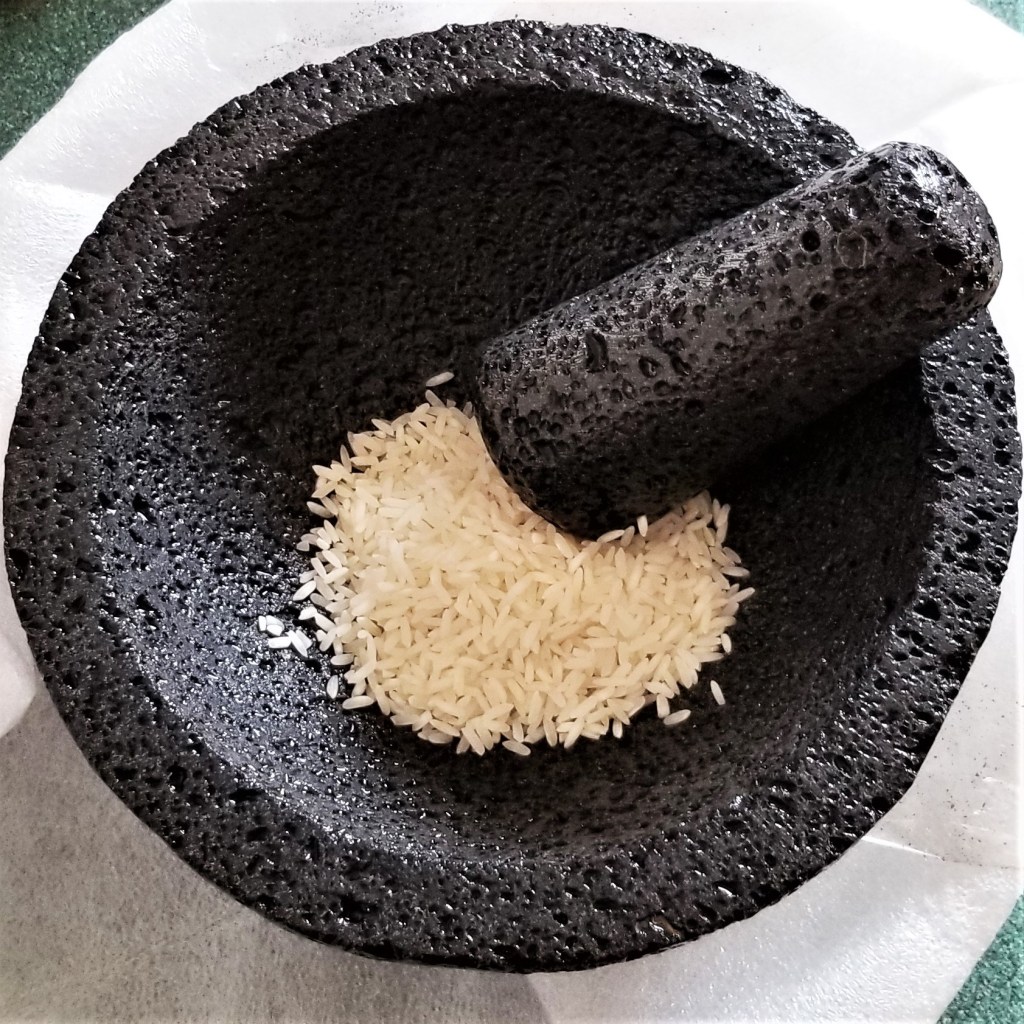
Begin by washing the molcajete and its tejolote with water (photo below, left), scrubbing with a brush, such as an escobeta (Mexican root bristle brush) or a vegetable brush. Drain and place molcajete on a damp towel or other non-slip cloth, on a firm surface (this will prevent the molcajete from moving and damaging the working surface). Add a handful of raw rice or dry corn to the bowl (photo below, right):
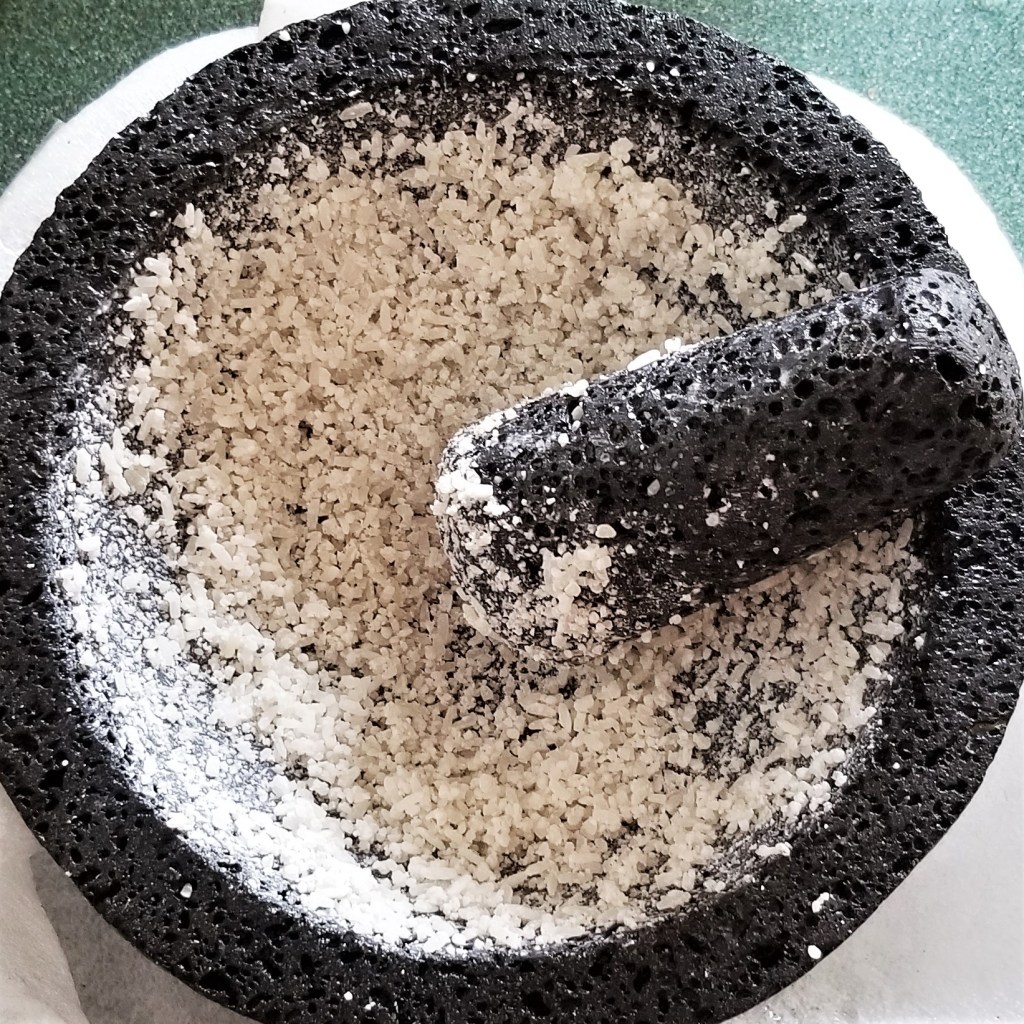
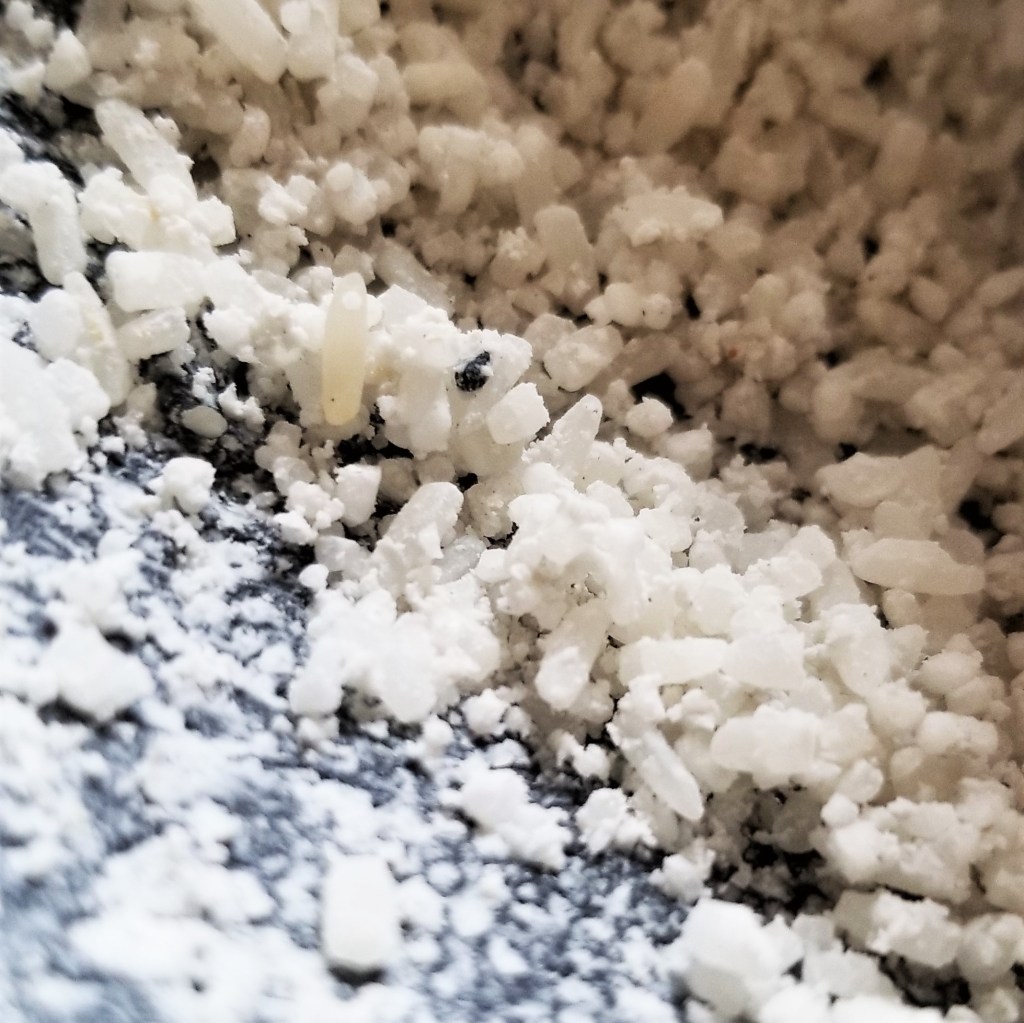
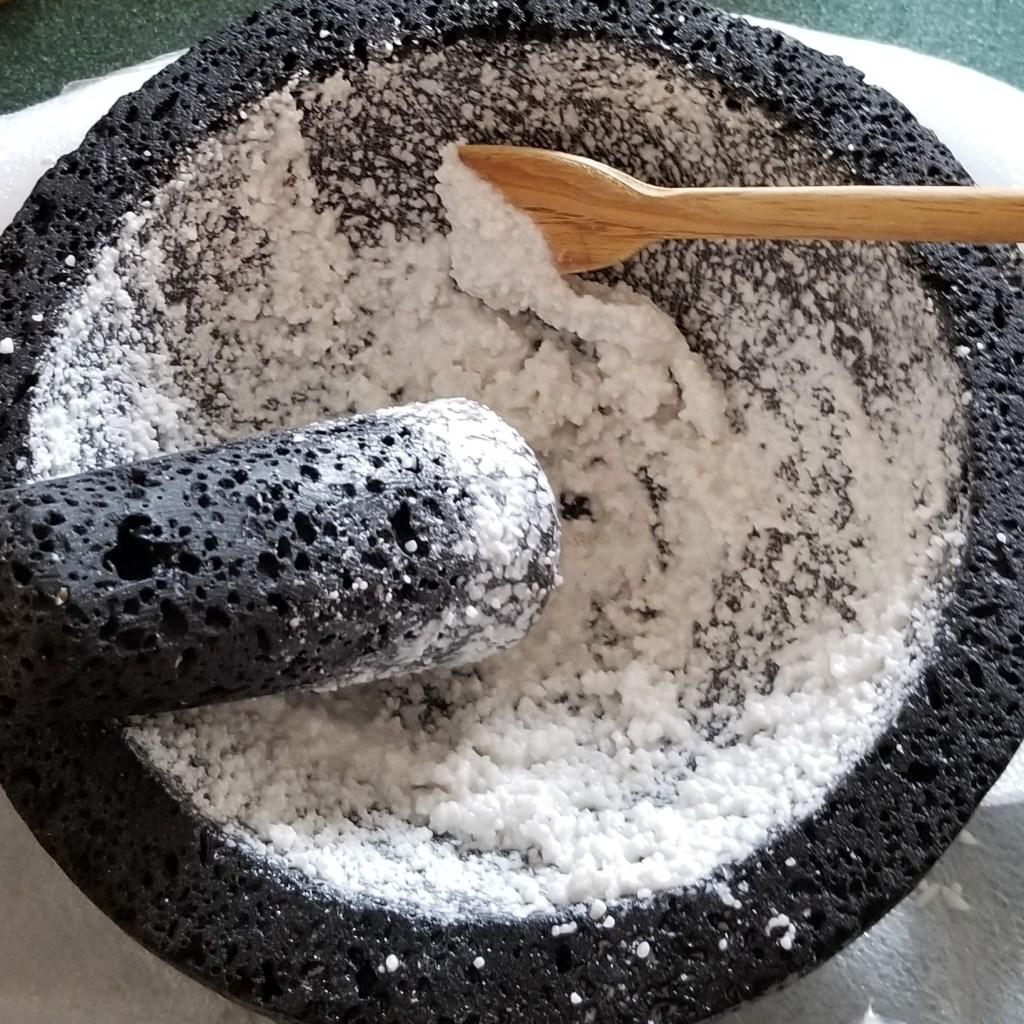
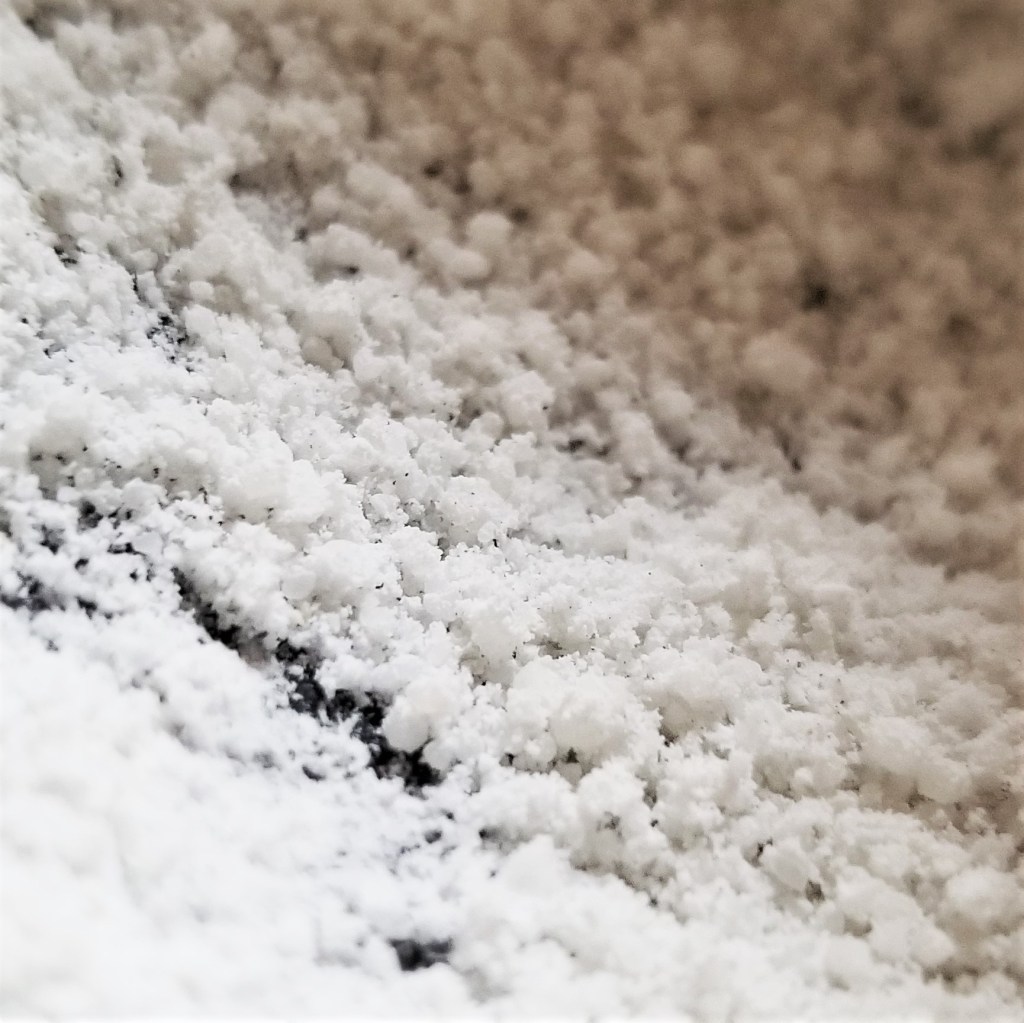
Start grinding with a fast pounding of the pestle, keeping it close to the bowl to avoid spatters. Move in small circles or short lines, not long strikes, and turn the pestle, to slowly cover the whole inner surface area of the bowl, and all around the pestle, as well (photo below, left). In close inspection, the first grind will be rough, and dark chunks of rock will be present (photo below, right):
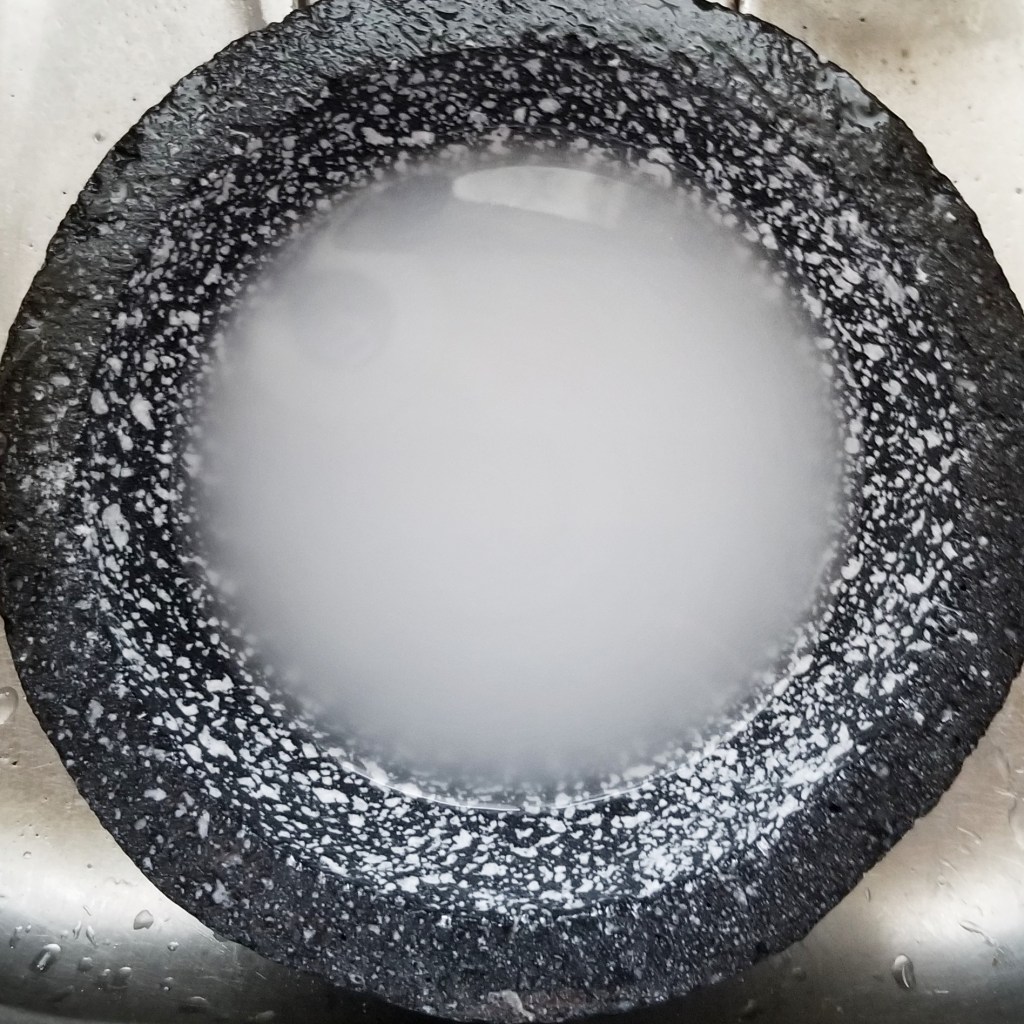
Add a little water and continue grinding, to form a paste (photo below, left). Remove and discard as much paste as possible from bowl and pestle with a plastic or wooden spatula (photo below, right):
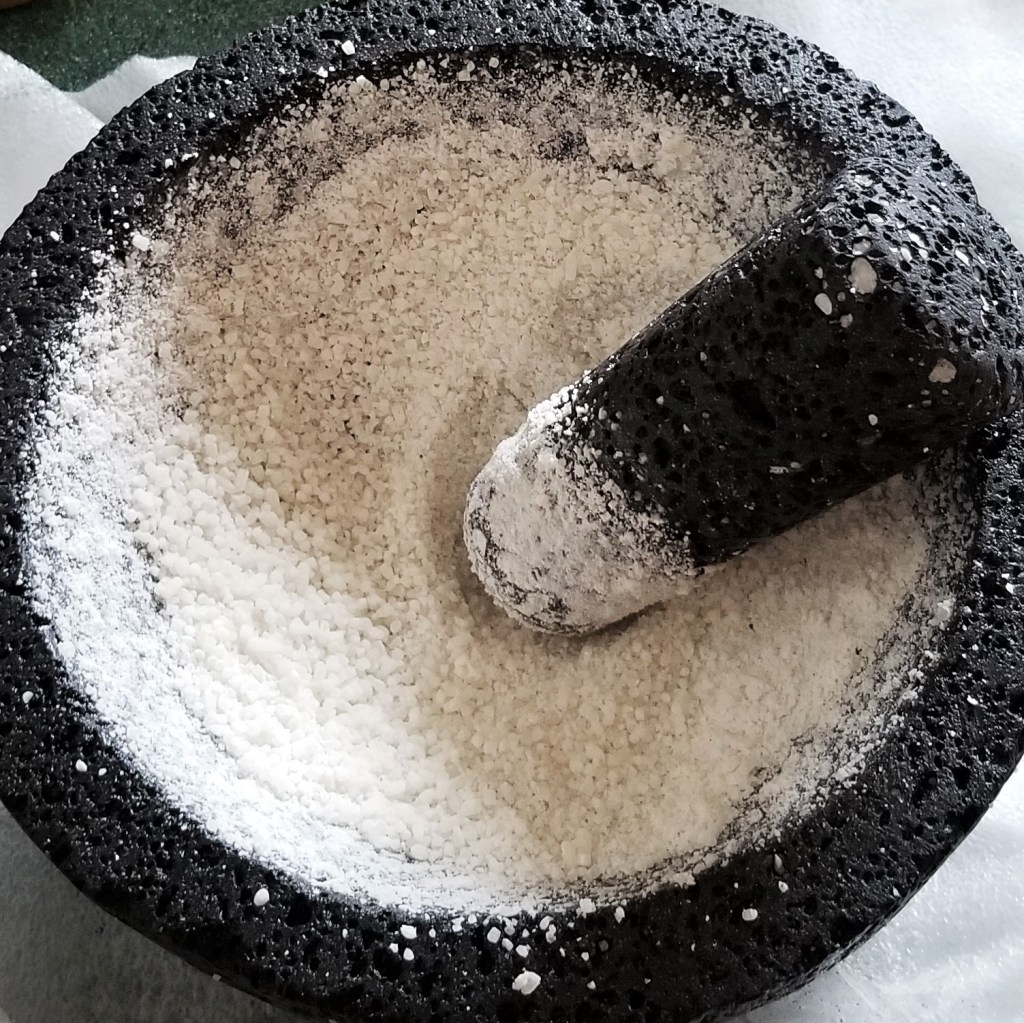
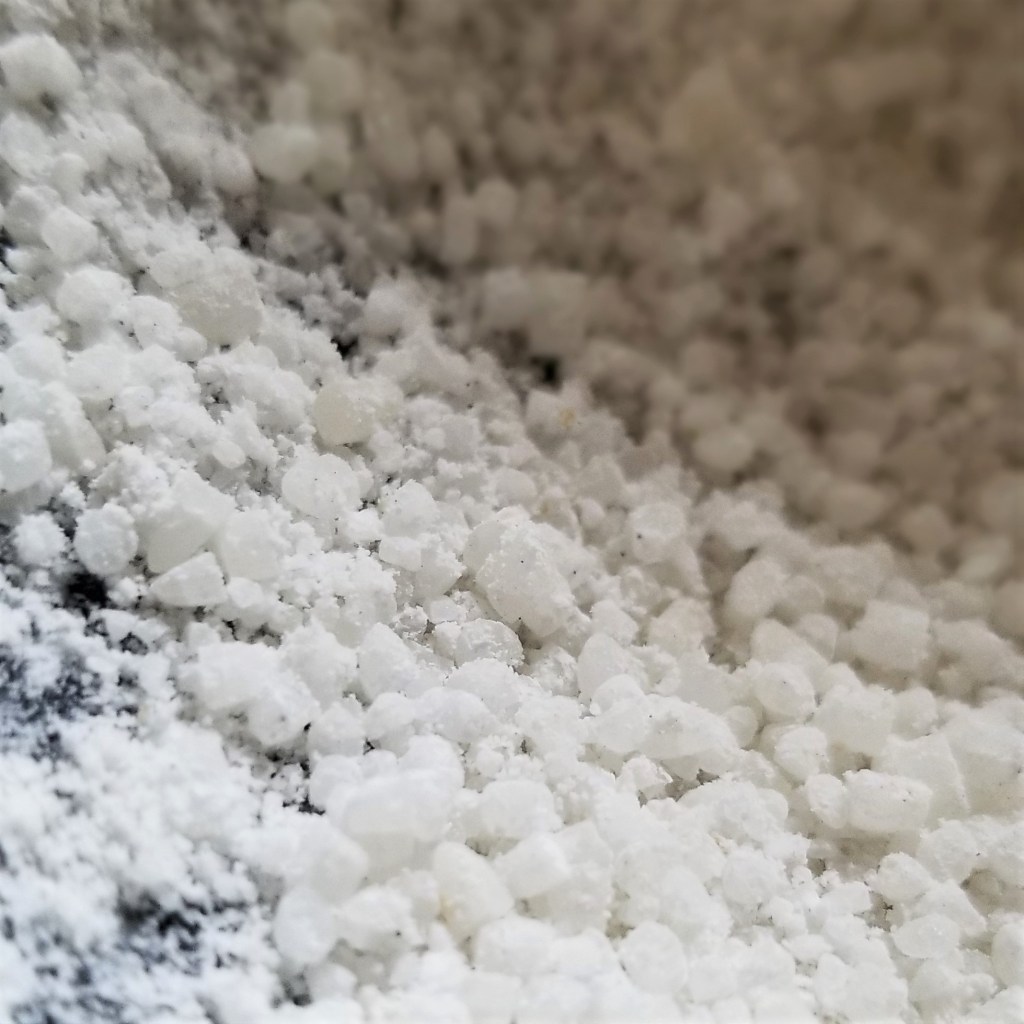
Add a second handful of raw rice and repeat. Flip the pestle to polish the other end. Comparing to the first grind, notice the finer grind (photo below, left), and already much smaller rock speckles (photo below, right):
Add water, form a paste and clean as before.
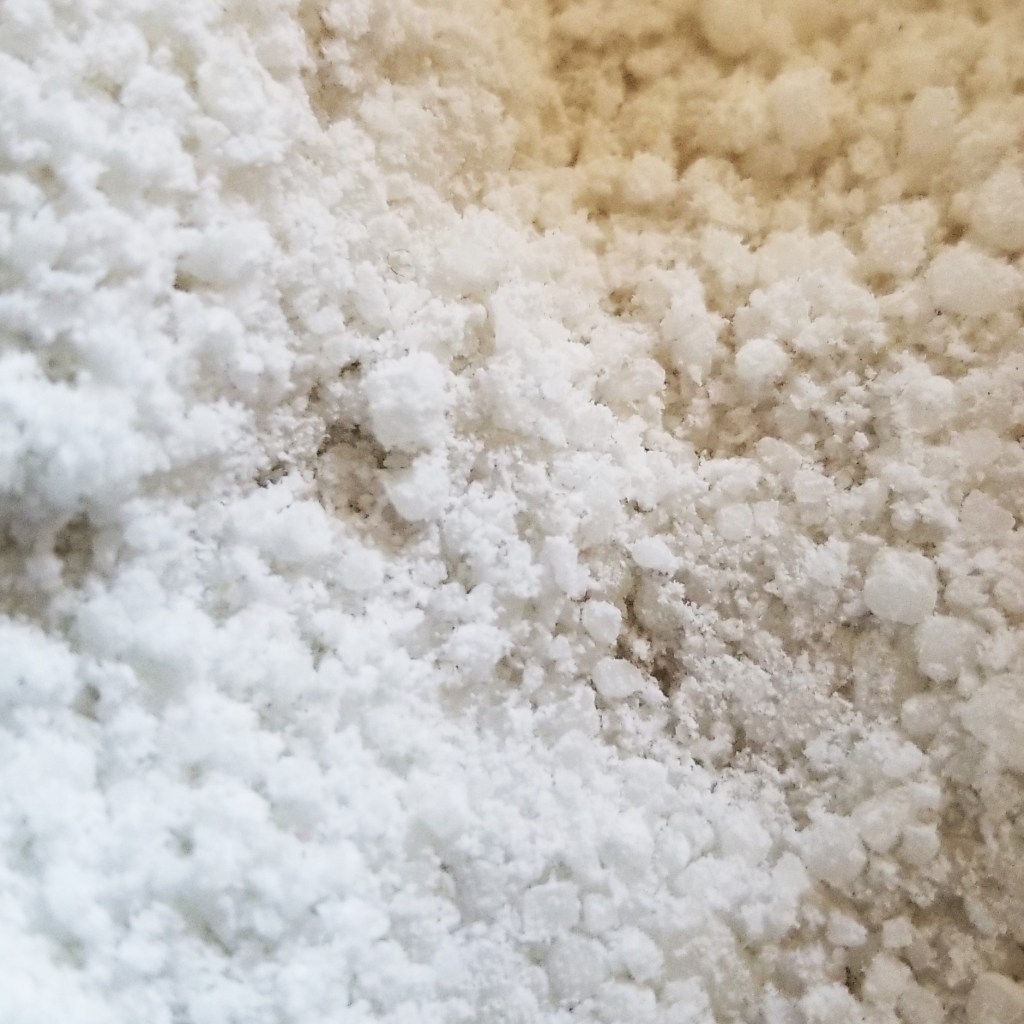
A third batch of rice looks more finely ground, and with even finer black speckles, but still visible:
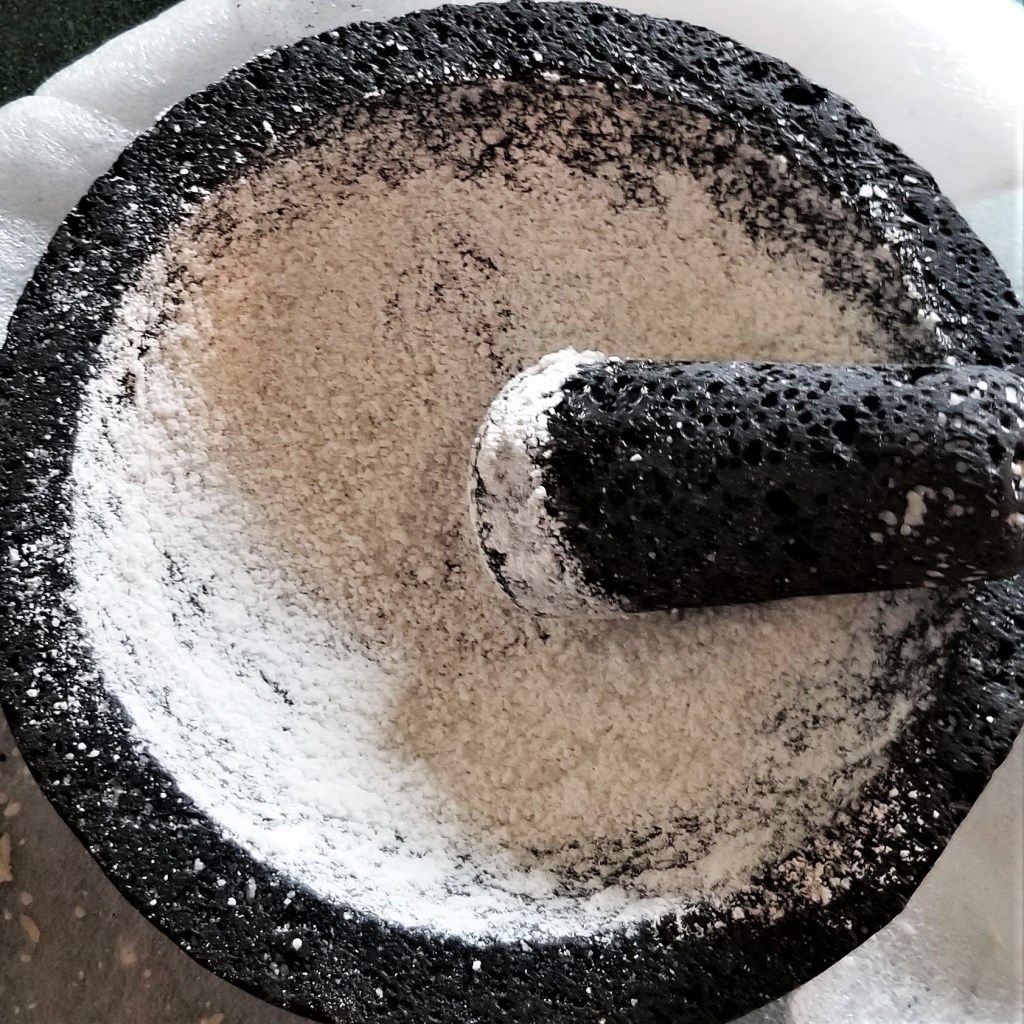
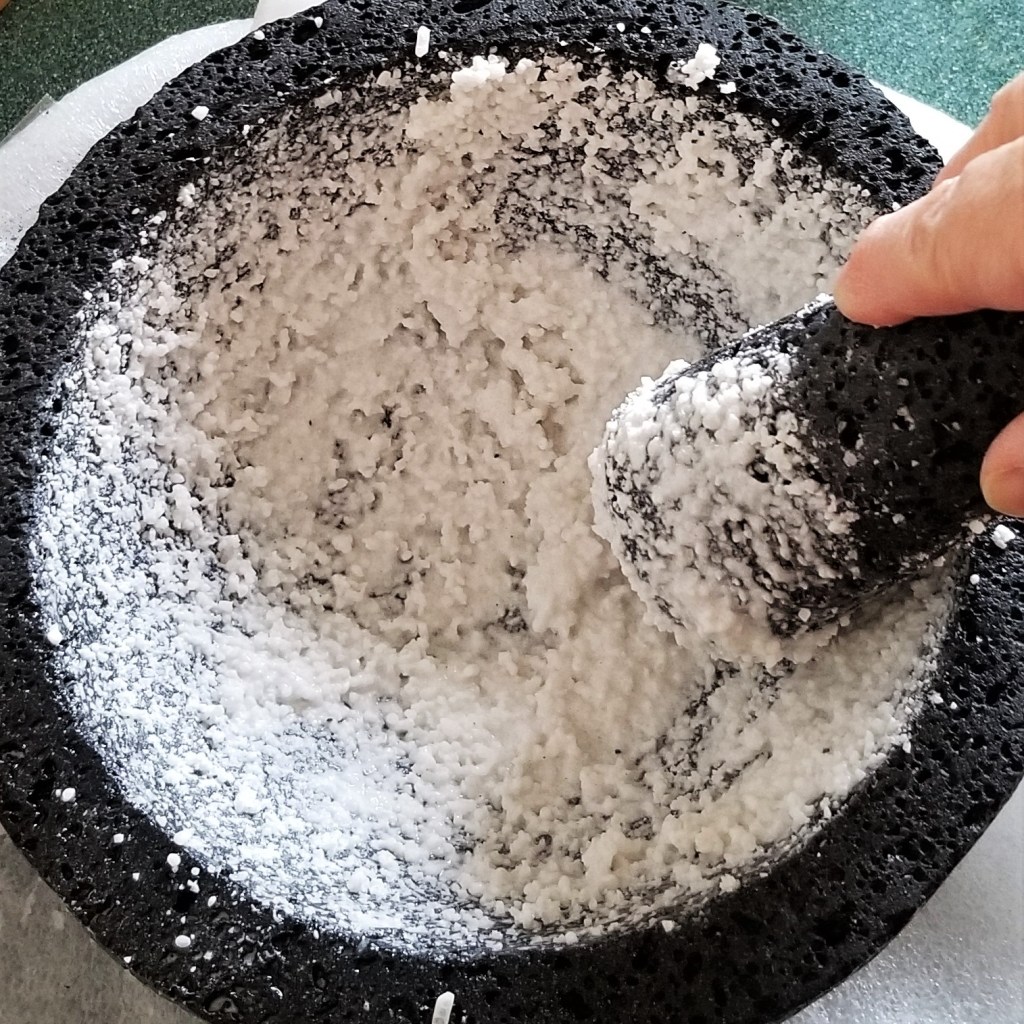
Repeat cleaning, adding rice and grinding, until there are none or just a few tinny rock speckles visible, and the rice looks powdery and white. I did a fourth grind:
Add water to form paste, remove and discard, then rinse with water (photo below, left); drain and repeat rinsing, scrubbing with the escobeta or brush, until water runs clear (photo below, right):
Let air-dry before storing. Seasoning with herbs, spices or garlic is optional; I will just allow mine to acquire its own seasoning as I use it. There will be some rice powder left, filling pores in the bowl and pestle, which will just come out gradually with each use, scrub, and rinse:
My molcajete has already changed visibly from before curing (photo below, left), to after four grinding rounds with rice (photo below, right):
As some superficial material will be finely ground each time the molcajete and tejolote are used, a unique flavour from the minerals will be imparted to the food; pores are polished away from the surface, but porosity from the bulk will keep appearing and renewing the roughness of the grinding surface, as it wears; this constant change gives food prepared in a molcajete, a unique texture that cannot be obtained with electric appliances, or even smooth surfaced mortars.
I will try to take update photos of my molcajete periodically, to document its aging process, as I prepare flavourful salsas and spice mixes.
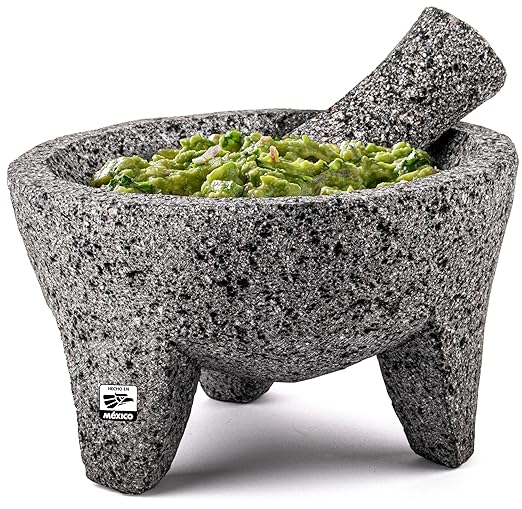
For your convenience, click on the images below for products available on Amazon™. DISCLAIMER: Any reviews included in this post are my own, for items I have purchased, not provided by any company; as an Amazon Associates Program affiliate, I might receive a commission for any purchases originated from the links below, at no extra cost to you (thank you to readers who have bought other products starting with a click from my links!):


How big is your bicep now? You’ll have to take update photos of that, too!😁
LikeLiked by 1 person
💪
LikeLiked by 1 person
😆
LikeLiked by 1 person
It is not so easy to grind the rice into a powder.
LikeLike
No, it is not, but that is one sign of getting close to cleaning the molcajete properly, and clean white powder is the final stage. Once done, the molcajete will last a lifetime.
LikeLike