
I have left the appetizer from my fusion menu last, because I think it was the best part! The original appetizer from the Spanish restaurant in Chicago that inspired this dish, consisted of well executed, yet very standard breaded and deep-fried squid rings; however, they served them with fried peppers, and their preserved lemon aioli had a citrusy flavour that I really enjoyed. While trying to find a good Mexican recipe for fried calamari, I found that in the state of Sonora, some cooks season their wheat flour to coat the rings before dipping in egg or milk, then coating with bread crumbs; that led me to a recipe for fried chicken, also from Sonora, in which instead of egg or milk, a batter is made with the leftover seasoned flour, giving the dish an extra layer of texture and more flavour. I thought that was a great idea, and also avoiding waste, so I applied the technique to my calamari. In the fried chicken recipe, the cook tested if the oil was hot enough by frying some fresh jalapeños whole, so that was perfect for my adaptation, too, without needing to withdraw the fried peppers from the dish. For the aioli, I used the popular shortcut of starting with mayo instead of emulsifying oil, and to add another Mexican touch, I used lime juice instead of preserved lemons.
Sonora Style Calamari with Lime Aioli –
Calamares estilo Sonora con aioli de limón
Printable recipe: Sonora Style Calamari with Lime Aioli
Ingredients
3 pieces (a little over ½ lb, or approx. 275 g) squid tubes; emptied
2 fresh jalapeño peppers; washed
Limes; washed and cut into wedges
1 cup flour
¼ cup corn starch
¼ tsp cayenne pepper or chili powder
1 tsp garlic powder
½ tsp cumin
1 tsp salt
1 tsp black pepper
1 cup water, or as needed
Bread crumbs, preferably Panko style
Oil, for deep frying
For Short-Cut Lime Aioli:
½ cup mayonnaise
3 cloves garlic; peeled
1 lime; washed, and sliced in half
¼ tsp freshly ground black pepper, or to taste
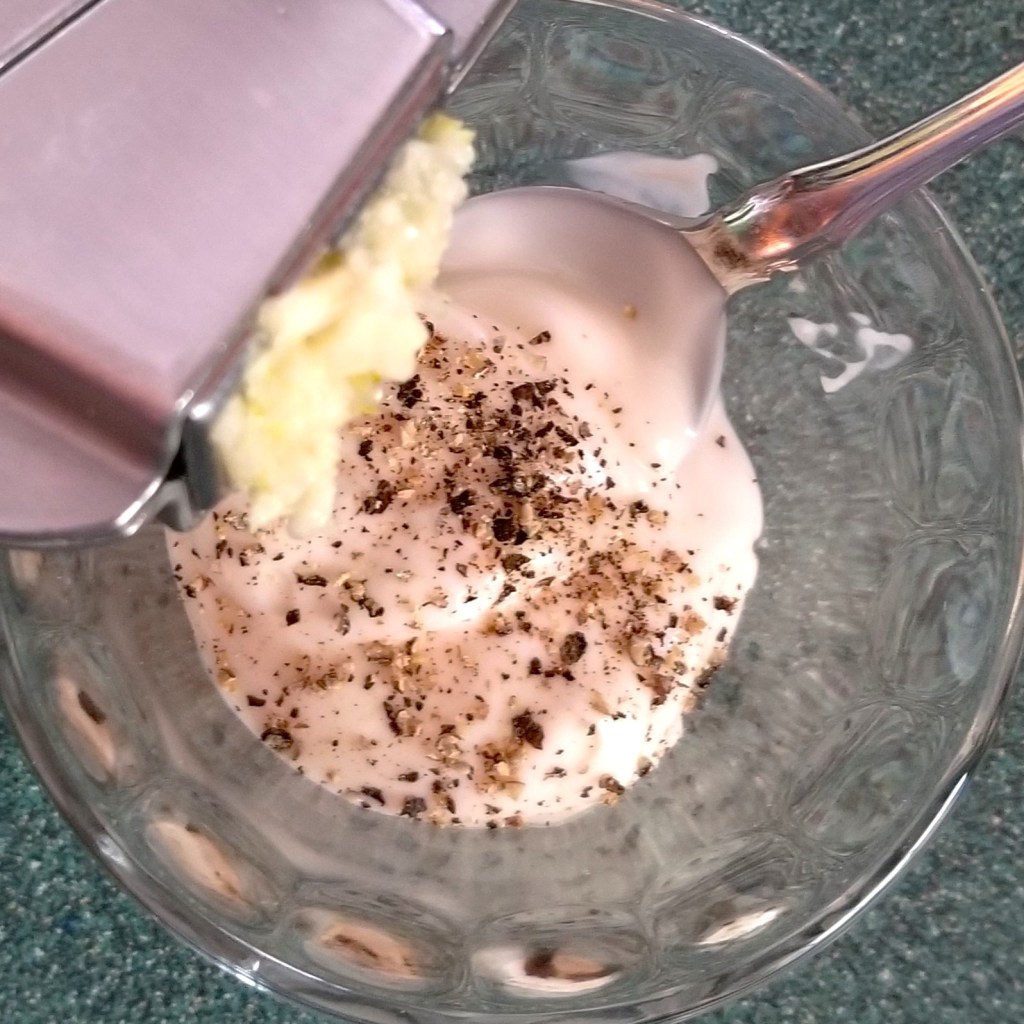
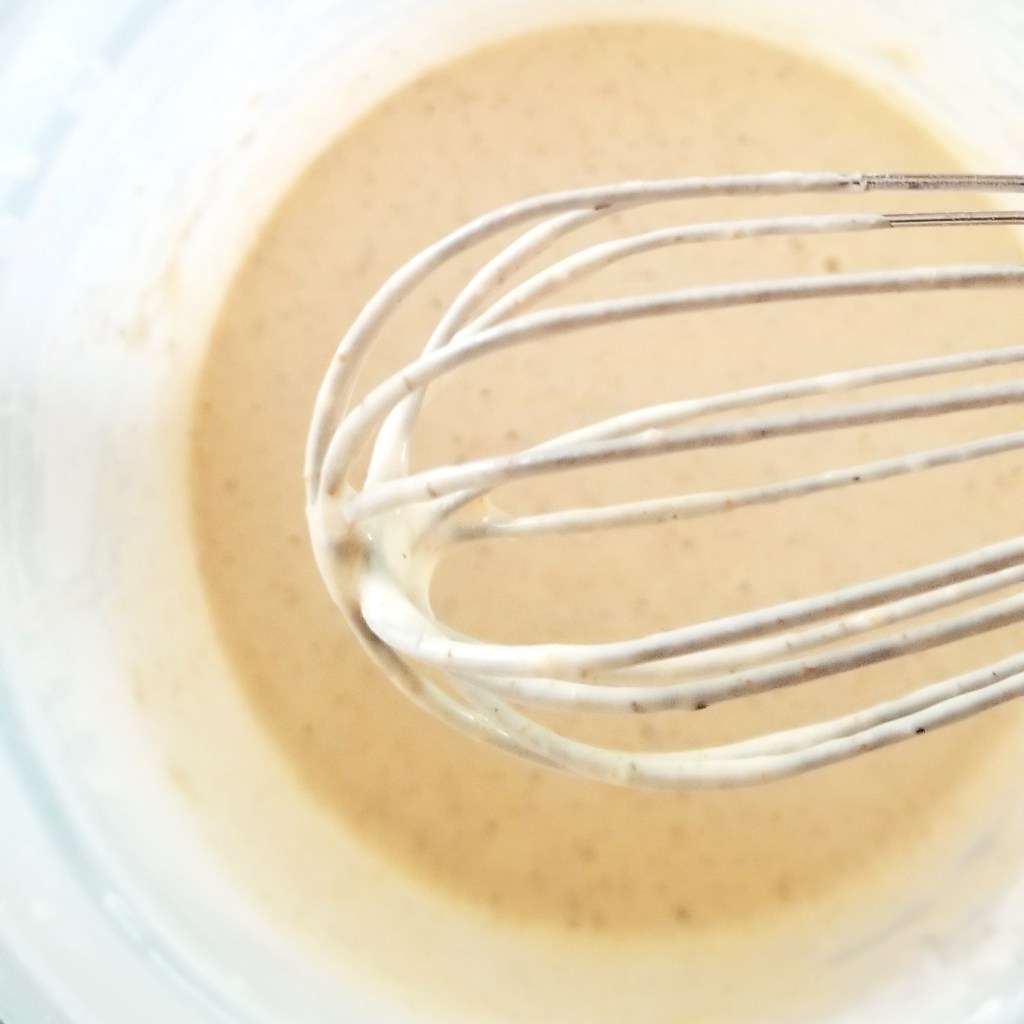
Prepare lime aioli: Mince garlic and add to the mayo, along with the pepper (photo below, left). Incorporate, then squeeze lime to add juice gradually, (photo below, right):
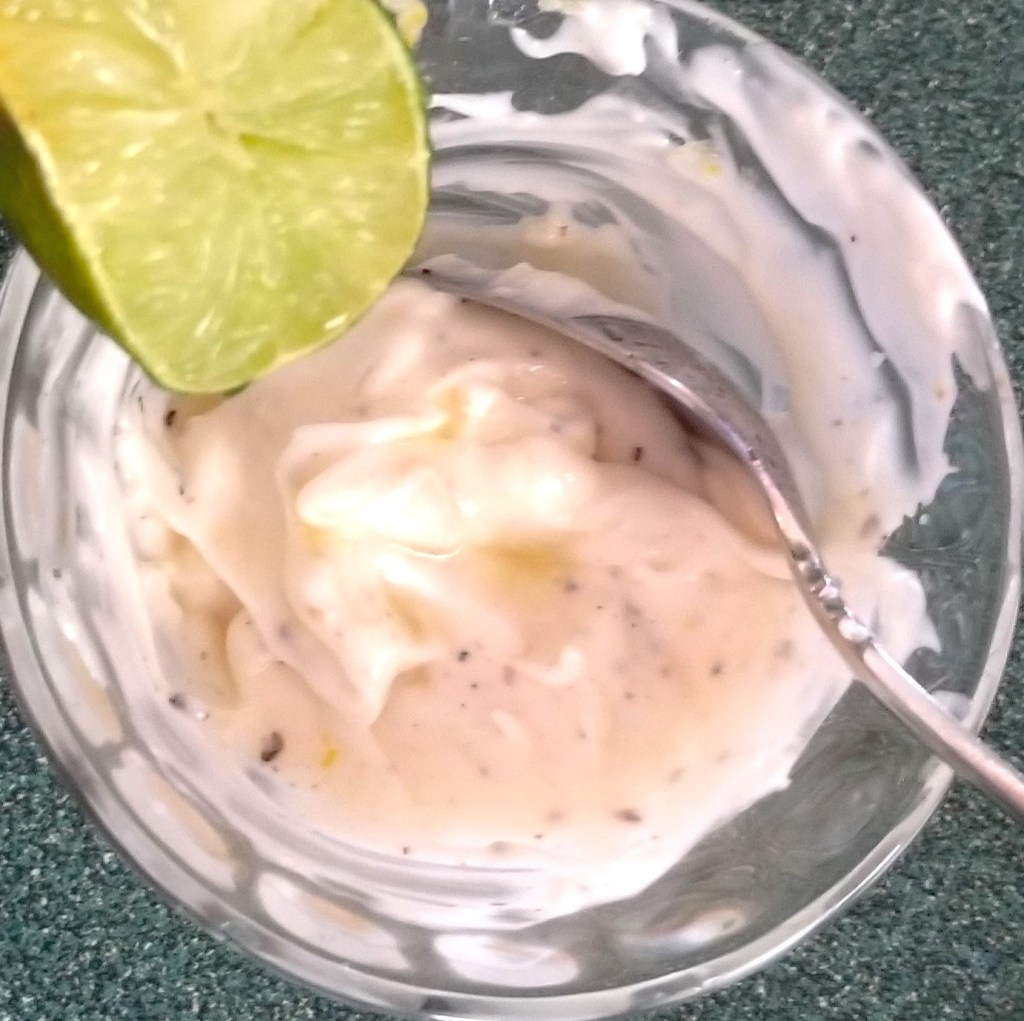
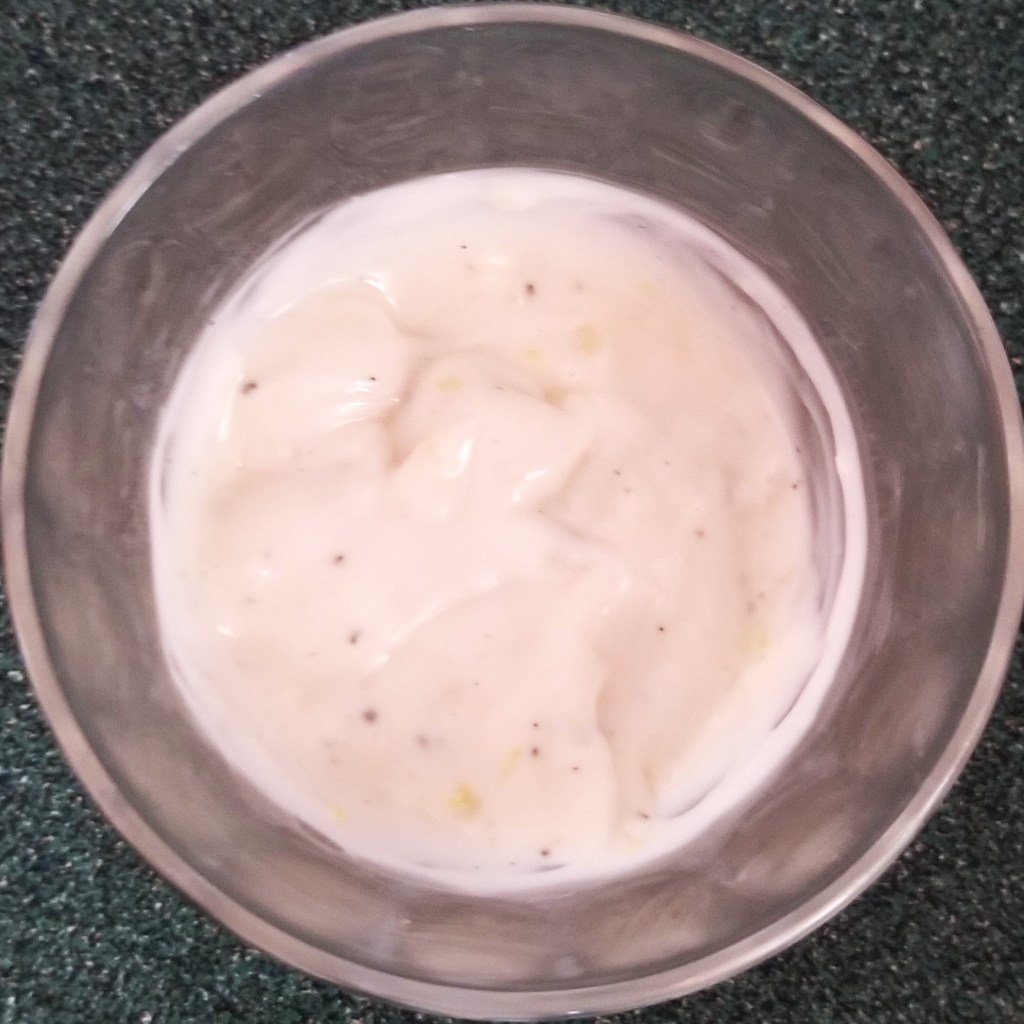
Mix and taste as the lime juice is added, until the citrusy flavour is clear, but does not overwhelm the sauce. Reserve lime aioli until serving time:
Place flour in a mixing bowl and add seasonings and corn starch. In the photo below, from left: cayenne pepper (or chili powder), garlic powder, cumin, salt, black pepper, and corn starch on flour:
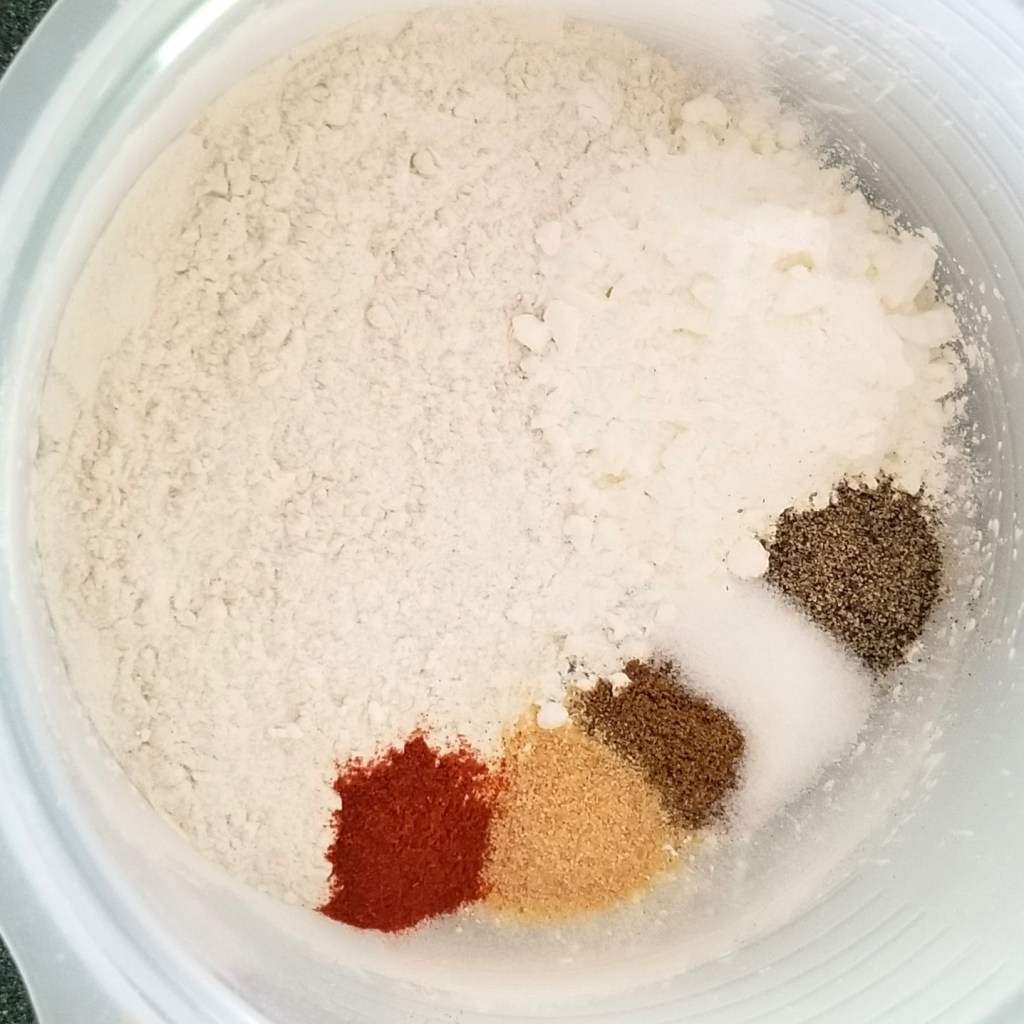
Mix well, and reserve.
Place bread crumbs on a tray or large plate, and reserve.
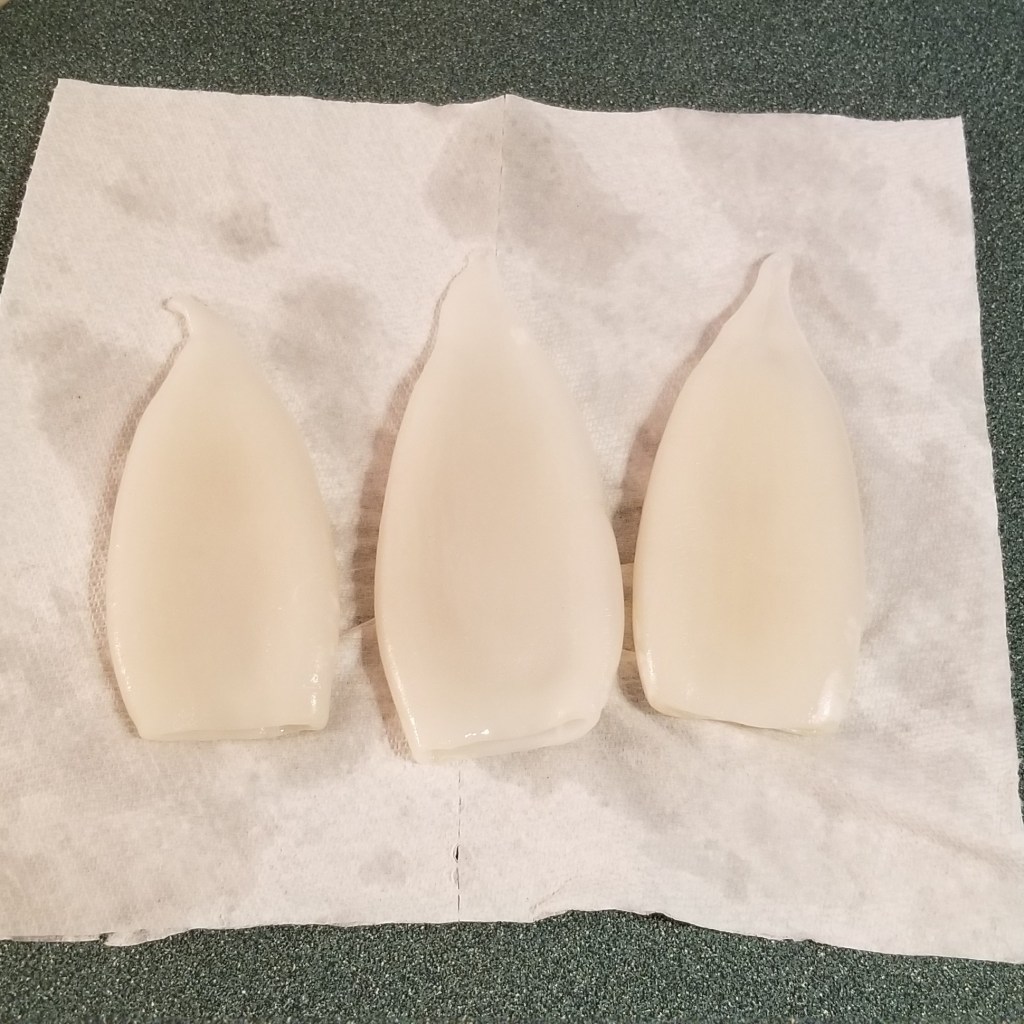
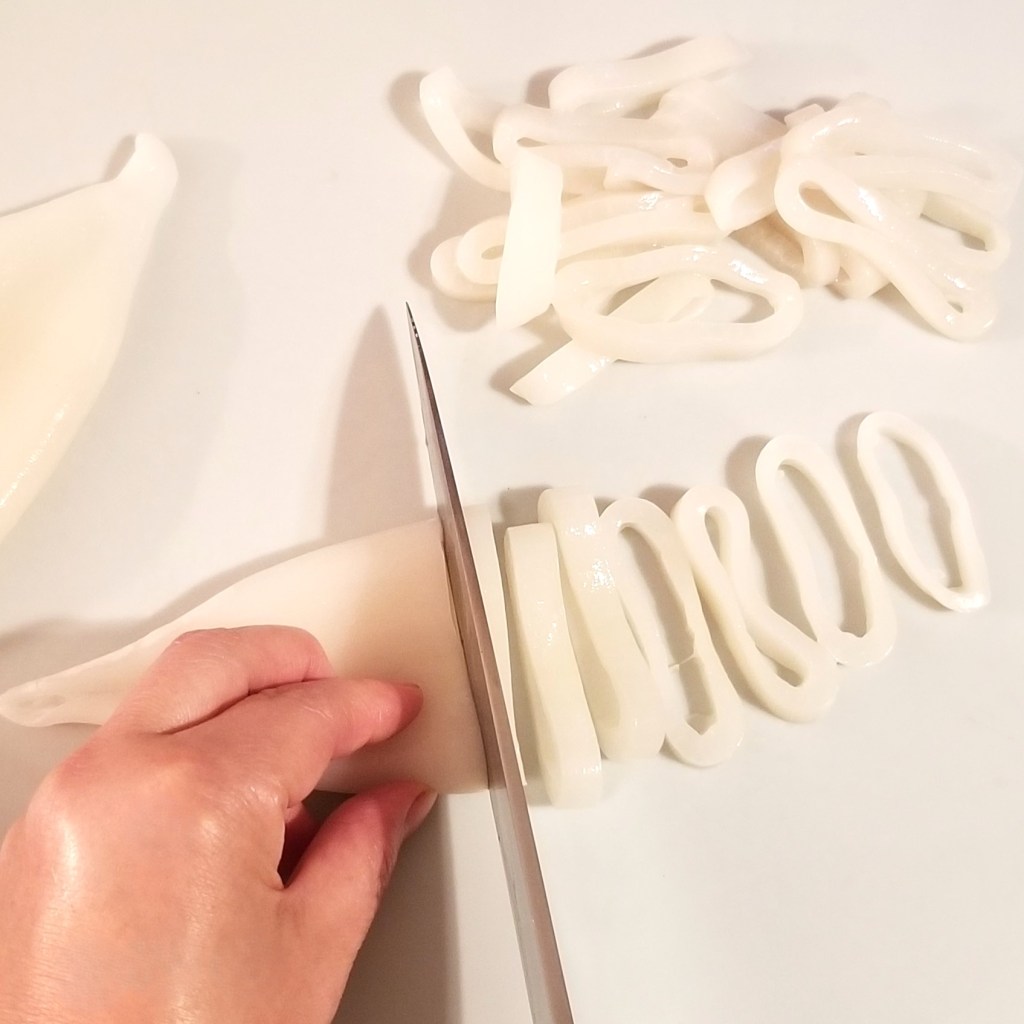
Rinse squid tubes and pat dry with paper towels (photo below, left). Slice into rings (photo below, right):
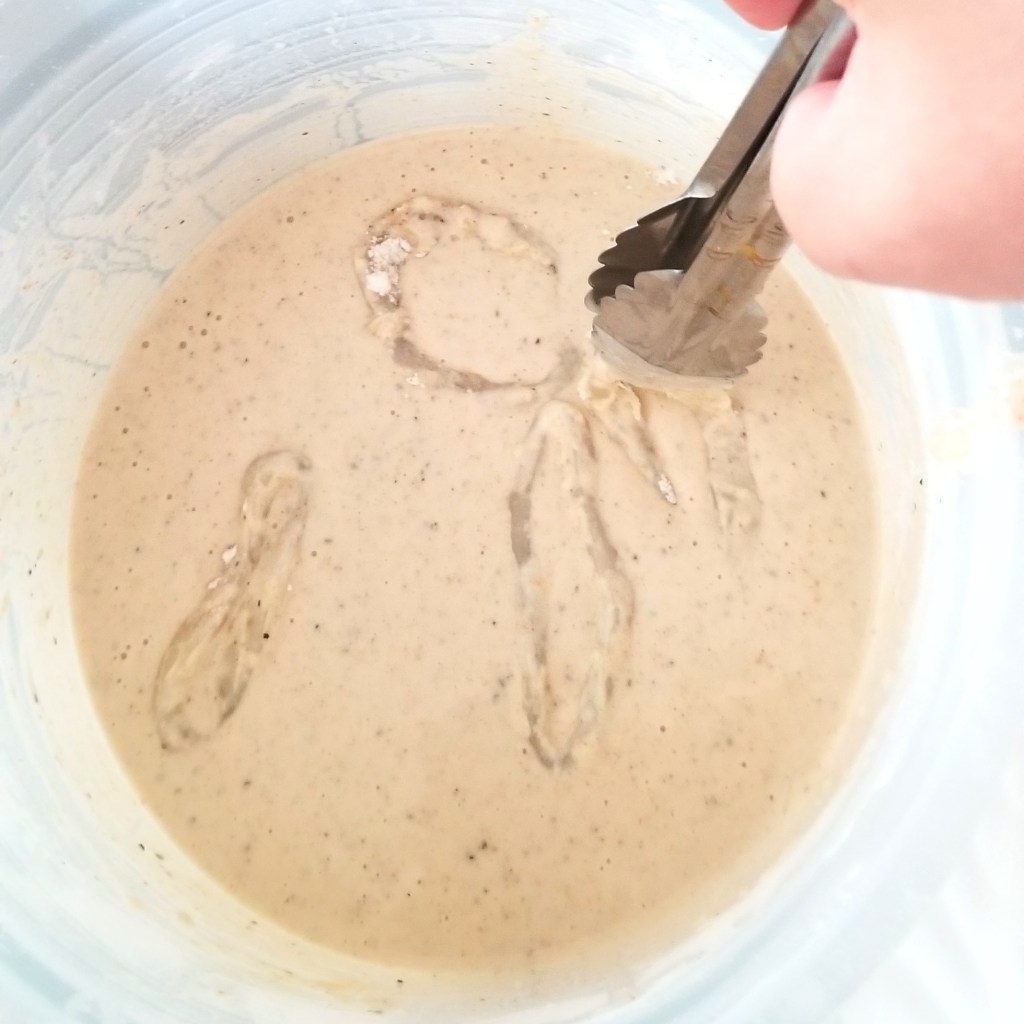
Place rings in a plastic bag or container, and add a quarter cup of the reserved seasoned flour:
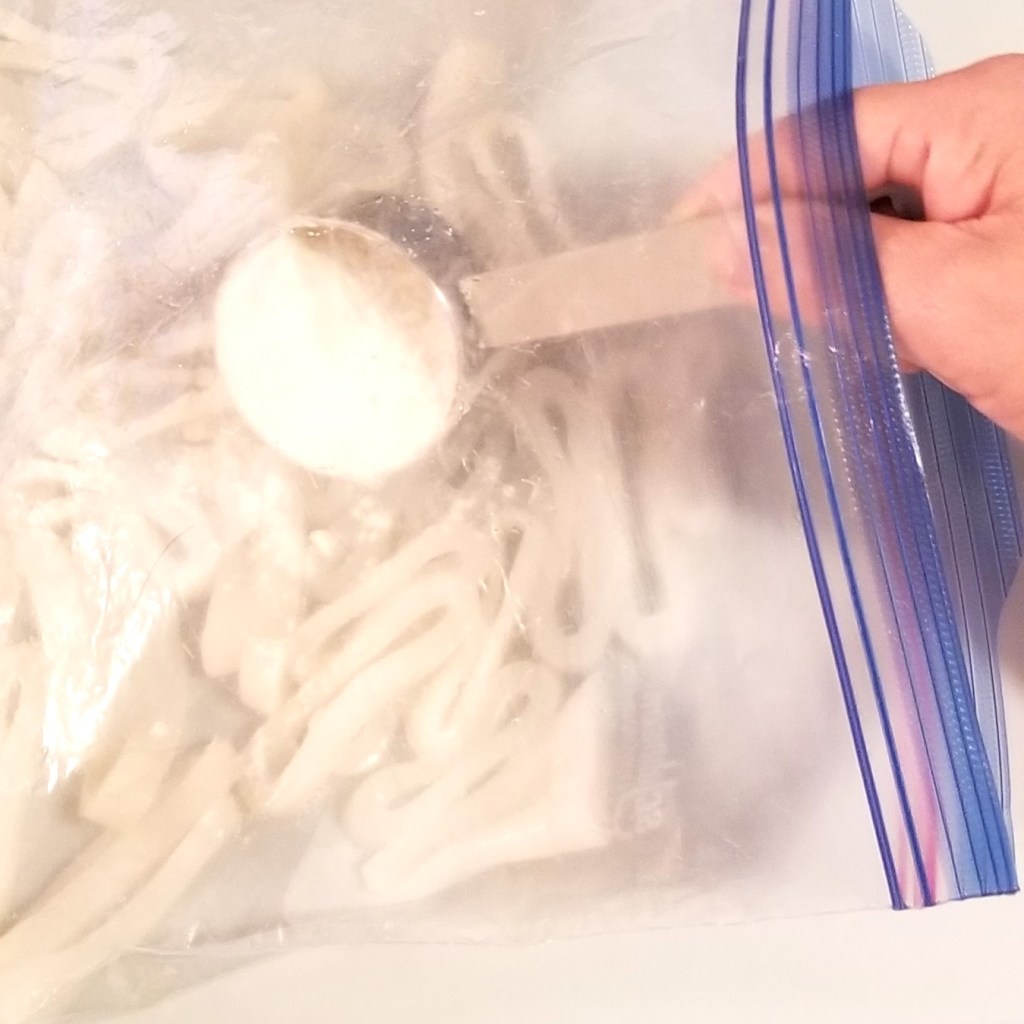
Close the container or bag, and shake, to coat squid rings with the flour mix. Reserve.
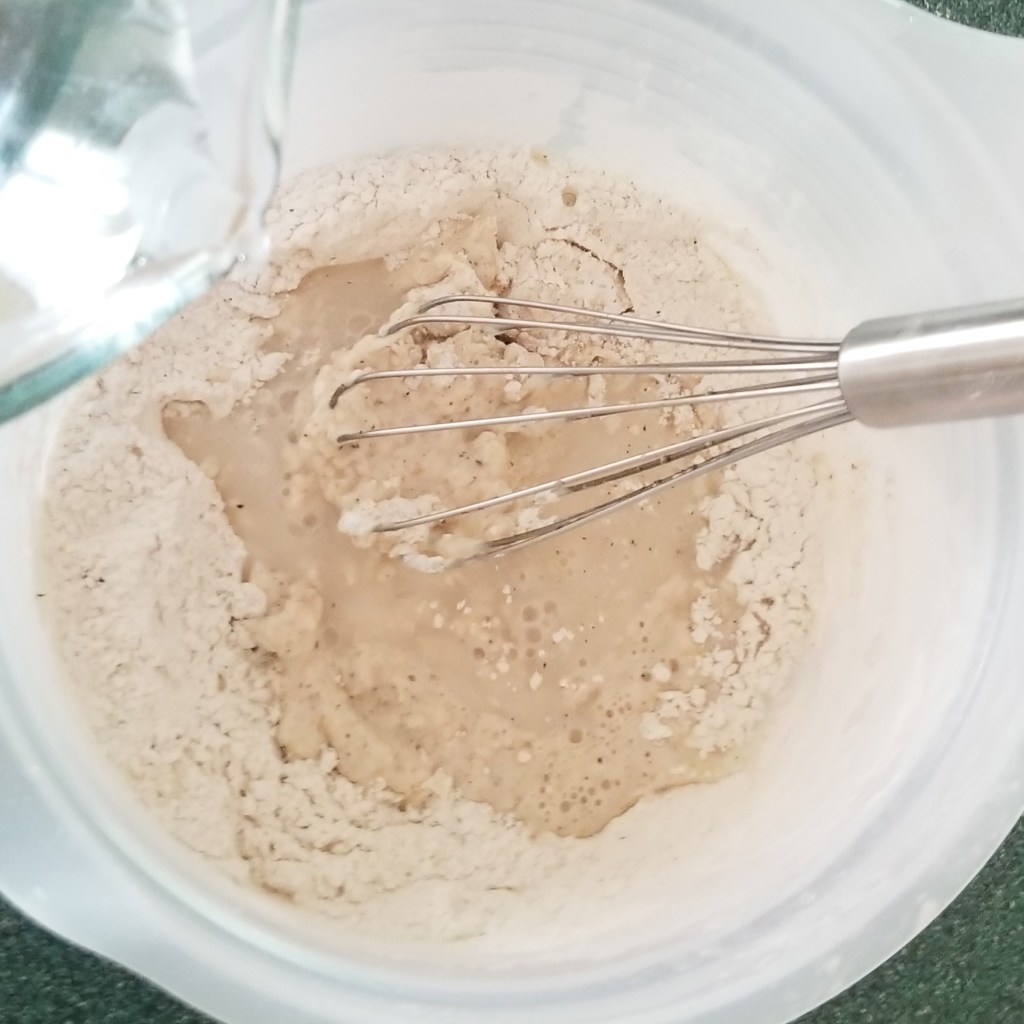
Gradually add water to the rest of the flour mix, breaking up clumps with a beater (photo below, left). Continue adding water, to obtain a runny batter that just lightly coats the beater (photo below, right):
Dip floured squid rings in the batter, in batches (photo below, left). Transfer rings to prepared tray or plate with bread crumbs, and flip and press down, to coat (photo below, right):
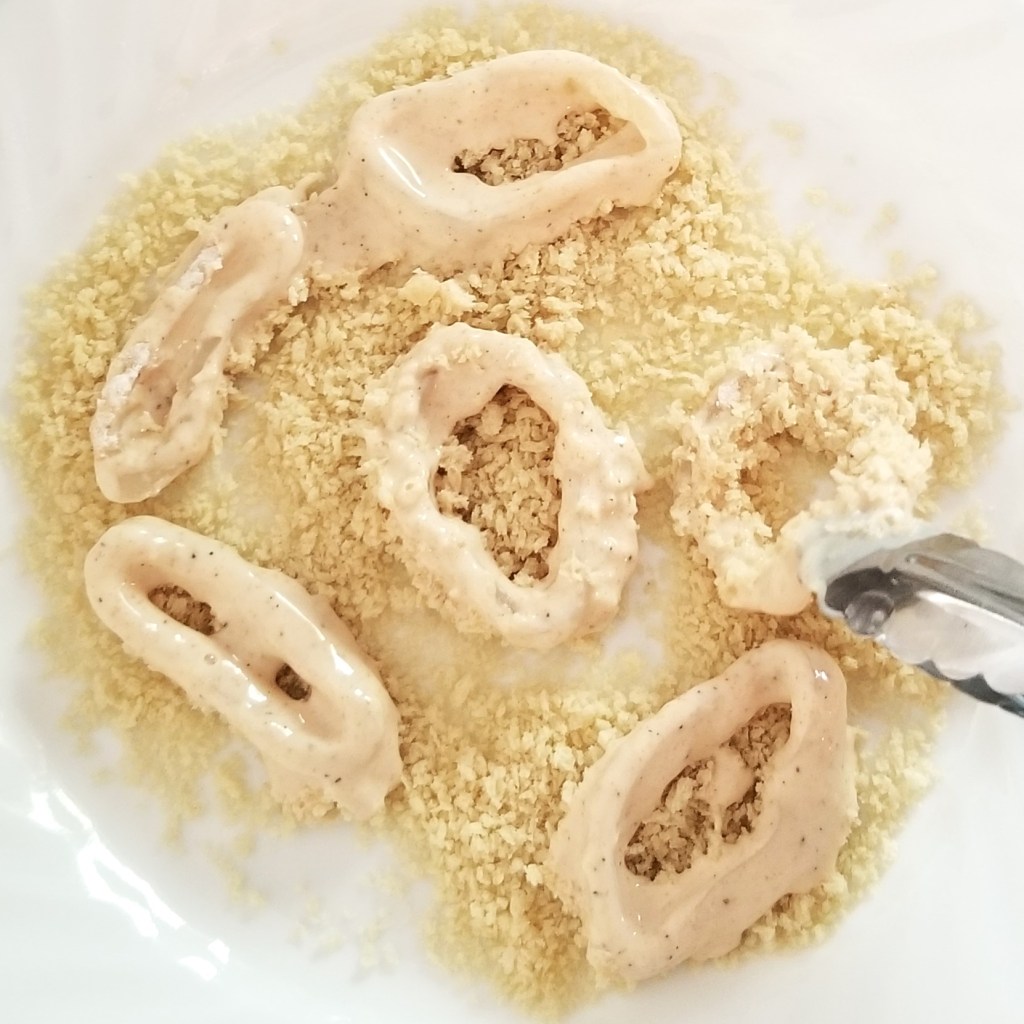
Reserve breaded rings.
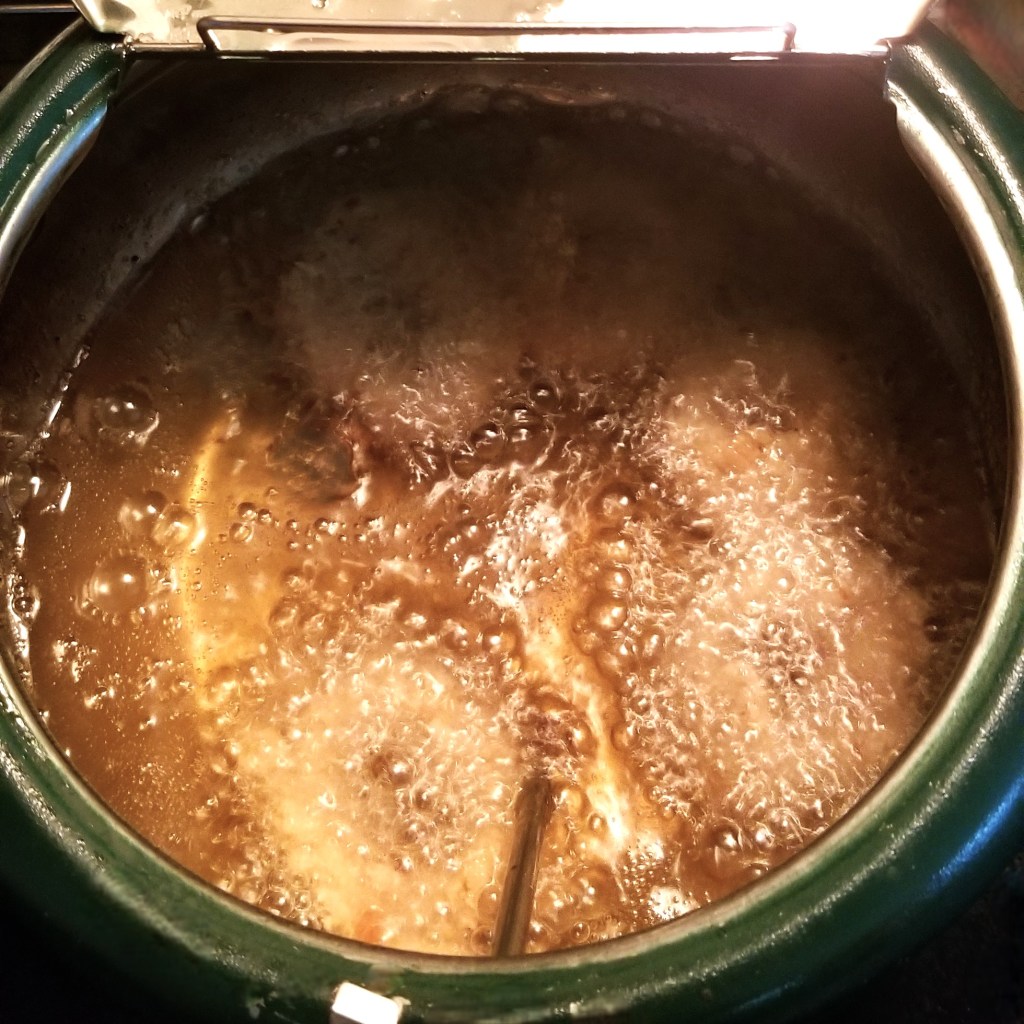
Pour oil into a small pot, enough to have about two inches (5 cm) in depth. Bring to about 360ºF (182ºC). To test and flavour the oil, fry the jalapeño peppers first (photo below, left). Turn to scorch all around, then transfer to paper towels, to remove excess oil (photo below, right):
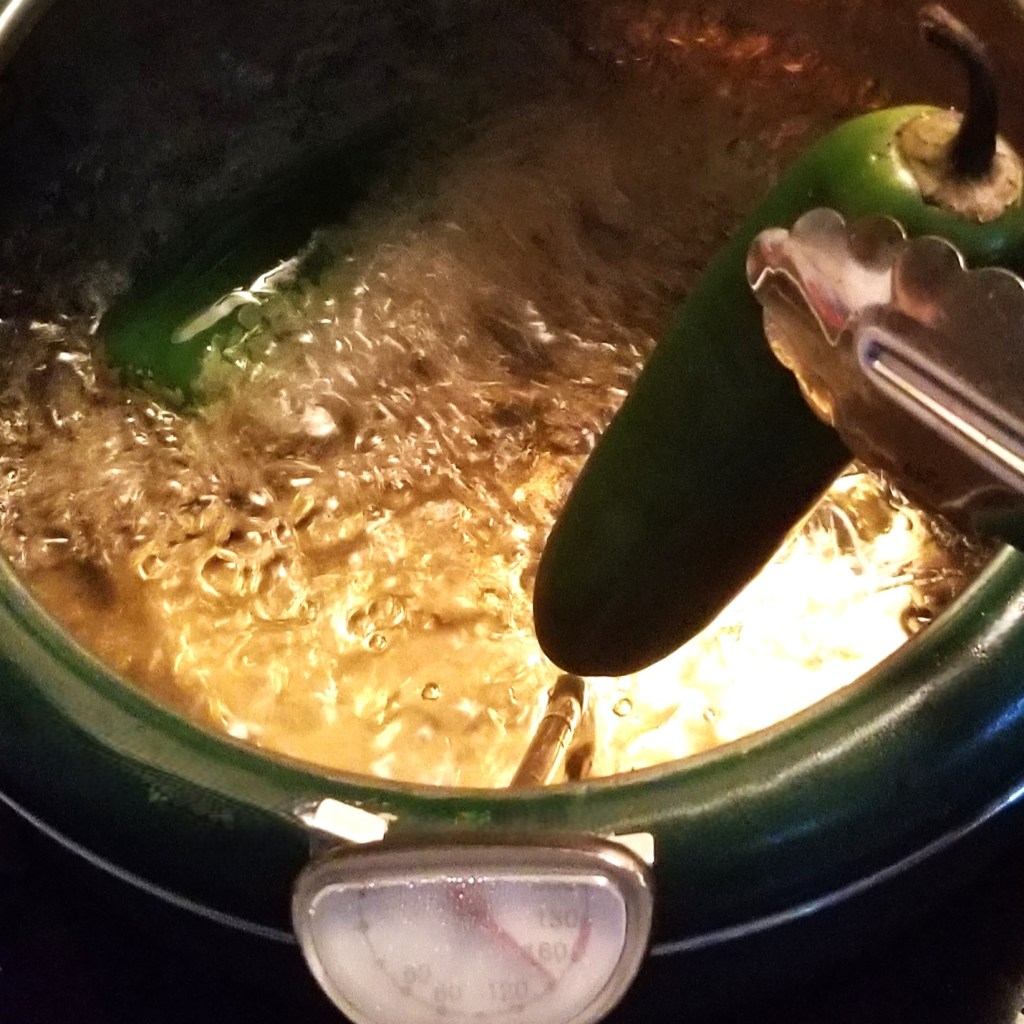
Remove stems, slicing into rounds; reserve.
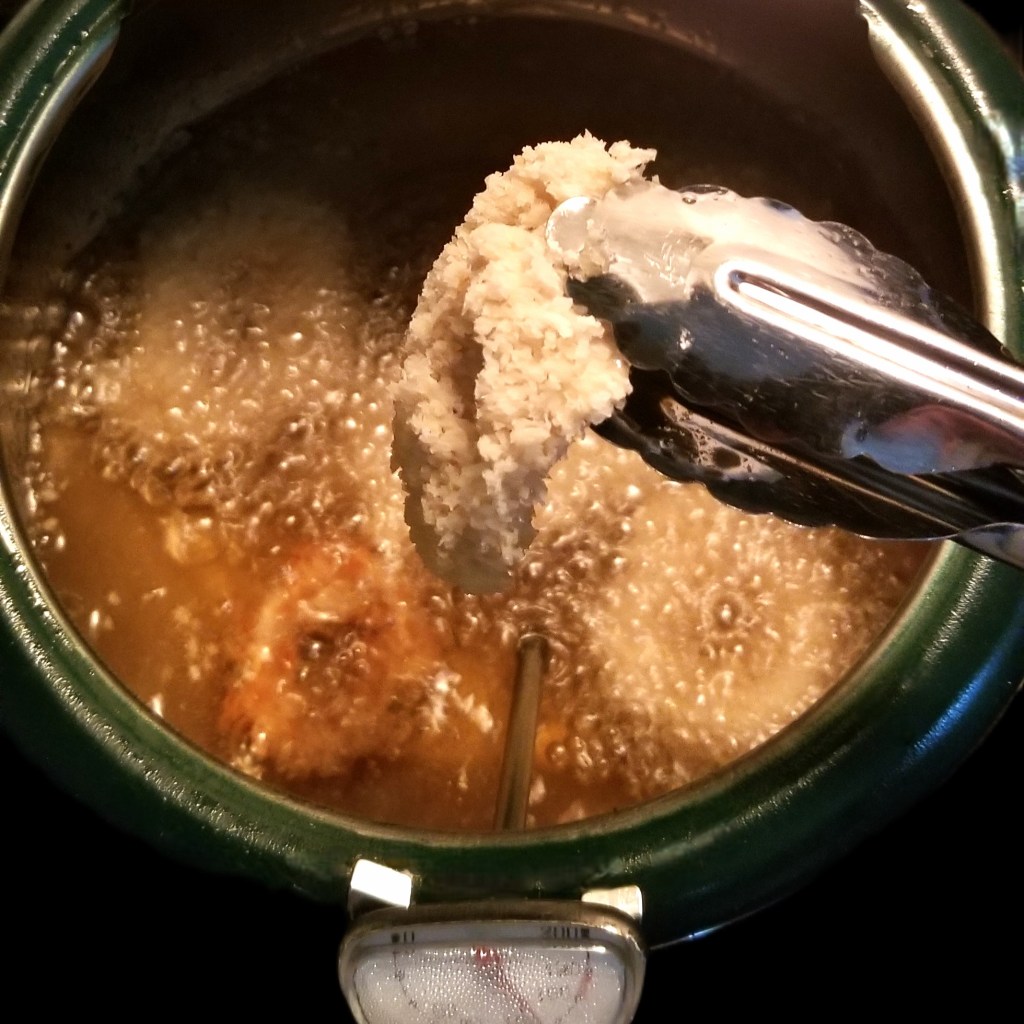
Fry breaded squid rings in small batches, adding a few at a time to the hot oil (photo below, left), and flipping once or twice (photo below, centre). Remove once golden brown (photo below, right):
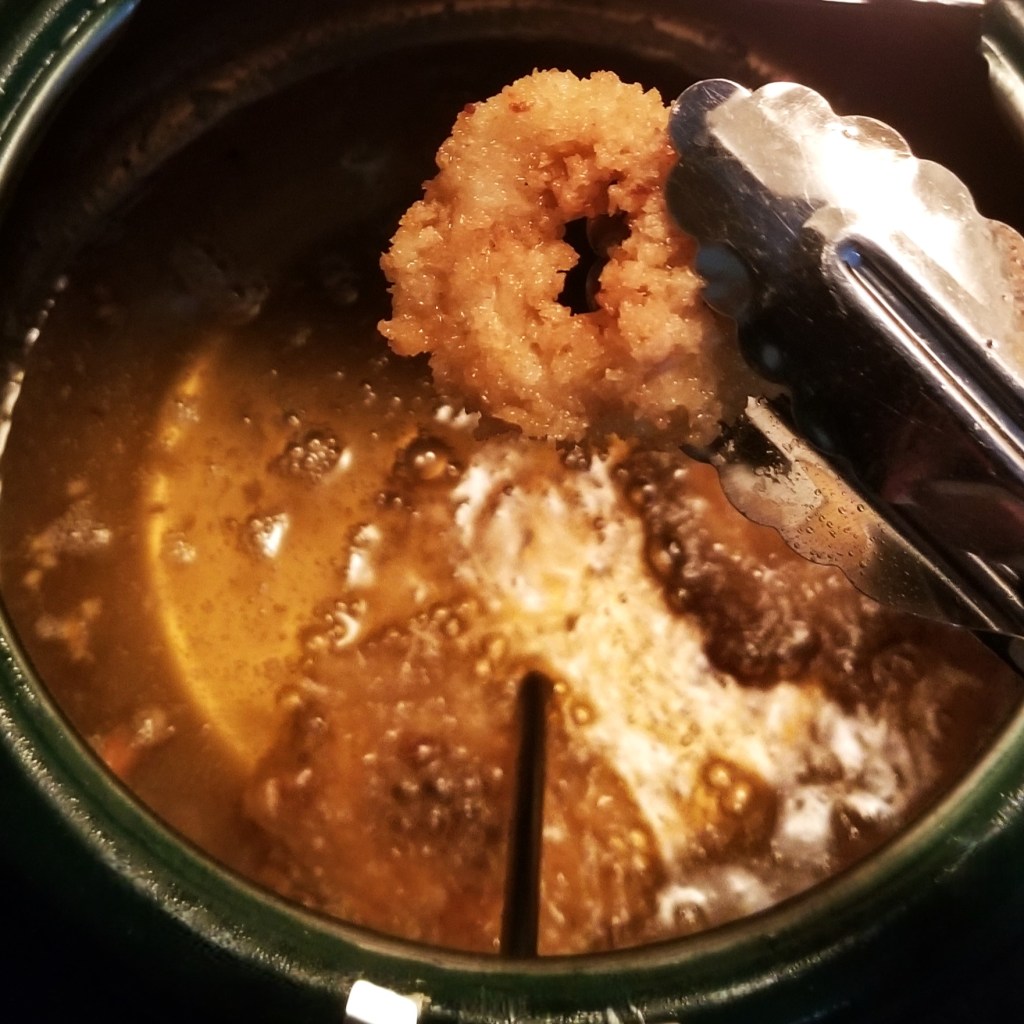
Transfer to paper towels, and continue frying in small batches.
Serve immediately with sliced fried peppers, reserved lime aioli, and lime wedges:

These were some of the crispiest and most flavourful fried calamari I have ever tasted. And the lime aioli, fried peppers and lime juice were the perfect complement for a delightful appetizer (or make it a meal with a side salad!)
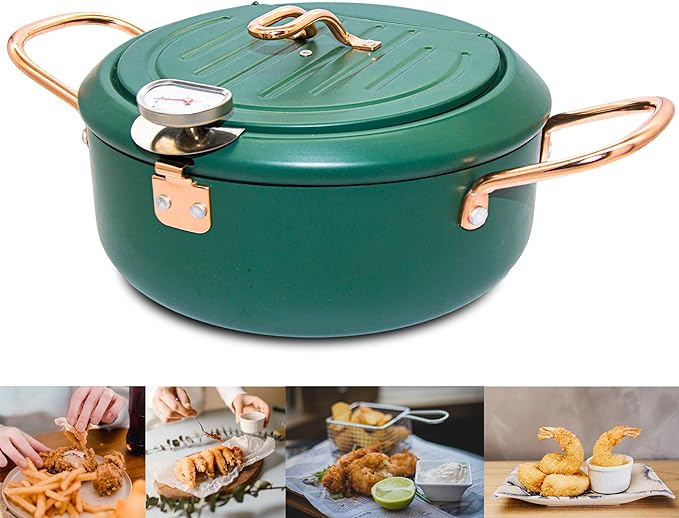
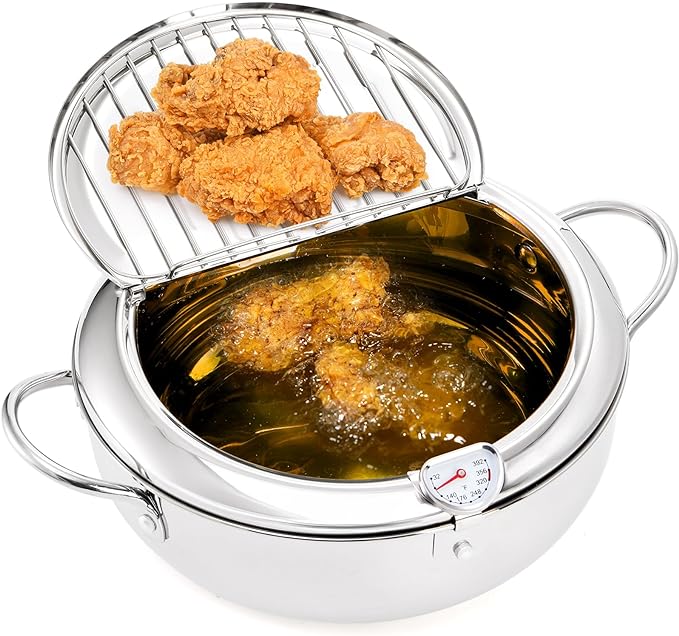
One of my daughters gave me the little pot I used for this recipe, especially designed for Japanese tempura deep frying. I was not sure if I needed one more pot, but it turned out to be very efficient. First, as I always say, use a pot with a small diameter, so less oil is used to achieve a good depth. A thermometer is always helpful; although I already had a food thermometer, the pot comes with one that is inserted through the upper lip of the pot, so it is in the right position for more accurate readings. It also has a lid, and when opened, a draining grid may be placed there to remove excess oil from the food. The green enamel is very pretty, but might chip where the lid touches; I did not mind, but there is also an option with a stainless steel finish.
For your convenience, click on the highlighted text below for products available on Amazon™. DISCLAIMER: Any reviews included in this post are my own, for items I have purchased, not provided by any company; as an Amazon Associates Program affiliate, I might receive a commission for any purchases originated from the links below, at no extra cost to you. Thank you to readers who have bought other products starting with a click from my links!

I am sharing my recipe at Full Plate Thursday #706 with Miz Helen @ Miz Helen’s Country Cottage.
I am bringing my recipe to Thursday Favourite Things #672 with Bev @ Eclectic Red Barn, Pam @ An Artful Mom, Katherine @ Katherine’s Corner, Amber @ Follow the Yellow Brick Home, and Linda @ Crafts a la Mode.
I am joining Fiesta Friday #549 with Angie @ Fiesta Friday,


Mmmmm
LikeLiked by 1 person