Click here to go to printable recipe: Gansito™ Cake
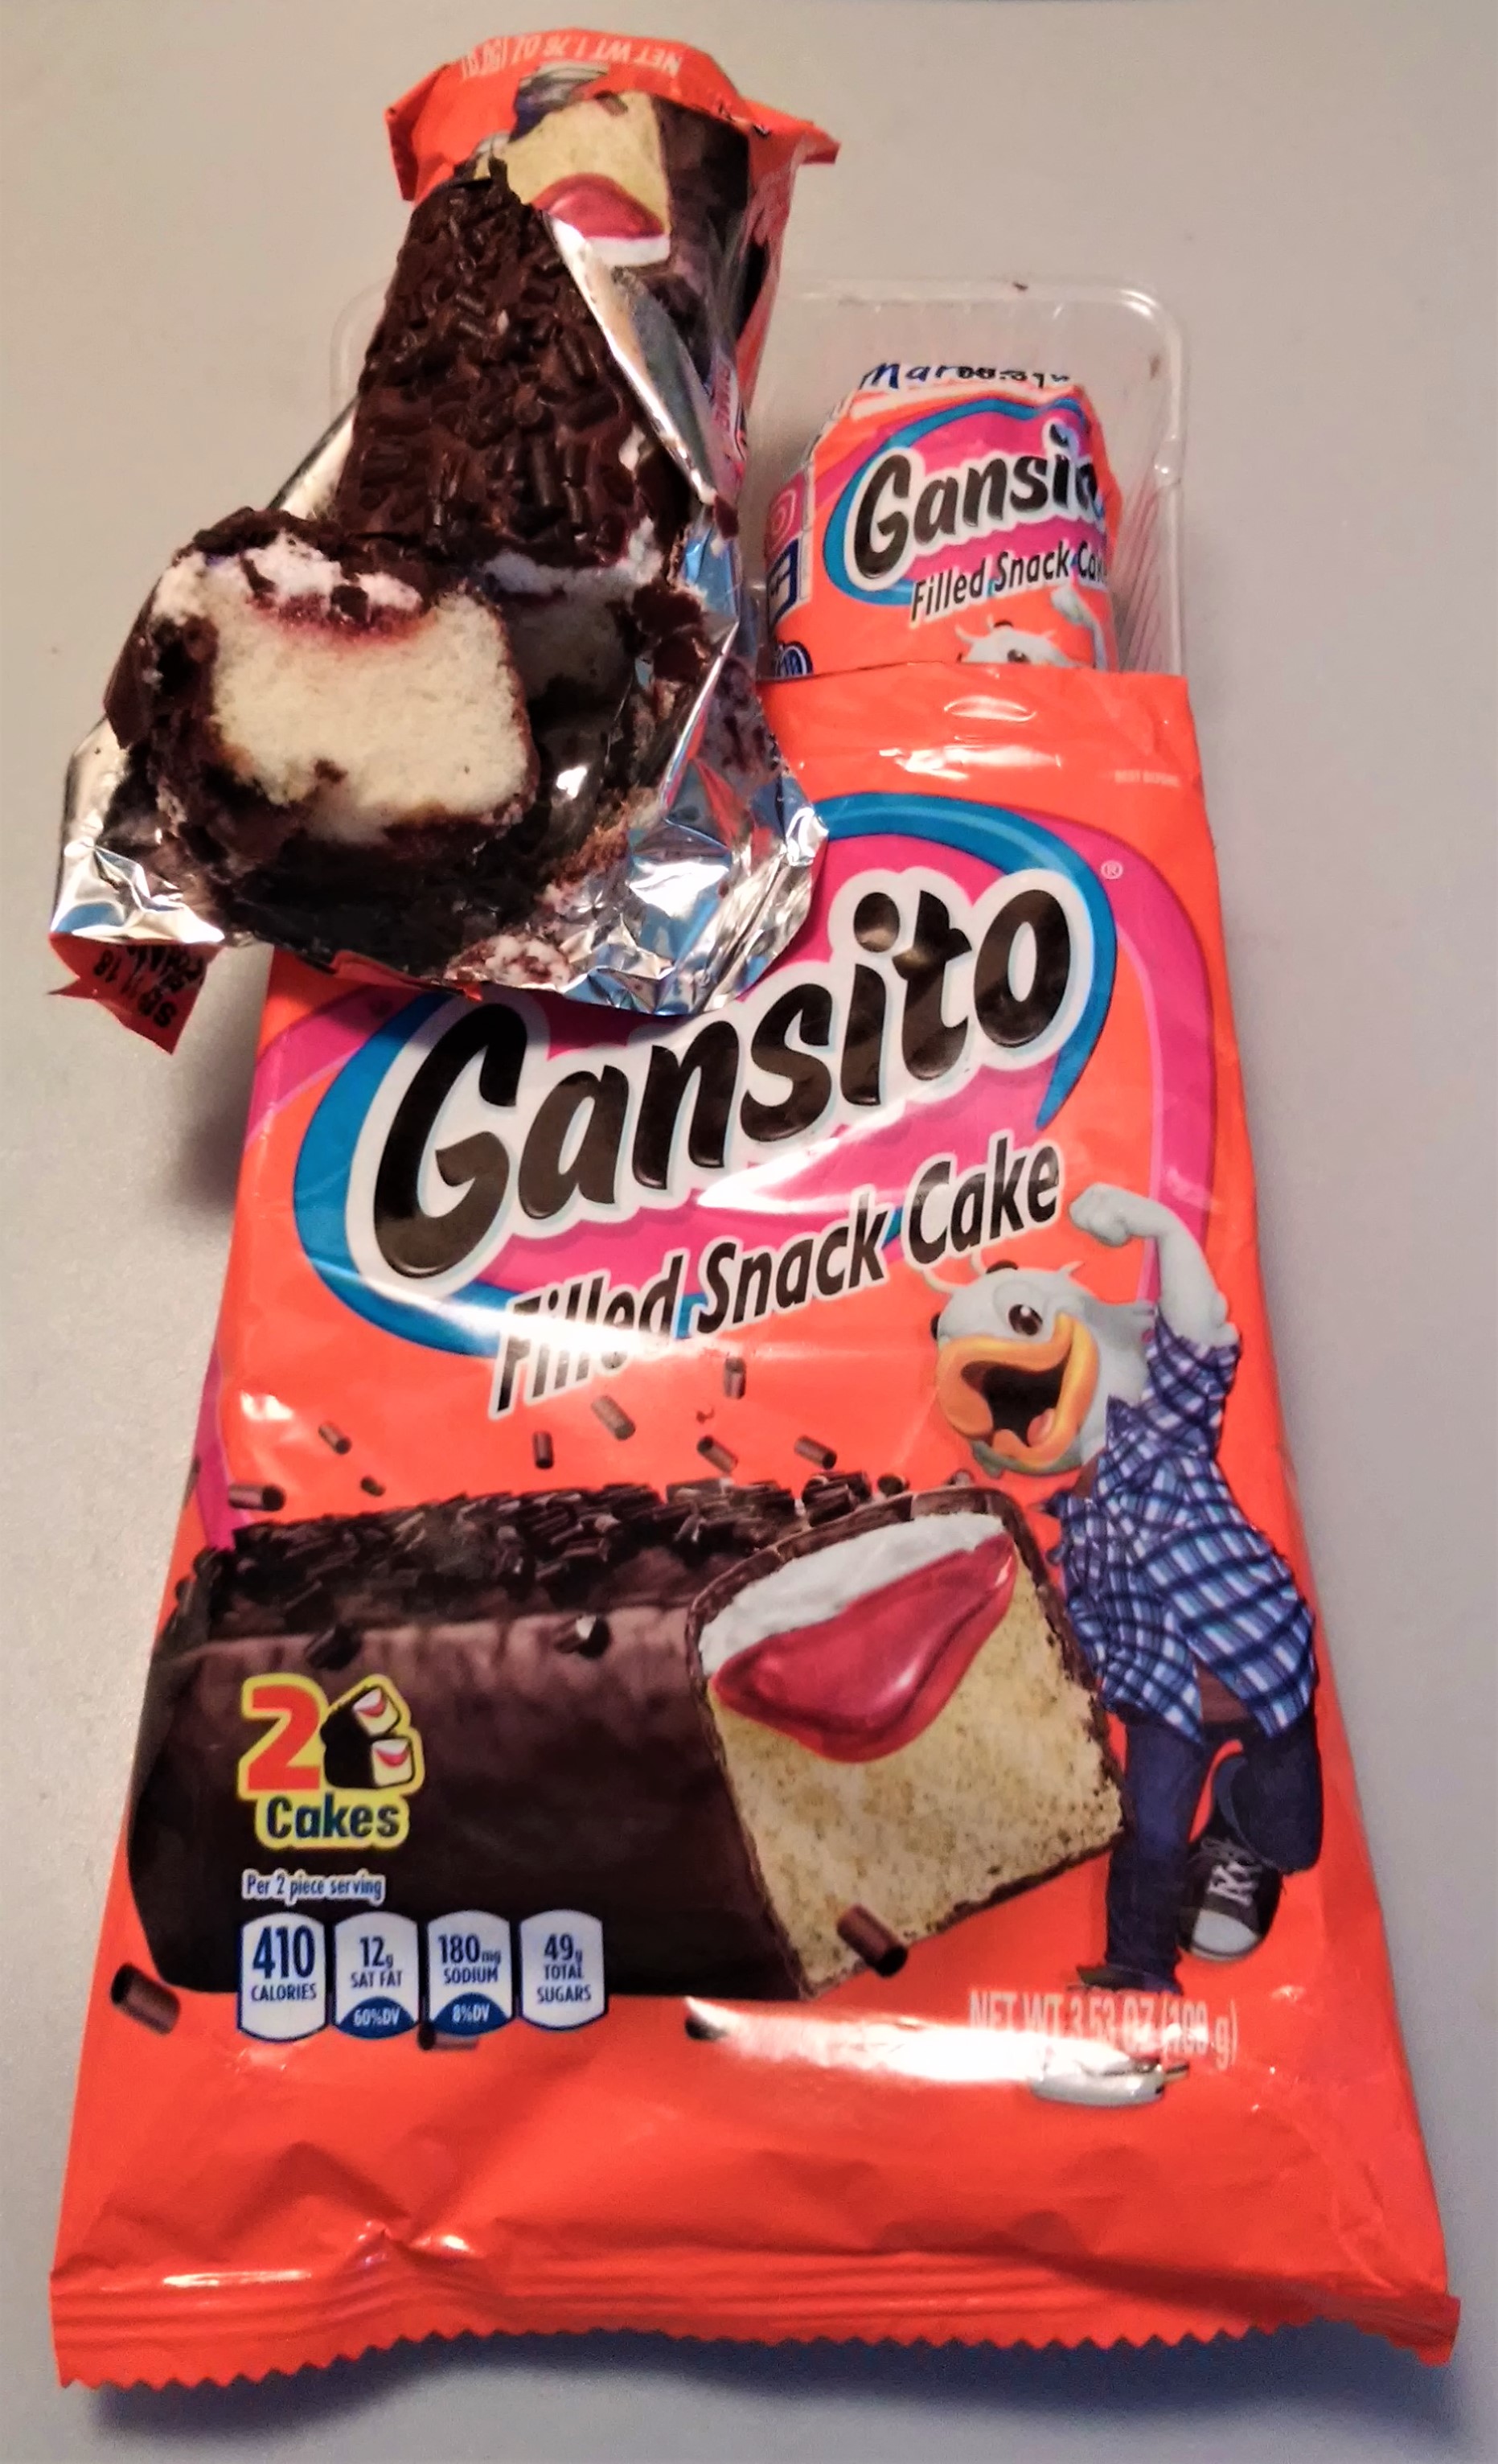
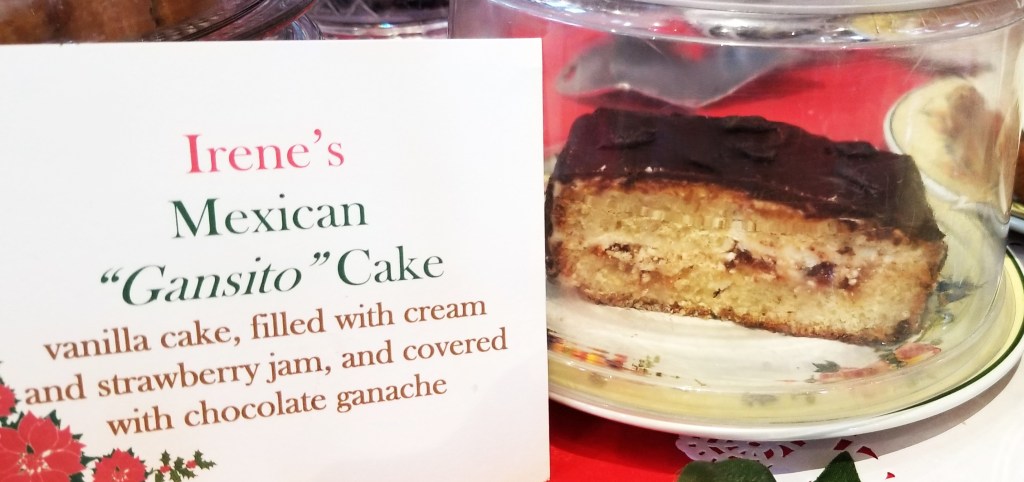
Gansito™ is a snack pastry made by Marinela™, a branch of Mexican Bimbo Group™ (pronounced “beembo”), one of the largest bread and pastry companies in the world. Gansito means “gosling”, and a goose has been the product’s mascot since its creation in the 1950s. The snack-size cake was a bar of vanilla cake, filled with strawberry jam and cream, covered with chocolate and topped with chopped nuts; later on, the nuts were substituted with chocolate sprinkles, and the recipe has remained unchanged for several decades, although the wrapper and mascot have been updated several times (photo below from 2019):
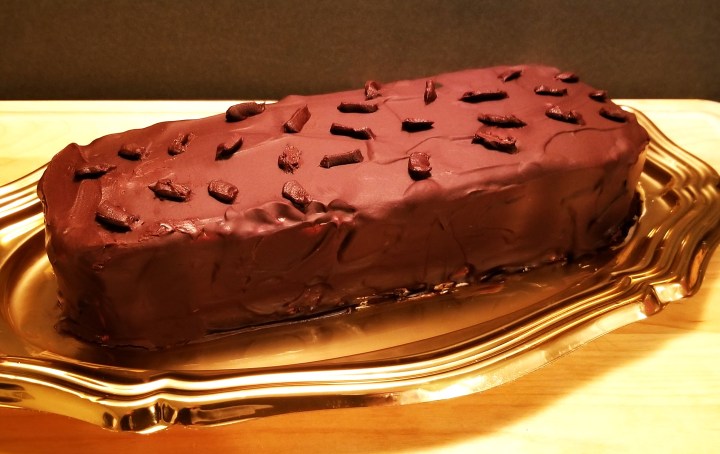
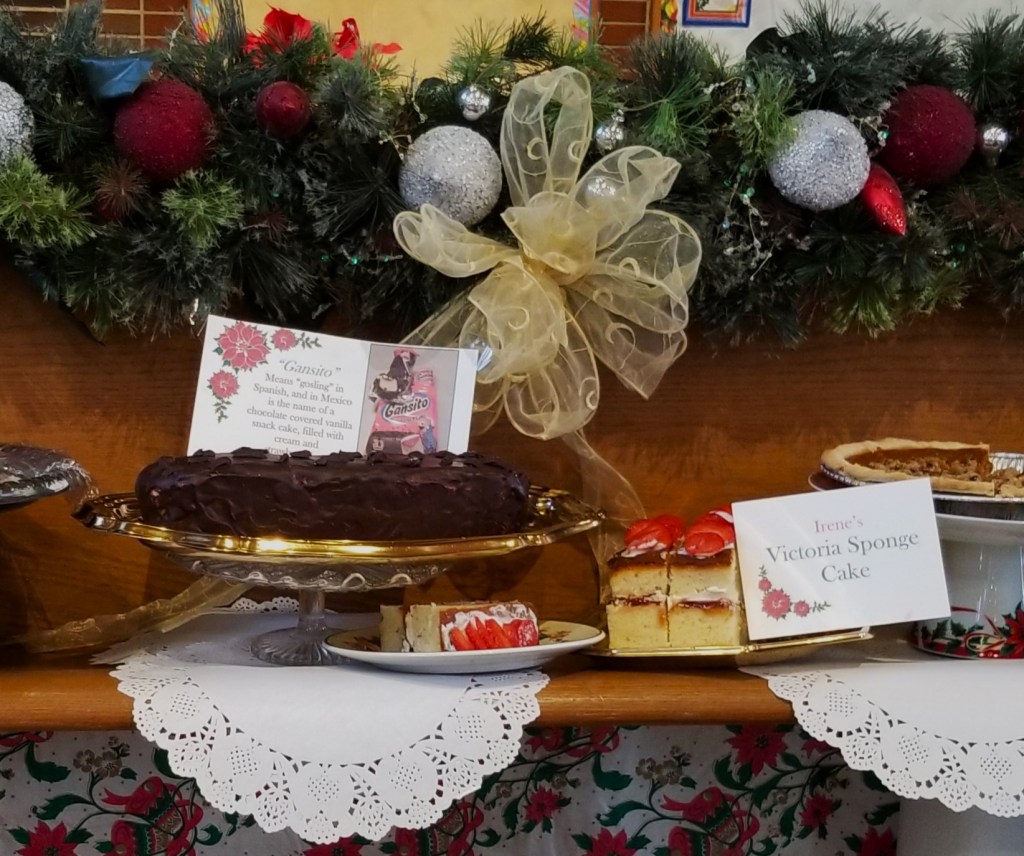
In recent years, it has become a trend to make full-size cakes that look exactly like snack-size treats, from French fries to chocolate bars and more. For my church’s annual Christmas sale, I thought of creating a giant Gansito™, as seen at the top of this post. The snack is about three inches long, and my giant reproduction is about four times longer.
Gansito™ Cake
Printable recipe: Gansito™ Cake
Ingredients (for two cakes)
2 cups strawberry jam
Vanilla Sponge Cake
3 cups all purpose flour
2 tsp baking powder
½ tsp salt
4 large eggs
2 cups sugar
1 tbsp vanilla extract
¾ cup oil
1 cup milk
Basic Butter Icing
¾ cup unsalted butter; at room temperature
6 cups icing sugar
3 tbsp milk, or more, if needed
2 tsp vanilla extract
Ganache
1½ cups whipping cream
18 ounces (510 g) semisweet chocolate
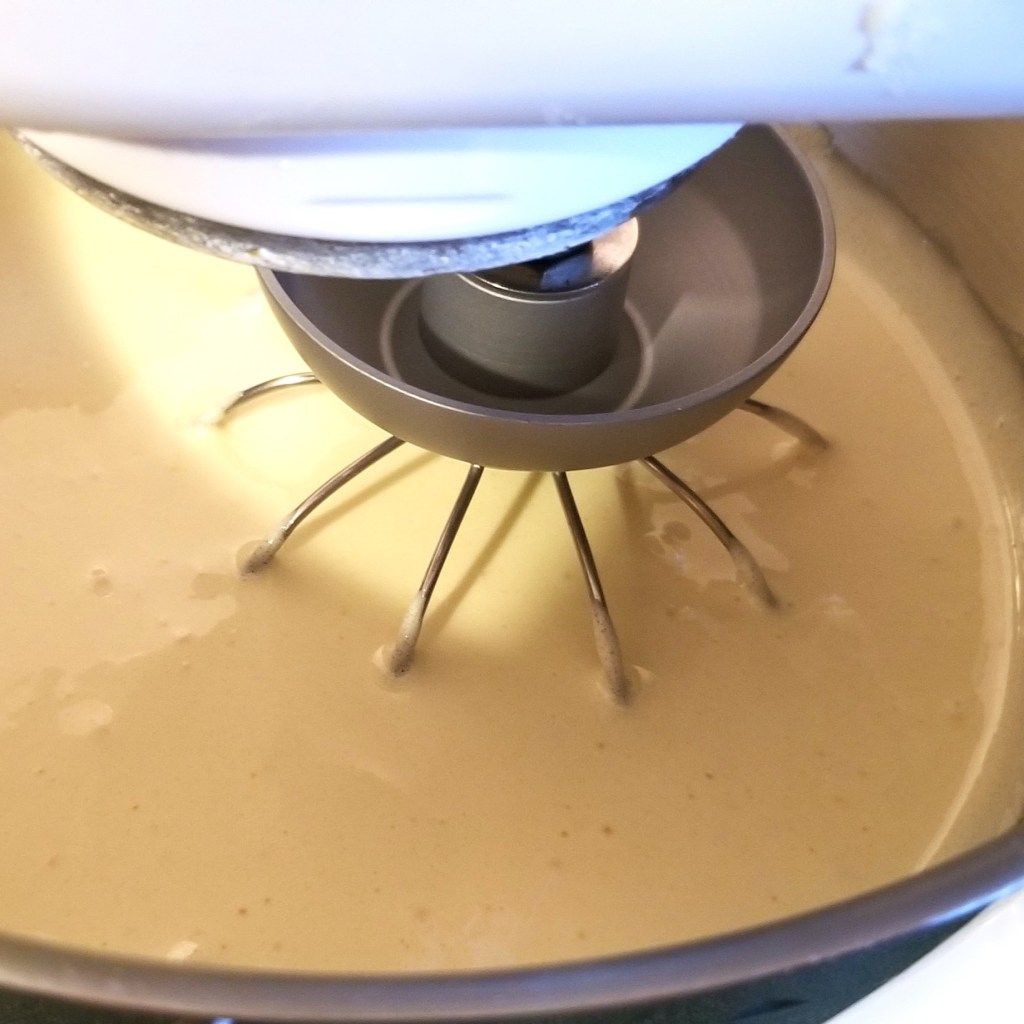
Prepare cake: Line the bottom and two sides of a 13×9 inch baking pan with a strip of parchment paper, and set aside. Sift together flour, baking powder and salt into a bowl, and set aside. Place eggs, sugar and vanilla in a large mixing bowl, and beat, preferably with an electric mixer (photo below, left); continue beating for about ten minutes, until the mix has turned pale, and has increased in volume (photo below, right):

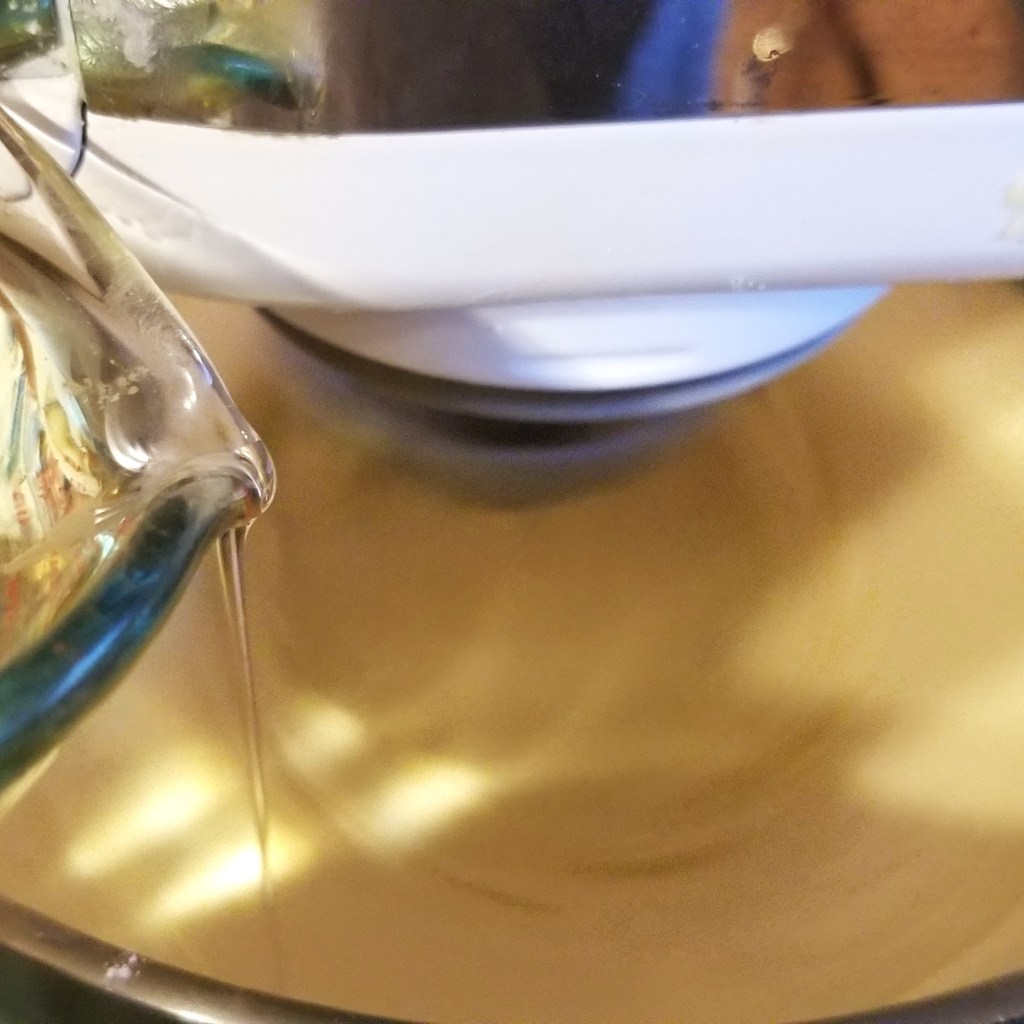
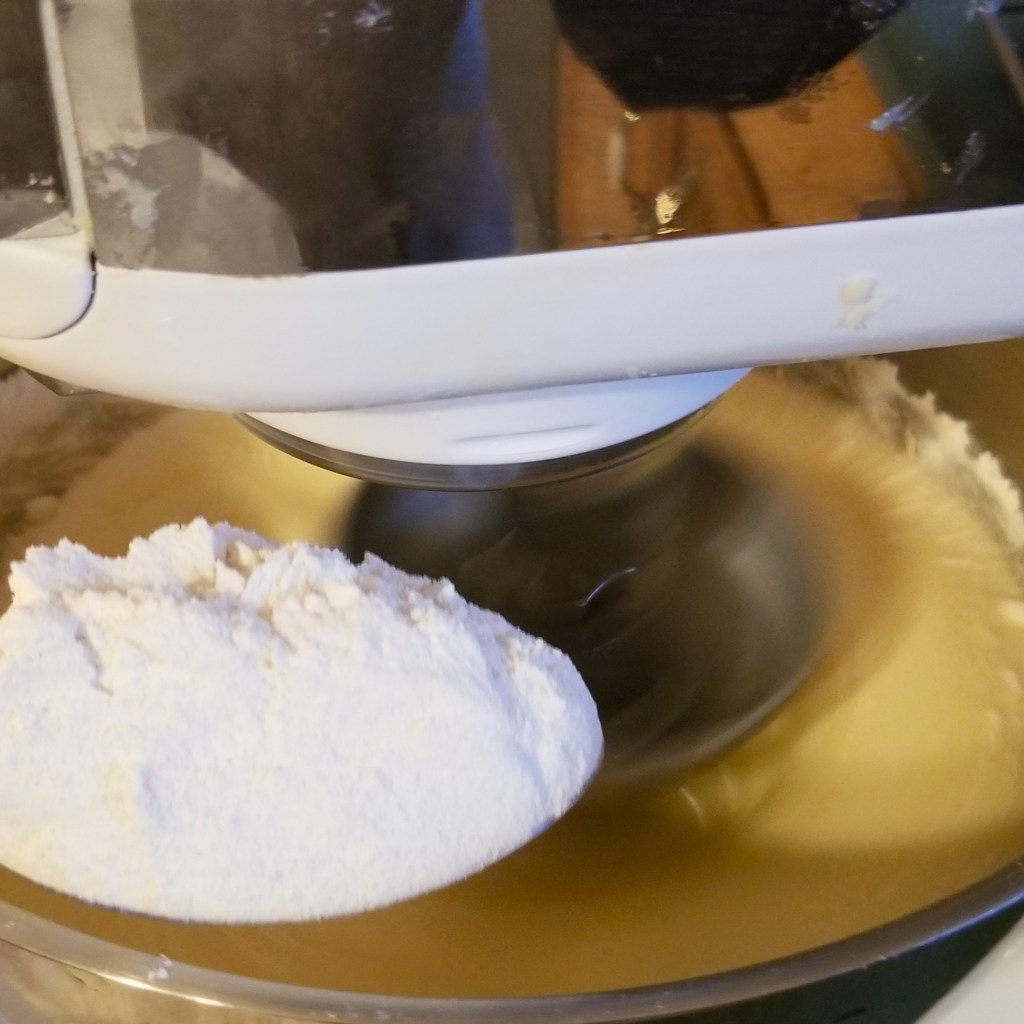
Continue mixing and slowly pour in oil without stopping (photo below, left). Turn down the speed, and start adding sifted flour mix gradually (photo below, centre), alternating with milk (photo below, right):

Preheat oven to 350ºF (180°C).
Pour cake batter into prepared baking pan:
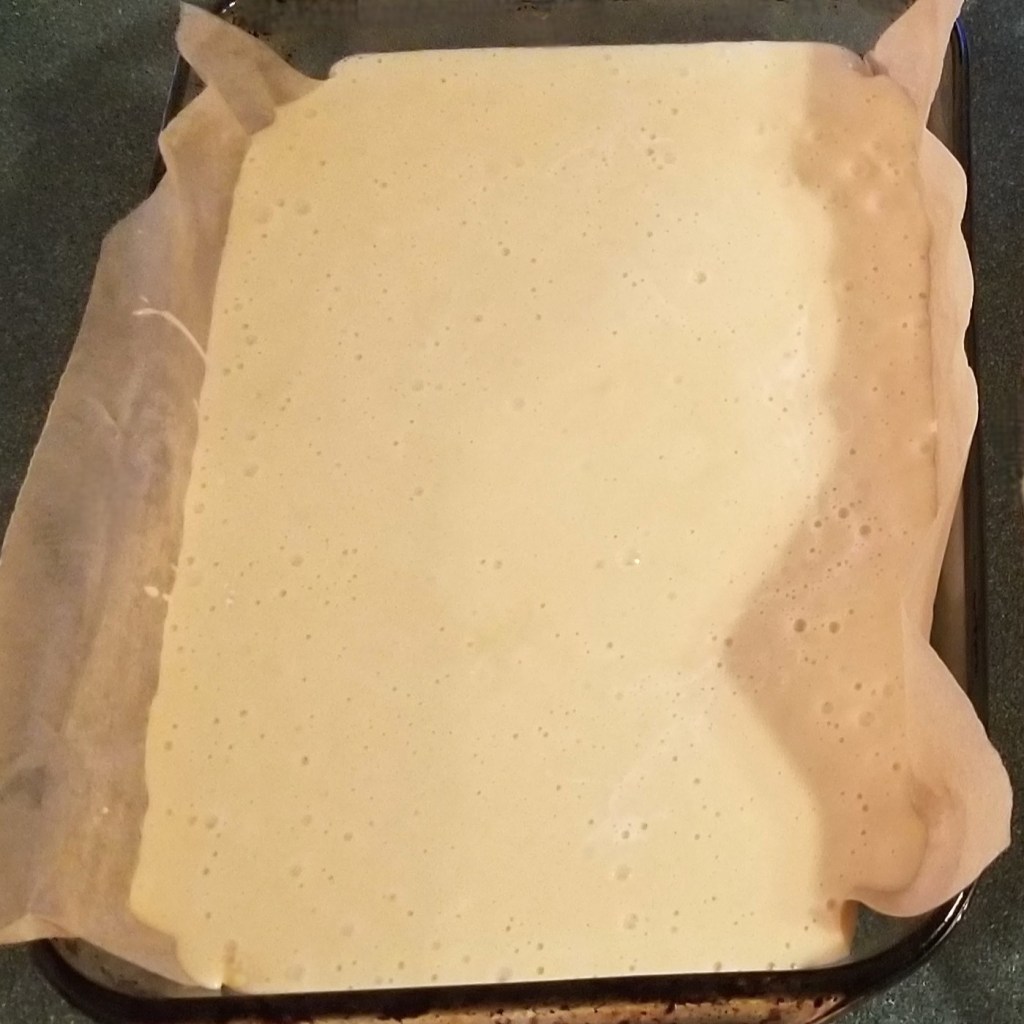
Tap the bottom of the pan gently to release air bubbles. Bake in the middle of the preheated oven for 50 to 55 minutes, until a toothpick comes clean when inserted in the centre of the cake, and the top has turned golden brown. Transfer to a cooling rack, and allow to rest for at least fifteen minutes before removing form the pan.
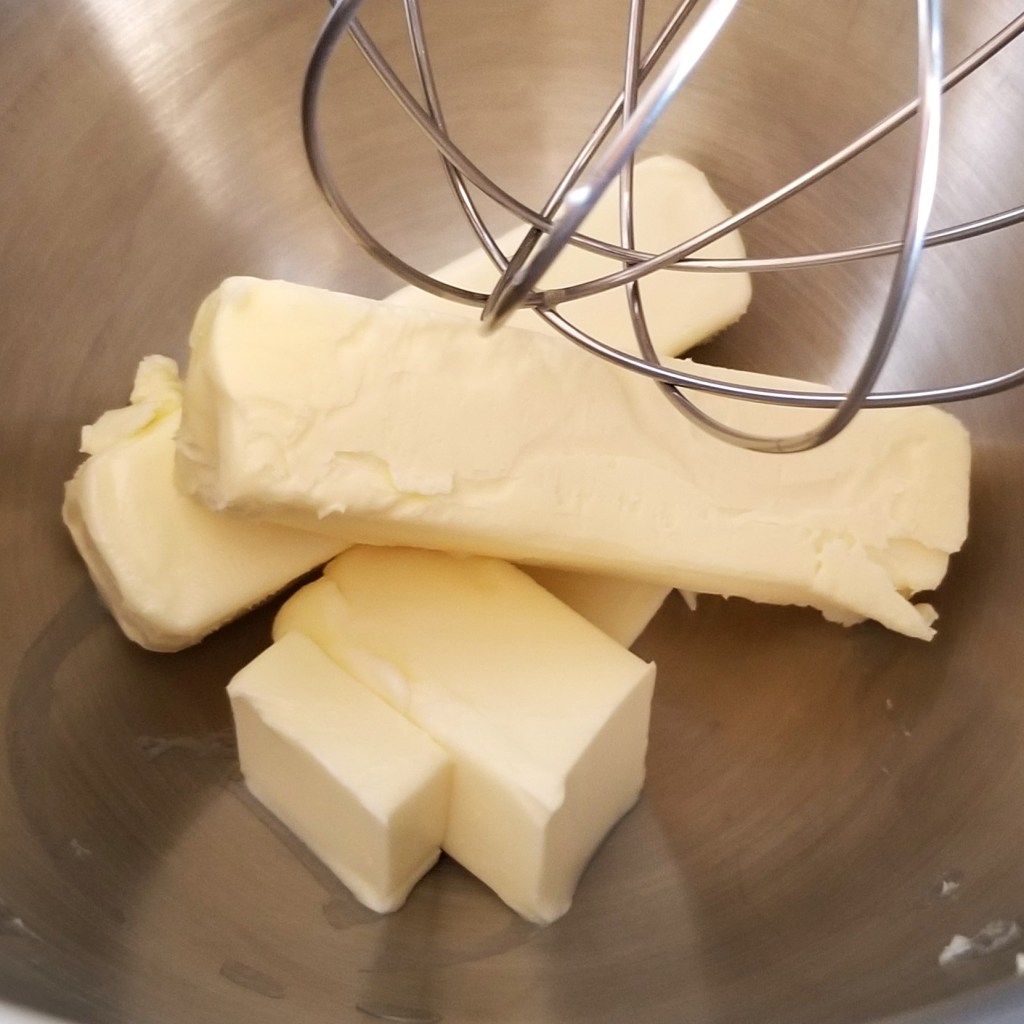
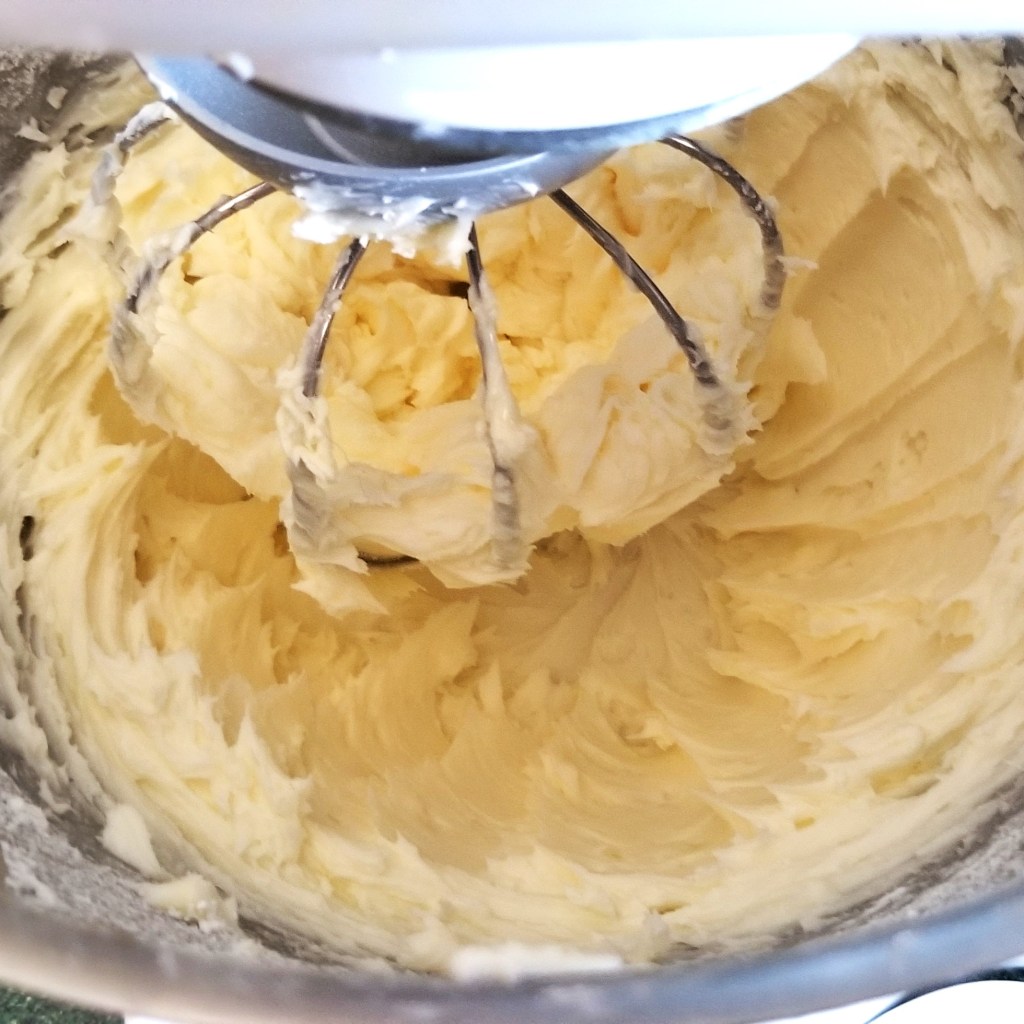
Prepare butter icing: while the cake is cooling down, place butter at room temperature in a mixing bowl (photo below, left); beat until creamy (photo below, right):

Sift one cup of icing sugar into the bowl (photo below, left). Scrape mix from the wall of the bowl, and add three tablespoons of milk and vanilla (photo below, centre). Continue beating and adding sifted sugar, adding more milk by the tablespoon, if needed, until very smooth and fluffy (photo below, right):


Reserve.
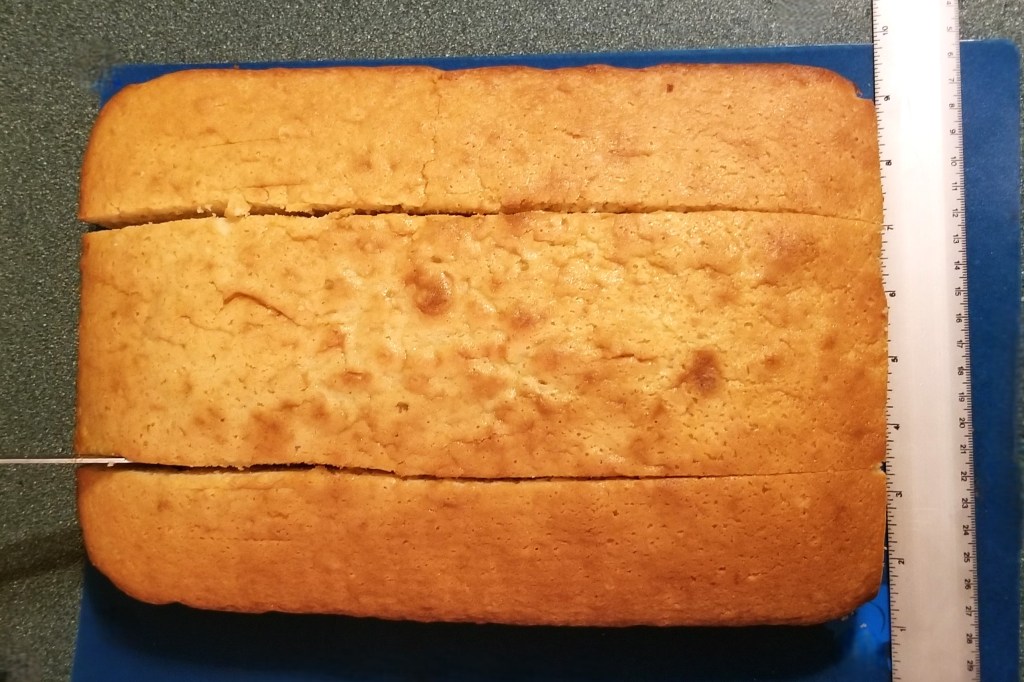
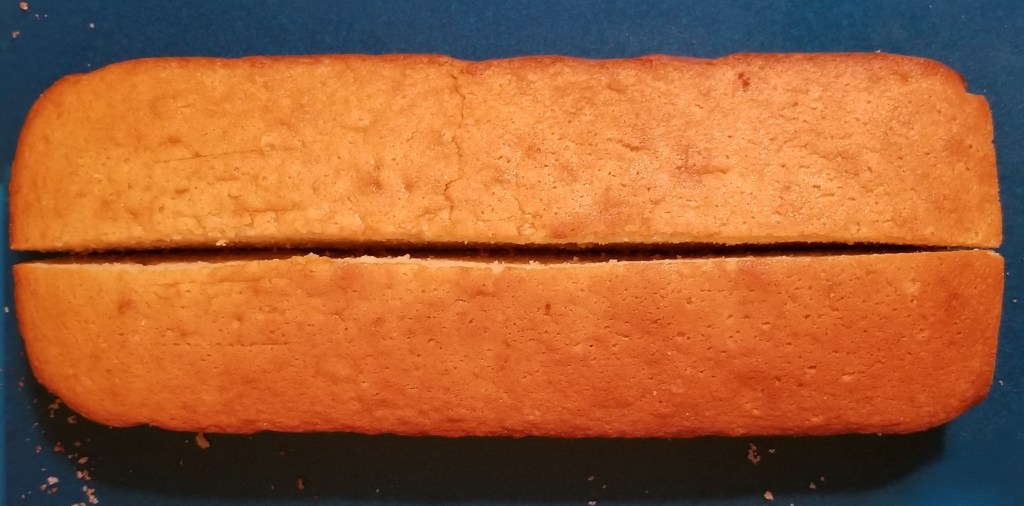
Assemble cakes: Once cool, lift cake from the pan by holding the ends of the parchment paper. Remove and discard paper, placing the cake on a flat working surface, such as a pastry board. Measure the width, divide by four, and mark four strips lengthwise accordingly. Slice only the two outer marks, leaving a double-width piece in the middle, as shown below:
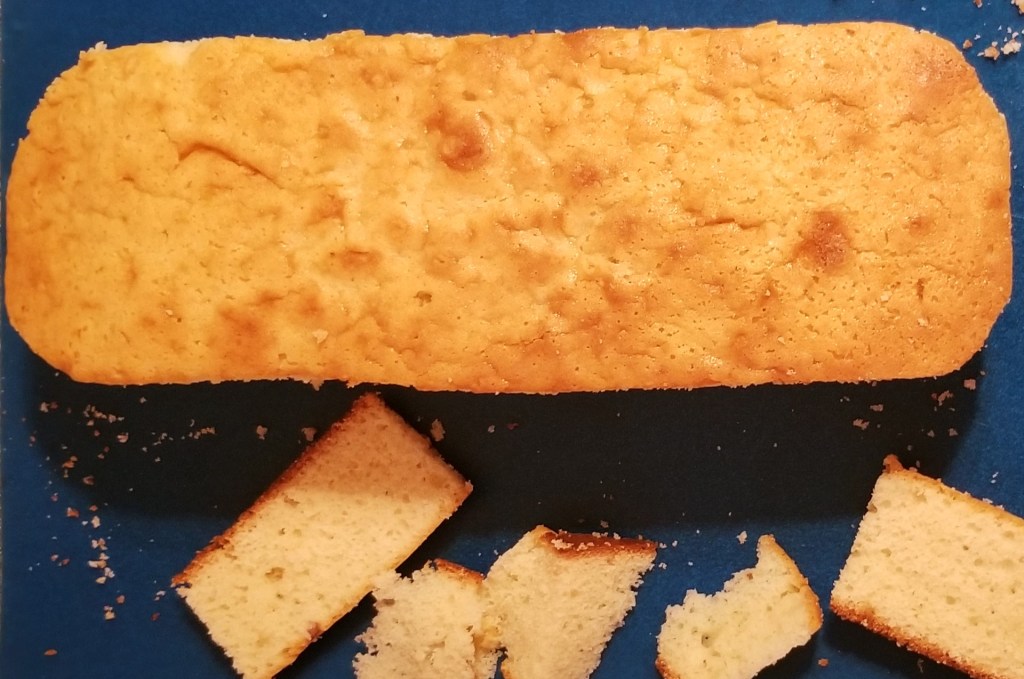
Reserve the outer strips. Take the middle piece, and trim one of the short edges to form a rounded end:
Repeat with the other short edge:
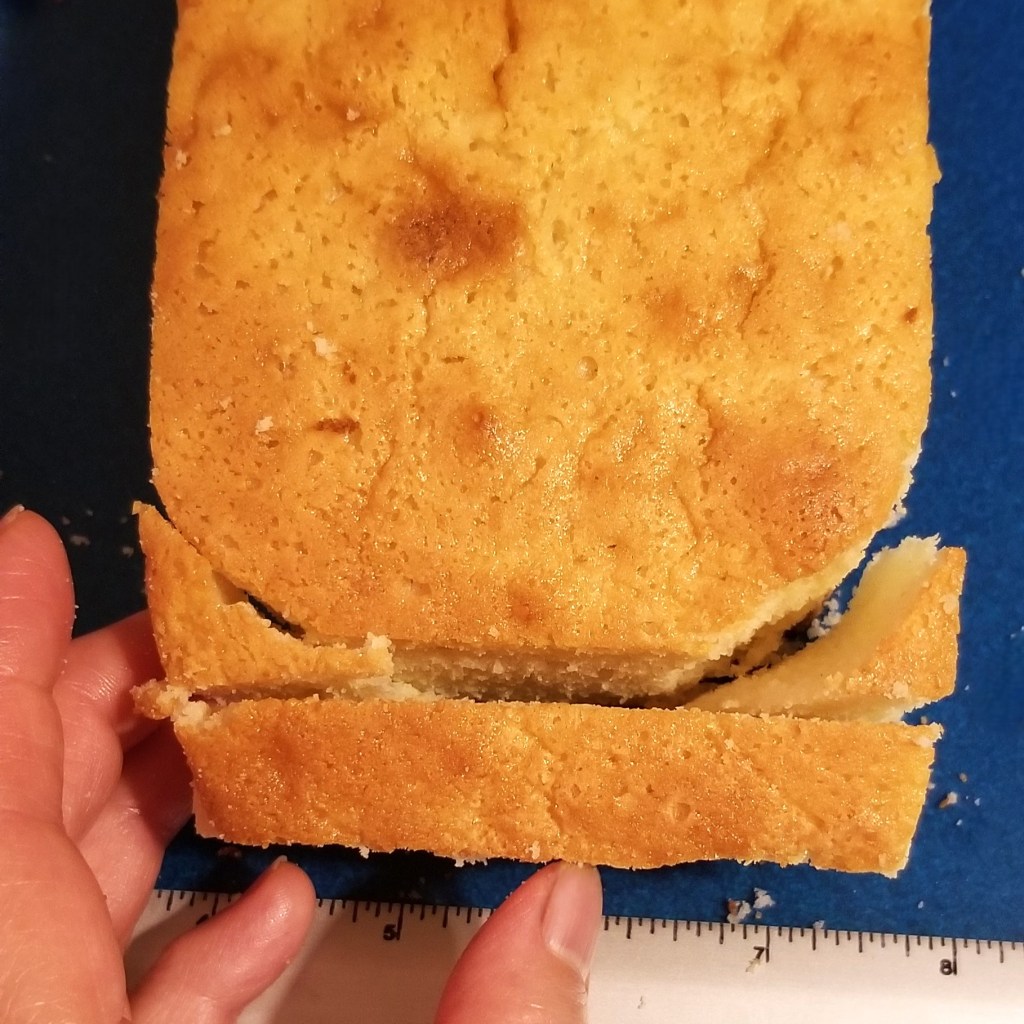
Save the trimmings for another application (or enjoy at coffee break!). Measure the height of the cake, and slice in half horizontally:
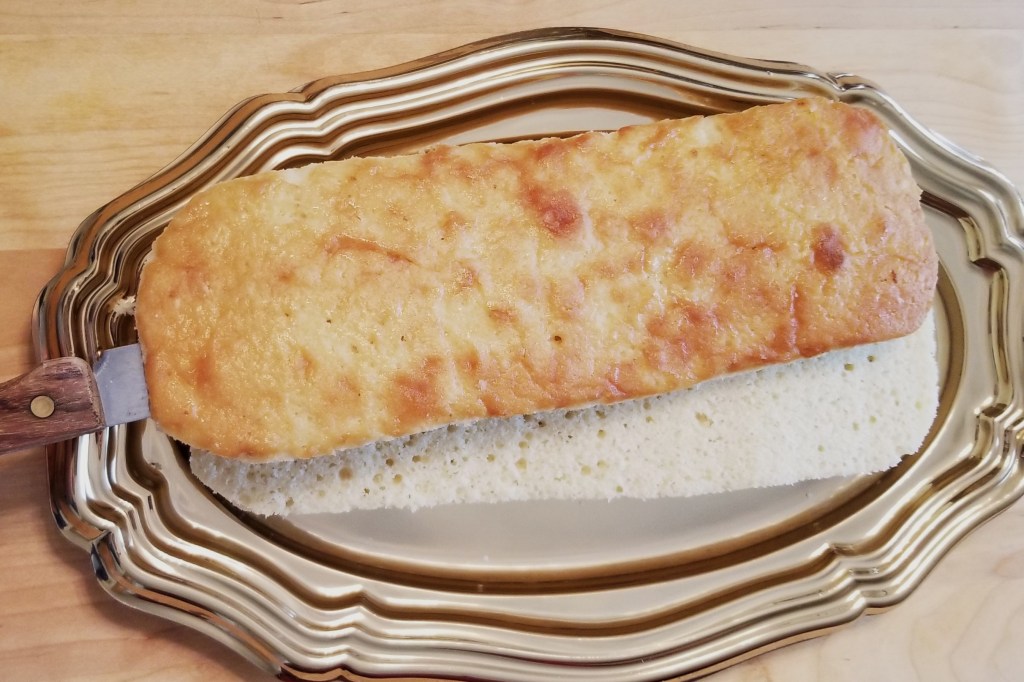
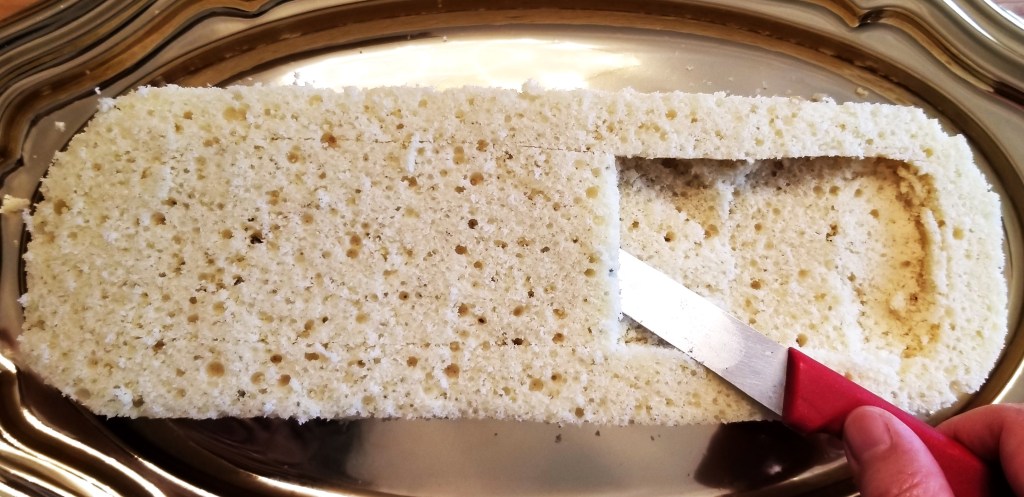
Remove and reserve top layer. Hollow the bottom layer, leaving an edge or about 3/4 inch (2 cm) around, to form a well approximately 1/2 inch (1.25 cm) deep:
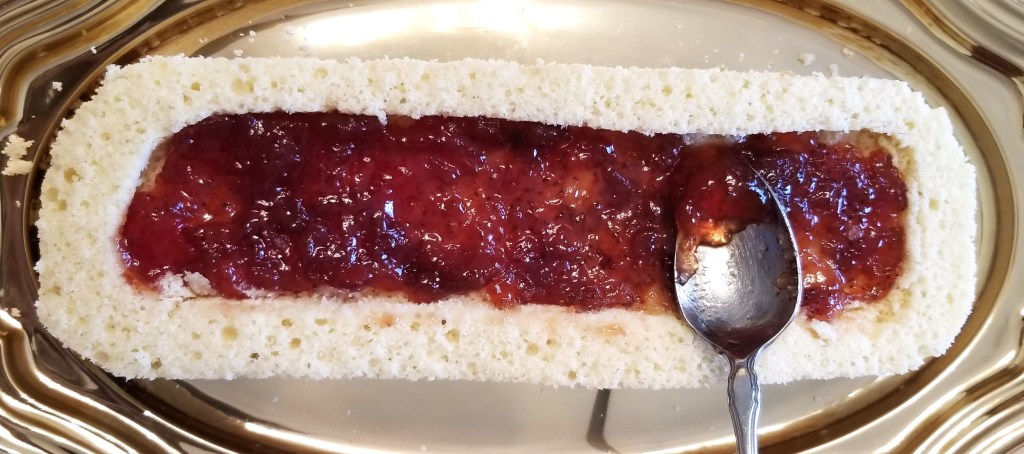
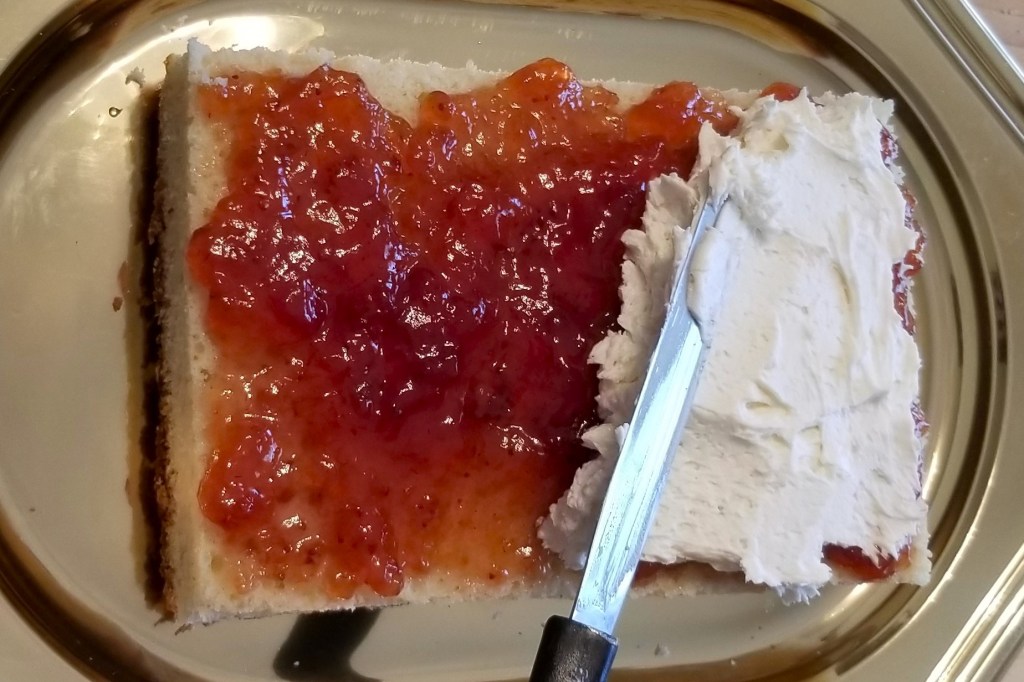
Spread one cup of strawberry jam in the well:
Top with one cup of butter icing, adding a little more to evenly coat the edge:

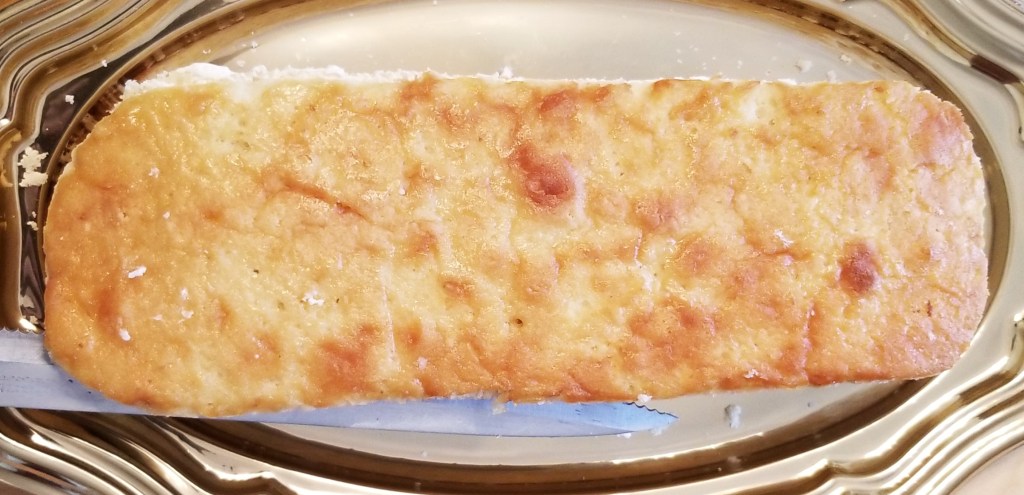
Cover with top layer to close cake:
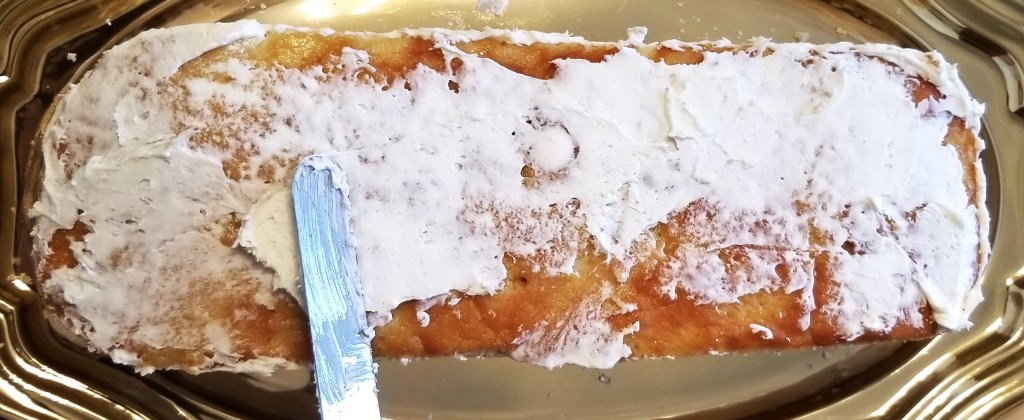
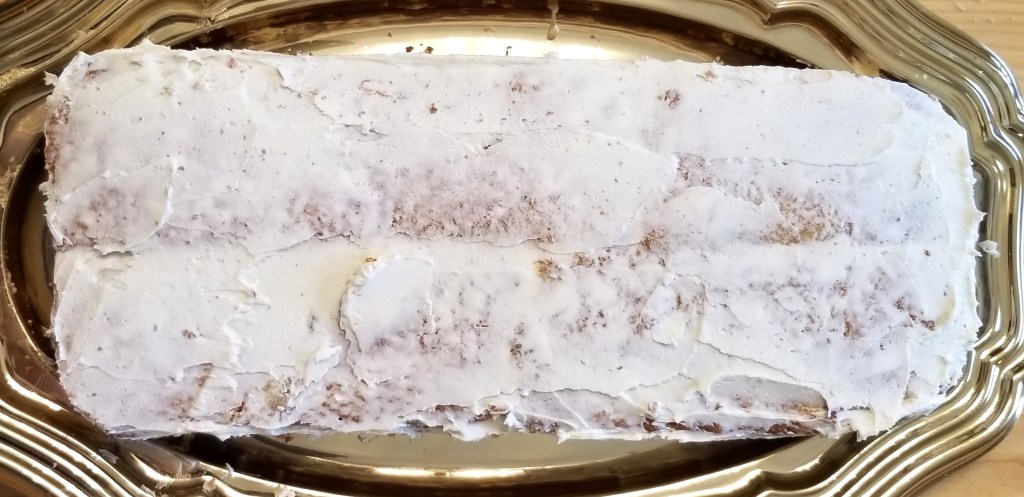
Crumb coat all around sides and top with more butter icing:
Place in the fridge for a few minutes.
To form the second cake, fit the two outer strips of cake together, cut sides touching; notice how, if a glass baking pan was used, the edges will be already rounded:
Measure height and again, cut horizontally in half:
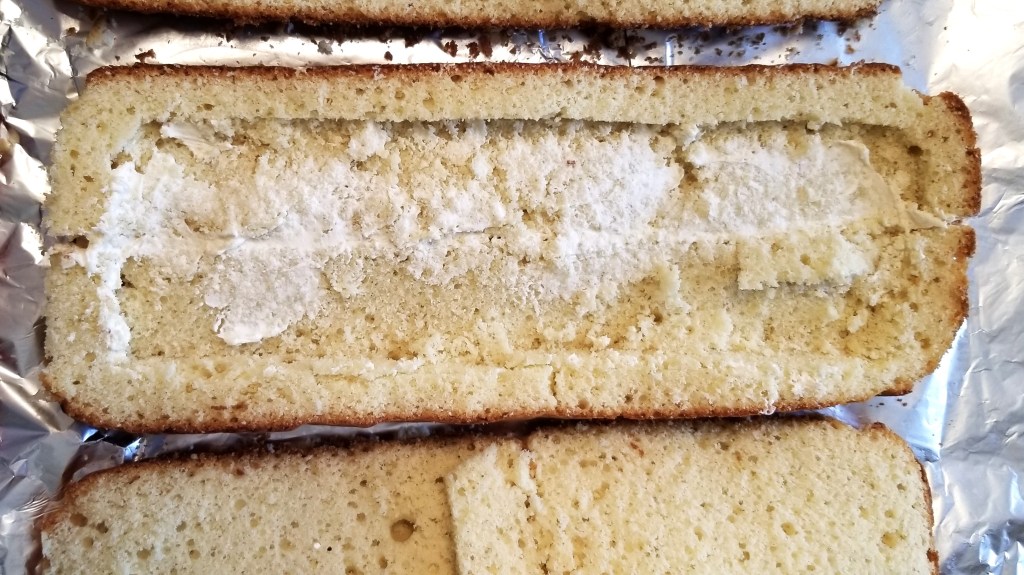
Remove and reserve top pieces. Carve each bottom piece as before, then spread some butter icing on the cut sides to “glue” together and form the well:

Also, thinly coat the well, to keep it from splitting:
Fill well with jam and icing as before, then place the top pieces back:

Crumb coat with icing all around the sides and top, also filling the gap in between the top pieces:
Place in the fridge for a few minutes.
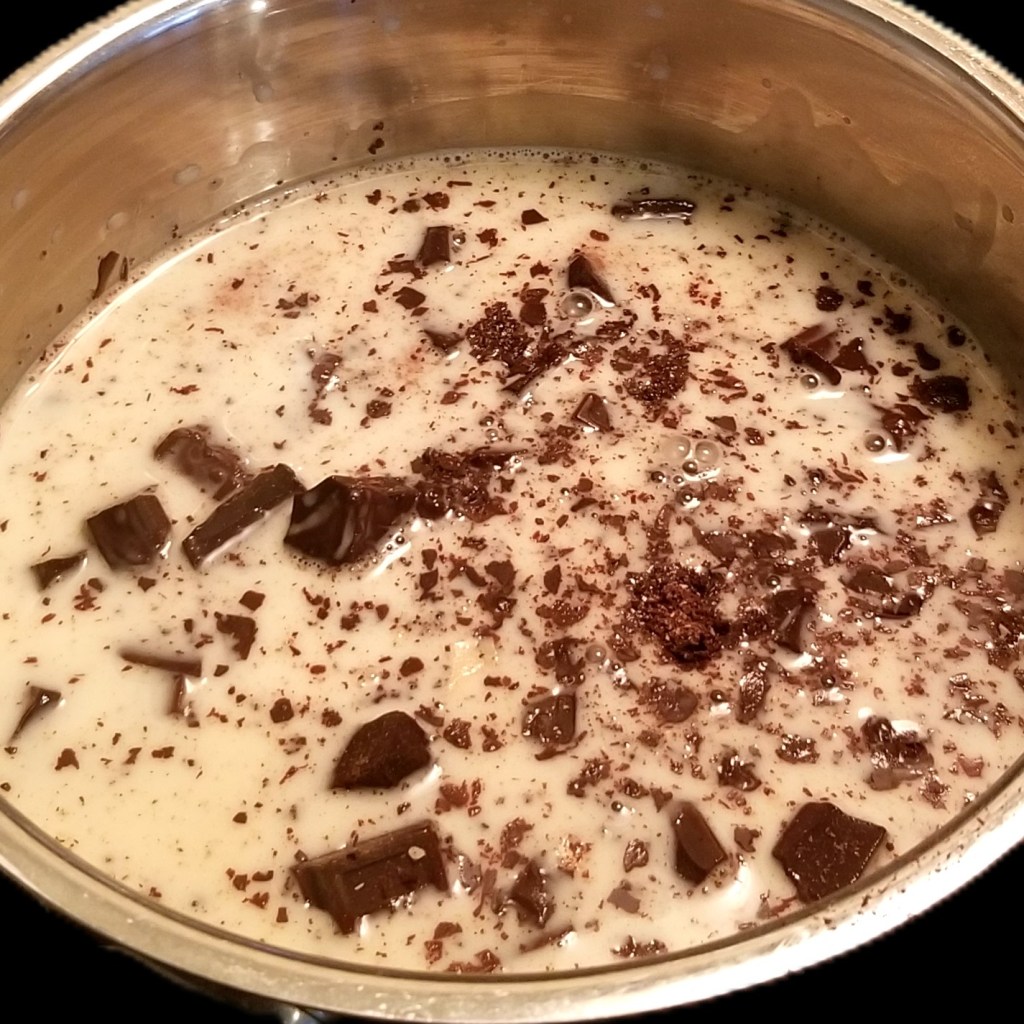
Meanwhile, prepare ganache: pour cream into a saucepan over medium heat, and gently warm up, but do not boil. Break up chocolate into small pieces, and add to the cream (photo below, left). Remove from heat and wait a couple of minutes, for the chocolate to melt. Stir gently to form a shiny and smooth paste (photo below, right):
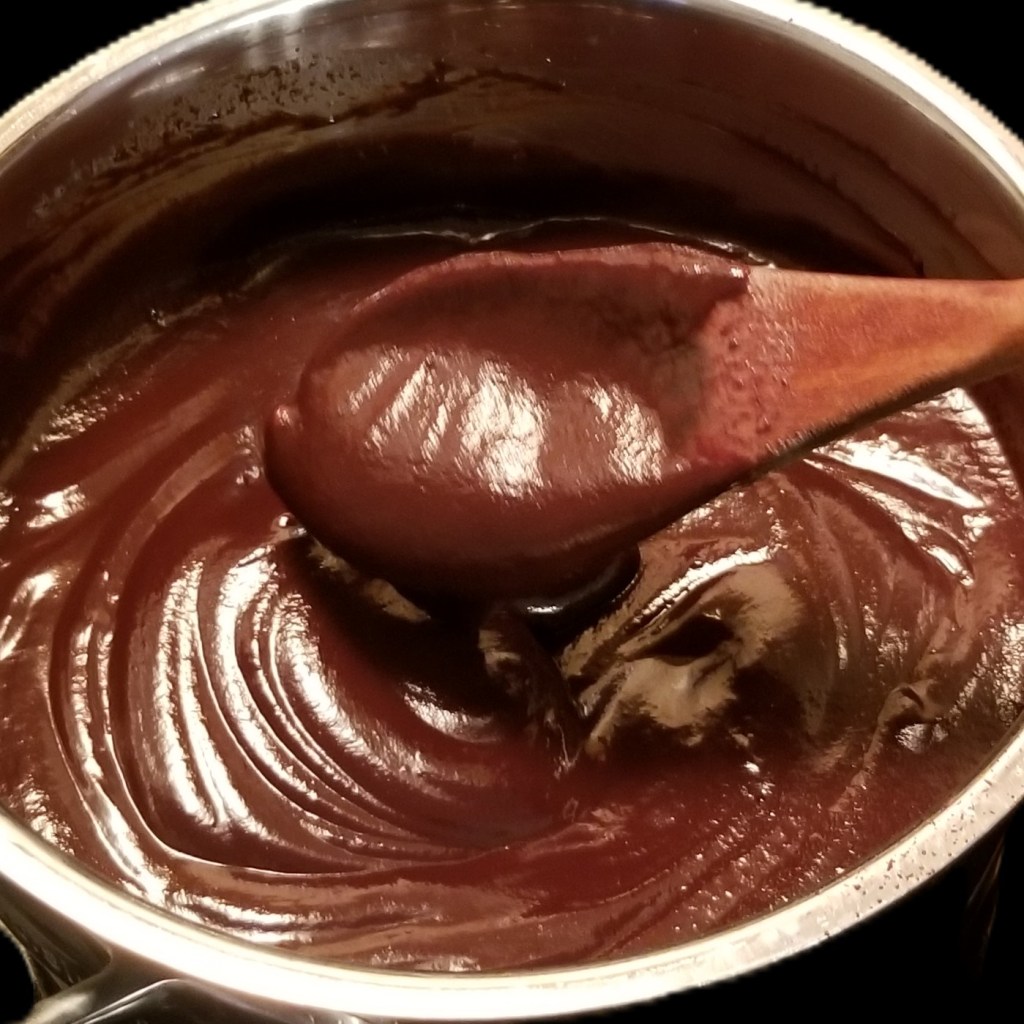
Monitor and wait until it cools down and thickens to a spreadable consistency.
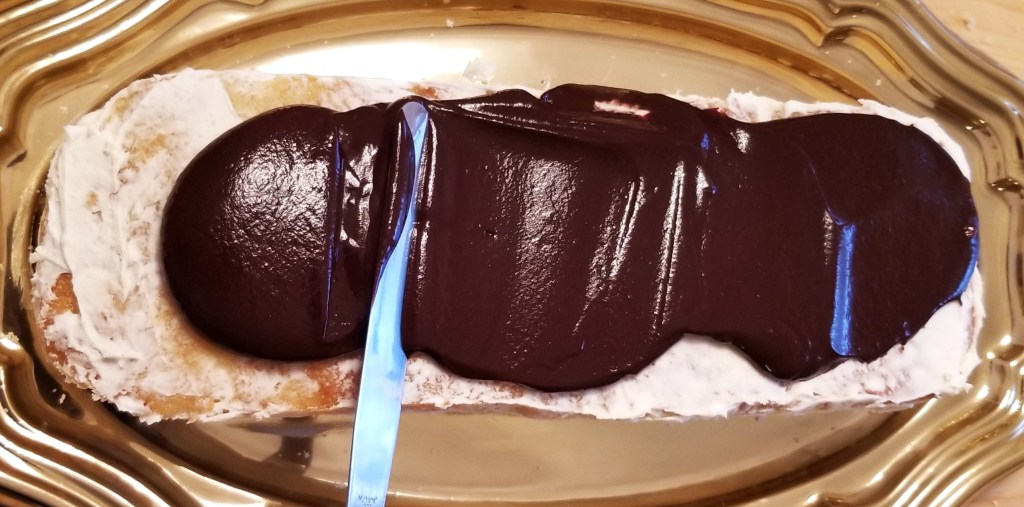
Finish cakes: Bring cakes out of the fridge, and working with one at a time, spread a generous layer of ganache on the top and sides of each cake:
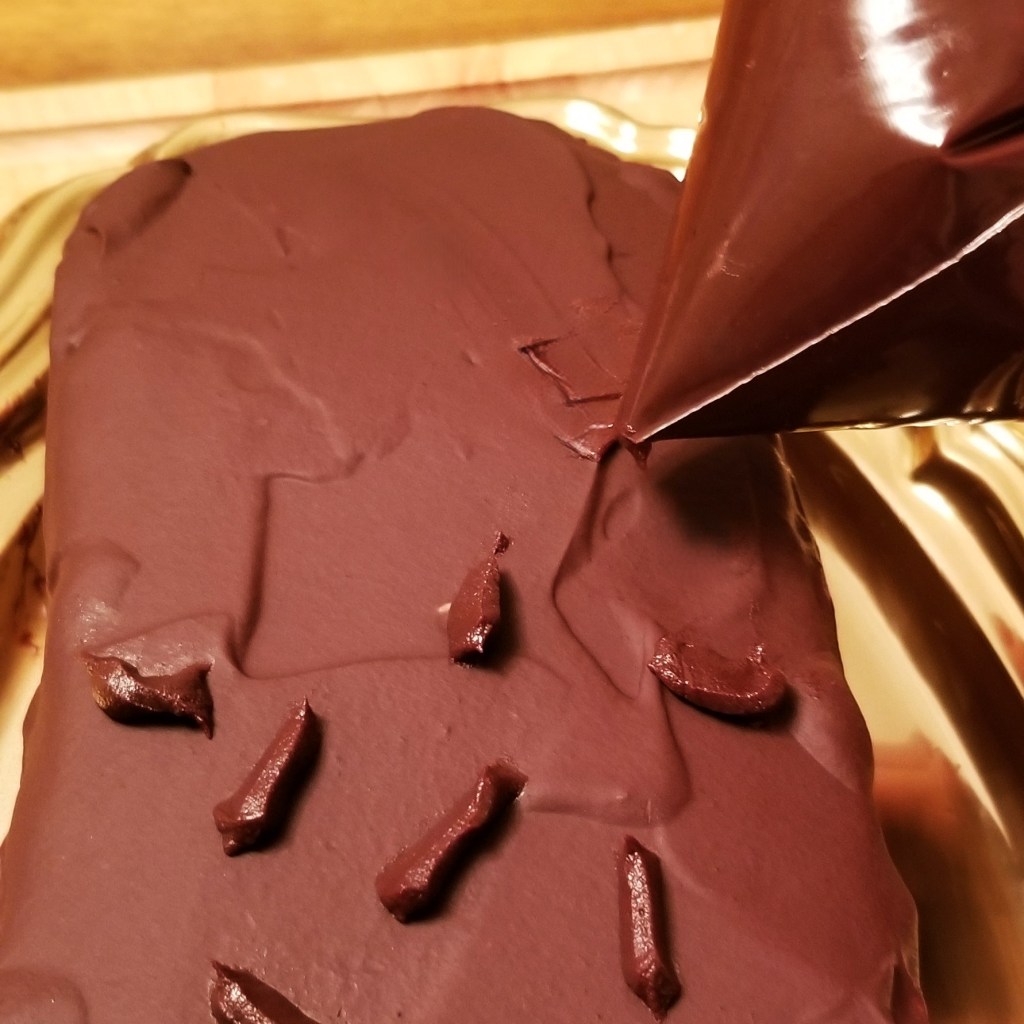
Transfer leftover ganache to a piping bag with a plain tip, or a food storage bag and cut one corner. Pipe short strips of ganache on the cakes, to simulate sprinkles:
Return to the fridge, and bring out about twenty to thirty minutes before serving. From the photo at the top of the post and below, it is hard to get a size perspective, doesn’t it look just like the yummy snack? Yet each giant Gansito™ is about one foot long, enough for eight to ten portions:

The cakes looked pretty and were a hit at my church’s Christmas sale:

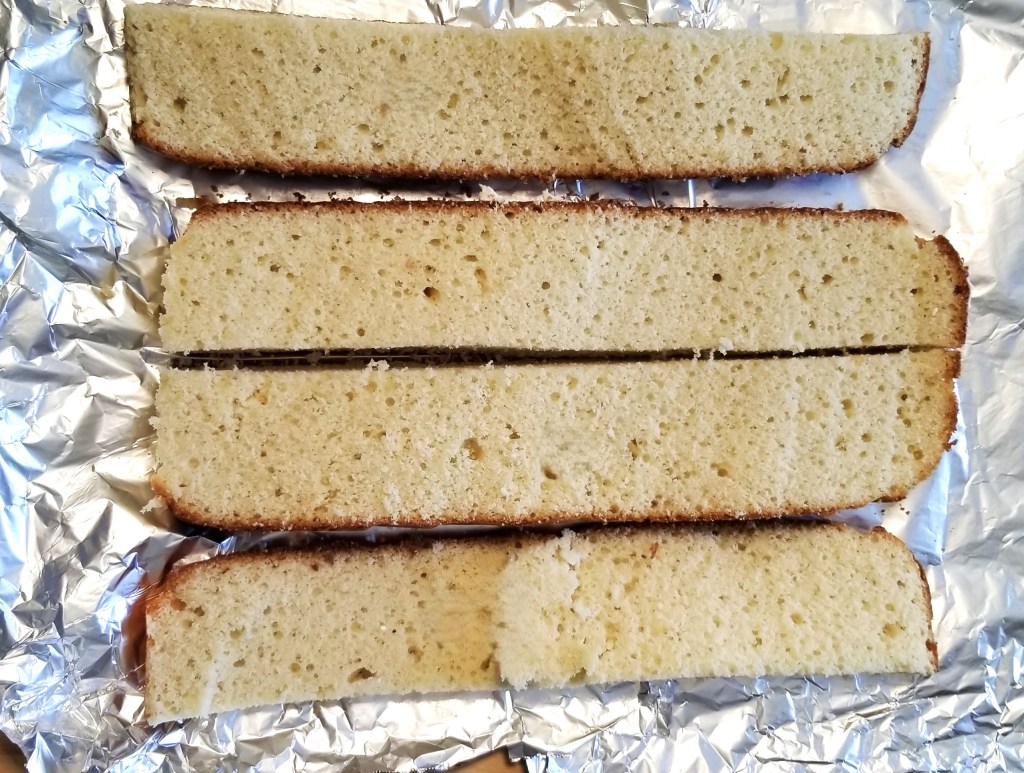
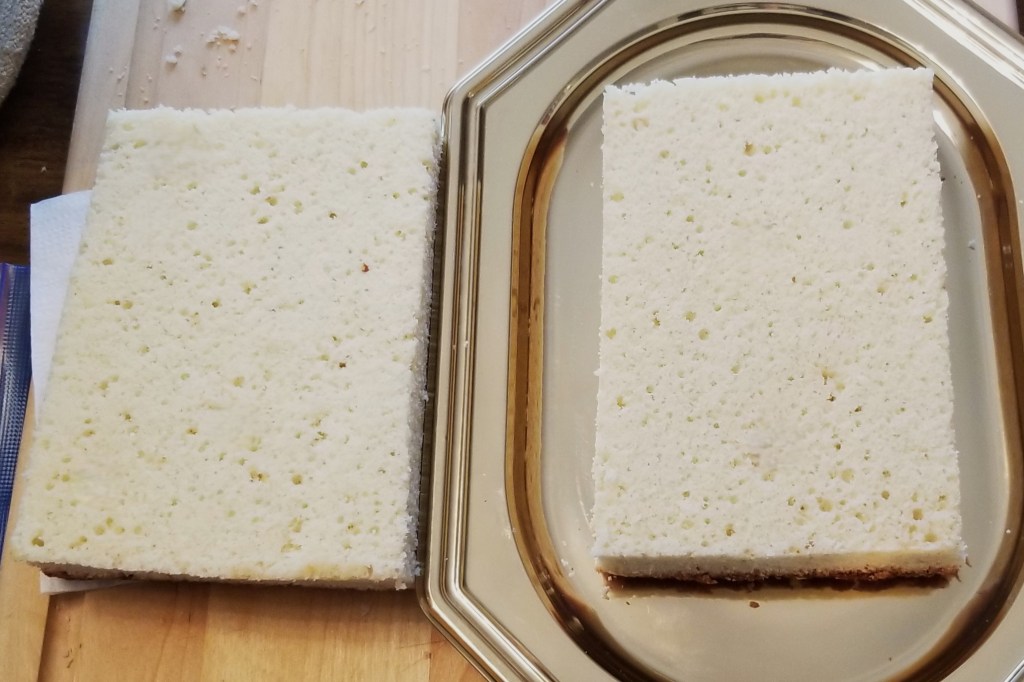
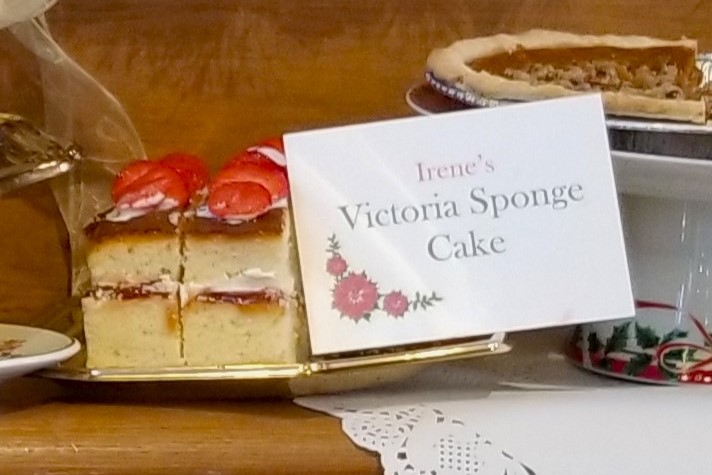
NOTE: I wanted to make two Gansitos™ for my church sale, so I initially doubled the recipe, but in the end, by putting together the outer edges, I managed to make the two cakes from one batch. Since I had some jam and icing leftover, I trimmed and sliced the second cake into two rectangular layers (photo below, left), filled with strawberry jam and butter icing (photo below, centre), then decorated with whipped sweetened cream and fresh strawberries, for a lovely Victoria Sponge Cake (photo below, right):
For your convenience, click on the highlighted text below for products available on Amazon™. DISCLAIMER: Any reviews included in this post are my own, for items I have purchased, not provided by any company; as an Amazon Associates Program affiliate, I might receive a commission for any purchases originated from the links below, at no extra cost to you. Thank you to readers who have bought other products starting with a click from my links.

I am sharing my recipe at Full Plate Thursday #724 with Miz Helen @ Miz Helen’s Country Cottage.
I am bringing my recipe to Thursday Favourite Things #689 with Katherine @ Katherine’s Corner, Bev @ Eclectic Red Barn, Pam @ An Artful Mom, Amber @ Follow the Yellow Brick Home, and Linda @ Crafts a la Mode.
I am joining Fiesta Friday #567 with Angie @ Fiesta Friday.


Sinful!
LikeLiked by 1 person