While reading about tlacoyos for my previous post, I came across several sites advertising a number of “Feria del Tlacoyo” – “Tlacoyo Fair”, predominantly in the Mexican states of Morelos ( Atlatlahucan), Edo. de Mexico (Texcoco), and Hidalgo (Tlalminulpa). Unfortunately, due to the ongoing pandemic, the most recent link dated from 2019. A note about the First Tlacoyo Fair in Tlalminulpa from 2017, caught my attention because it reported that the event was a good way for local women to share their culinary knowledge, and family recipes for tlacoyos, made from blue or other corn dough in their iconic oval shape, some with beans, the original filling, but also unique renditions featuring hongos (wild mushrooms), requesón (a type of unripened cheese), chicharrón prensado (pork cracklings), escamoles (ant larvae and pupae), caracoles (snails), etc. Reading further about the tlacoyo tradition in Hidalgo, I found another unique recipe, popular in the whole state and particularly in the municipality of Ixmiquilpan. This recipe is an example of true fusion between Spanish and native Mexican, ancient cuisines; the native corn dough and tomatillo sauce have been enhanced with the addition of lard, cilantro and garlic, and the filling is mashed green peas, a legume imported from Europe. Lard is also used to crisp the tlacoyos, a step that is not the norm for tlacoyos in other regions.
Hidalgo Style Tlacoyos –
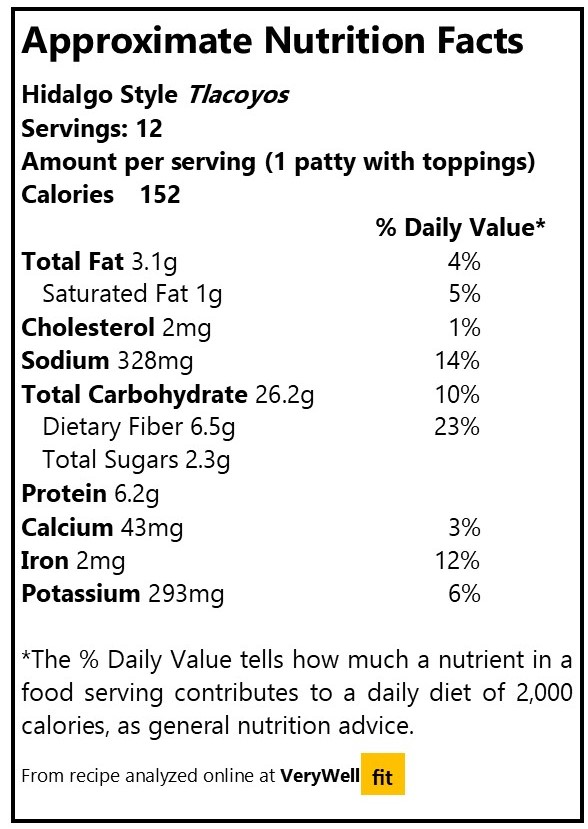
Tlacoyos estilo Hidalgo
Printable recipe: Hidalgo Style Tlacoyos
NOTE: Although not traditional, refraining from adding lard, and using vegetable oil instead, is an easy way to turn this recipe into a vegan-friendly dish.
Ingredients (for a dozen)
For dough:
2 cups white or yellow corn flour (nixtamal maize flour, masa harina, not corn meal or starch)
1 ½ cups water, or as needed
½ tsp salt, or to taste
2 tbsp lard (or vegetable oil, for vegan option), plus more, for frying
For filling:
1 cup dry green split peas, OR 2 cups fresh and peeled, or frozen, green peas
Water, as needed
Salt, to taste
Toppings:
1 cup cooked green tomatillo sauce (click here for my recipe, or bottled)
½ cup chopped onions
½ cup chopped cilantro
It is generally very hard to find fresh green peas where I live in Canada; even in season, only farmer’s markets or pick-your-own farms would have them. Frozen peas are an option; if using fresh or frozen peas, boil in plenty of water until soft, drain and mash, then remove skins by pressing the mash through a mesh. I decided to start with dry green split peas; they are inexpensive, easy to find and store, and they come without skin, as the fresh peas lose them naturally as they dry and split:

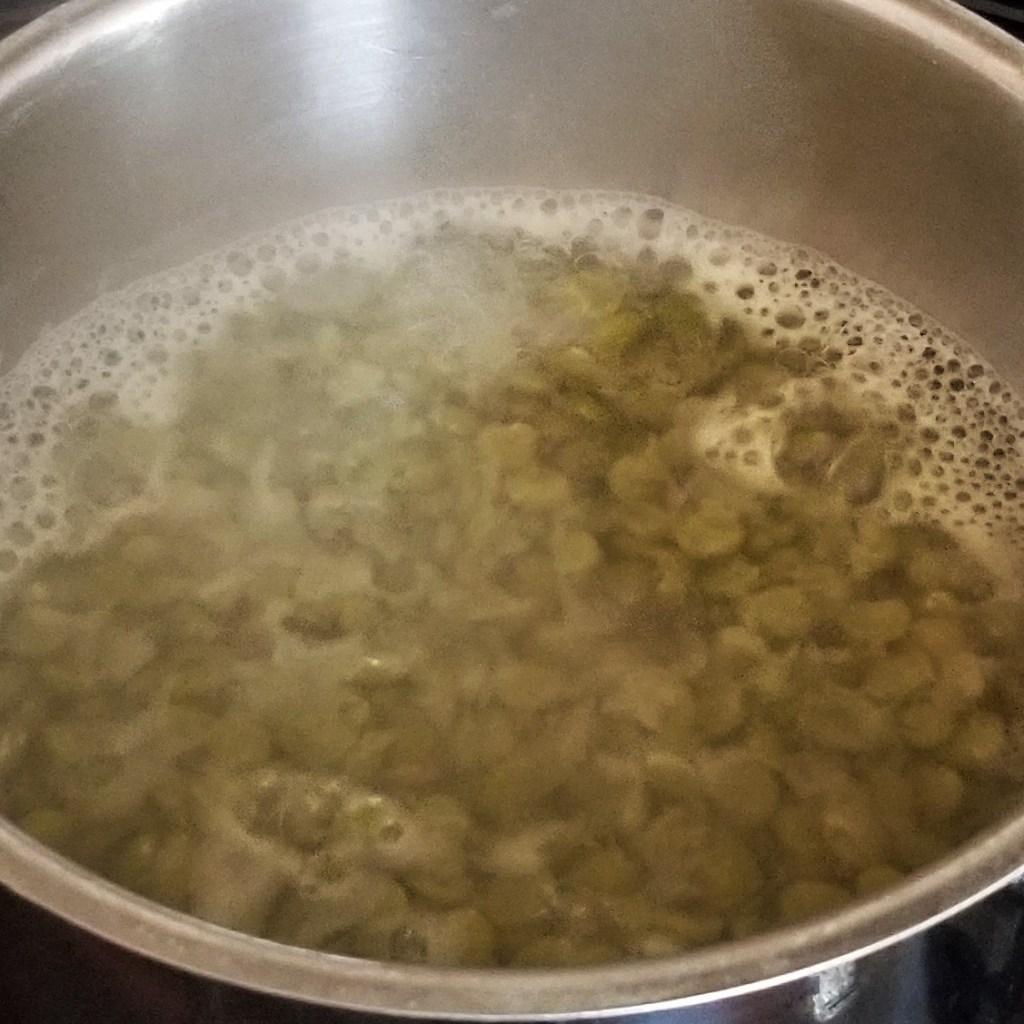
If using dry green split peas, remove any discoloured pieces or brush, rinse with water and drain twice, then place in a pot with enough water to cover. Bring to a boil, and cook, uncovered over medium heat until soft, approximately 30 minutes (photo below, left). Remove from heat and drain water, reserving about a quarter of a cup. Transfer cooked peas to a bowl, then mash coarsely, adding some of the reserved water, as needed to prevent the paste to become too dry (photo below, right):
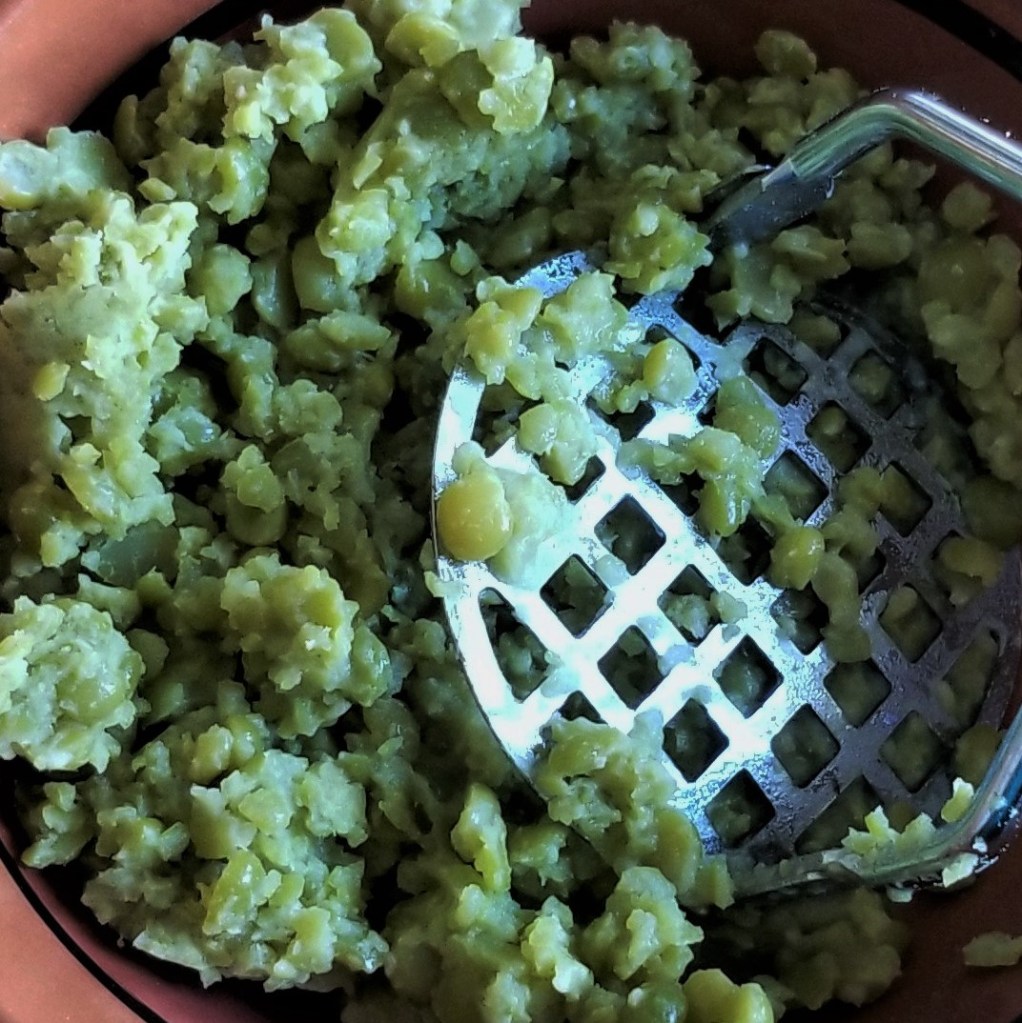
Season mashed peas with salt, to taste, and reserve.
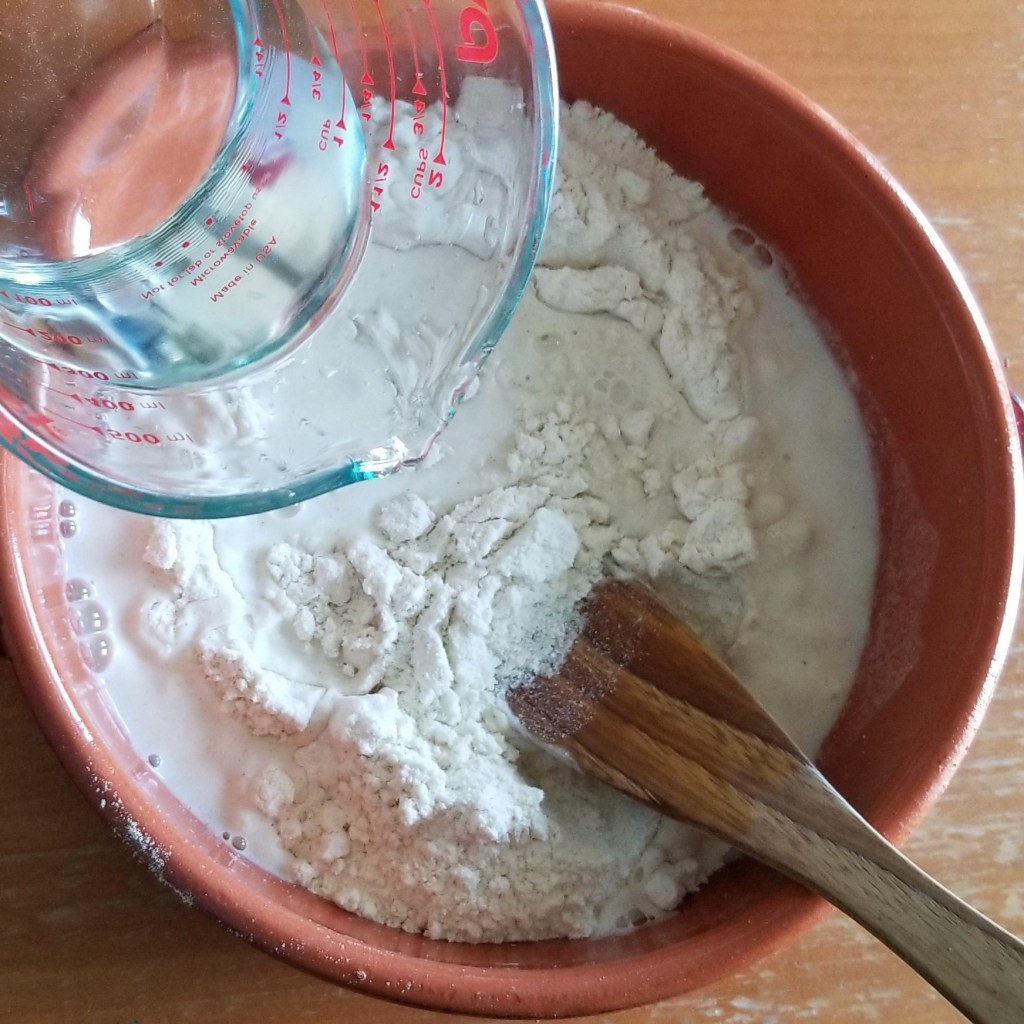
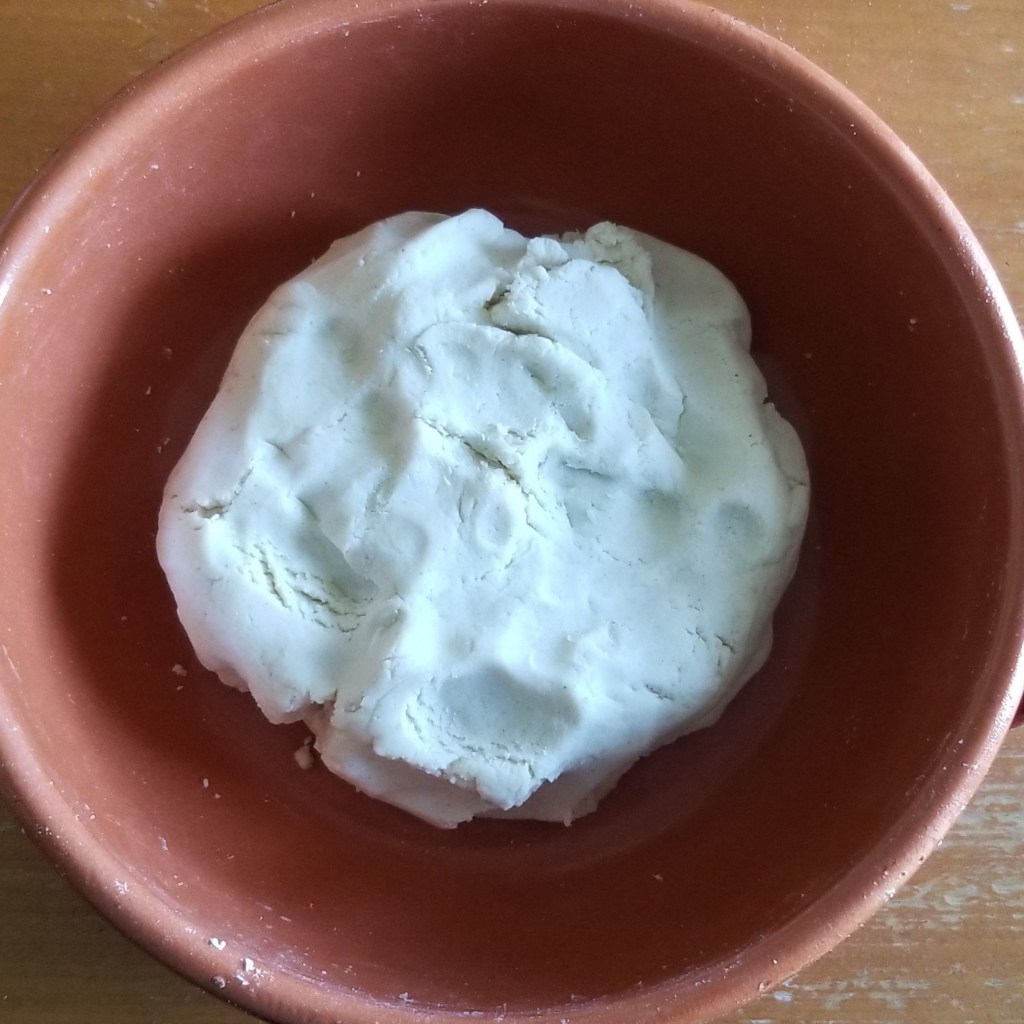
Place nixtamal corn flour, salt and lard in a mixing bowl, then pour water, while incorporating with a spatula (photo below, left). Continue mixing, making sure to hydrate all the flour. Knead lightly with hands, until a soft dough forms, gathering all the ingredients to shape into a ball (photo below, right):
Divide into twelve portions. Working with one portion at a time, roll into a ball, then form into an elongated oval shape; place at the centre of the bottom plate of a tortilla press, lined with plastic:
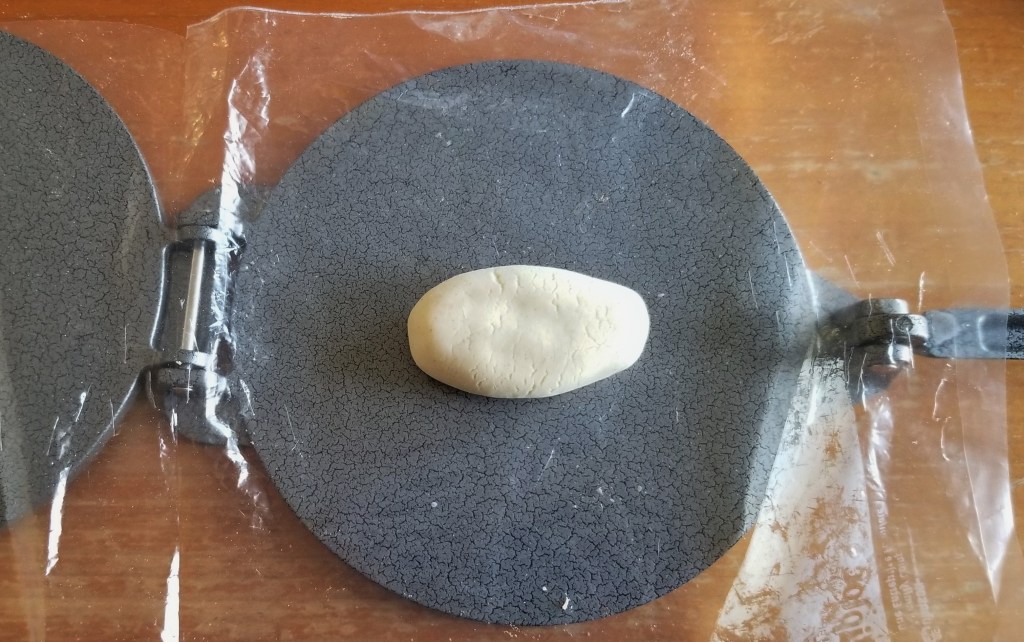
Cover with plastic, close the press and flatten dough into a thick oval. Open the press, uncover the dough, then place about two tablespoons of reserved cooked peas in a mound at the centre of the oval:

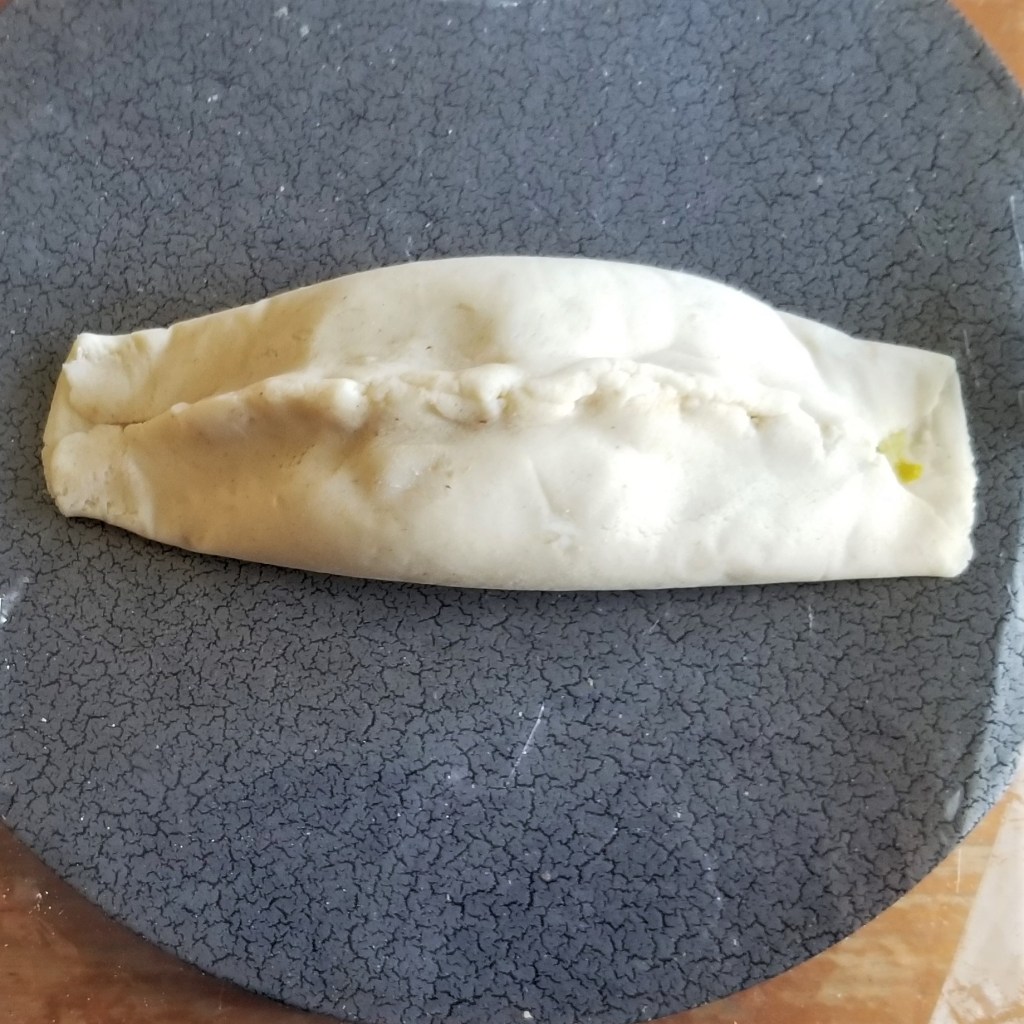
Fold dough in half towards the centre, closing and flattening the seam; leave the ends partially unsealed, to allow air to escape (photo below, left). Press the patty very gently, to flatten, pushing any air bubbles towards the ends (photo below, right):

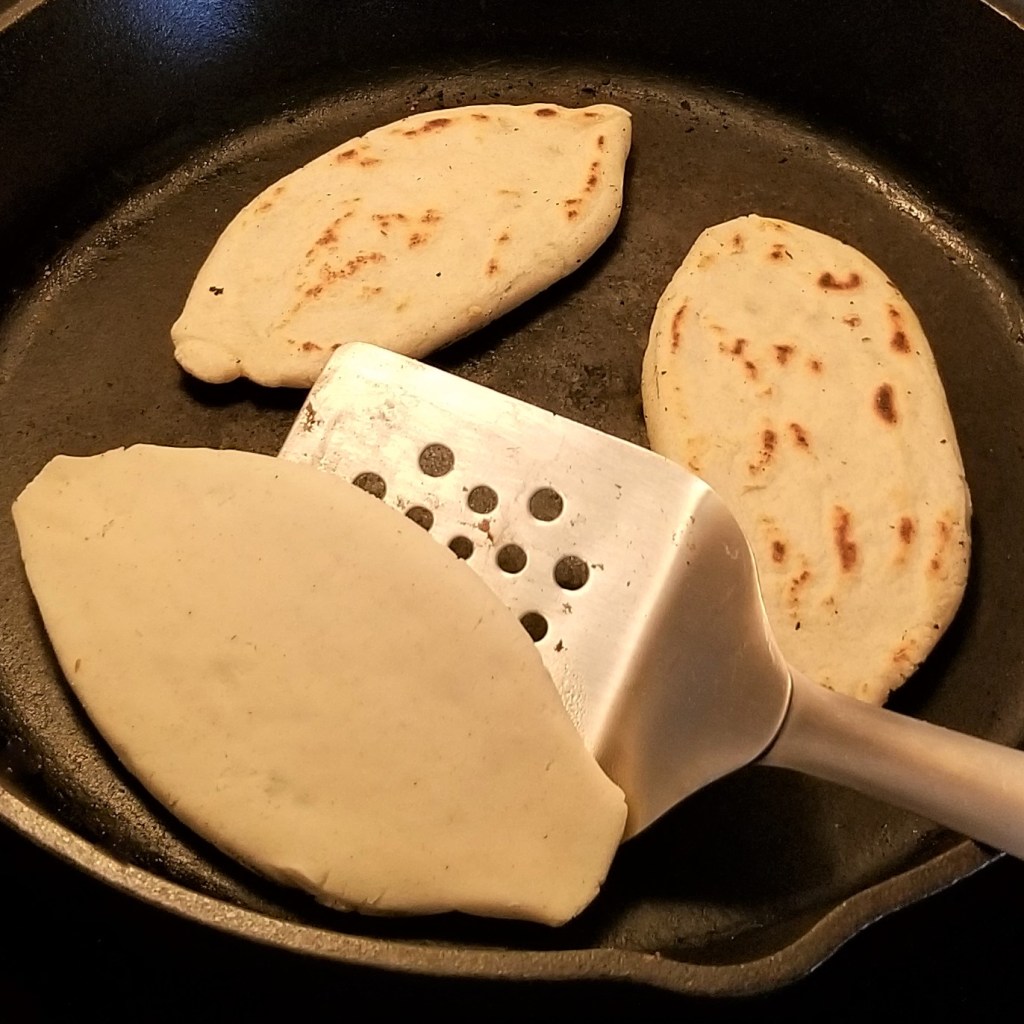
Place on a dry skillet (no oil) over medium heat; grill for a couple of minutes, then turn, to cook both sides (photo below, left); it is fine to flip several times, until the tlacoyos have developed a crust, with some charring. Continue with all the dough and filling, cooking in batches, and transferring cooked tlacoyos to a clean kitchen towel, wrapping them to keep warm. Right before serving, add one or two tablespoons of lard (or oil) to the skillet; warm up over medium heat, then fry the tlacoyos just until crisp, flipping once to fry both sides (photo below, right):

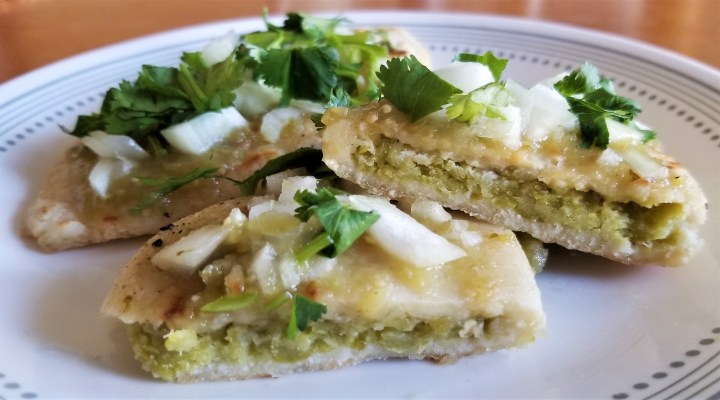
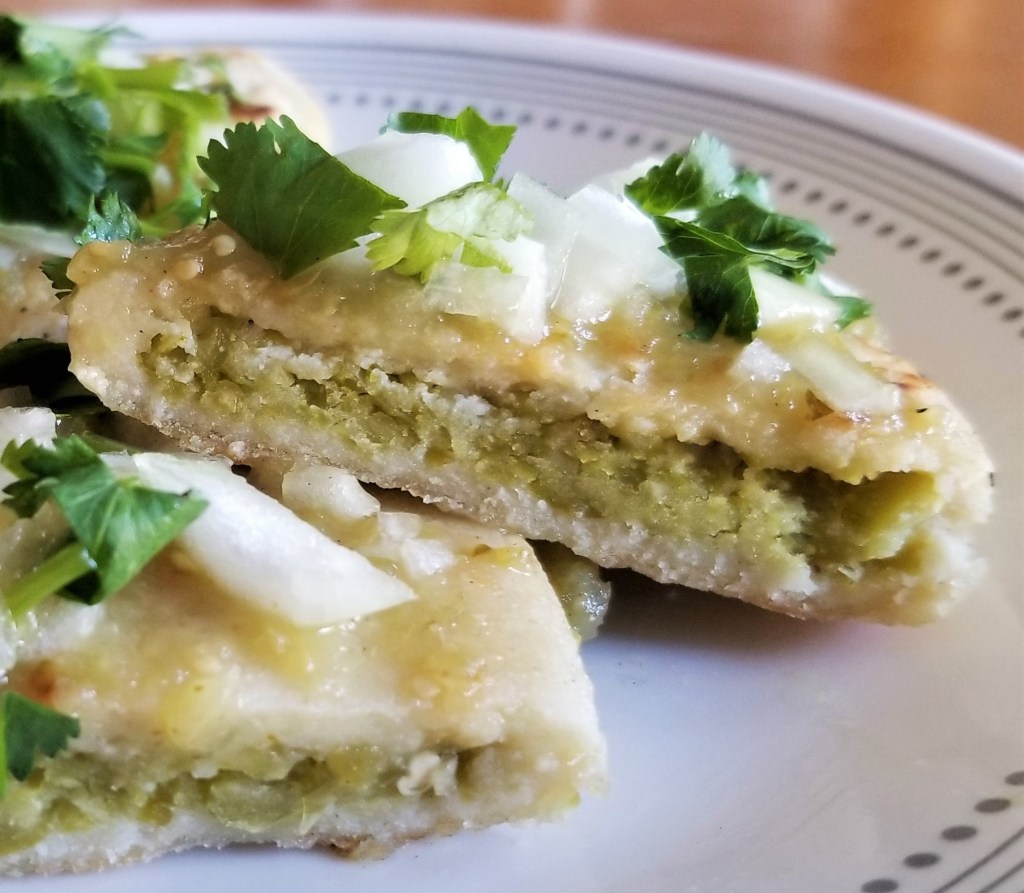
Transfer tlacoyos to a serving plate, and top with green sauce, chopped onions and chopped cilantro:
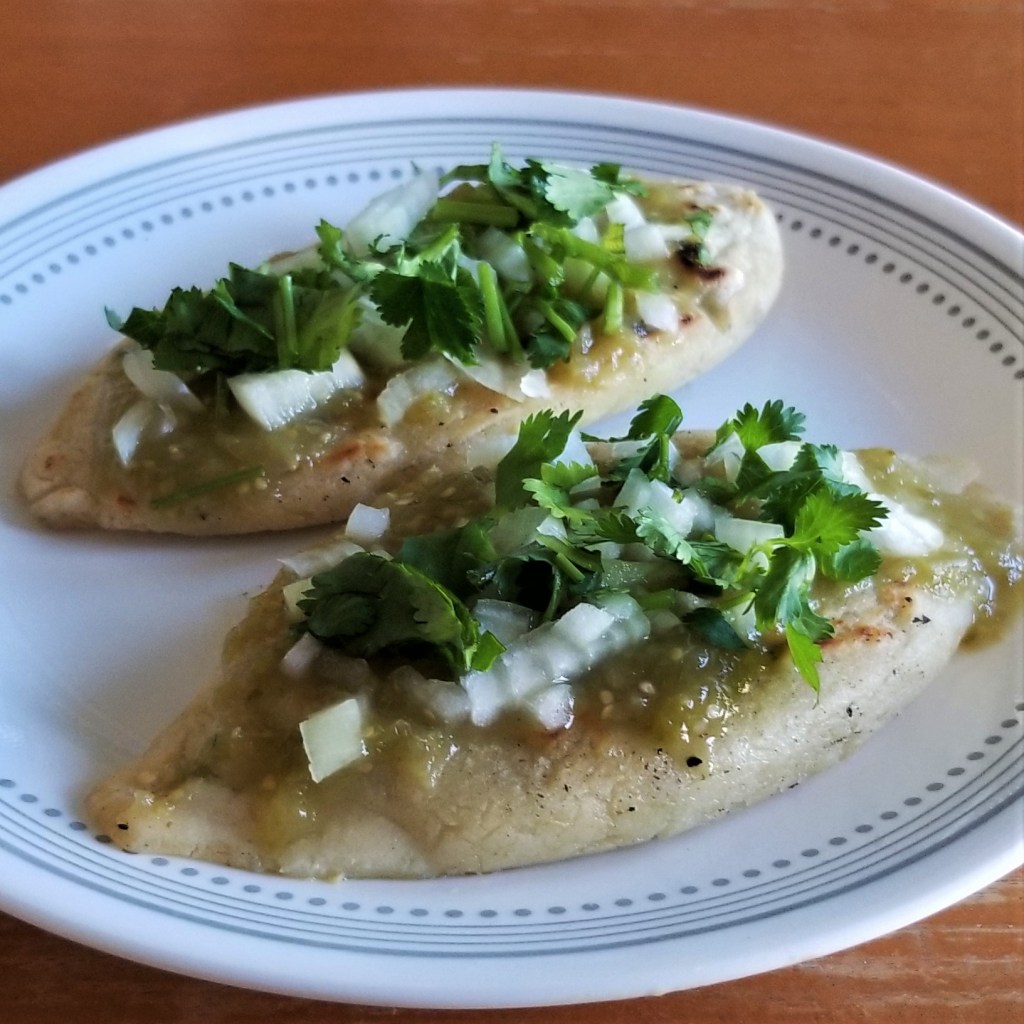
Serve immediately, and enjoy these treats while hot and crispy:
For your convenience, click on the images below for products available on Amazon™. DISCLAIMER: Any reviews included in this post are my own, for items I have purchased, not provided by any company; as an Amazon Associates Program affiliate, I might receive a commission for any purchases originated from the links below, at no extra cost to you (thank you to readers who have bought other products starting with a click from my links!):


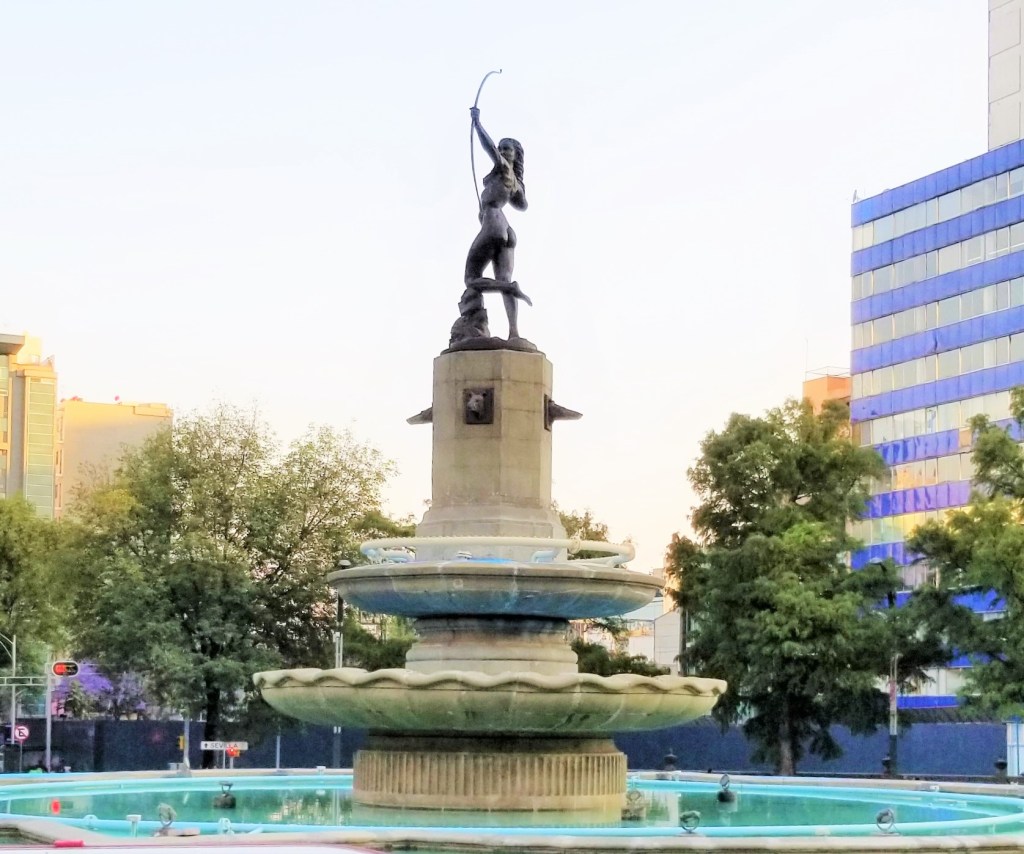
FUN FACT: In addition to tlacoyos, Ixmiquilpan, Hidalgo is famous for its Church of Saint Michael Archangel, which contains a series of murals painted back in the 16th century. There is also an interesting story to tell that is not well known, involving the fountain located at the centre of the main plaza, which features a sculpture of “Diana, the Huntress”, identical to the sculpture on Paseo de la Reforma Avenue in Mexico City (pictured below). Curiously, the Ixmiquilpan sculpture is not a reproduction, but the original piece created by Juan Olaguíbel in 1942 and placed that year on Paseo de la Reforma Avenue in Mexico City. The story goes that the “League of Decency”, a group headed by the wife of then president Manuel Ávila Camacho, had a fright at the sight of the Diana, vilifying the statue because the huntress was wearing no garments; a cover was added to the statue, and it was removed and placed in nearby Chapultepec Park, with the league snorting at the sculptor’s and his supporters’ complaints. The Diana was moved to the author’s home, until in 1966, the newly appointed Mexico City mayor Alfonso Corona del Rosal, secured the statue for his natal town of Ixmiquilpan; the Diana was transported to the main plaza, and was placed on the fountain where it has remained since 1970. The Diana statue that is currently in Mexico City is a second version, also cast by Juan Olaguibel, which was finally and rightfully placed in its original spot in Mexico City.
I am joining What’s for Dinner? Sunday Link-Up # 307 with Helen @ The Lazy Gastronome.
I am sharing my recipe at Over the Moon #269, graciously hosted by Bev @ Eclectic Red Barn, and Marilyn @ Marilyn’s Treats.


Looks delicious
LikeLiked by 1 person
Looks very yummy!
LikeLiked by 1 person
Not sure I can pronounce this one let alone cook it. Does look delicious though. Thanks for another wonderful recipe.
LikeLiked by 1 person
Thank you for reading, Mason!
LikeLiked by 1 person
You’re welcome.
LikeLiked by 1 person
Looks delicious!
LikeLiked by 1 person
Goodness! I’ve never seen anything like these! Not that I know everything about Mexican cuisine, of course, but I’ve been around! Love these!
LikeLike
I know, right? There’s an endless number of regional dishes in each Mexican state, so there’s always something new to discover!
LikeLiked by 1 person
I don’t think we can get fresh green peas in Singapore either.
This looks and sounds sooooo delicious!
LikeLike
Broad beans would work, too, or frozen peas.
LikeLike
I think I will try it with frozen peas!
LikeLike
Awesome! Just strain them through a mesh after cooking, to remove the skins. I hope you like them!
LikeLike
Ah! Good idea!
LikeLiked by 1 person