Click here to go to printable recipe: Northern Style Sweet Pastries – Coyotas
History Tidbit: During Spanish colonial times in the American continent, a caste system (castas) was established for racial and social identification. Although that gruff system died along with the Spanish rule in the 1800s, some terms remained in colloquial, and even scholar, language. Some examples are: mestizo/mestiza (Spanish and indigenous parents), mulato/mulata (Spanish and African), castizo/castiza (Spanish and mestizo), and coyote/coyota (mestizo and indigenous). As communities grew, and the pain of the systematic background tracing stopped, the different groups with mixed ancestry became consolidated, and the process has been named mestizaje.
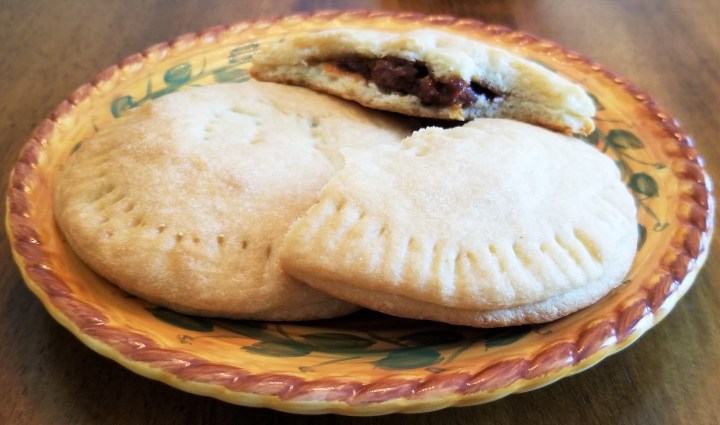
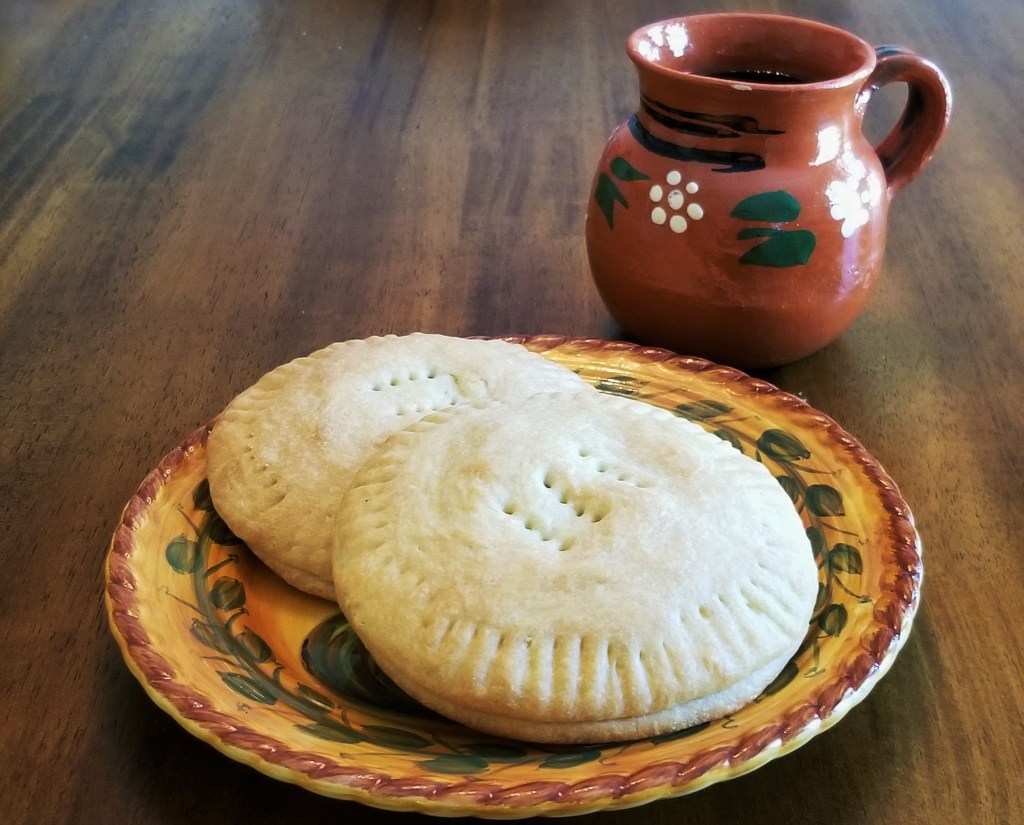
Coyota is also a type of pastry created in Northern Mexico, traditionally sweetened with raw sugar; there is some consensus that the pastries were named after the young dark-skinned women (coyotas) who used to sell them on the streets of Seris, a municipality that now is part of Hermosillo, the capital city of the Mexican state of Sonora. Coyotas are formed with two discs of dough, pressed together to contain a sweet filling in between; the traditional filling is crushed piloncillo* (a type of unrefined sugar). Although the original recipe is said to remain secret, coyotas have evolved and are baked all over Sonora, and its neighbouring state, Sinaloa; traditional recipes call for yeast, lard and piloncillo syrup, while more modern recipes may call for baking powder, vegetable shortening, and sugar, while fillings may include jamoncillo or dulce de leche (cow’s milk sweets or caramel, respectively), coconut, date, or guava pastes, etc.
For my recipe, I used yeast, lard and granulated sugar for the dough, and piloncillo and dulce de leche for the fillings.
* Piloncillo is the name used in Mexico and Spain for an unrefined sweetener, produced by the reduction of whole sugar cane juice, often molded in the shape of truncated cones, or pylons (see photo below, left). In other countries in Latin America, this product may be formed into other shapes or sold granulated, known by different names, such as: panela (for example, in Venezuela and Ecuador), chancaca (in Perú, Bolivia and Chile) or rapadura (Brazil); to some, the names jaggery or “Uluru Dust” are related to similar sugar cane products. If not available, muscovado and Sucanat™ are also unrefined sugars, and I have found that dark demerara (photo below, right) has a similar flavour to piloncillo, although it is partially refined:

For this recipe, I used commercial dulce de leche (photo below), but to make a batch at home, follow my recipe for cajeta (goat’s milk caramel) simply using cow’s milk instead.

Coyotas – Northern Style Sweet Pastries
Printable recipe: Northern Style Sweet Pastries – Coyotas
Ingredients (for one dozen)
4 cups all-purpose flour
4 tbsp granulated sugar; plus more for dusting (optional)
2 ½ tsp (8g) instant dry yeast
1 cup lard (OR ½ cup butter and ½ cup margarine)
¼ tsp salt
1 ¼ cups water, as needed; lukewarm
1 egg, for brushing (optional)
1 tbsp milk, for brushing (optional)
Fillings:
1 small cone (210g) piloncillo (or other unrefined sugar) and 2 tbsp flour OR
1 ½ cups dulce de leche (cow’s milk caramel)
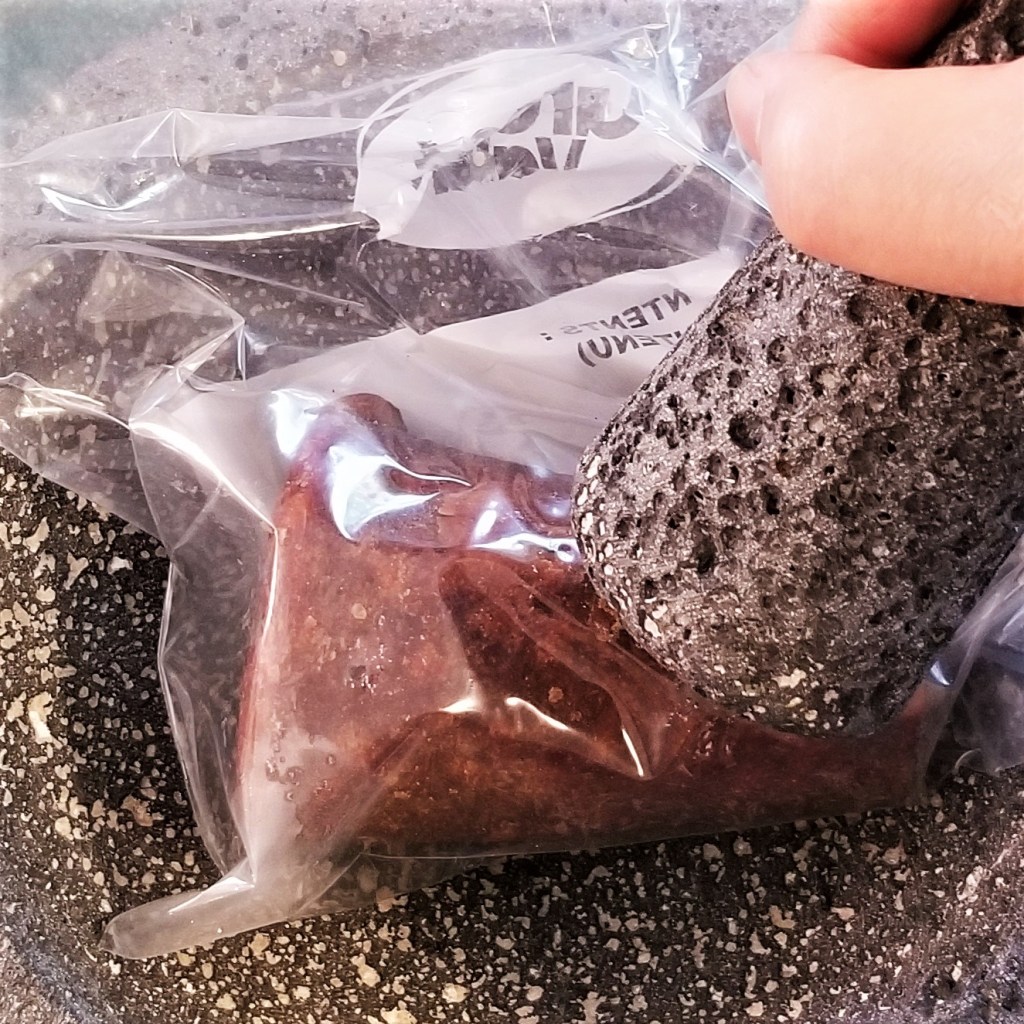
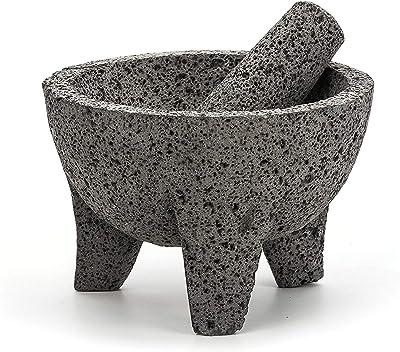
If using piloncillo, it needs to get partly ground. Place the cone in a plastic bag and microwave in HIGH for 20-30 seconds to soften. Place bag in a mortar, such as a Mexican molcajete and pound (photo below, left); pounding with a rolling pin on a solid surface would work if a mortar is not available. Continue until sugar is broken into small crumbs (photo below, centre). Add two tablespoons of flour (photo below, right):


Mix to incorporate piloncillo crumbs and flour. Reserve for filling.
In a small bowl, mix yeast and one tablespoon of sugar, then pour in a quarter of a cup of lukewarm water (photo below, left). Mix gently to dissolve sugar (photo below, right):
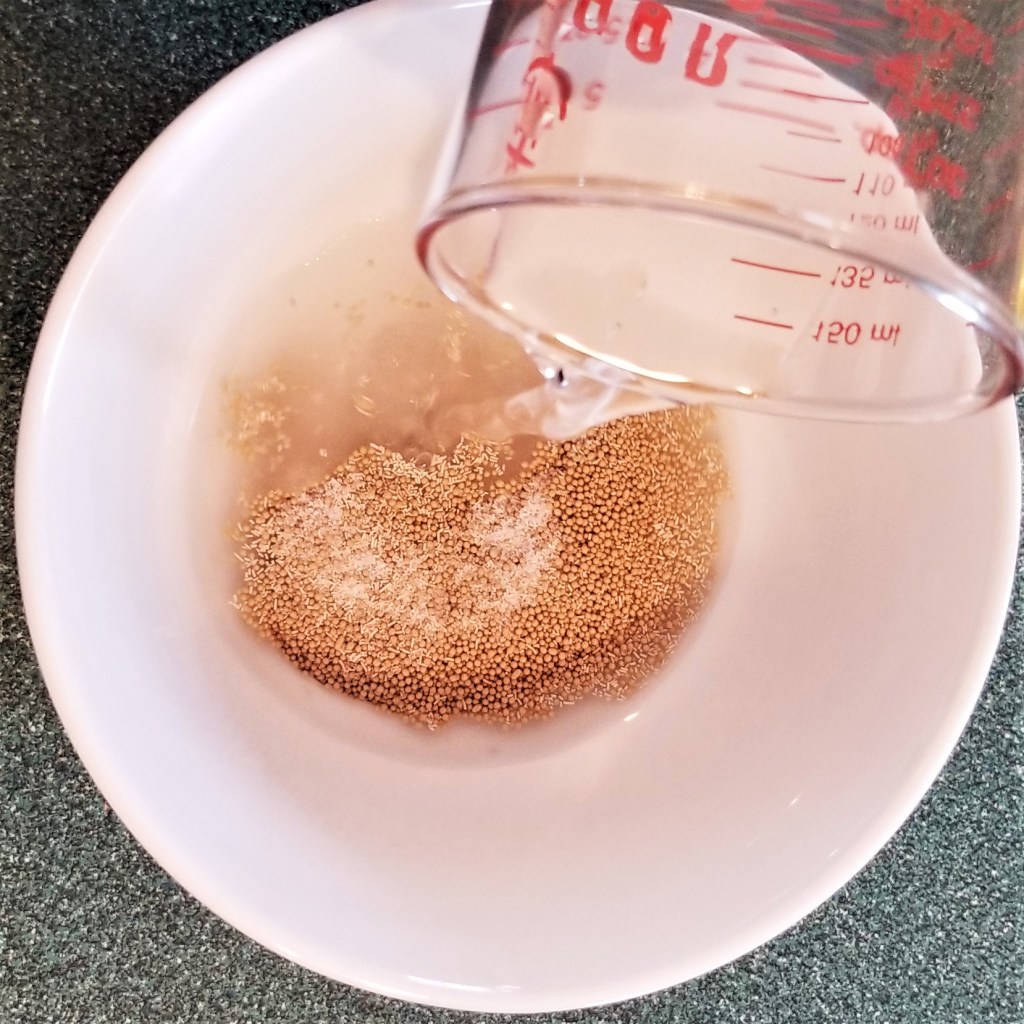
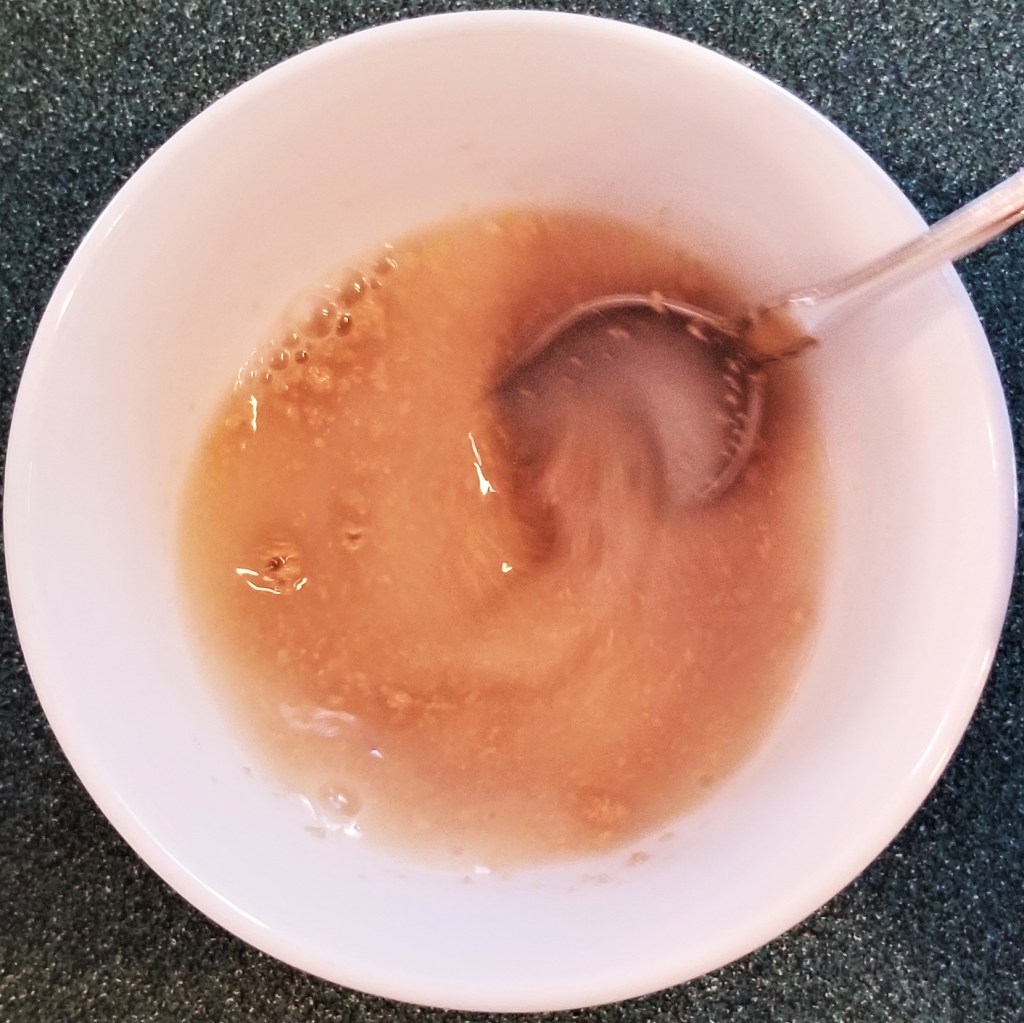
Allow to rest; it should start forming bubbles and become foamy. Reserve.
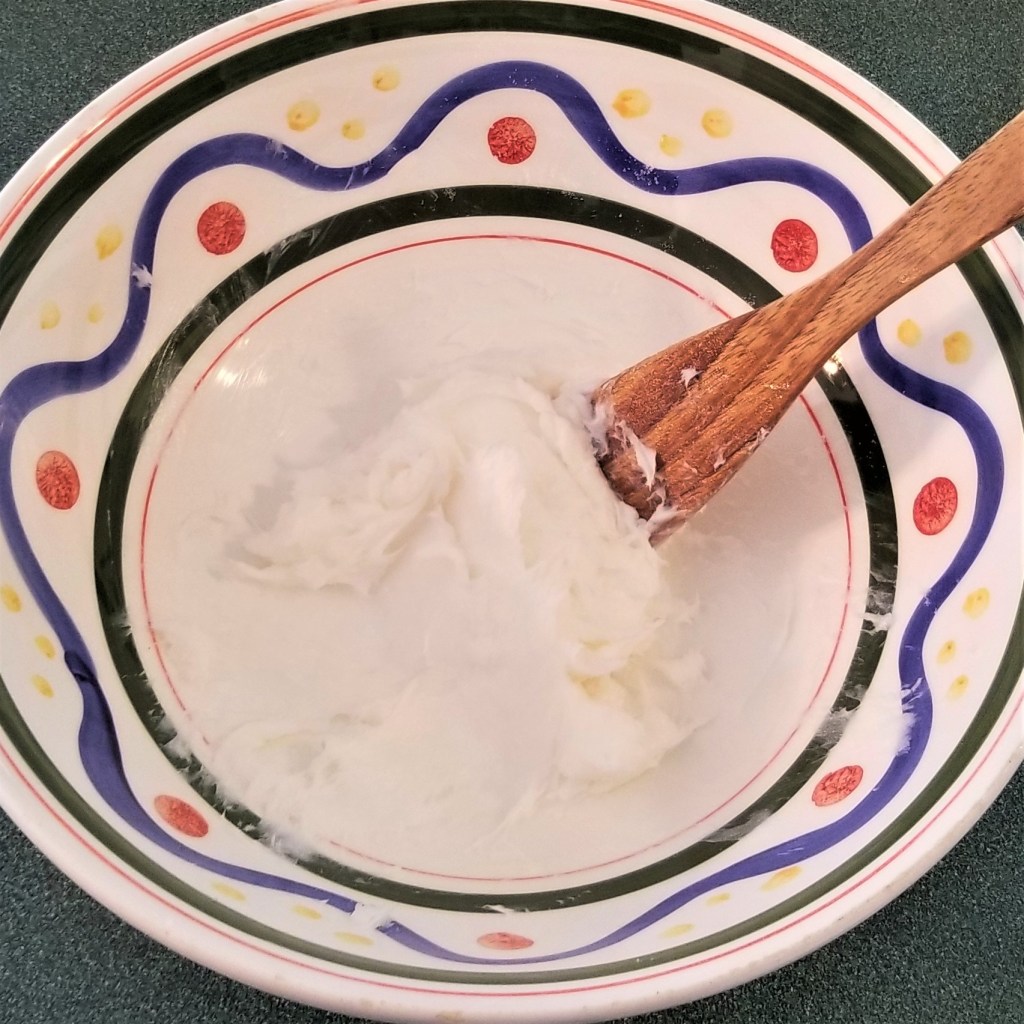
Place lard (or butter and margarine) in a large mixing bowl, and add three tablespoons of sugar (photo below, left). Mix with a spatula, to dissolve sugar, and continue beating until the mix becomes creamy (photo below, right):

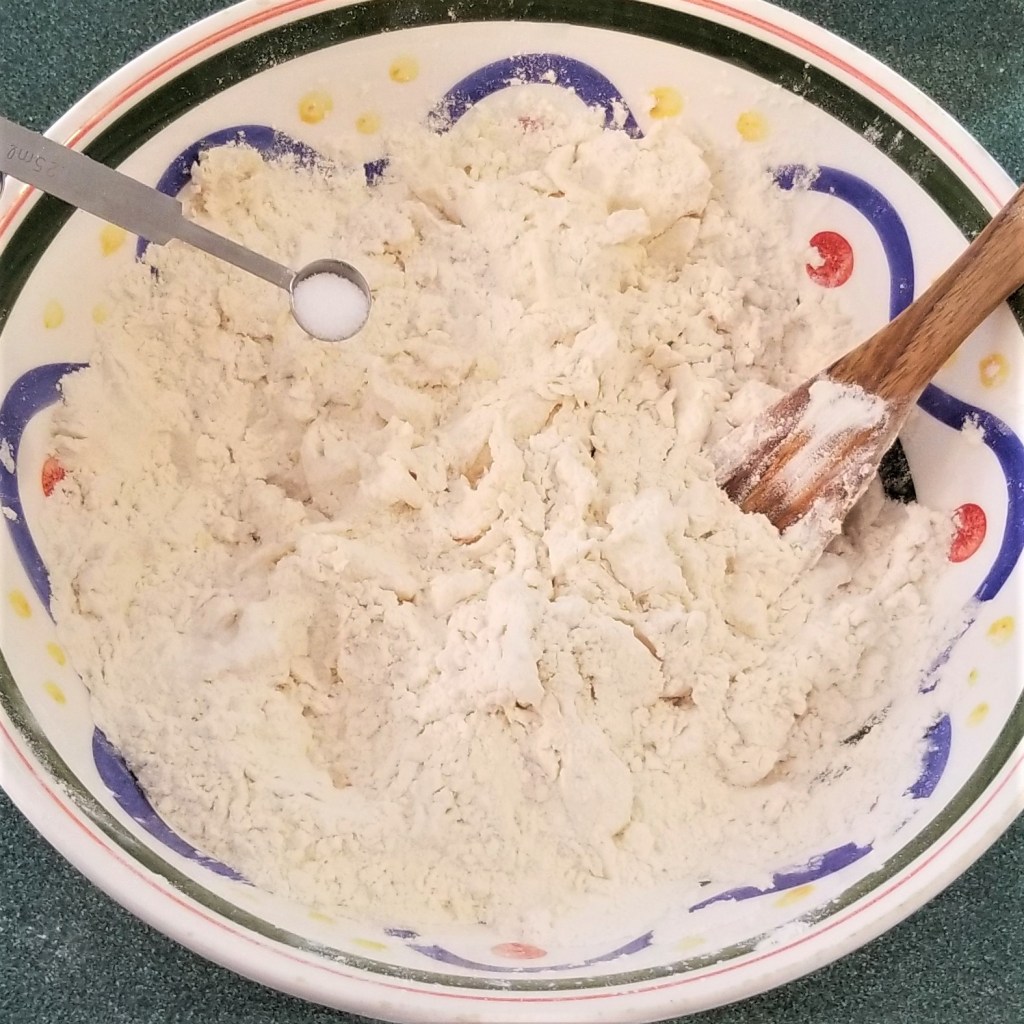
Incorporate flour with the spatula, and add salt:
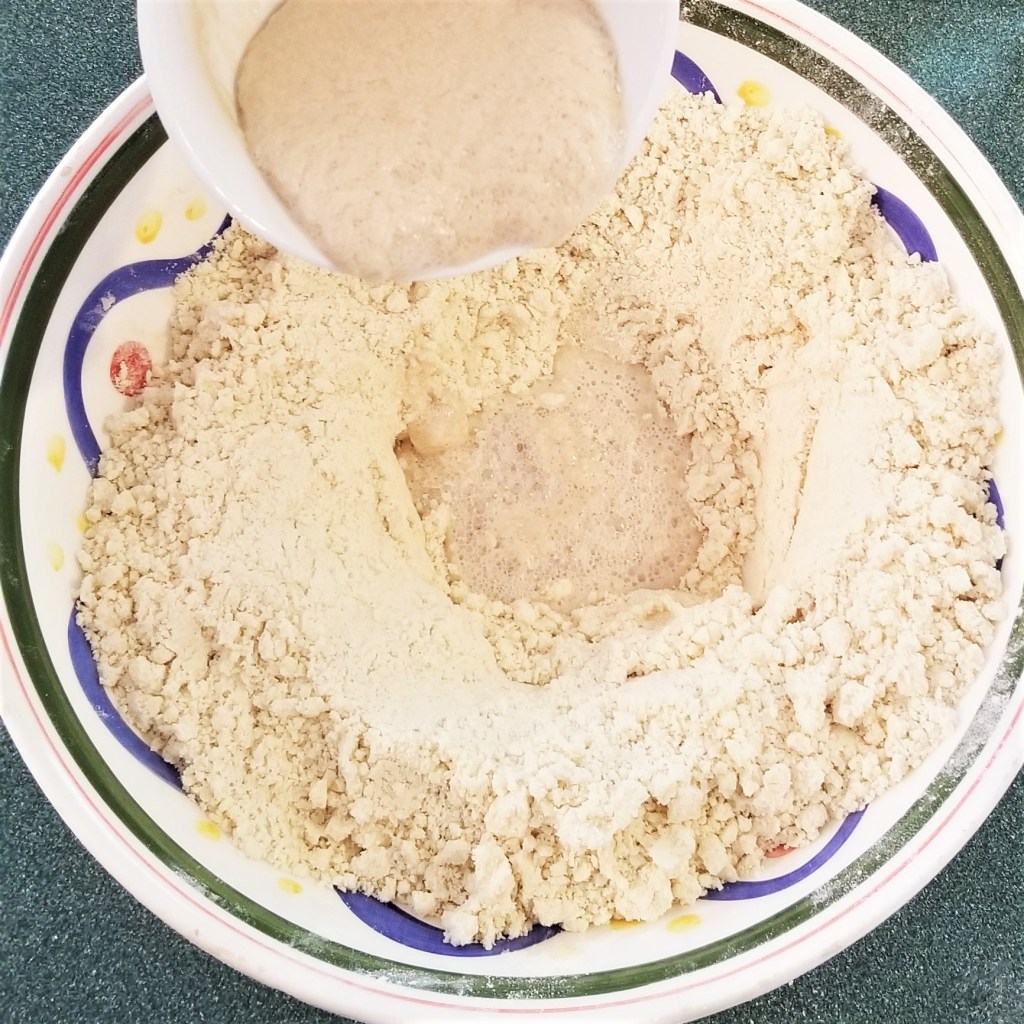
Open a well in the centre of the bowl, and pour in reserved yeast mix, which should be foamy (photo below, left). Slowly incorporate dry and liquid ingredients, adding more lukewarm water (photo below, right):
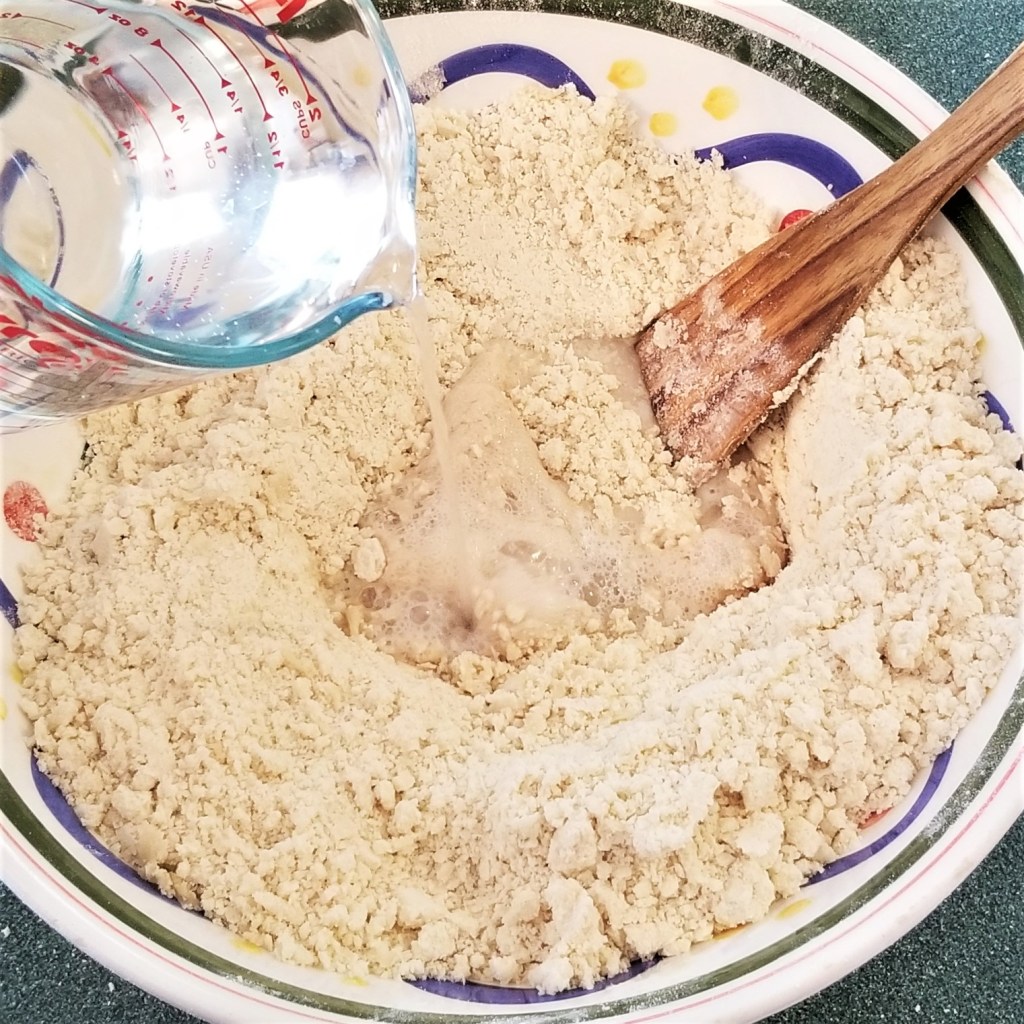
Add enough water so that the mix may be formed into a soft dough, but it is not sticky, about one cup (photo below, left). Knead for a couple more minutes, then pull edges to centre, smoothing to form a ball; flip so seam is facing down, and cover with a clean kitchen towel (photo below, right):


Let rest for 20 to 30 minutes.
Uncover and transfer dough to a clean working surface. Flatten into a large circle; divide into quarters, then each quarter into thirds, to form twelve wedges; divide each wedge into halves:
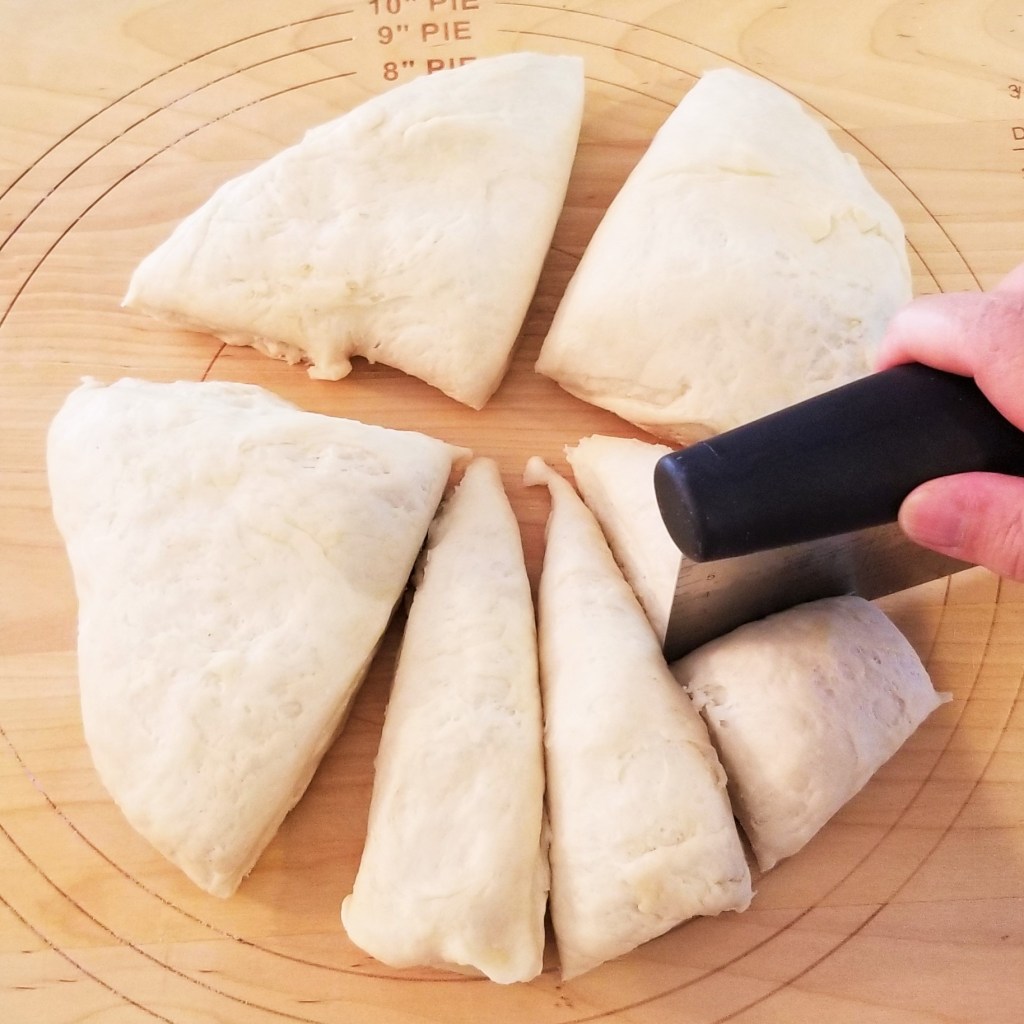
There will be twenty four pieces. Working with one piece at a time, fold and press dough towards the centre, to form a ball, then flip seam facing down and roll to smooth; continue with all the pieces (photo below, left). Cover the twenty four balls:

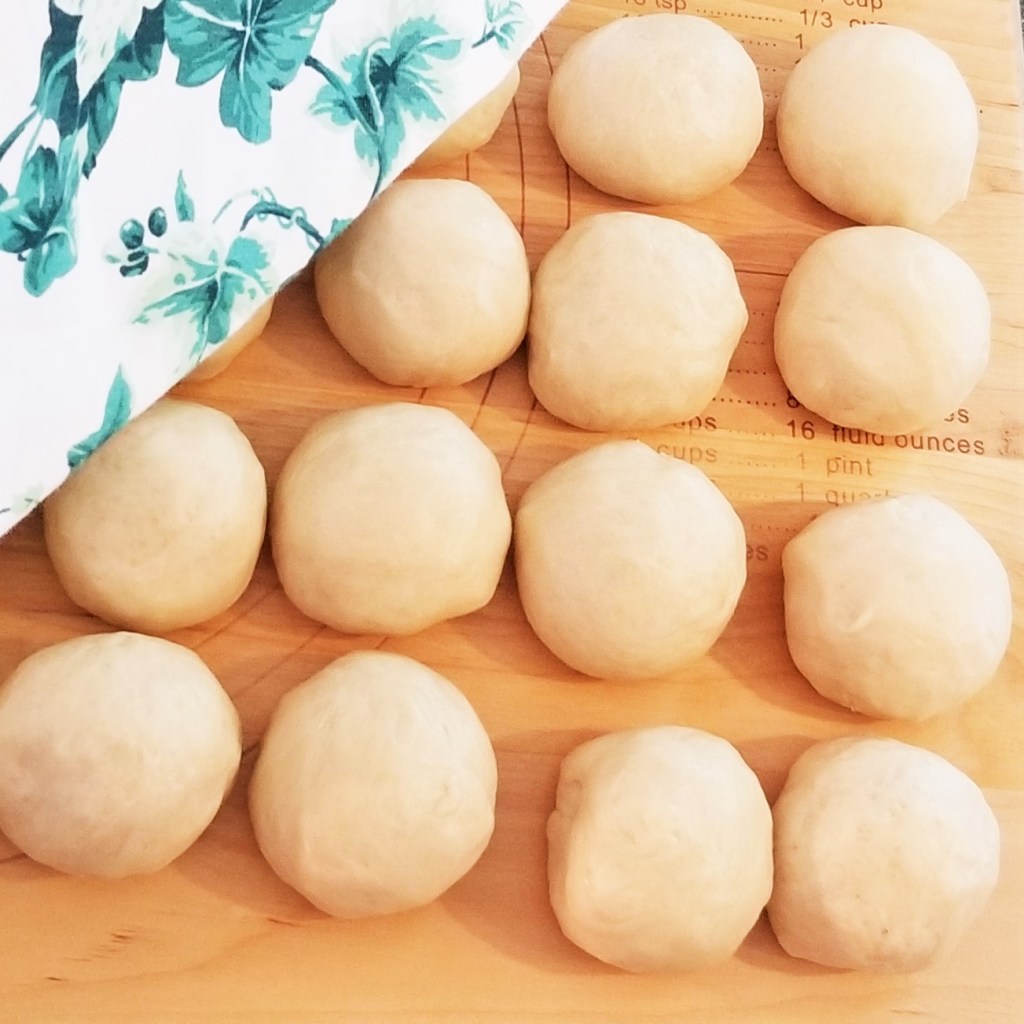
Allow to rest for 10 minutes.
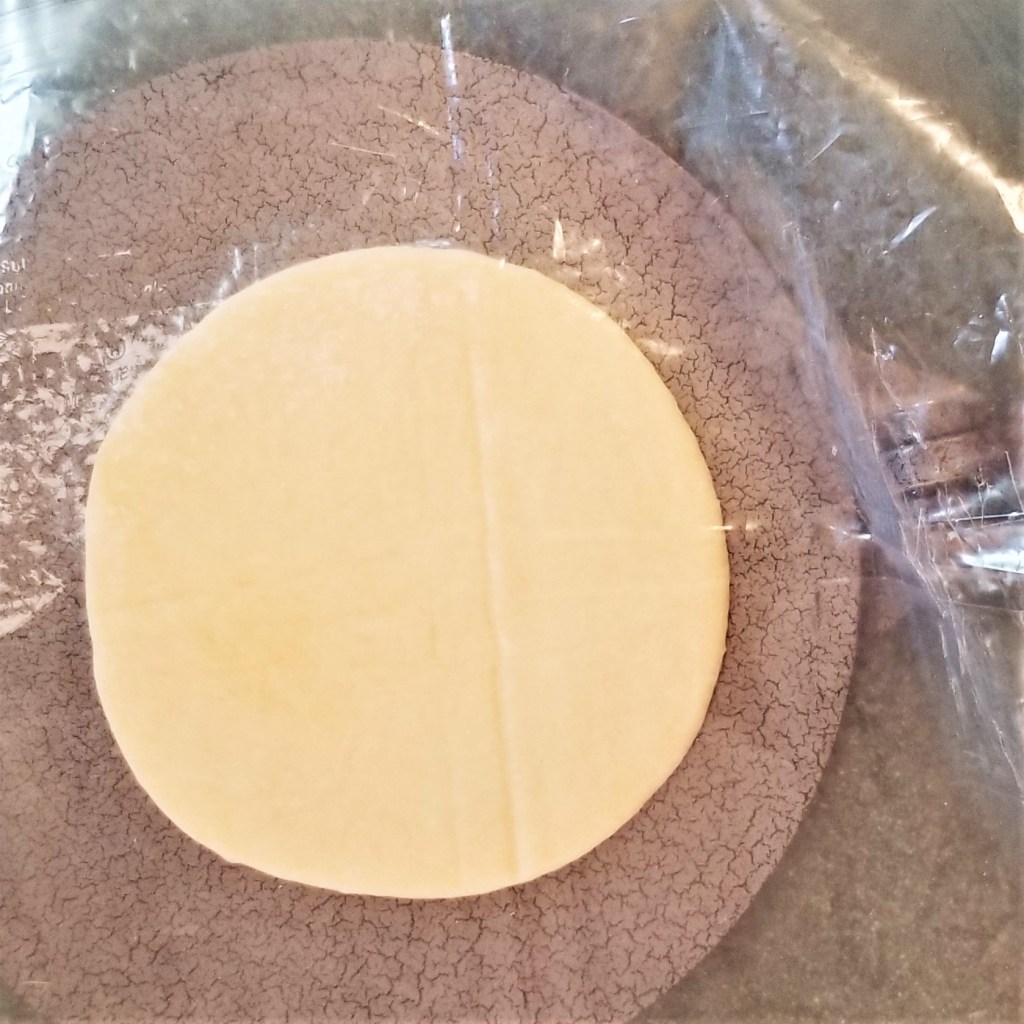
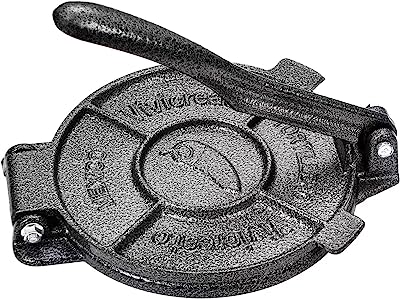
Set up a tortilla press with a plastic sheet, such as an opened food storage bag (alternatively, work on a flat surface, and set up the plastic and a cutting board, pie plate, or other flat utensil to press over dough.) Take one ball of dough and place it on the plastic; fold plastic over the dough, then close press (photo below, left). Fold press handle over, to flatten ball into a disc (photo below, right):
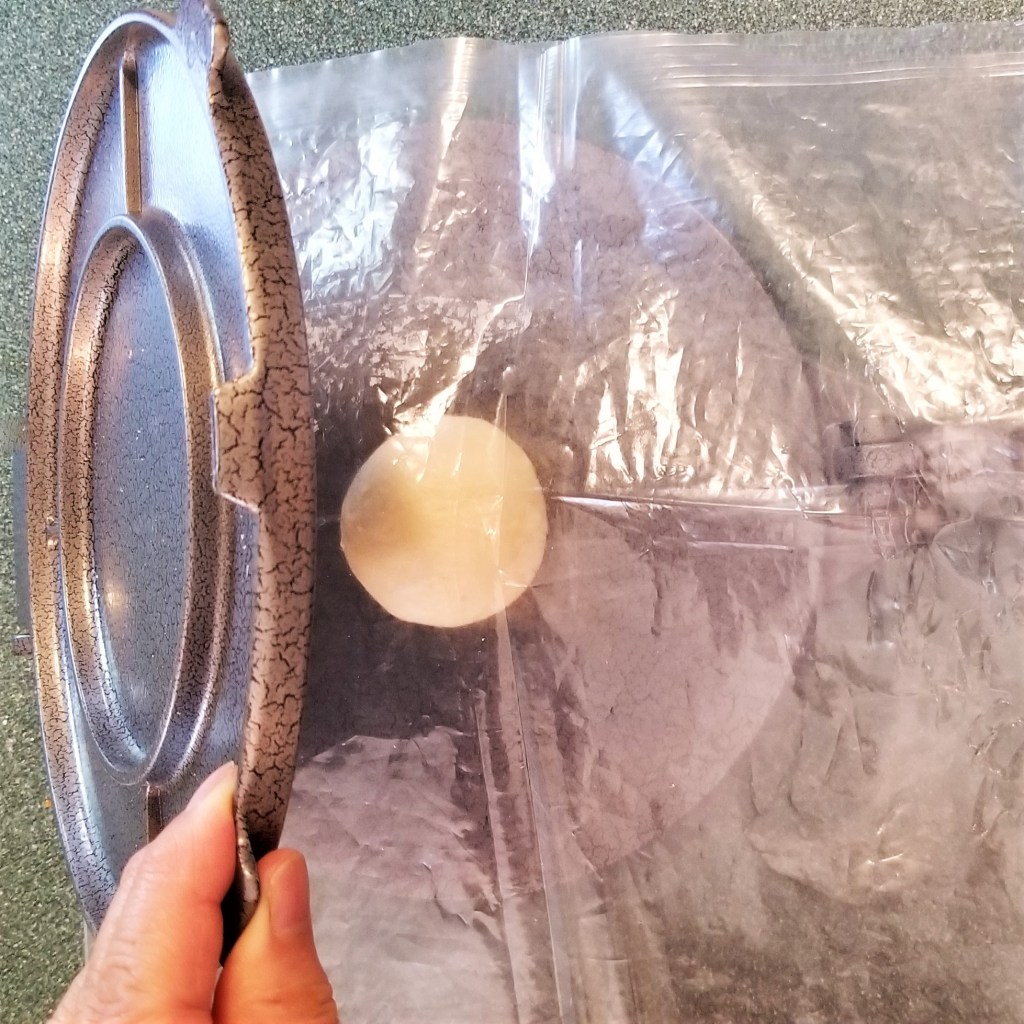

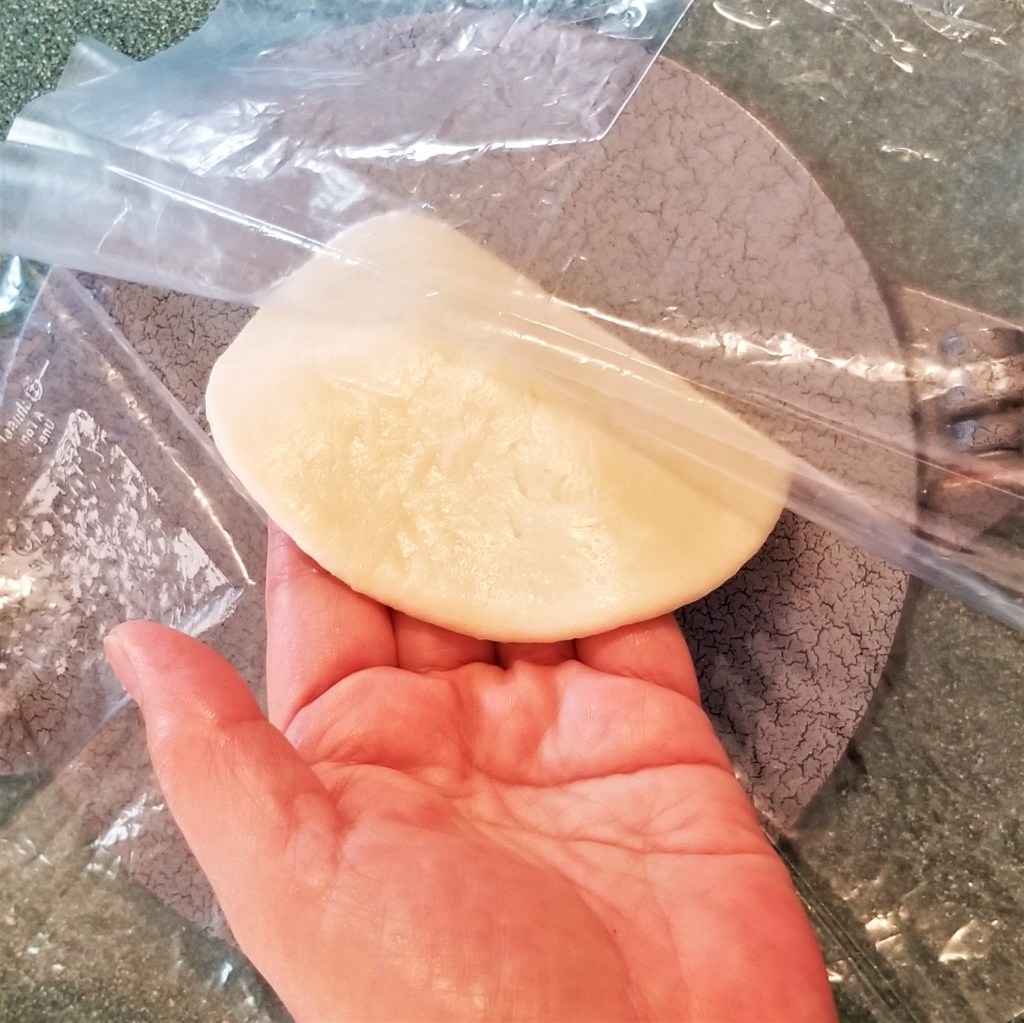
Open press, and unfold plastic sheet, to uncover flattened dough (photo below, left). Carefully peel the dough disc off the plastic, onto one hand (photo below, right):
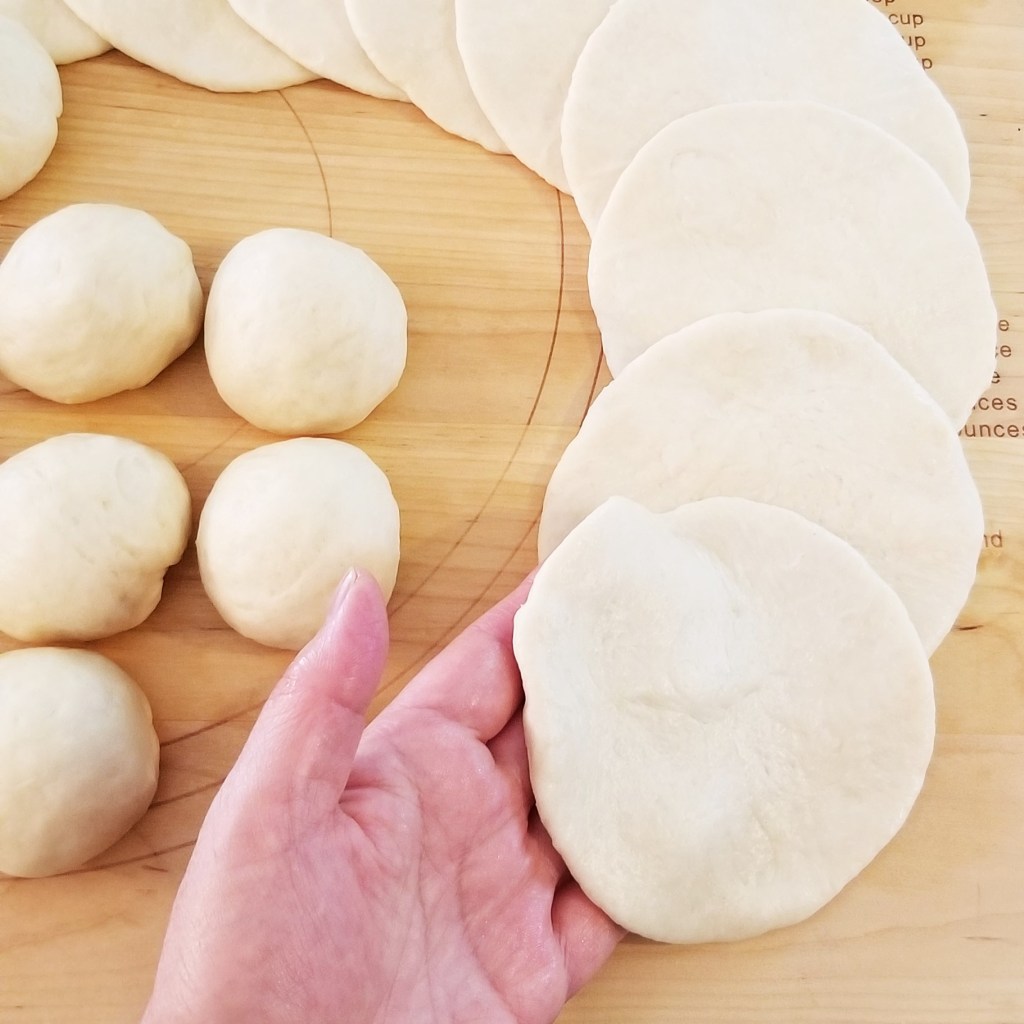
Repeat with all the dough balls, placing discs partly overlapping, on a flat surface (photo below, left). When finished with all twenty four balls, cover discs:
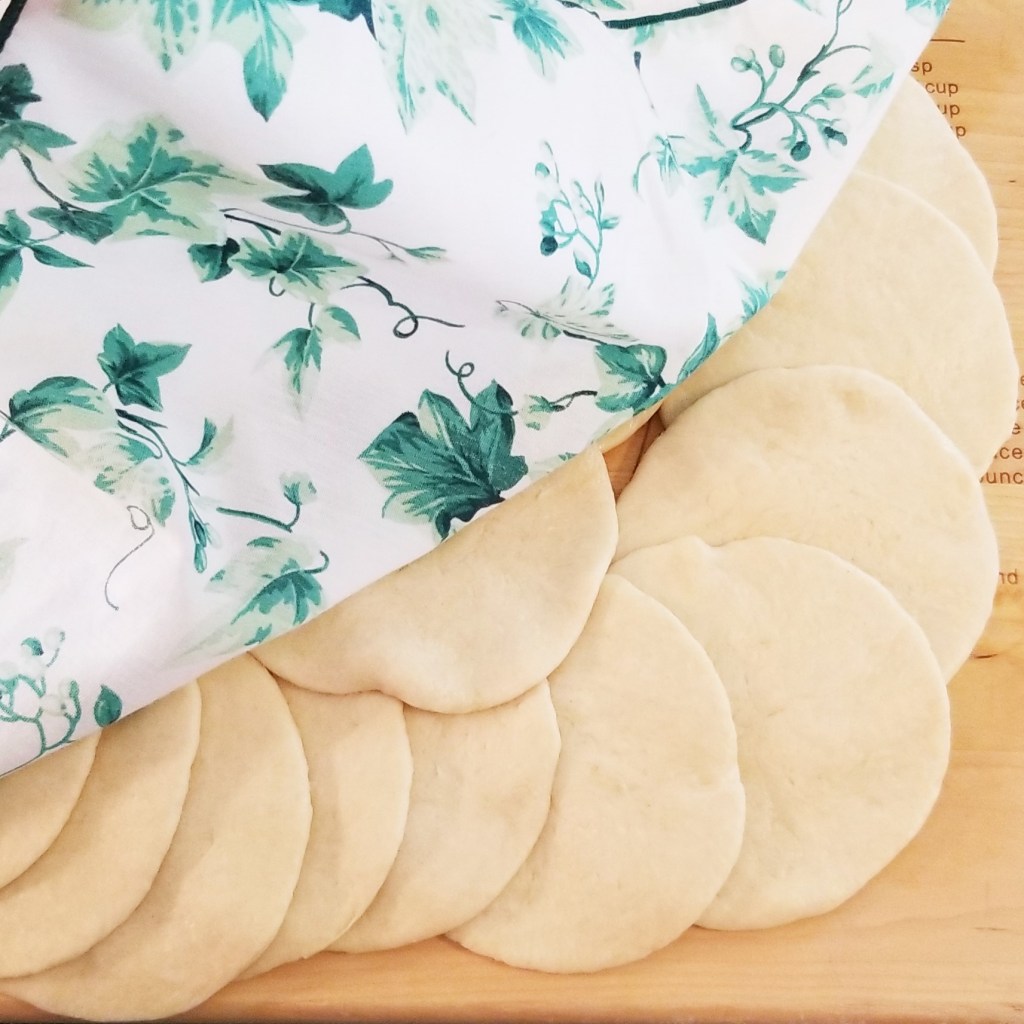
Allow to rest for another 10 minutes.
Prepare three baking sheets by lining with parchment paper. Preheat oven to 350ºF (180ºC).
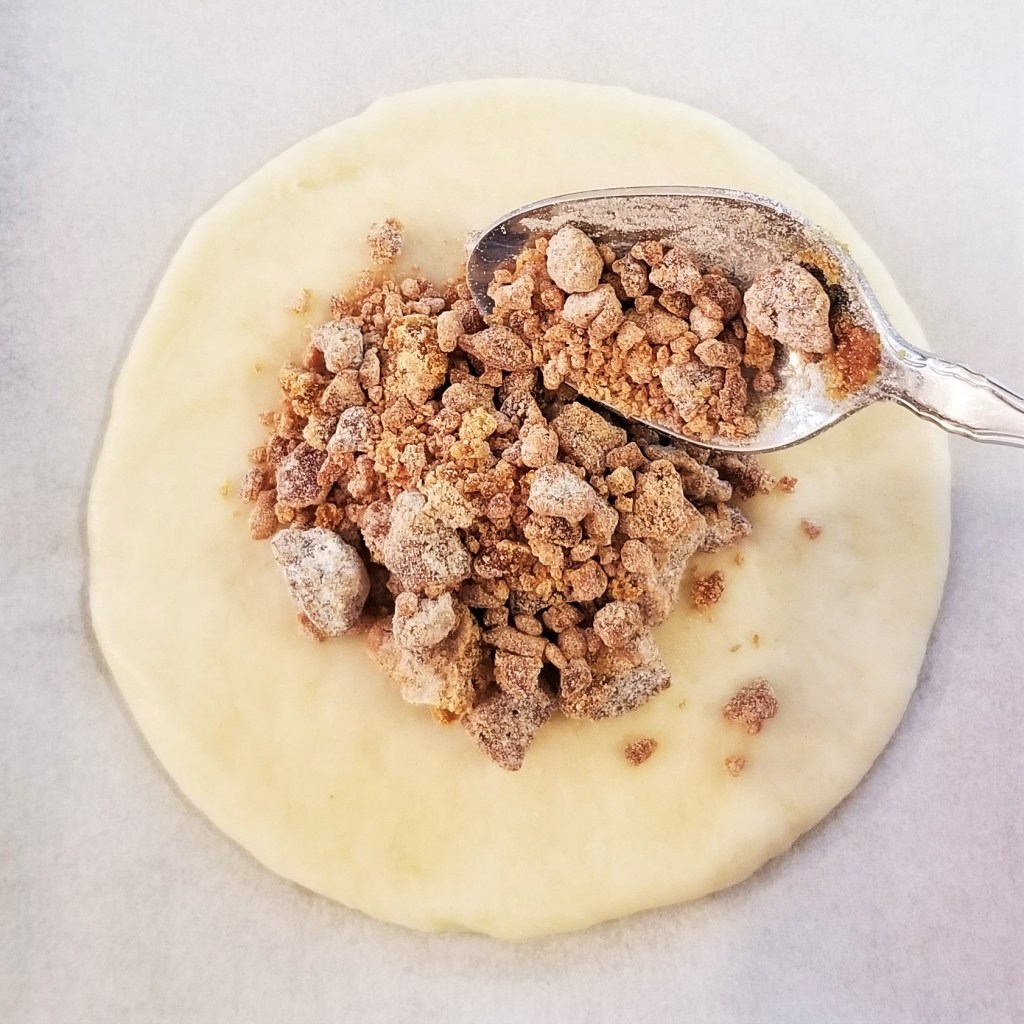
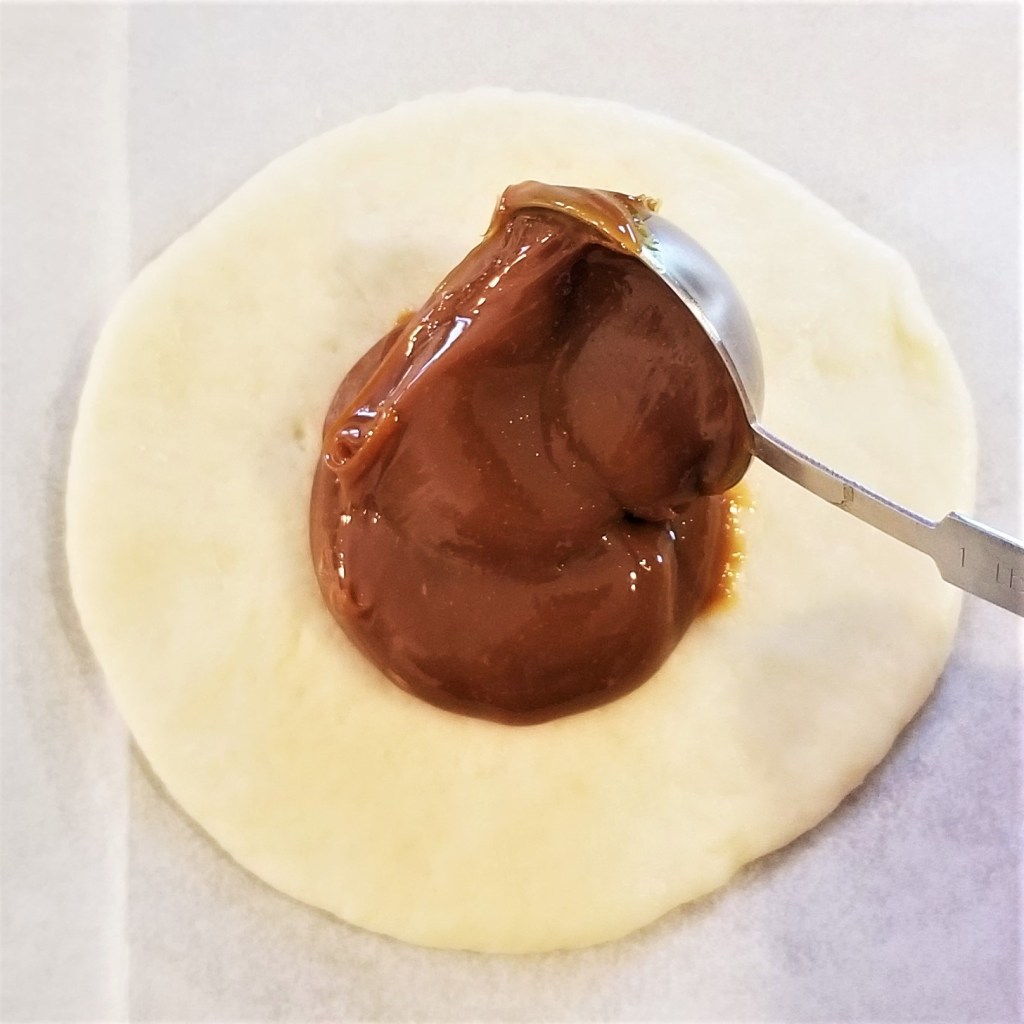
Uncover discs; take one at a time, placing them on a lined baking sheet. Add about two tablespoons of filling of choice on the centre of the disc, to form a mound (piloncillo and flour, photo below, left, and dulce de leche, right):
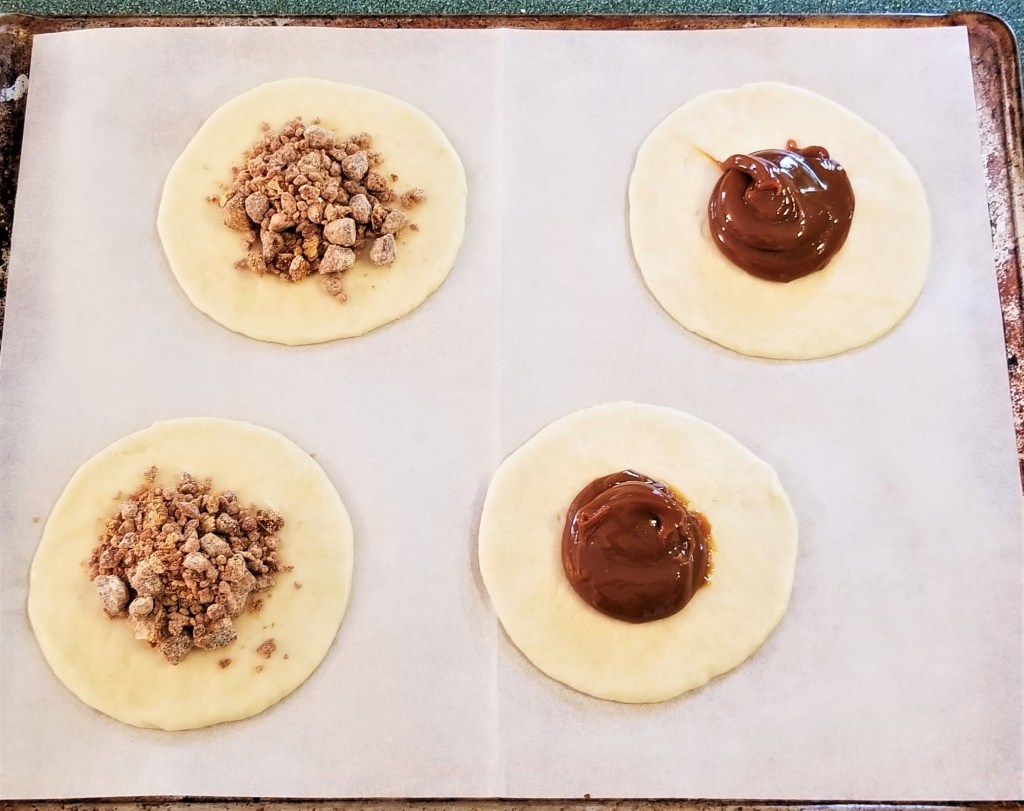
Prepare four discs per baking sheet, allowing plenty of room between them. In the photo below, two discs with piloncillo and flour, and two with dulce de leche:
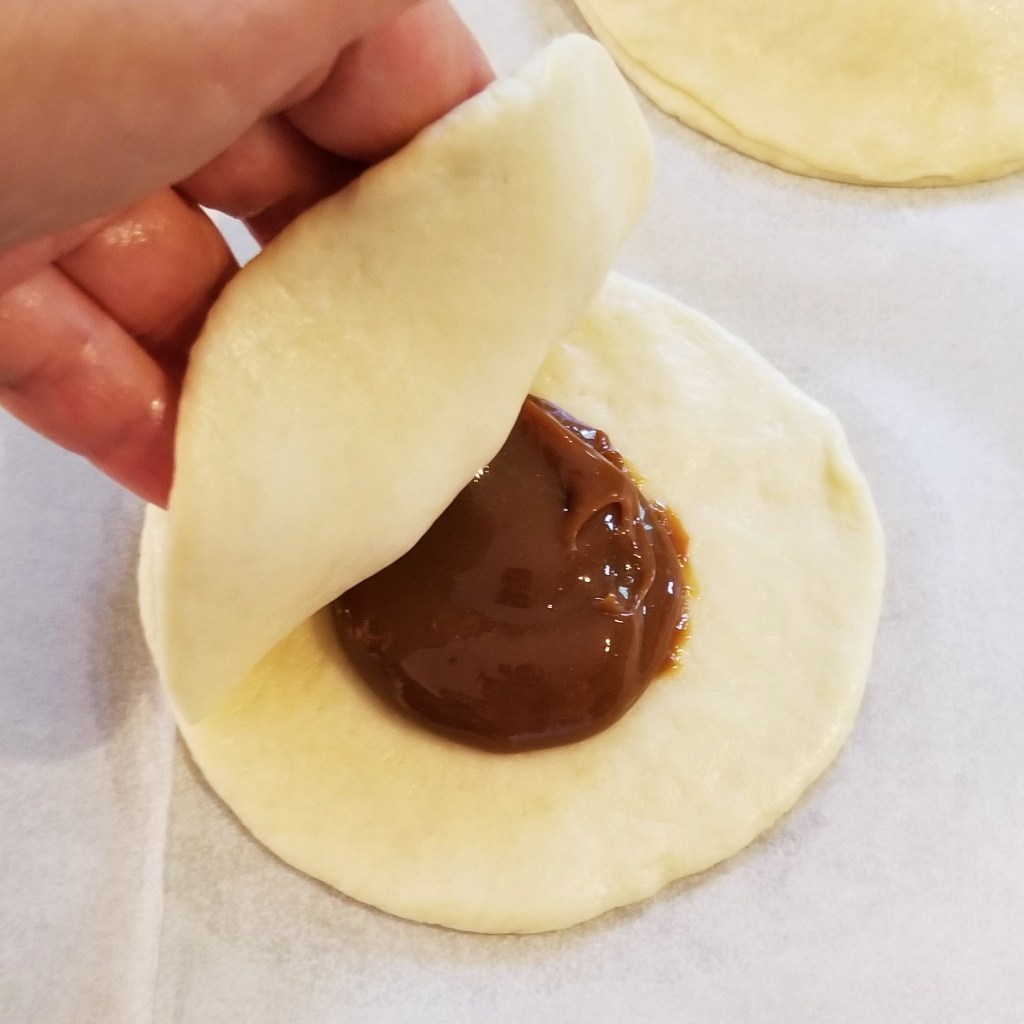
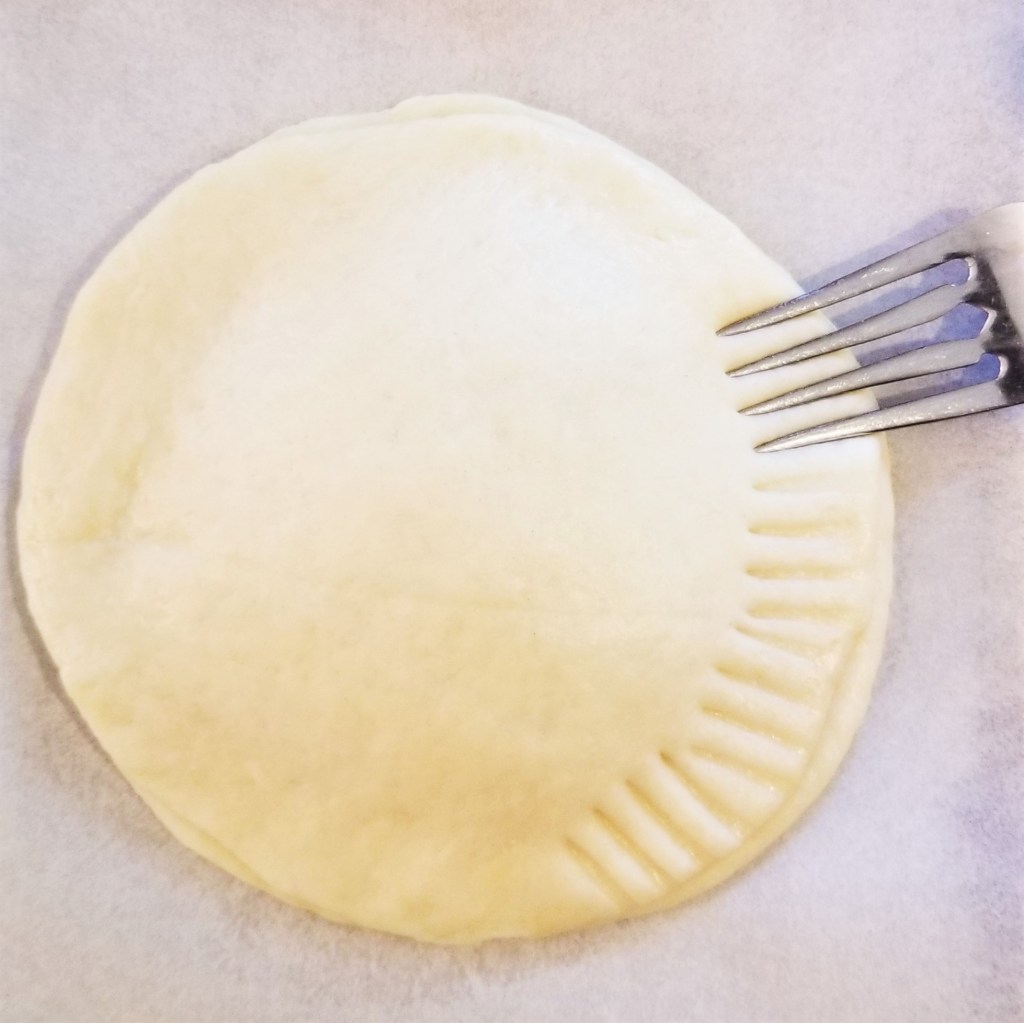
Cover each filled disc with another dough disc, matching the edges (photo below, left, with dulce de leche). Press firmly around the edges, to seal, and flatten a rim around the patty (photo below, right):

Score the flattened edge with a fork, going all around:
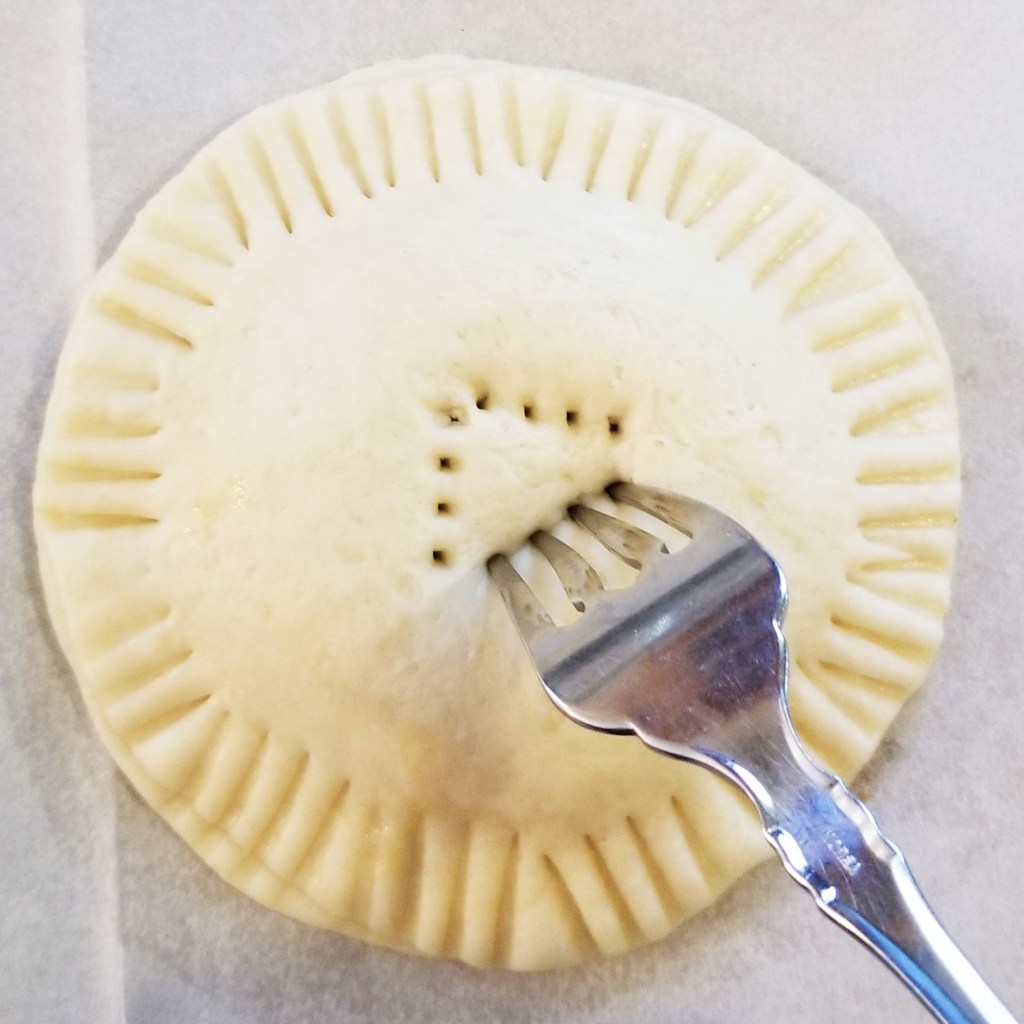
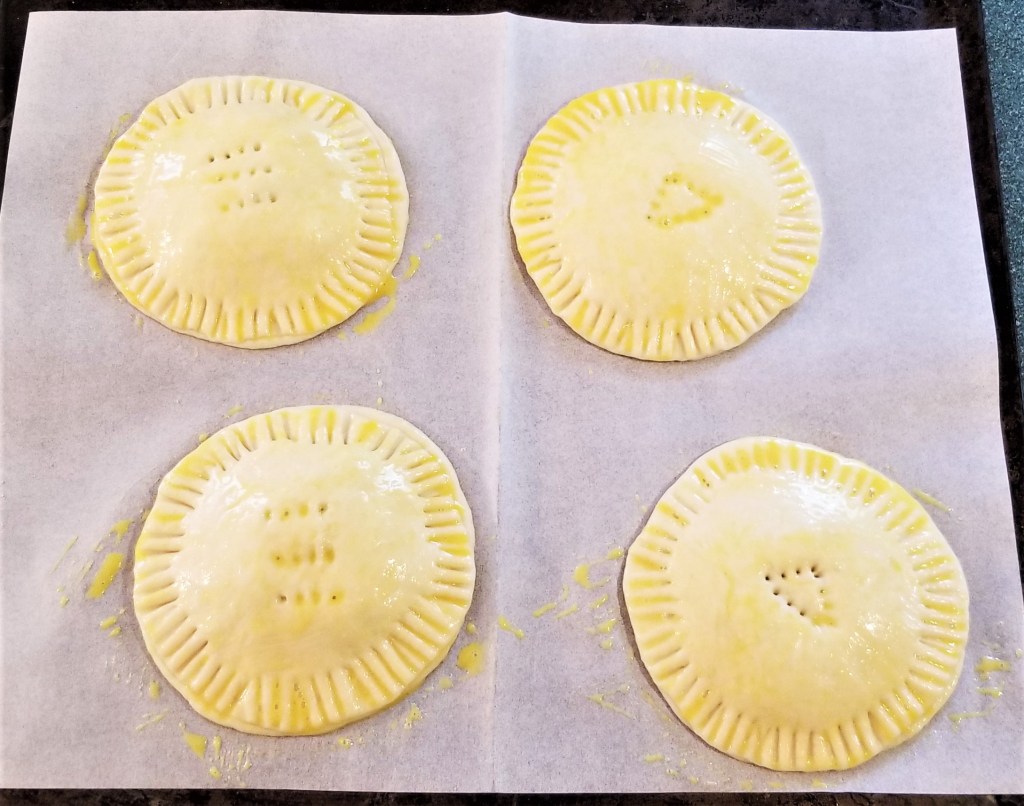
Puncture the centre of each pastry a few times, to allow steam to escape during baking. This may also serve as a label if making more than one flavour; in the photos below, a row of three fork marks for piloncillo, left, and three fork marks forming a triangle for dulce de leche (right):

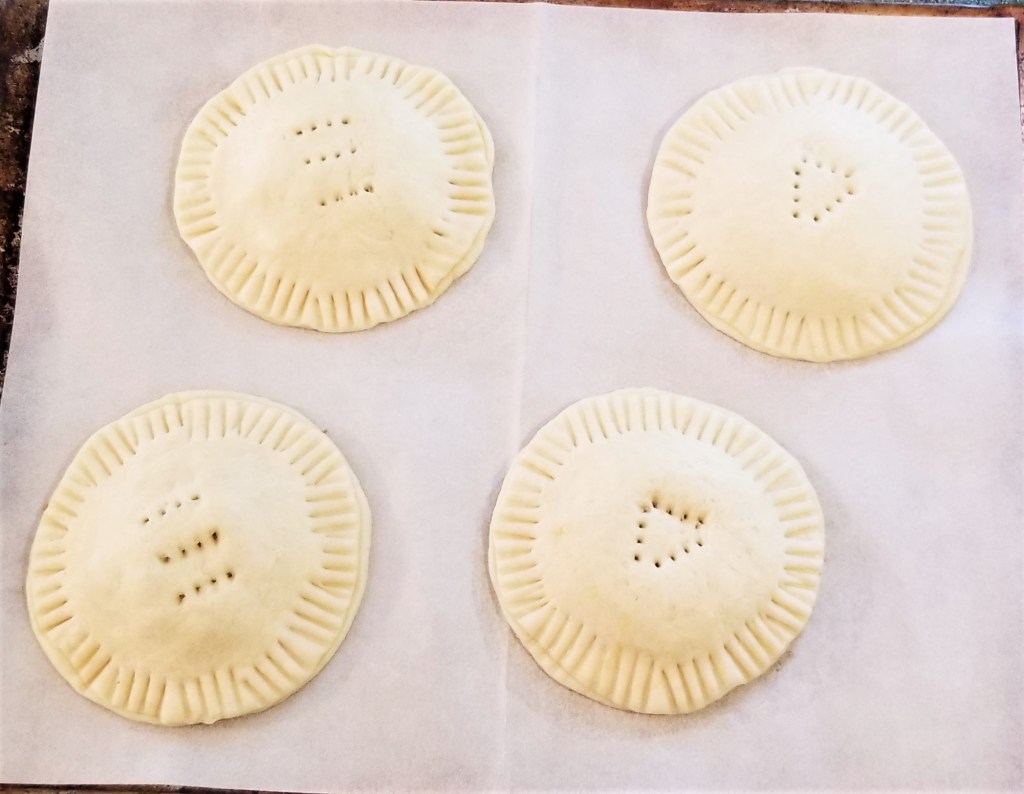
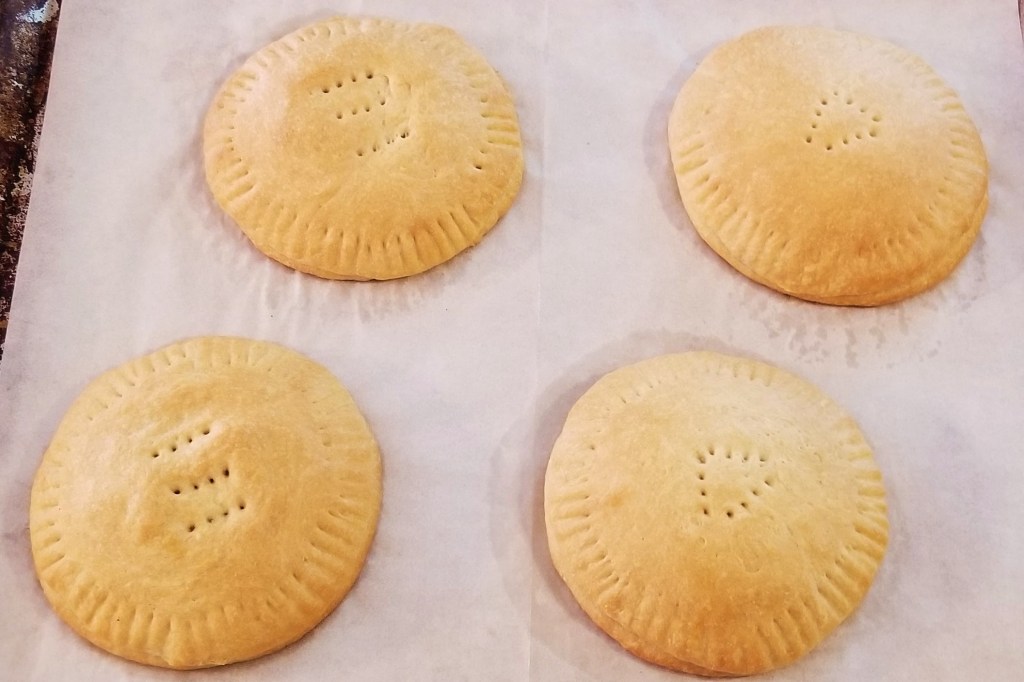
One tray with two piloncillo and two dulce de leche patties, ready for the oven:
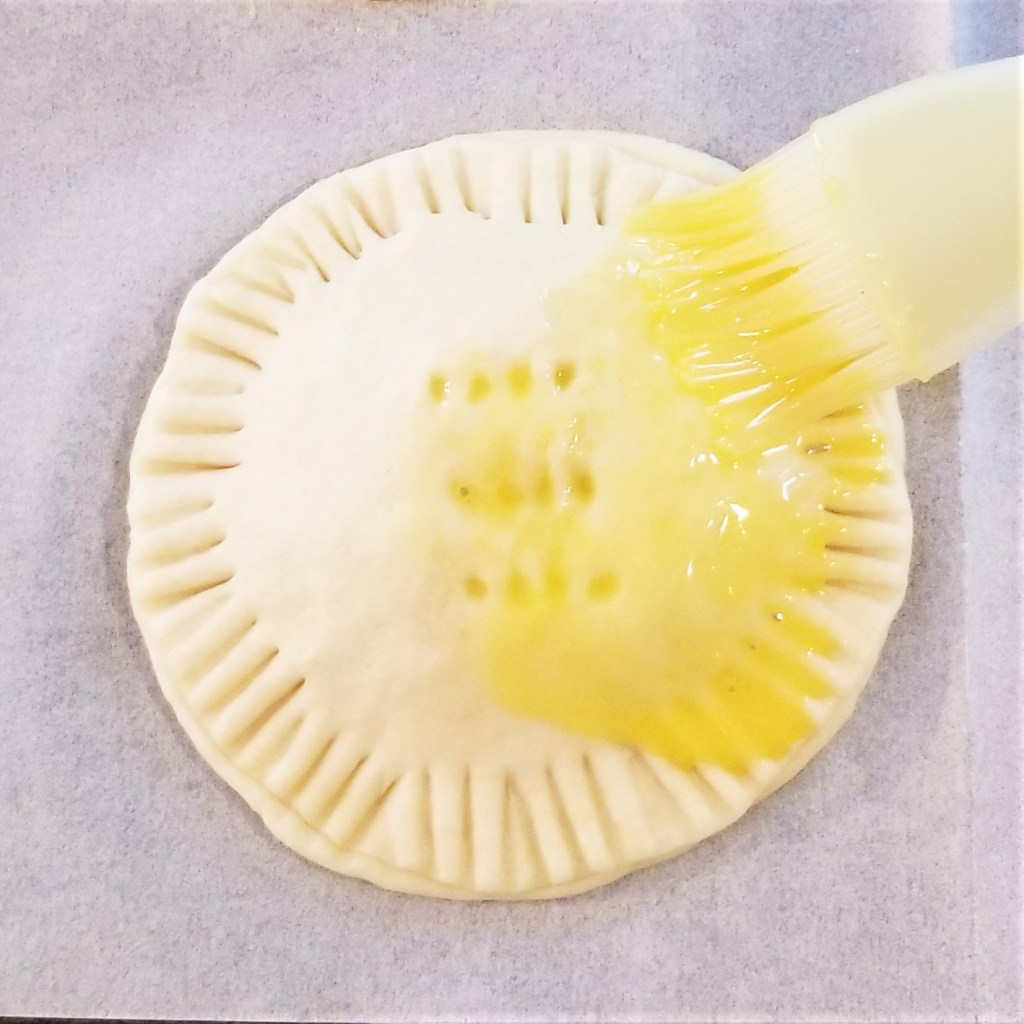
Optional: beat egg and milk to use as a wash for the patties. Using a pastry brush, coat tops of patties before baking:
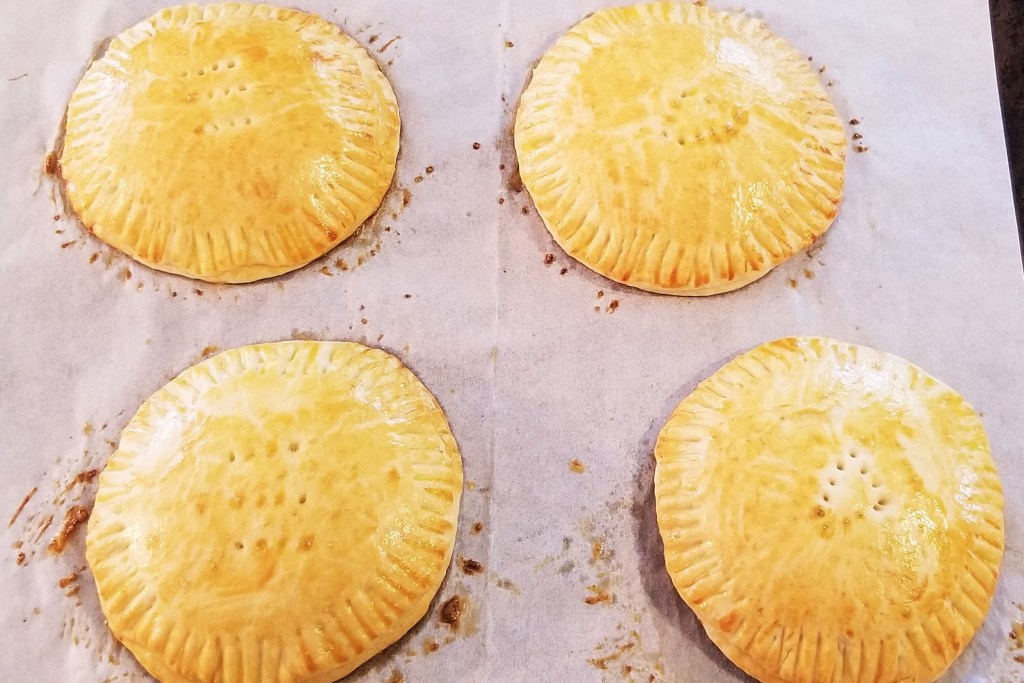
One tray with two piloncillo and two dulce de leche patties, with egg wash, ready for the oven:
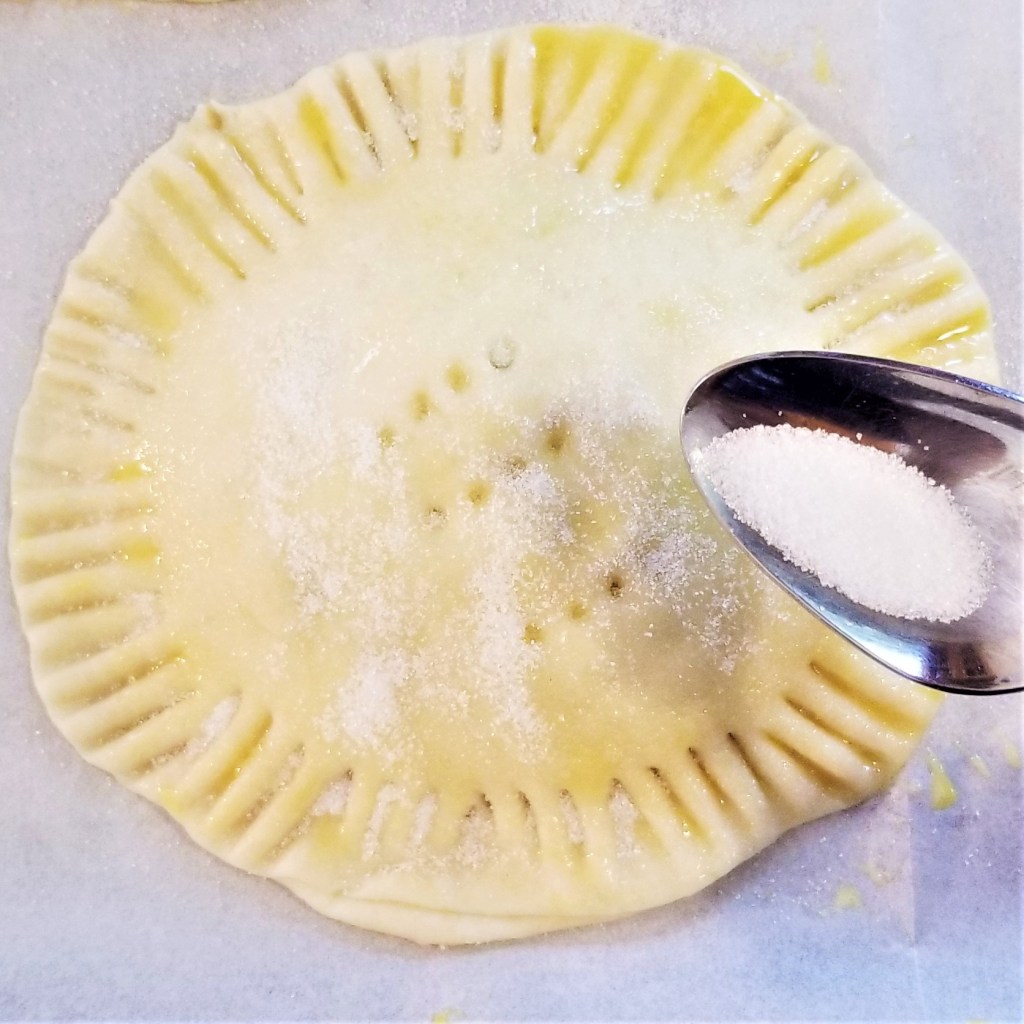
Optional: Sprinkle sugar after brushing with egg wash:
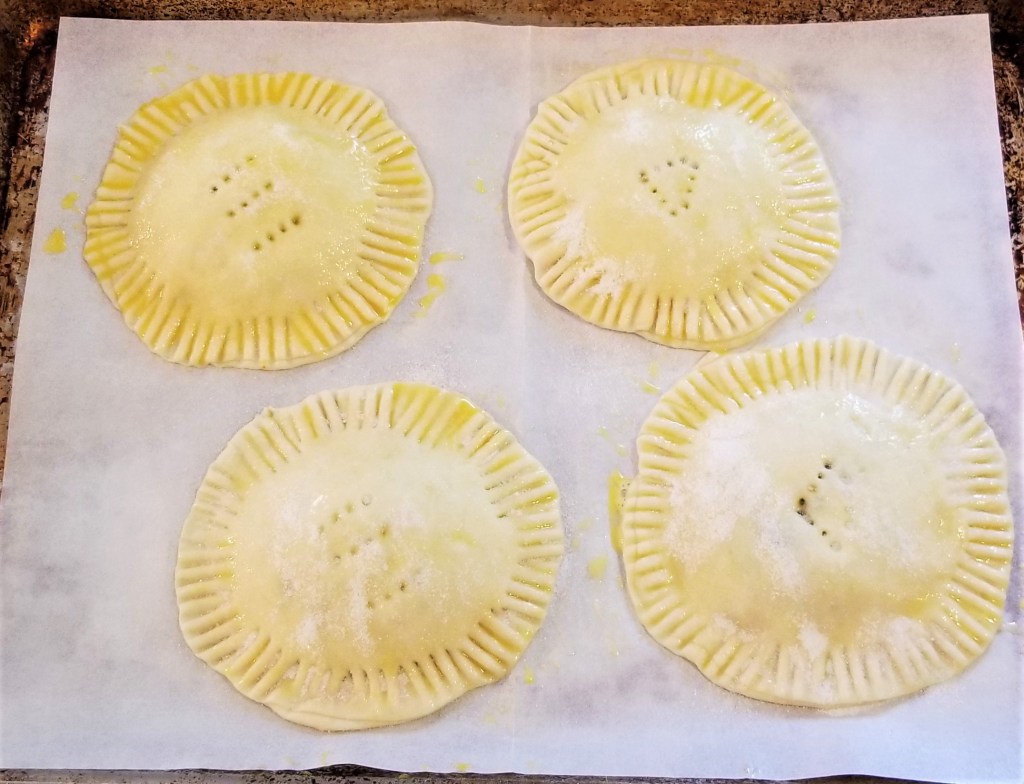
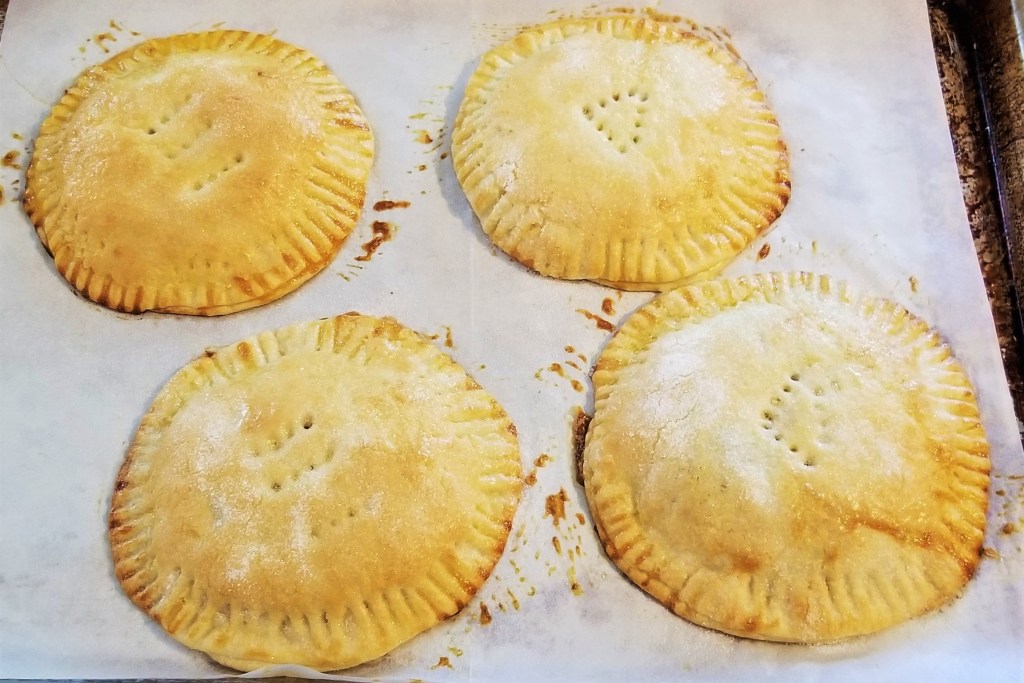
One tray with two piloncillo and two dulce de leche patties, with egg wash and a sprinkle of sugar, ready for the oven:
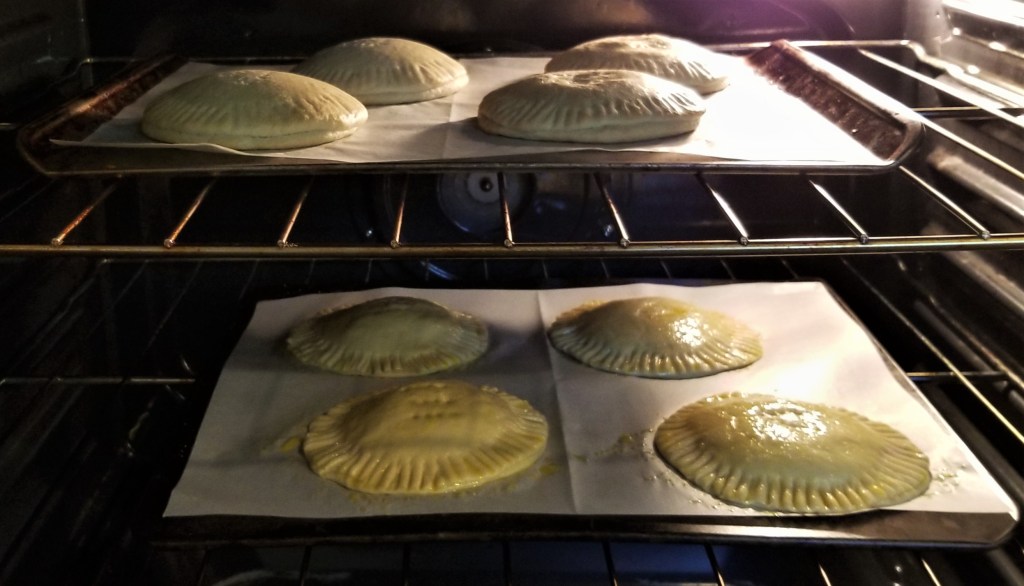
Place one tray in the bottom third of the oven, and bake for 10 minutes, then move it to the top third, and place a second tray in the bottom shelf:
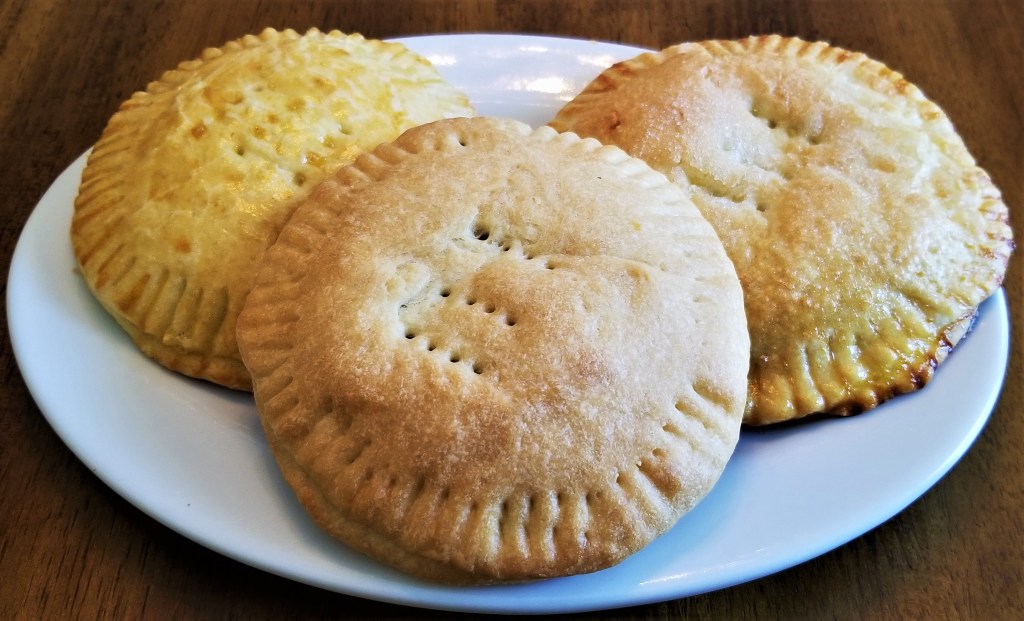
Remove top tray after another 10 minutes, or when the top of the patties are golden brown. Move the second tray to the top and place the third tray at the bottom, repeating the operation, so each tray had 10 minutes at the bottom, and was finished for about 10 minutes at the top. Place trays on cooling racks as they come out of the oven. In the photo below, plain (left), with egg wash (centre), and with egg wash and sprinkled sugar (right):
They all look golden brown and crispy (from left, with egg wash, plain, and with egg wash and sugar):
They are nice served warm, or at room temperature, especially delicious with a mug of coffee, such as café de olla:
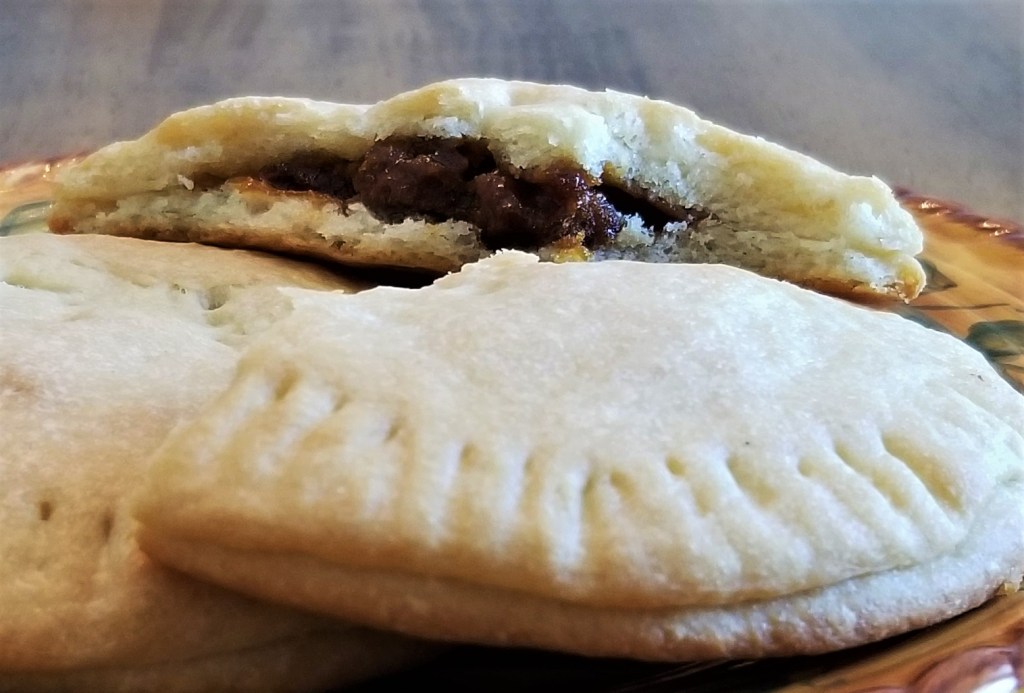
The pastry is crispy on the outside, soft inside from the yeast, and the sweet filling just brings the treat to another level:
My husband liked all the finishes, and favoured the dulce de leche filling; conversely, I liked both fillings, and preferred the plain finish, with no egg wash or sugar on top.
For your convenience, click on the highlighted text below for products available on Amazon™. DISCLAIMER: Any reviews included in this post are my own, for items I have purchased, not provided by any company; as an Amazon Associates Program affiliate, I might receive a commission for any purchases originated from the links below, at no extra cost to you. Thank you to readers who have bought other products starting with a click from my links!

I am bringing my recipe to Full Plate Thursday #654 with Miz Helen @ Miz Helen’s Country Cottage.
I am also sharing my post at Thursday Favourite Things #622, with Bev @ Eclectic Red Barn, Pam @ An Artful Mom, Katherine @ Katherine’s Corner, Amber @ Follow the Yellow Brick Home, and Linda @ Crafts a la Mode.
I am joining Fiesta Friday #498 with Angie @ Fiesta Friday, this week co-hosting with Jhuls @ The Not So Creative Cook.
I am sharing my recipe at What’s for Dinner? Sunday Link-Up #433 with Helen @ The Lazy Gastronome.


Never heard of these, thanks for the recipe
LikeLiked by 1 person
Amazing, totally something new to me, but I love the caramel you use in these little pies.
I visited you via Thursday Favorite Things Party
I linked up this week with = 52+53 and this is a friendly reminder to come and join us at SeniorSalonPitStop. You will find the linkup information under BLOGGING
LikeLiked by 1 person
Oh my god, these look so mouth-watering, very similar to sweet empanada cookies. A must-try for sure!
LikeLiked by 1 person
This is the 4th coyota recipe I’ve tried. I’m keeping this one! It is the best!
I made some with sugar free jelly too.
LikeLike
So glad you liked my recipe, jelly coyotas sound delicious, too!
LikeLike
I just posted a comment and my “smart phone”
changed the word coyota to Toyota??
LikeLike
Not so smart, lol! I have corrected the spelling on your comment. Thank you for letting me know and for your kind review.
LikeLike
I have never heard of these either but your write up says “WHEAT Pastry” using “Wheat Dough”. Yet your photos show a white flour dough. Please tell all your readers what type and brand of flour you used in your photos. Thankyou.
LikeLike
I am guessing that “wheat flour” makes you think of “whole wheat flour”, and simply “flour” is your default for refined all-purpose, which is of course, also made from wheat. I specified “wheat flour” because Mexican pastries are often made with corn flour, so I was trying to emphasize that this pastry uses flour made from wheat, not corn. I understand that for many people (including myself, in many other of my recipes) the default type of grain for flour is wheat, so I have deleted the word “wheat” and I wrote “all-purpose flour” on the ingredient list. I hope this clarifies the confusion.
LikeLike