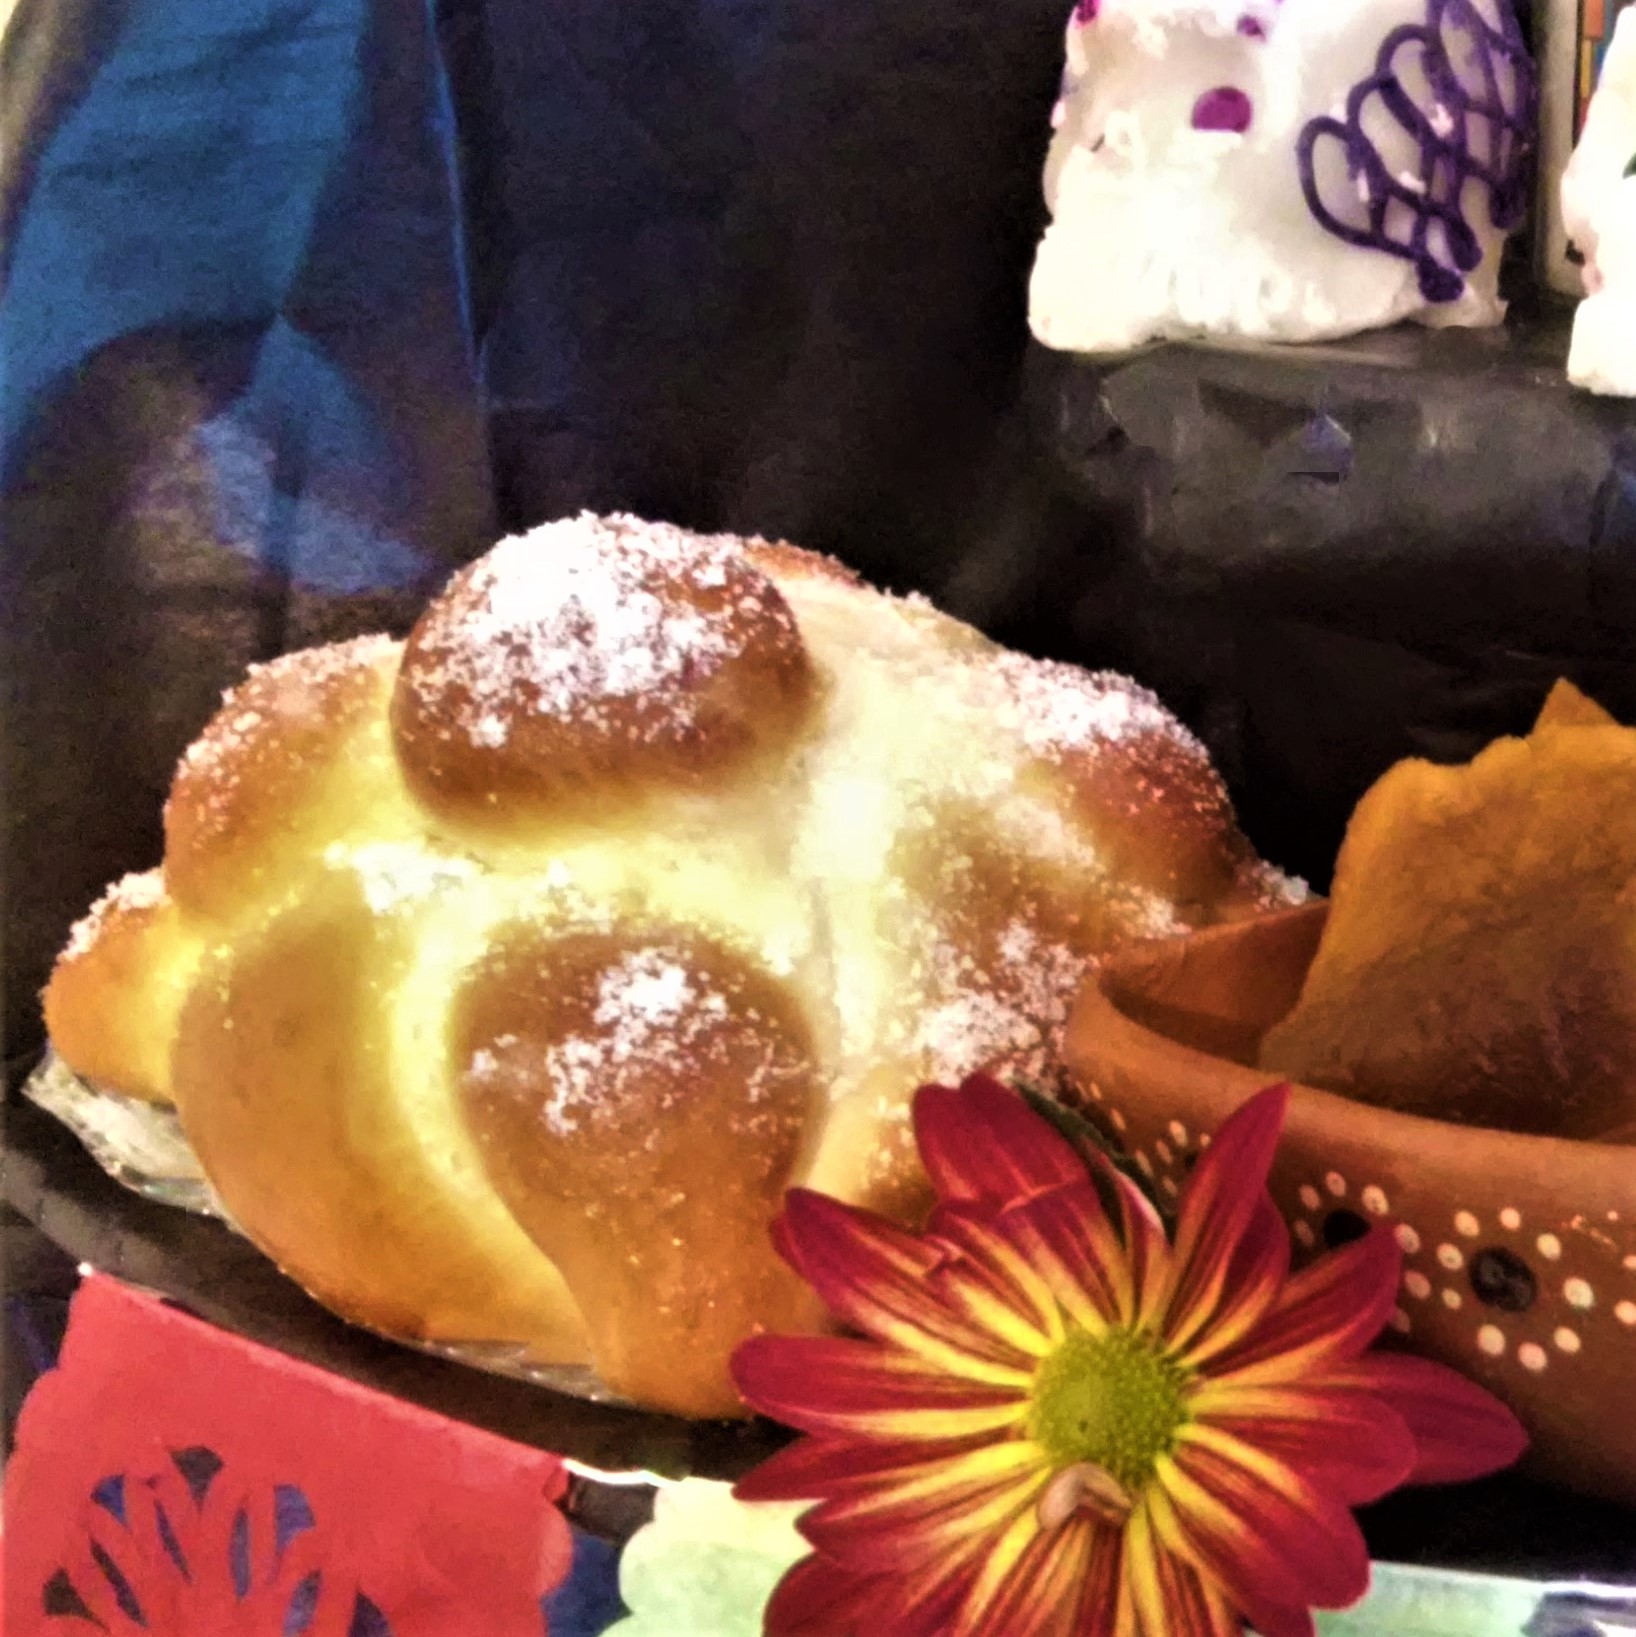
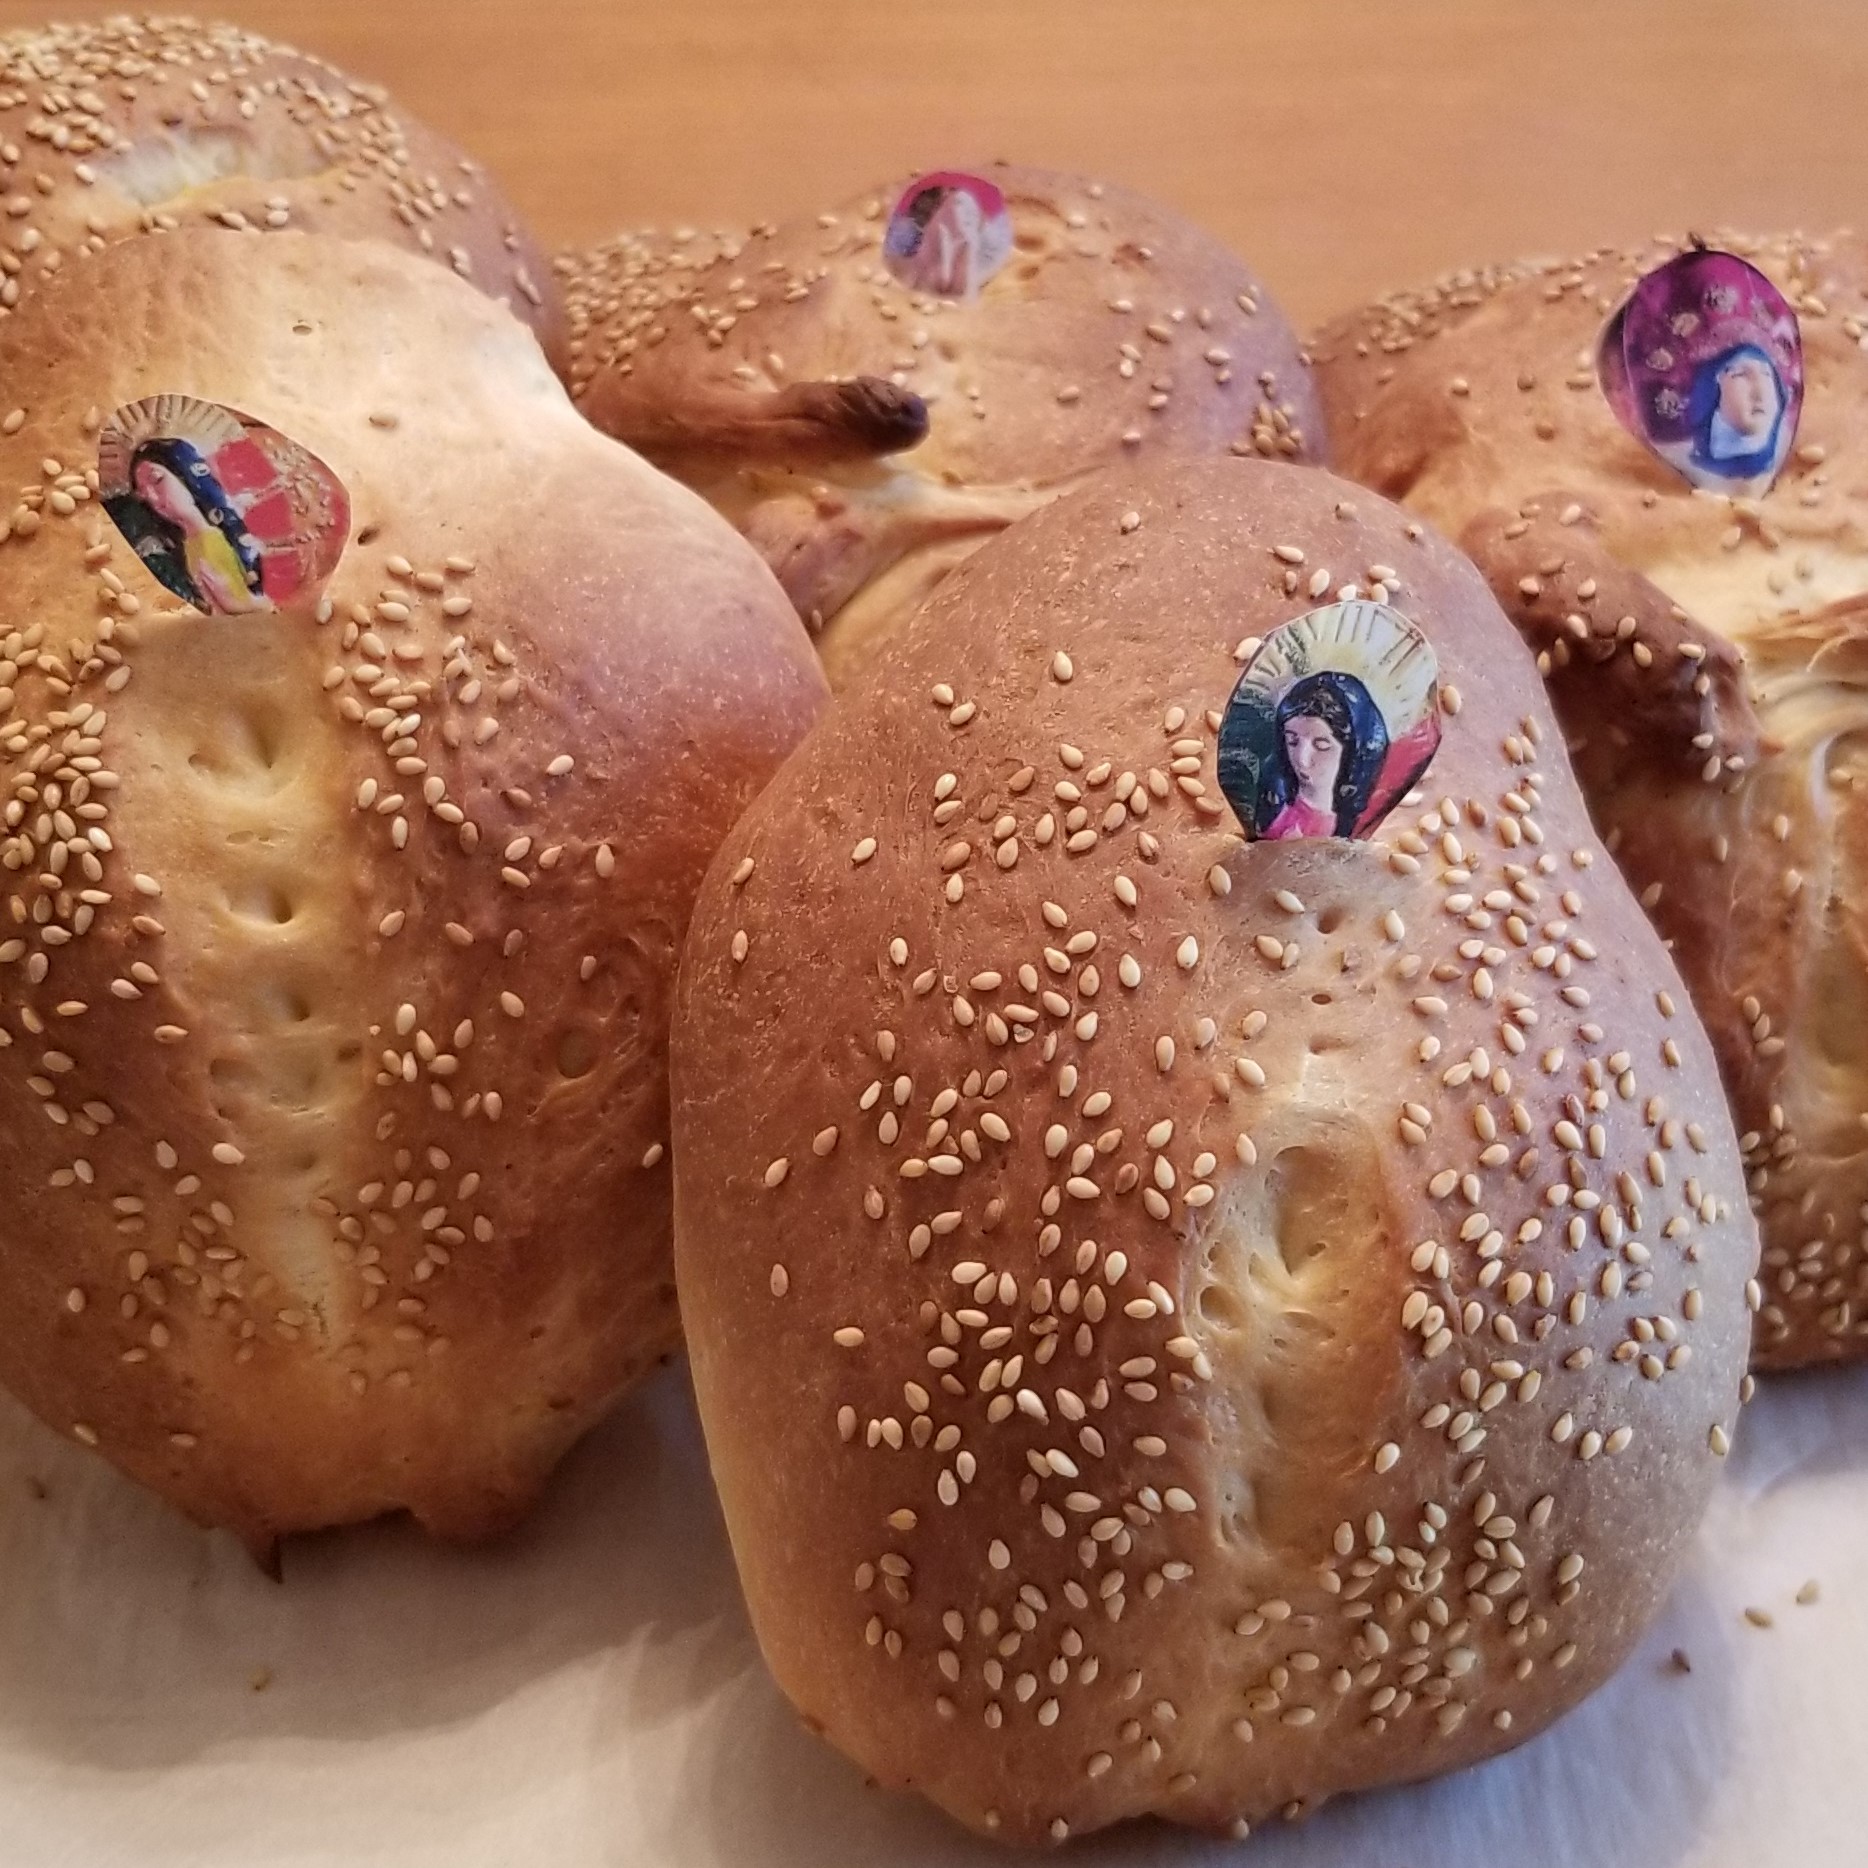
Pan de muerto (literally, bread of the dead) is sweet bread that is almost always included in Day of the Dead offerings, and traditionally eaten on November 2nd, observed in Mexico as El día de los fieles difuntos, or Día de los muertos (Day of the Faithful Departed, or Day of the Dead.) In previous years, I have shared two types of this bread (click on highlighted text for full stories and recipes): the first is the best-known version, a round bread decorated on top with bones and tears made from the same dough, and coated with sugar (photo below, left); the second is known as Pan de yema, a type of egg bread topped with sesame seed, from the Mexican state of Oaxaca, which is baked all year round, but decorated in a very special way for the Day of the Dead (photo below, right):
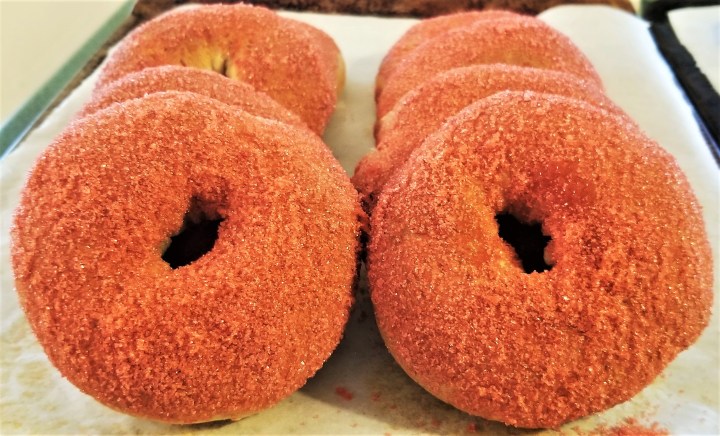
This year, I have tried making Golletes, a less-known, but very traditional, Day of the Dead bread recipe, prepared mainly in Central Mexico. Golletes (as seen at the top of this post) have a more compacted crumb compared to the other two types, they are shaped as rings, and coated with granulated sugar coloured in a bright shade of pink.
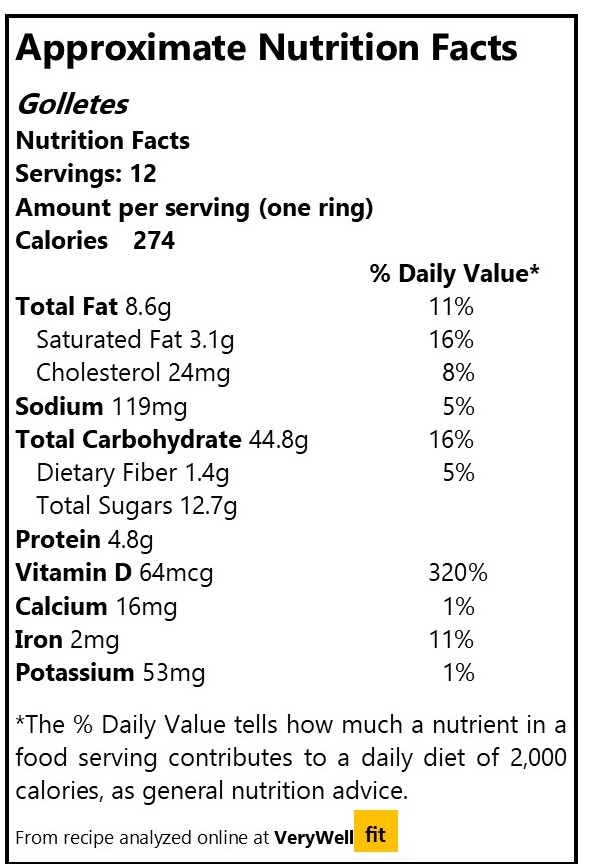
Day of the Dead Bread Rings – Golletes
Ingredients (for 12 pieces)
4 cups all-purpose flour
½ cup sugar
3 tsp (11g) instant active dry yeast
¼ tsp salt
1 tbsp ground cinnamon
1 egg
¼ cup unsalted butter, plus a dab for greasing
¼ cup non-hydrogenated margarine (or lard)
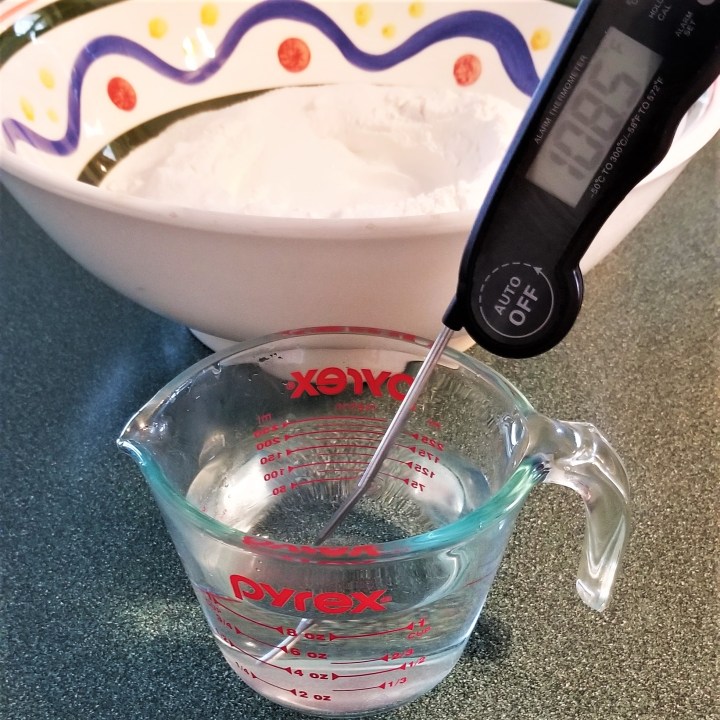
1 cup water, or as needed; lukewarm, between 104 to110 °F (40 to 43 °C)
For topping:
½ cup granulated sugar
2-3 drops red or pink food colouring gel
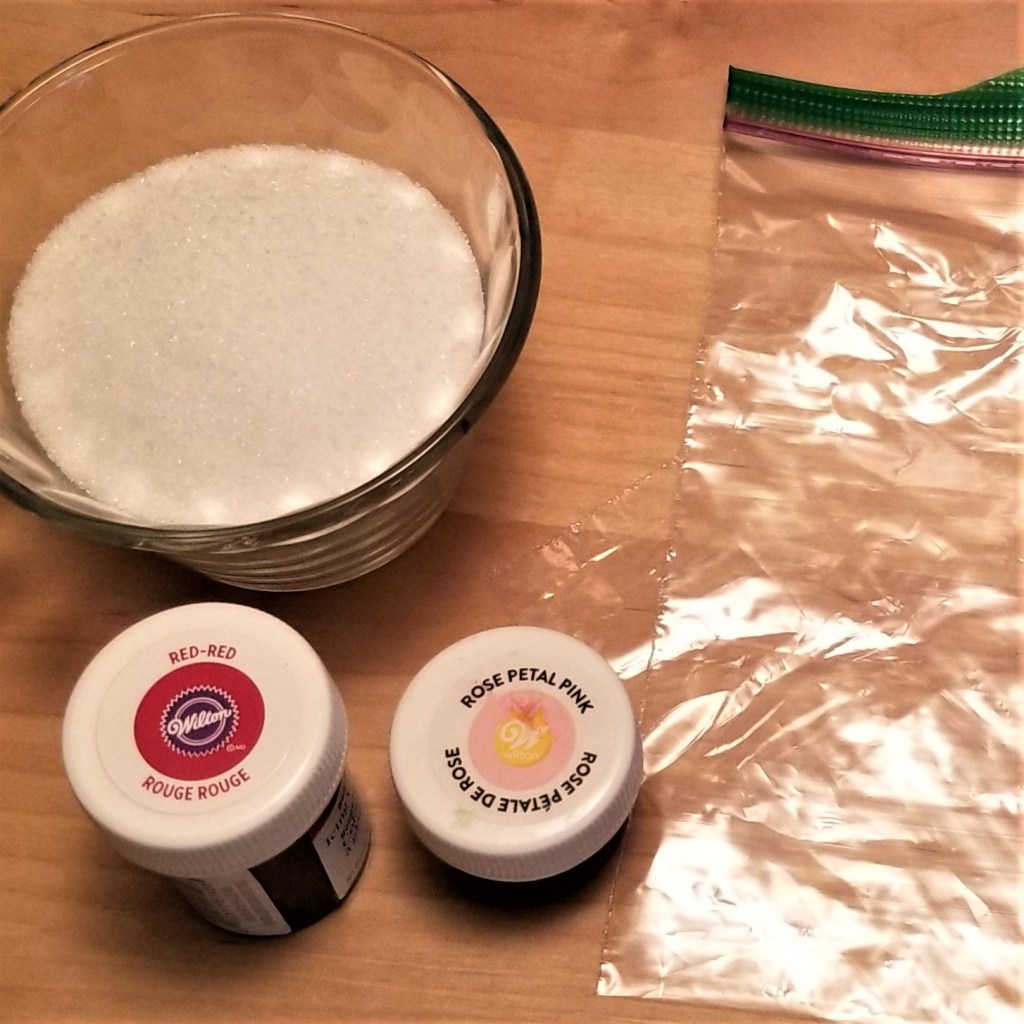
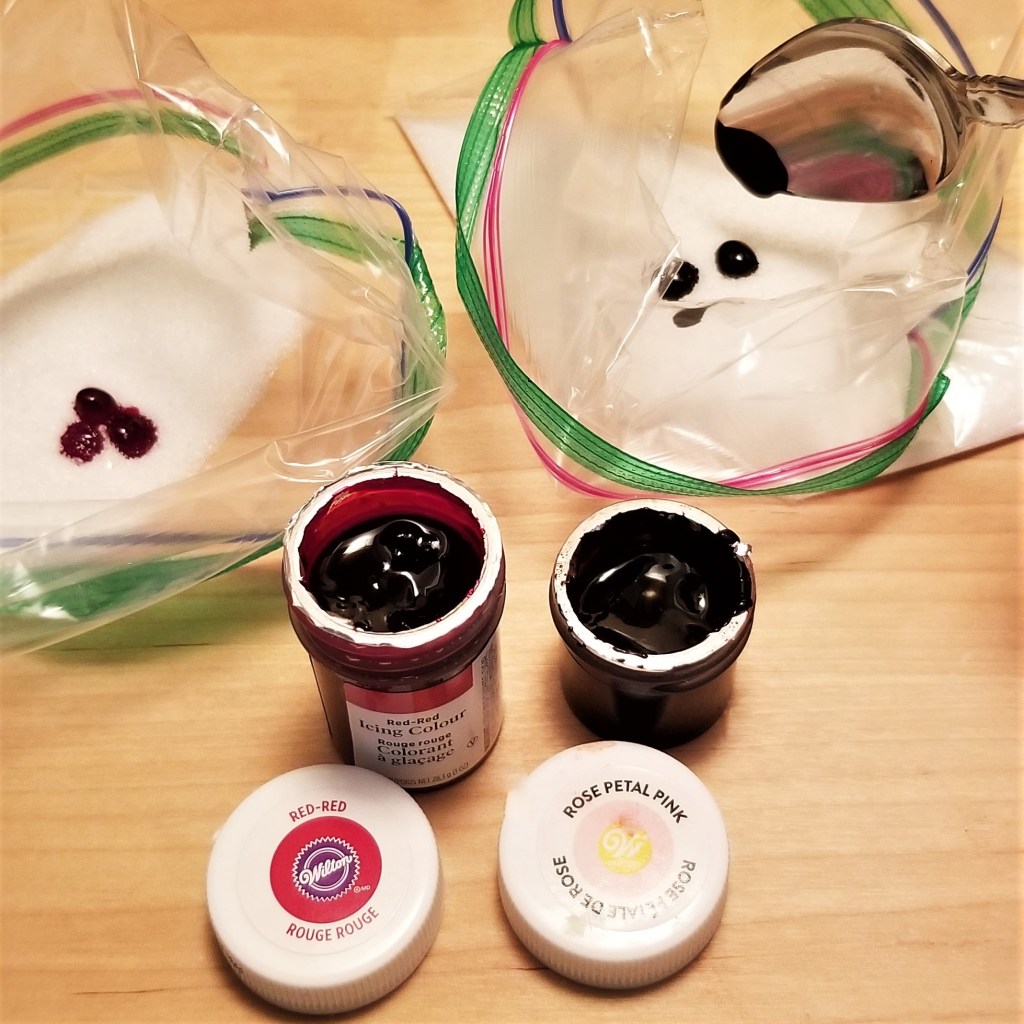
Prepare the topping – I had two shades of food colouring gel for the granulated sugar: pure “red red”, and a more antique “rose petal pink” (photo below, left). The drops may be added directly to a bowl with the sugar, and mixed with a gloved hand, or as I did, place the sugar in a plastic bag, and the add the drops; since I had two shades, I divided the sugar amongst two bags (photo below, right):
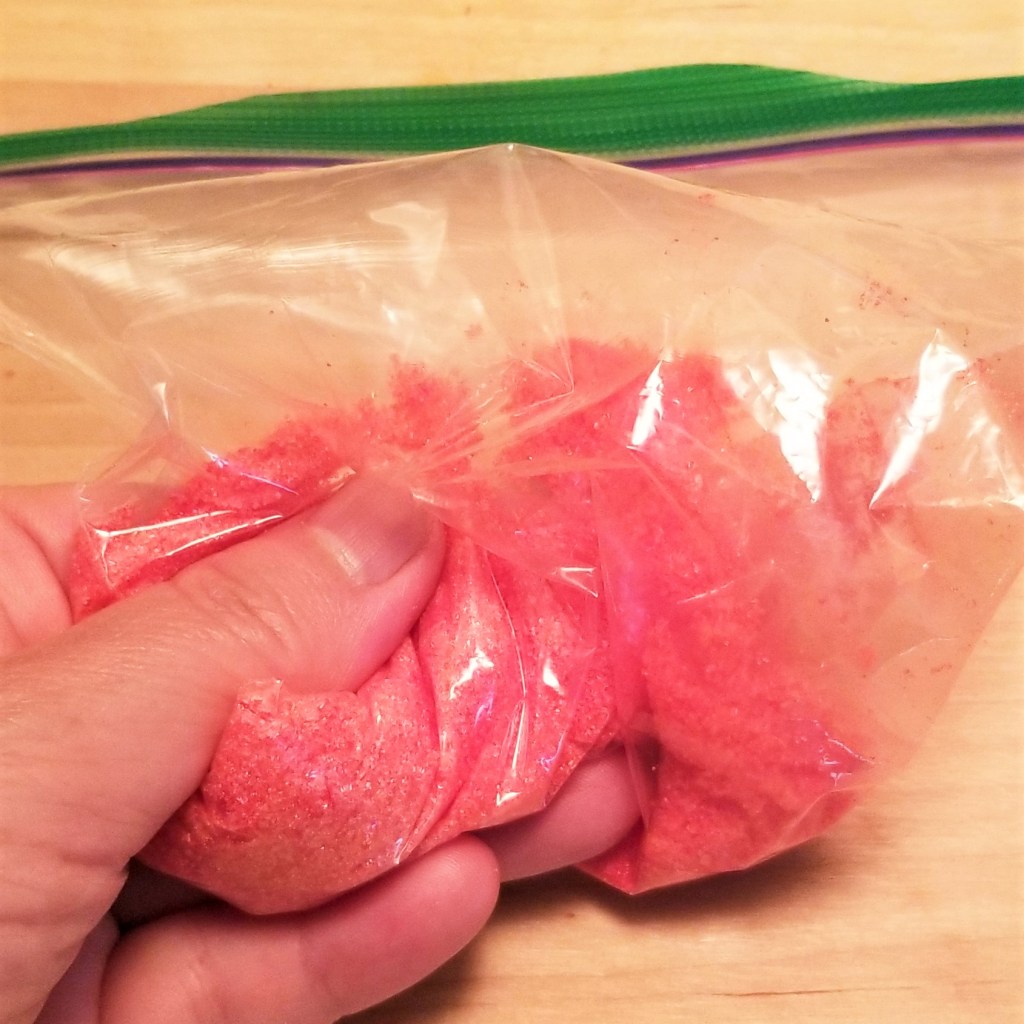
Close the bag (zip or make a loose knot at the top); knead sugar and colouring gel together through the plastic until all the gel has been absorbed uniformly (photo below, left). The red colouring produced a bubble-gum kind of pink, while the rose petal was, as expected, more of an antique, almost magenta shade:
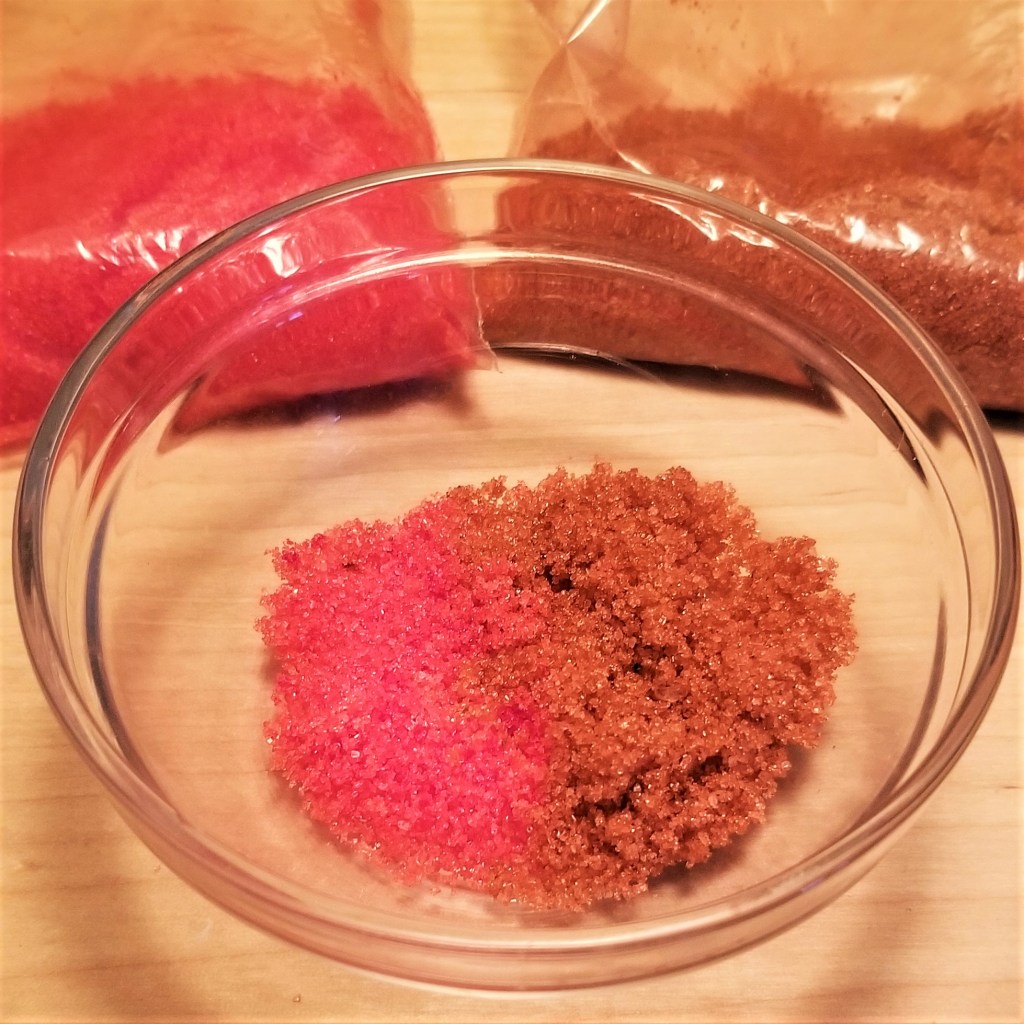
I think to match golletes, the pure red gel is more accurate, but since I had the two shades, I mixed them together, and also got a nice shade:
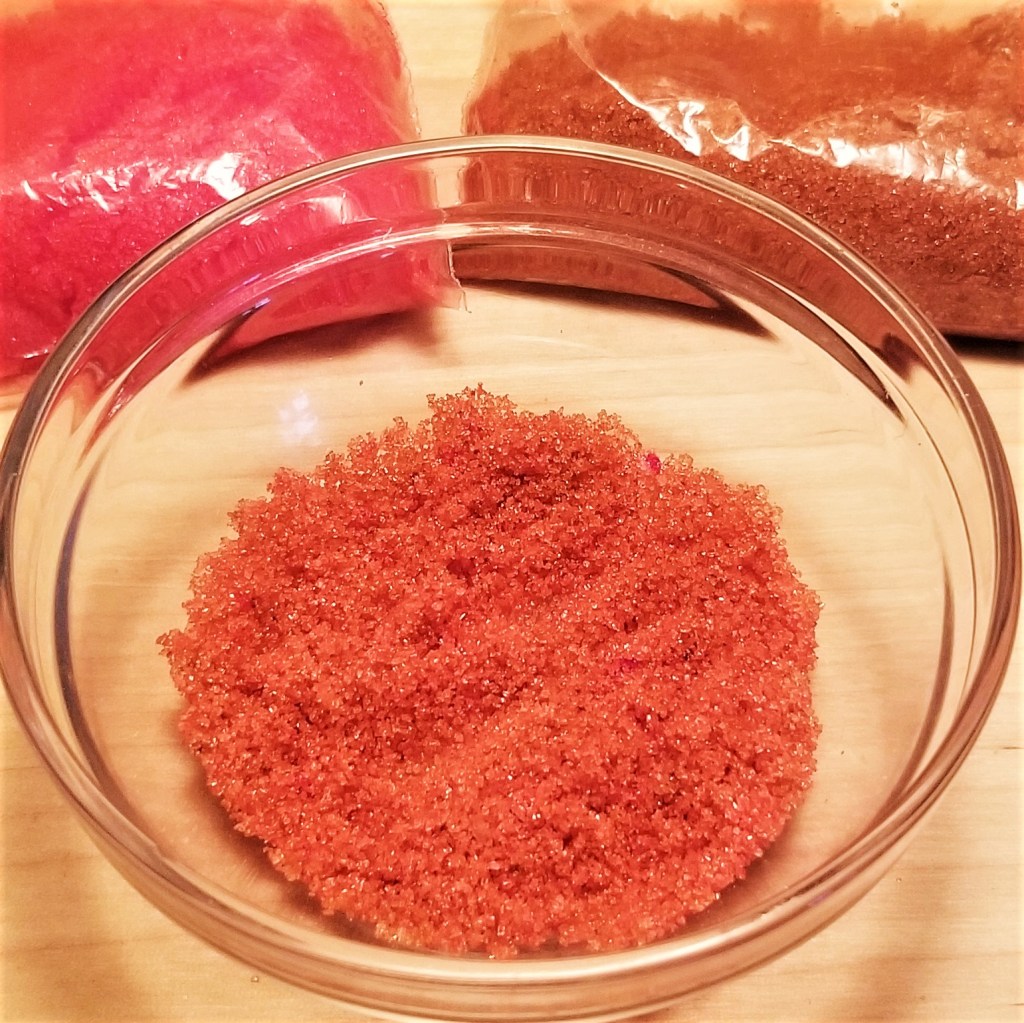
Transfer coloured sugar to a tray or flat plate, and reserve. Line two baking sheets with parchment paper, and reserve, as well.
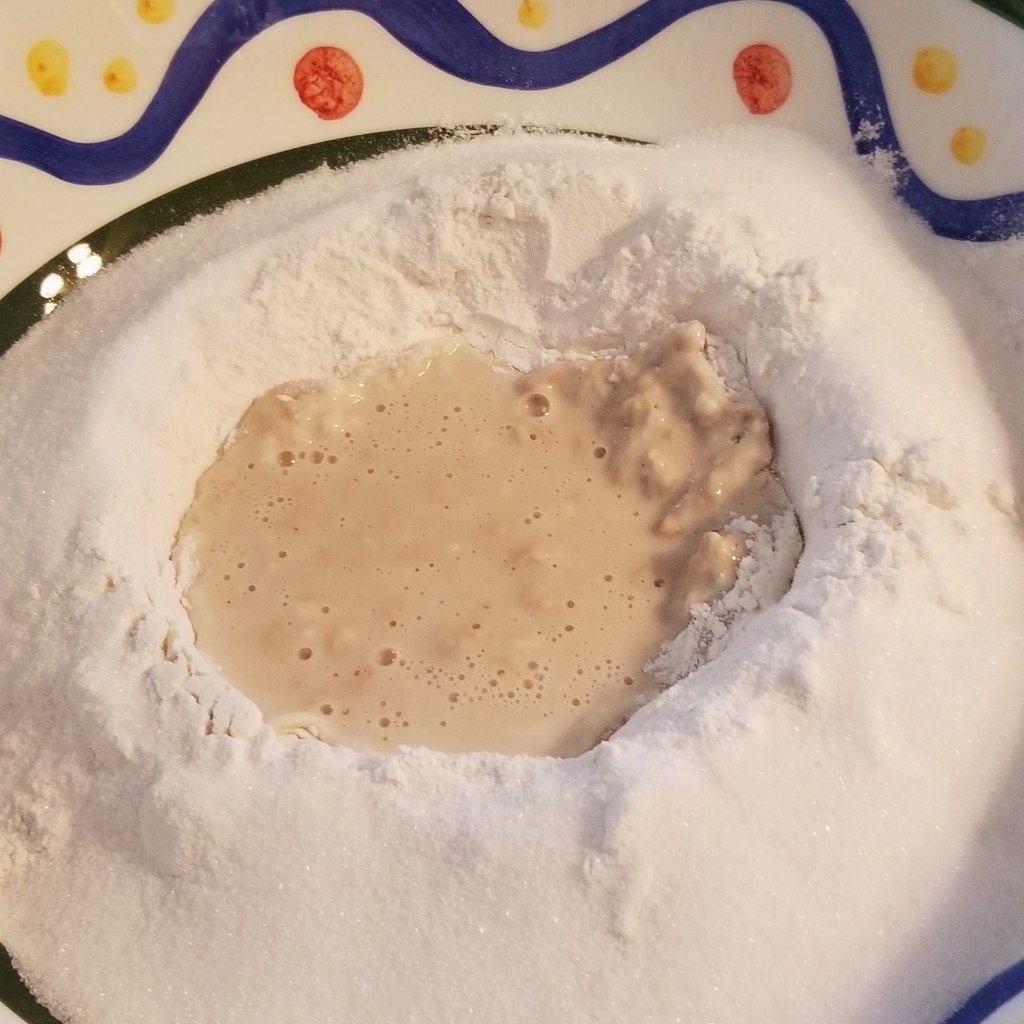
Before starting the dough, make sure the egg and fats are at room temperature, and the water is lukewarm (photo below, left). In a large mixing bowl, add flour, then make a well in the centre (photo below, right):
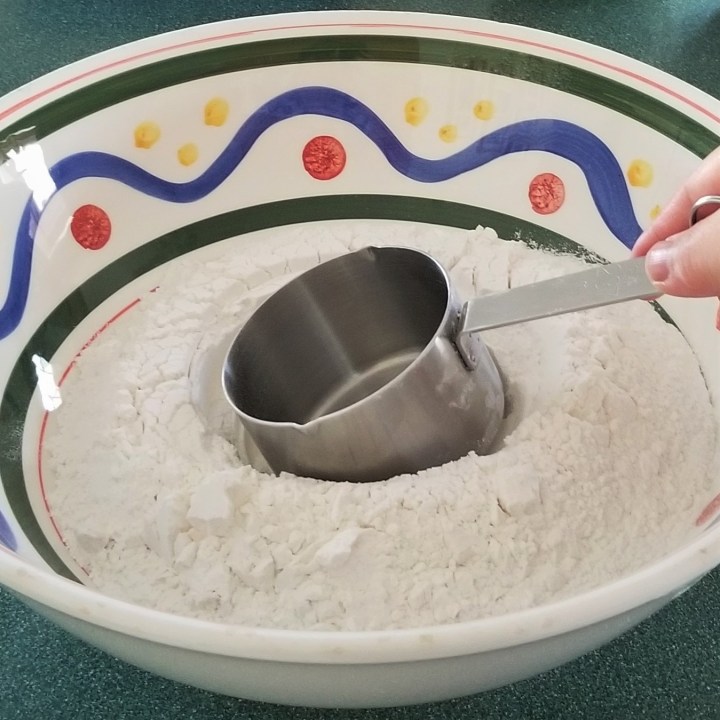
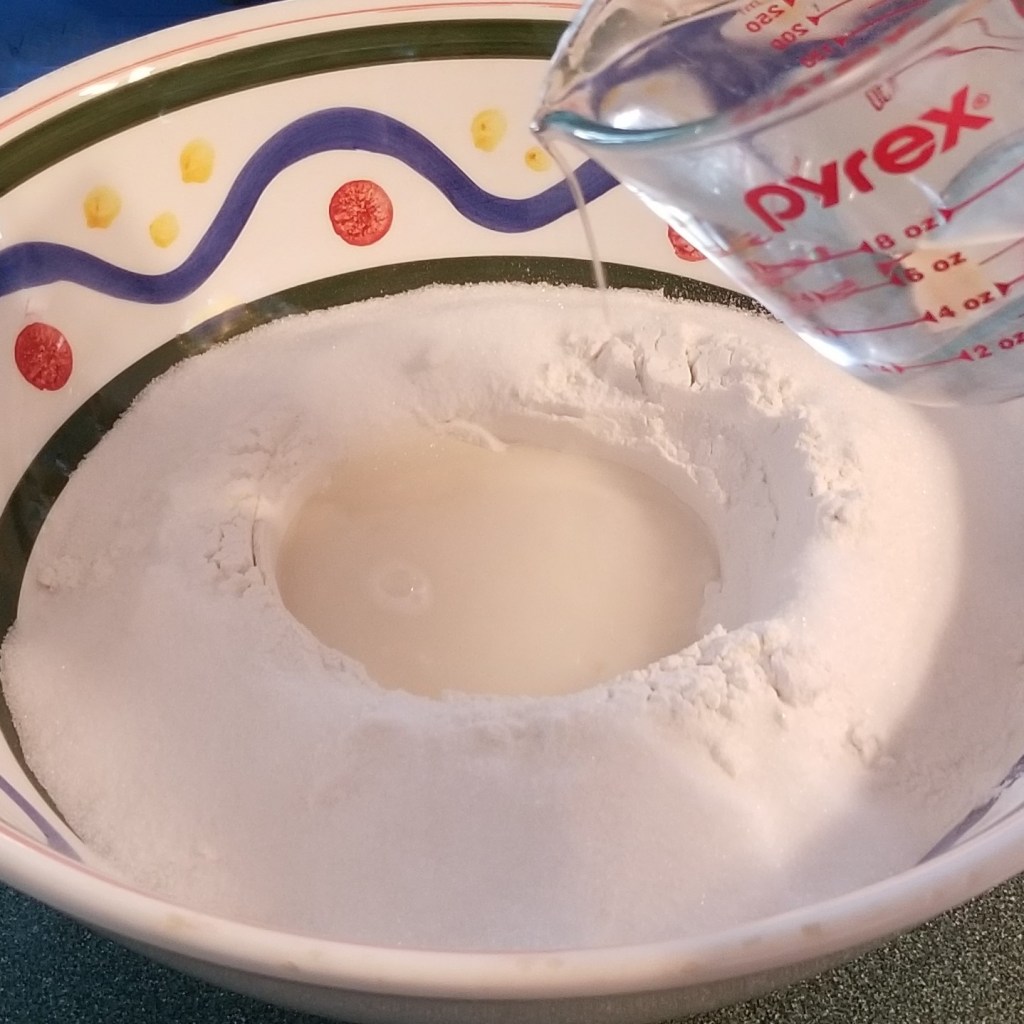
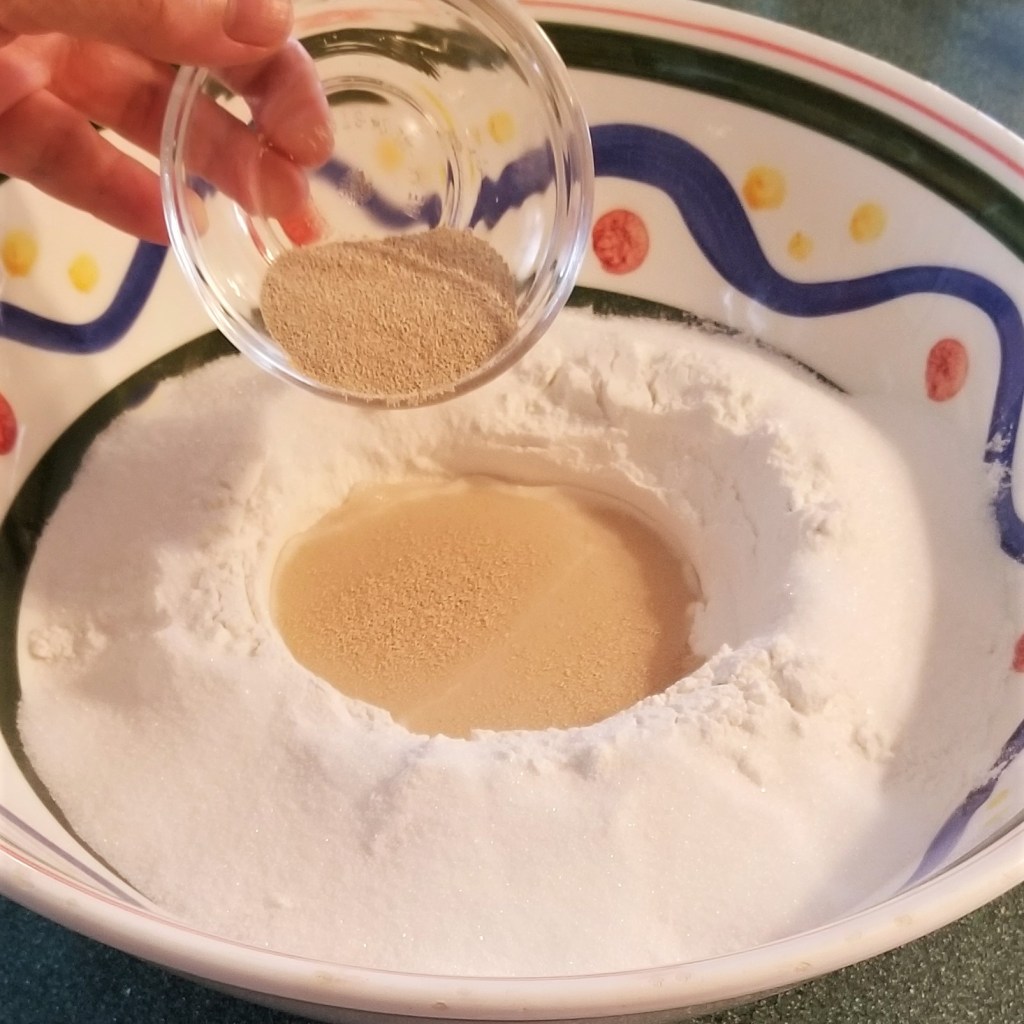
Add sugar to the side of the well. Pour about a quarter of a cup of lukewarm water into the well (photo below, left), then sprinkle dry yeast on top (photo below, right):
Incorporate about two tablespoons of flour and sugar into the centre, stirring gently with a spatula (photo below, left); allow the yeast to get activated, and produce bubbling (photo below, right)

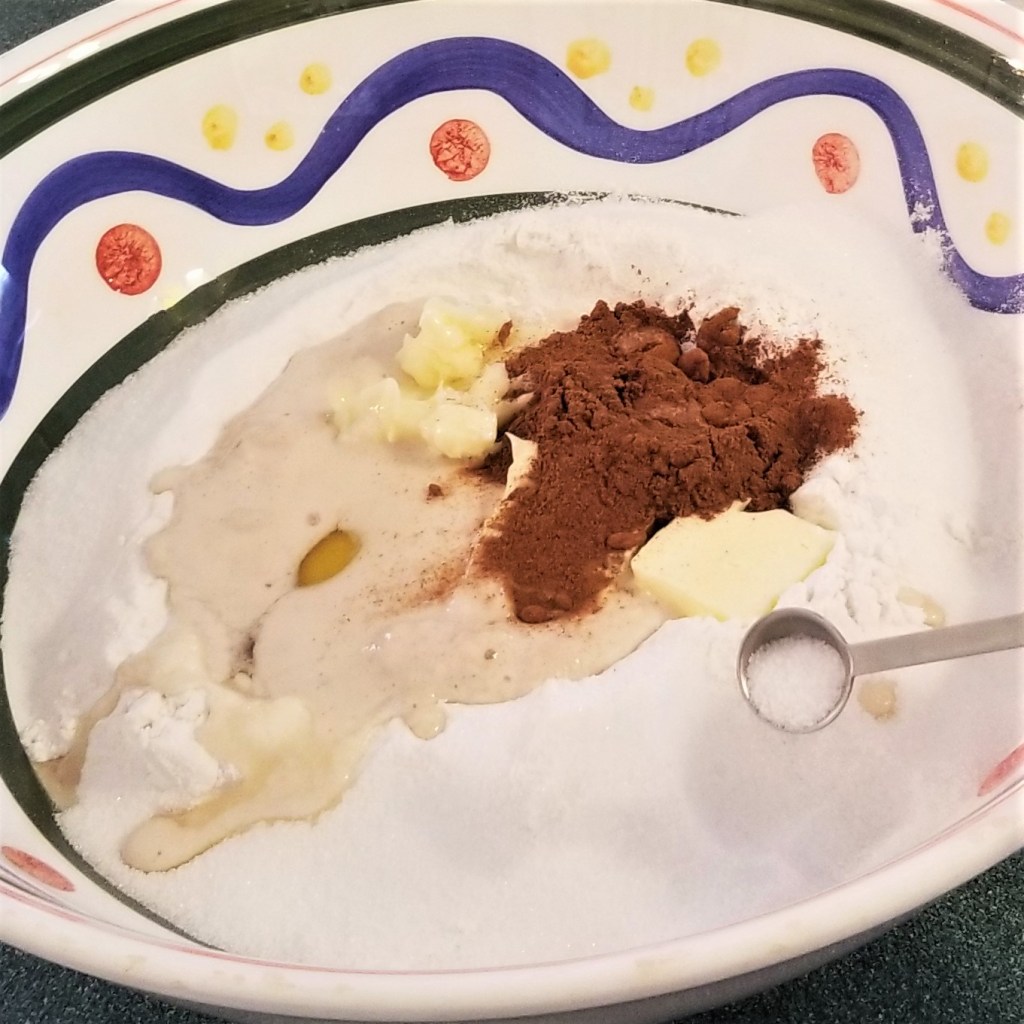
Add the rest of the water, egg, butter, margarine (or lard), and cinnamon to the well, and sprinkle the salt on top of the flour, away from the centre (photo below, left). Mix everything together with hands, or spatula (photo below, right):
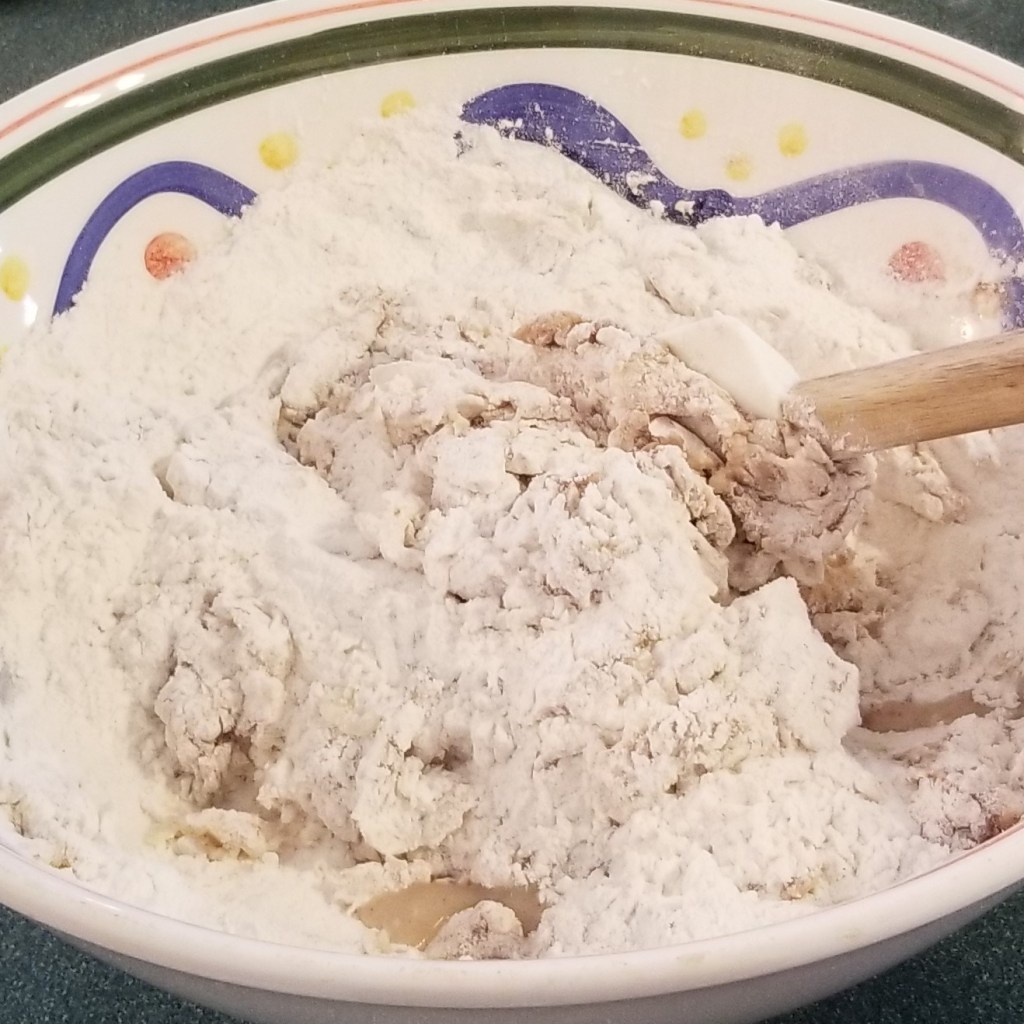
Transfer dough to a clean working surface, and knead with hands. In the photo below, left, the dough is still very crumbly at the beginning of the process. In the photo below, right, the dough becomes moist but still brittle after two minutes of kneading:
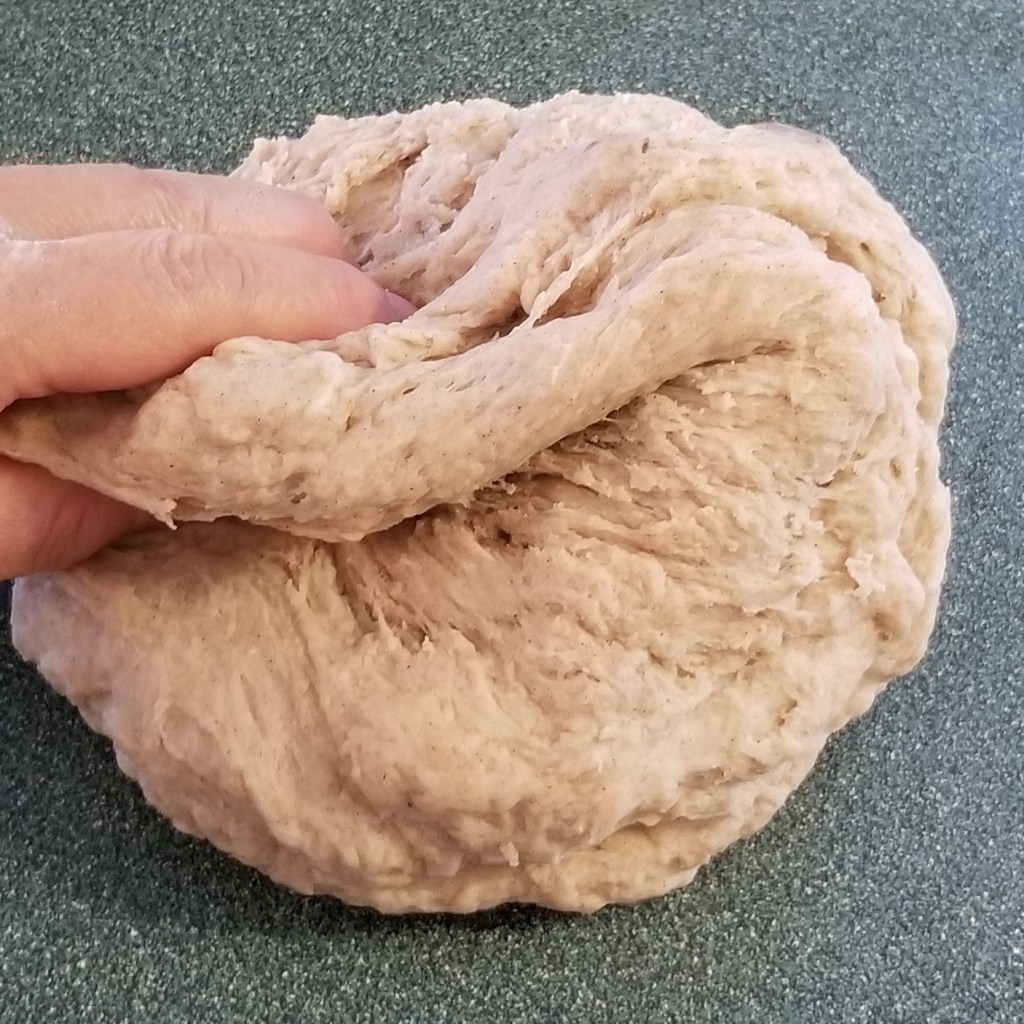
After just four minutes, this dough has become very manageable and soft (photo below, left), and a couple of minutes later, for a total of six minutes, it is elastic, and does not break when pulled (photo below, right):

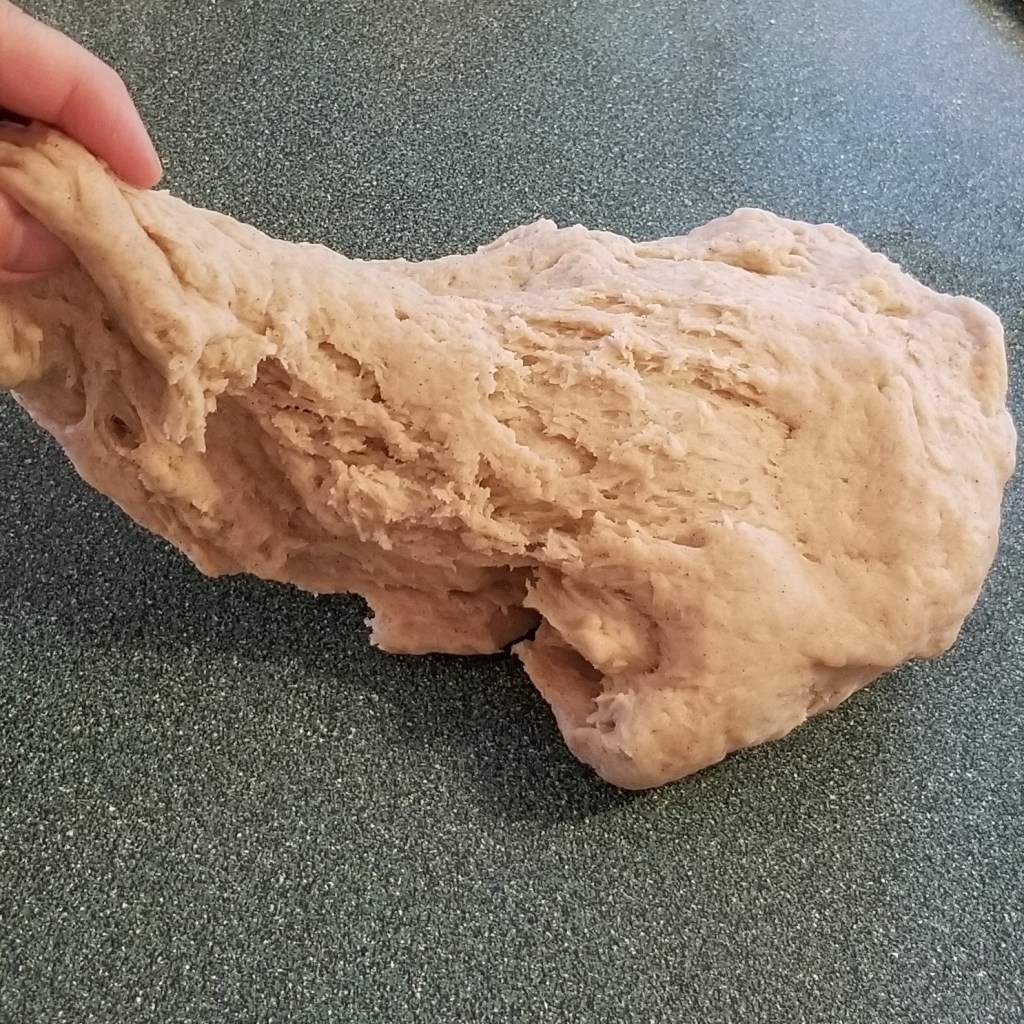
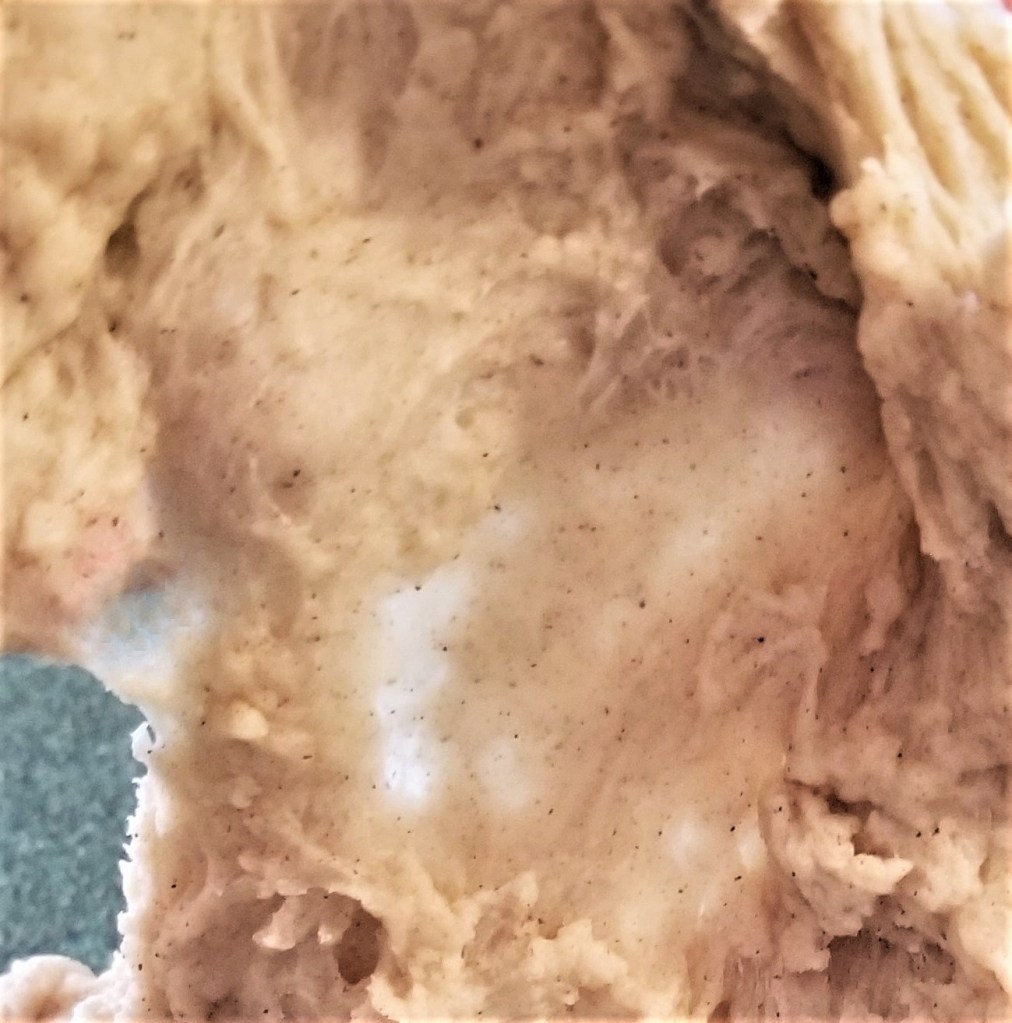
To test readiness, the dough should thin well when pulled, until it looks translucent, before breaking (“window test”):
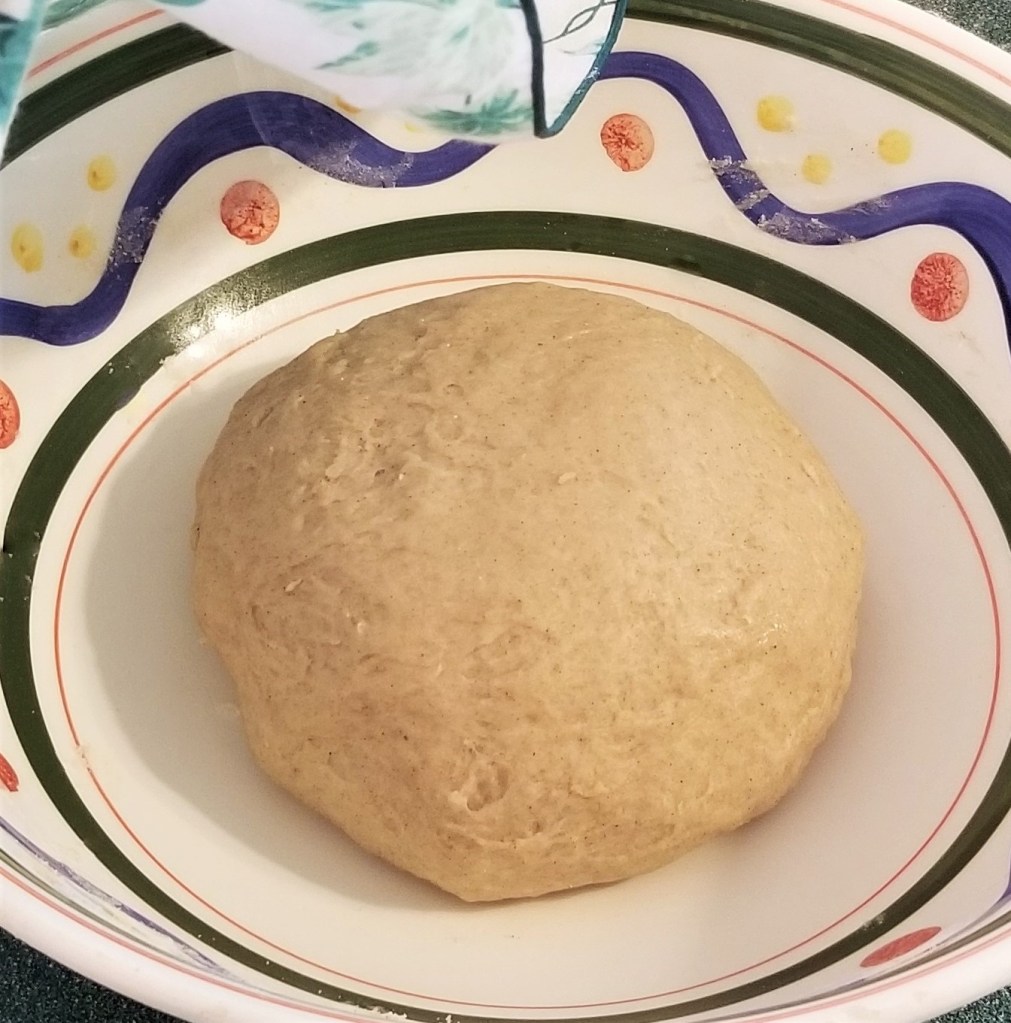
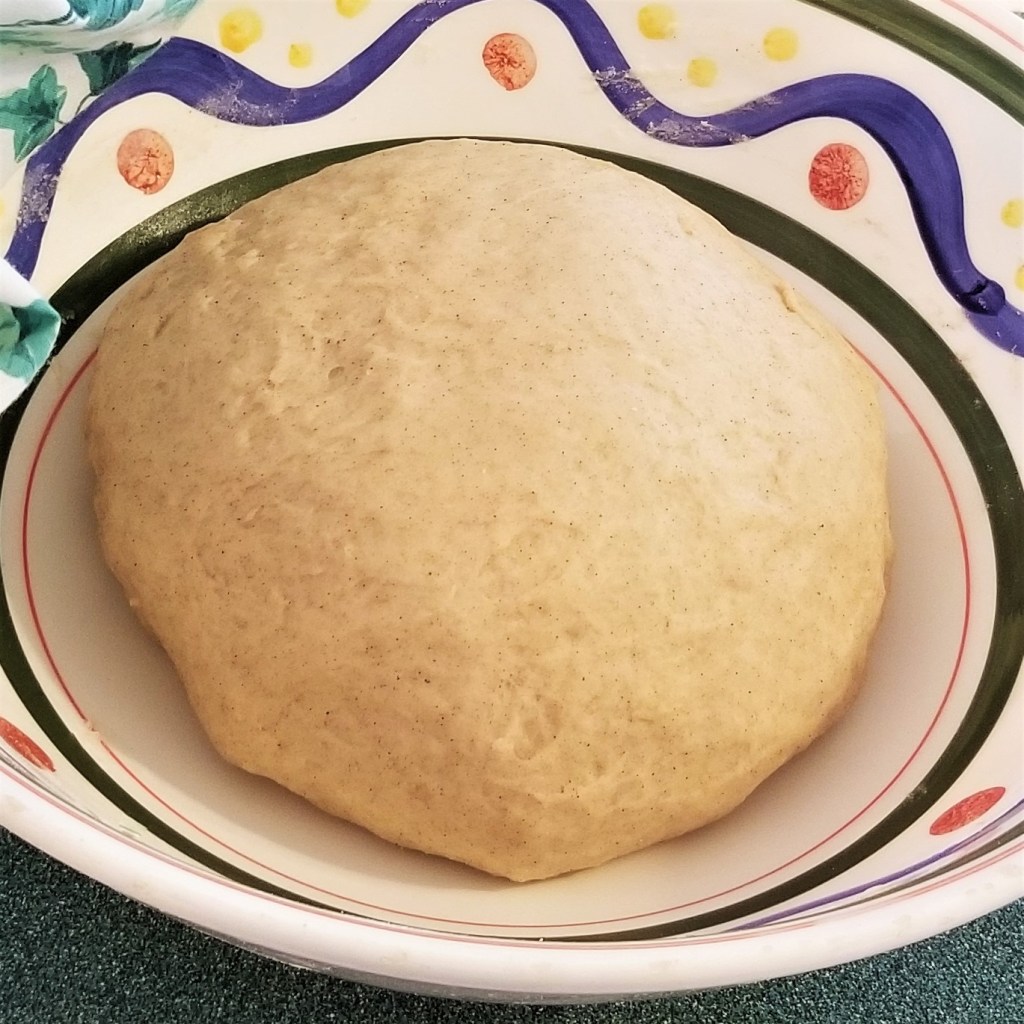
Stretch edges of dough, and pinch towards the centre, to form a smooth ball; lightly grease the mixing bowl and place dough in, with the seam facing down (photo below, left). Smooth dough surface with greased hands, to lightly coat with butter, then cover with a clean kitchen cloth, and allow to rest for thirty minutes. In the photo below, right, the dough has increased in size (does not have to double for this bread), and looks puffy:
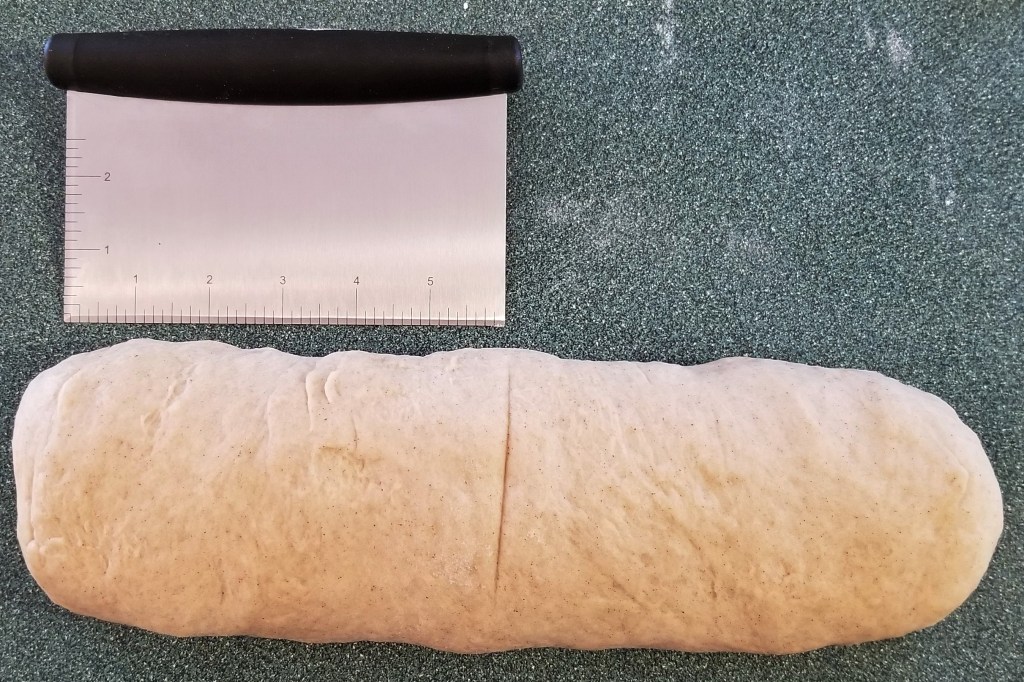
Punch air to form a thick circle, then roll to form a log (photo below, left). Tap the ends to shape into a 12-inch long cylinder (photo below, right):
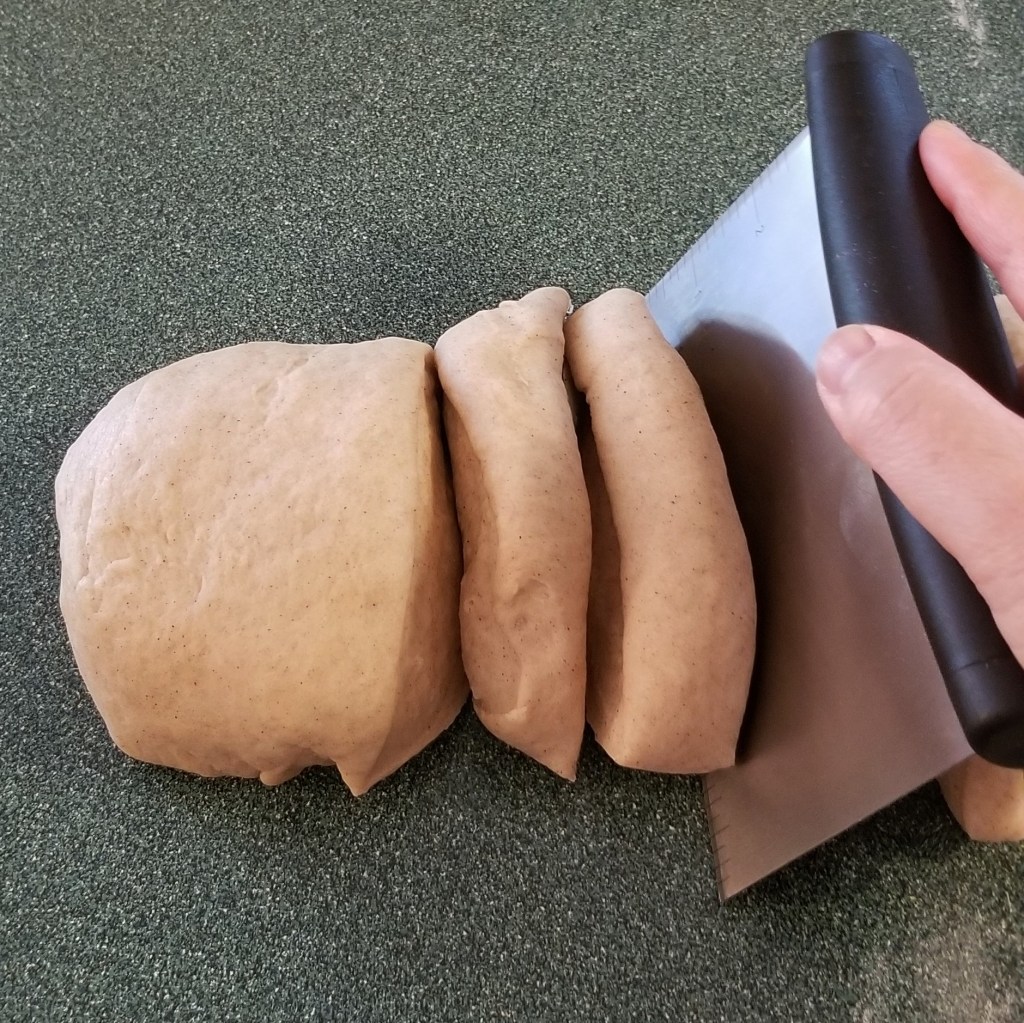
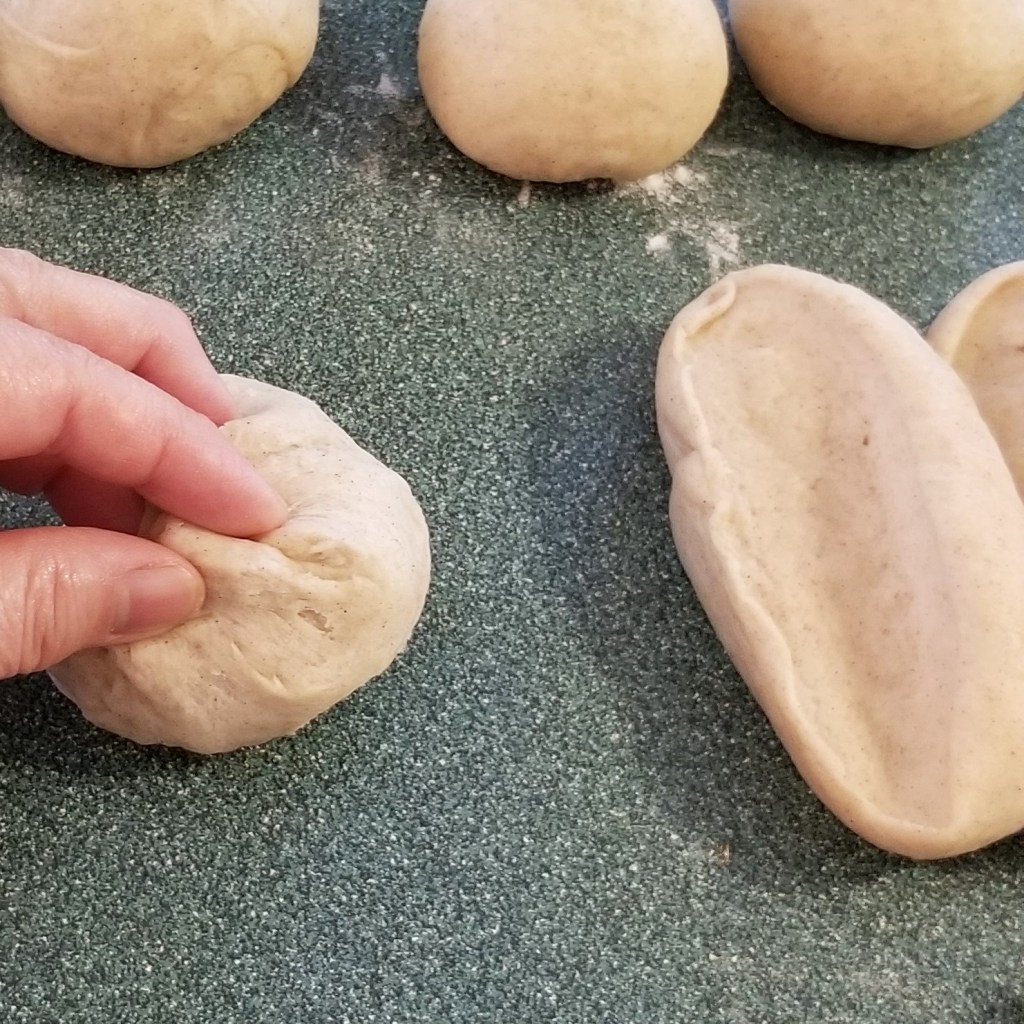
Slice into twelve pieces, one inch thick each (photo below, left). Working with one piece at a time, pinch edges towards centre to form a rounded shape (photo below, right), then flip seam down, and roll to smooth into a ball:
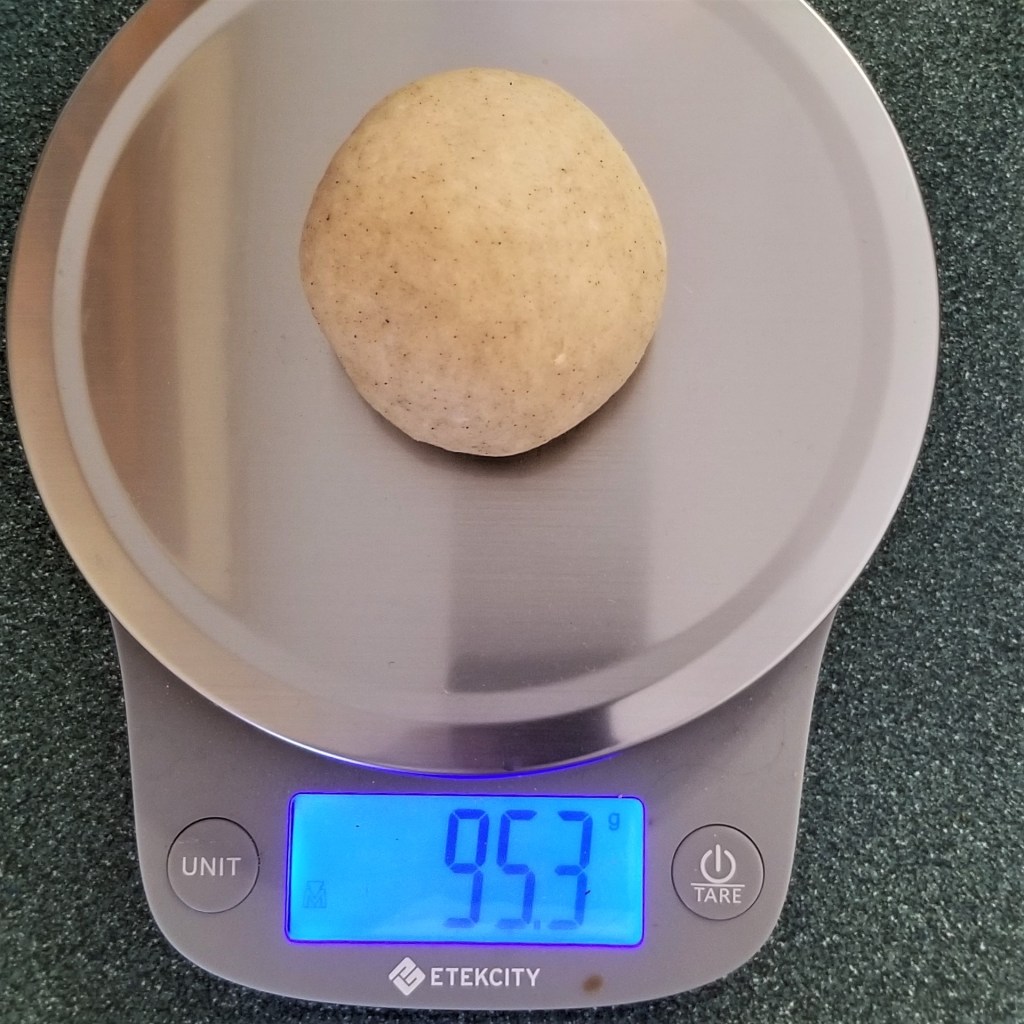
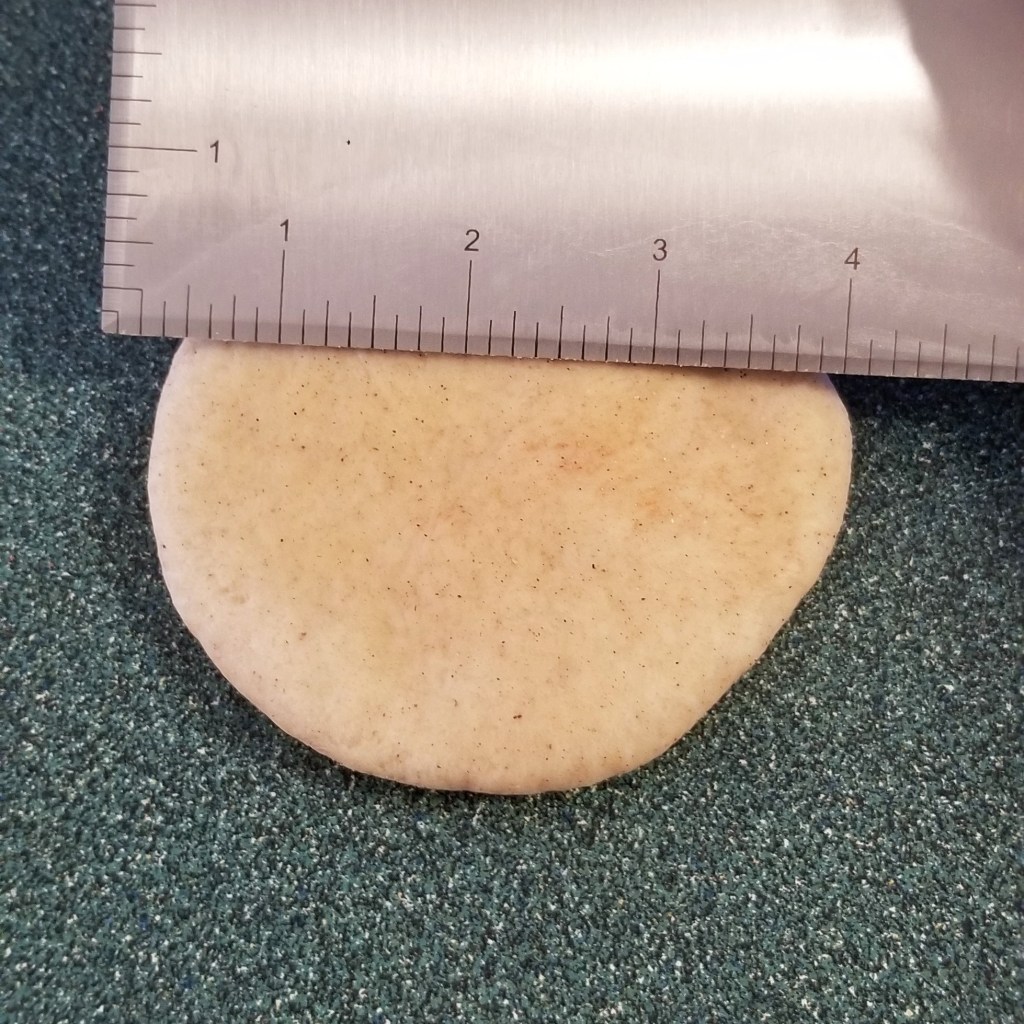
Each portion was about 95g. Flatten ball into a disc of approximately four inches in diameter (photo below, right):
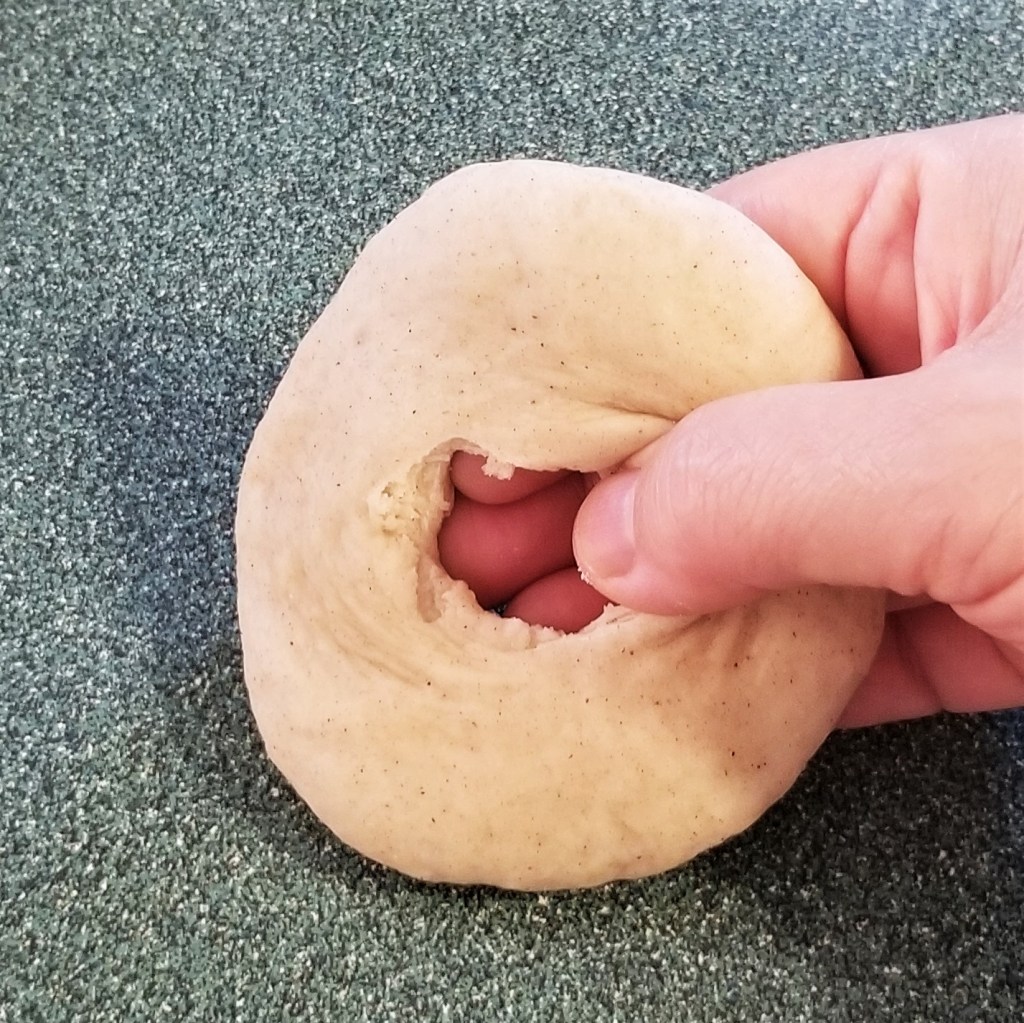
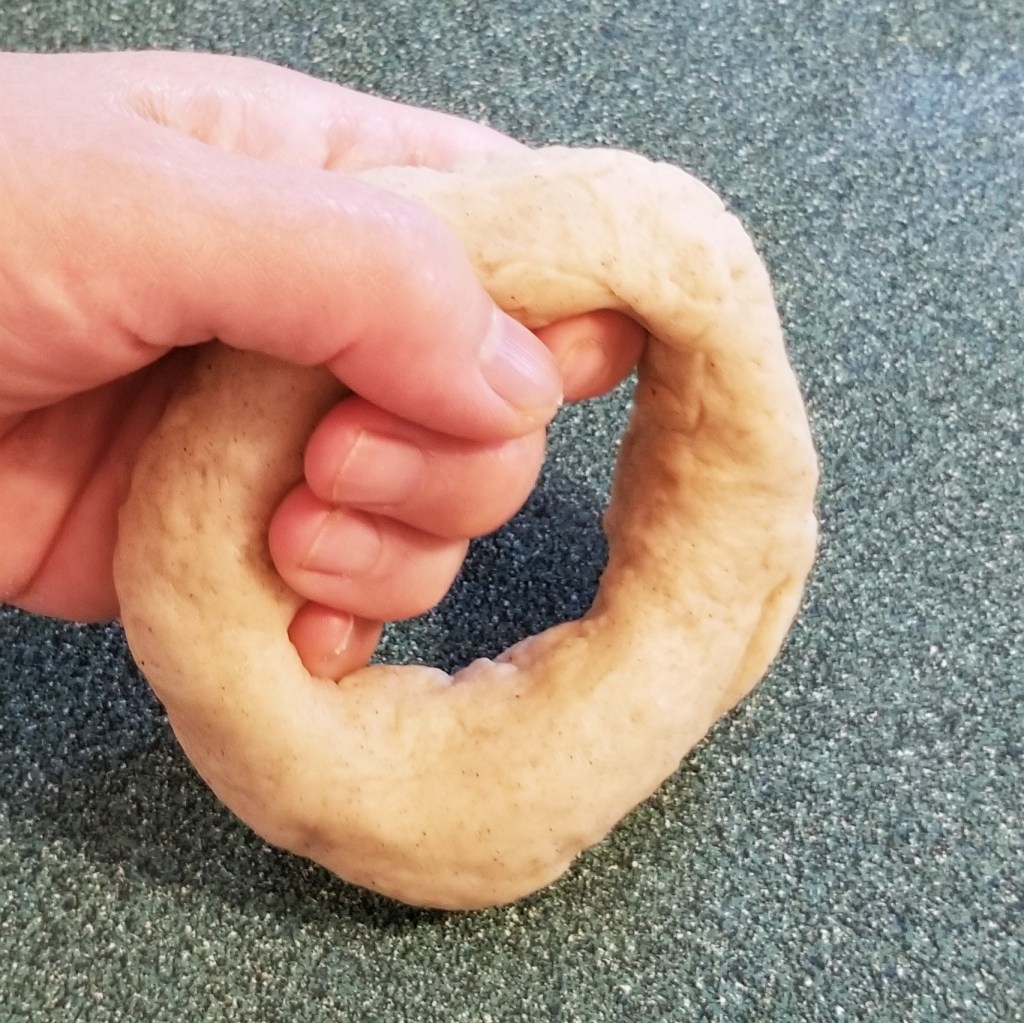
Pierce the centre with one hand to make an opening (photo below, left), then press around, forming into a ring with a very wide opening in the centre (photo below, right):
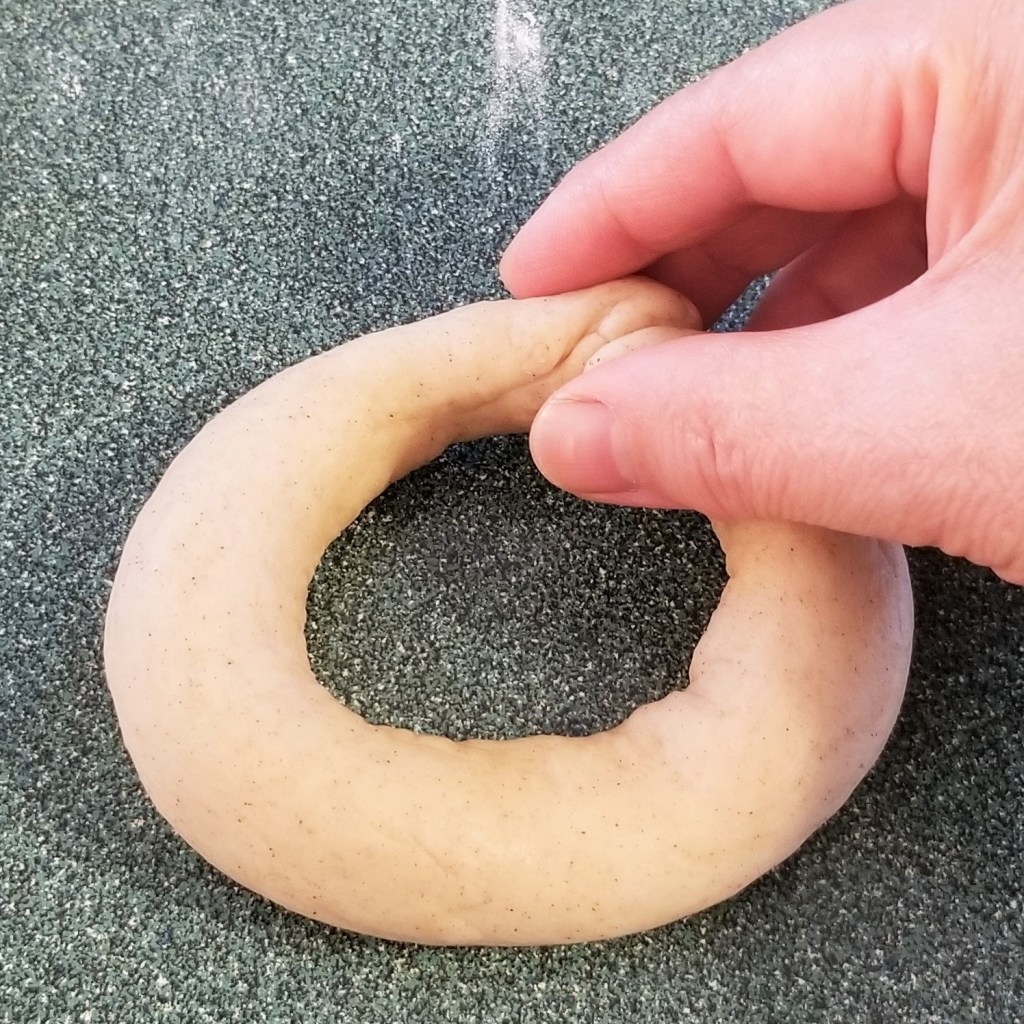
Alternatively, roll the disc into a rope, then attach ends together to form same ring shape as before (photo below, left). Repeat with all the balls of dough, to make twelve rings. Place one ring on the reserved coloured sugar, pressing ring down, to flatten, and help the sugar adhere to it (photo below, right):
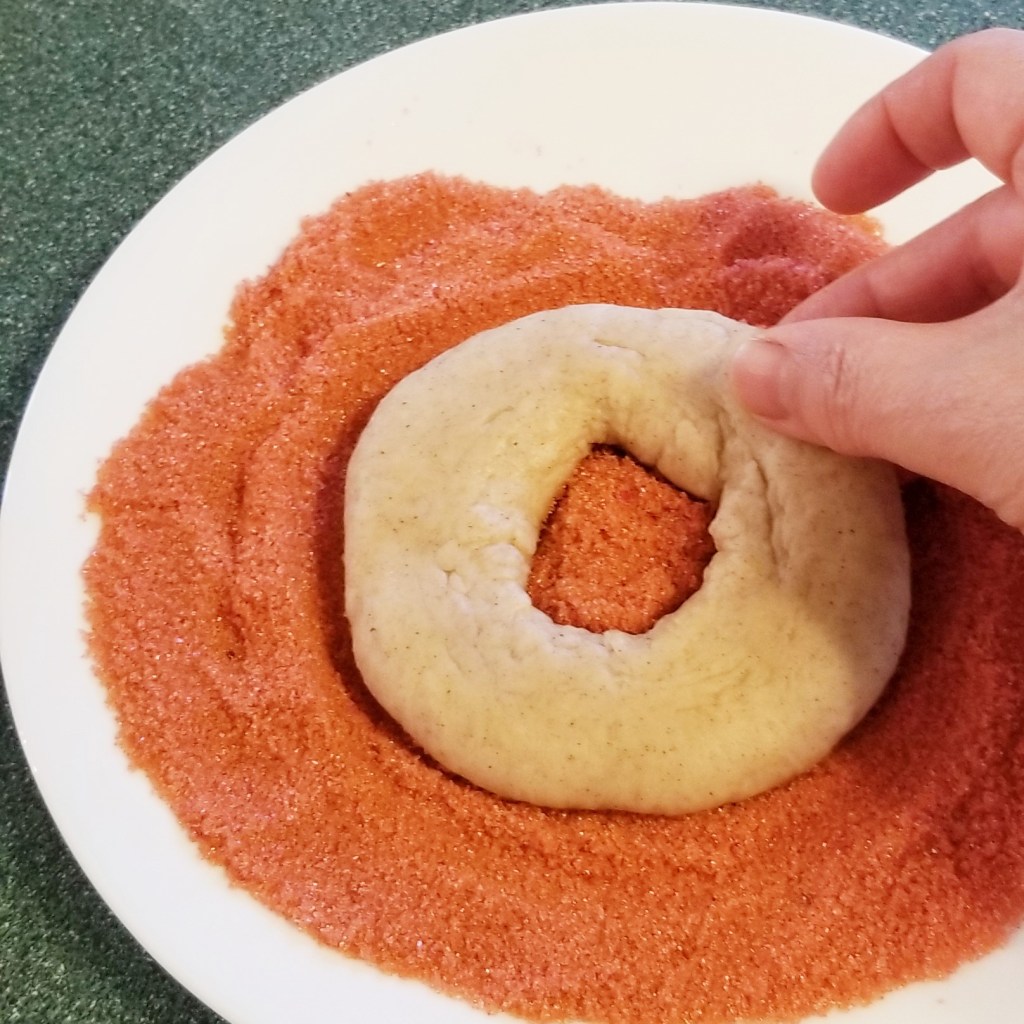
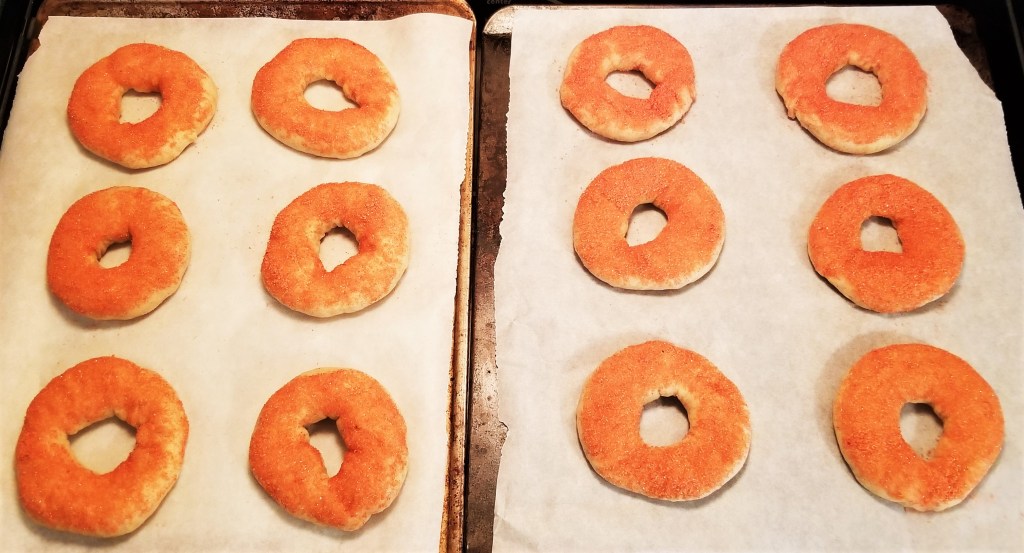
Place ring, coated side up, on lined baking sheet, and repeat with all the rings. In the photo below, rings right after flattening and sugar coating:
Allow to rest for thirty minutes, away from drafts. Preheat oven to 400ºF (205ºC).
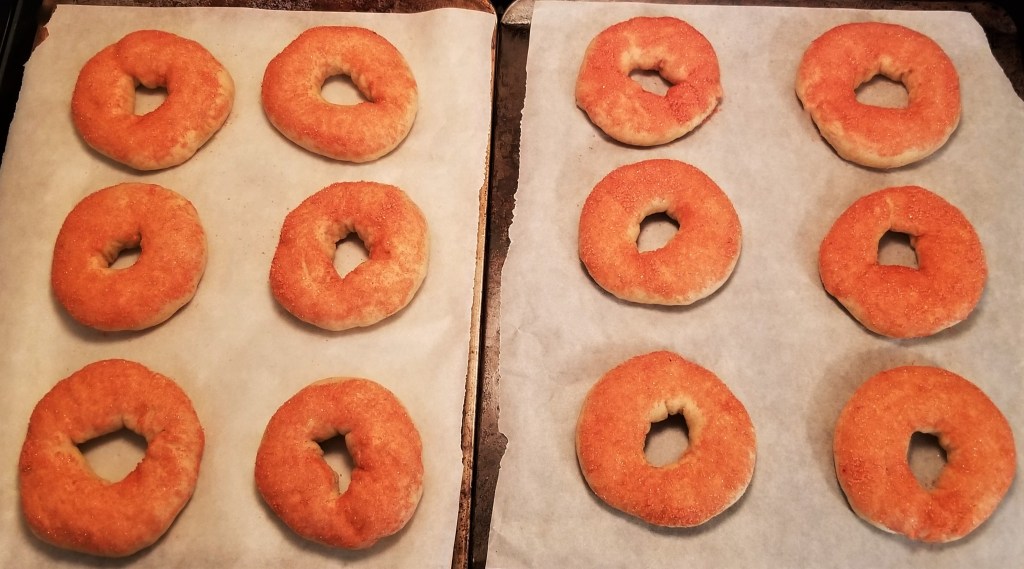
In the photo below, rings after thirty minutes of resting; the rings did not grow much further, but the dough looks soft and relaxed:
Bake rings in preheated oven for ten minutes, then switch the upper and bottom trays, rotating each as well, so the front of the trays now face the back of the oven, and bake for another five to ten minutes, until golden brown on the bottom side. In the photo below, rings right out of the oven after total baking time of twenty minutes:
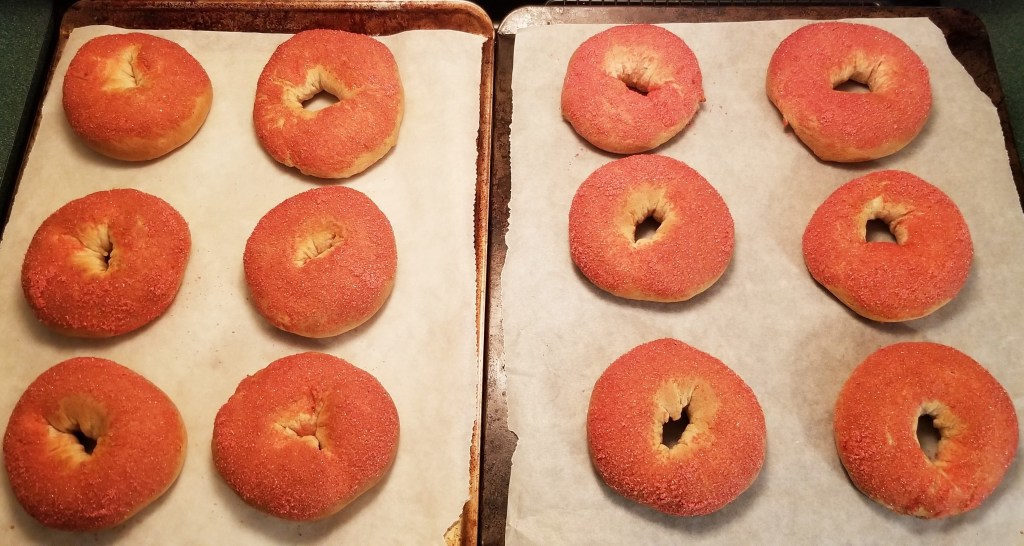
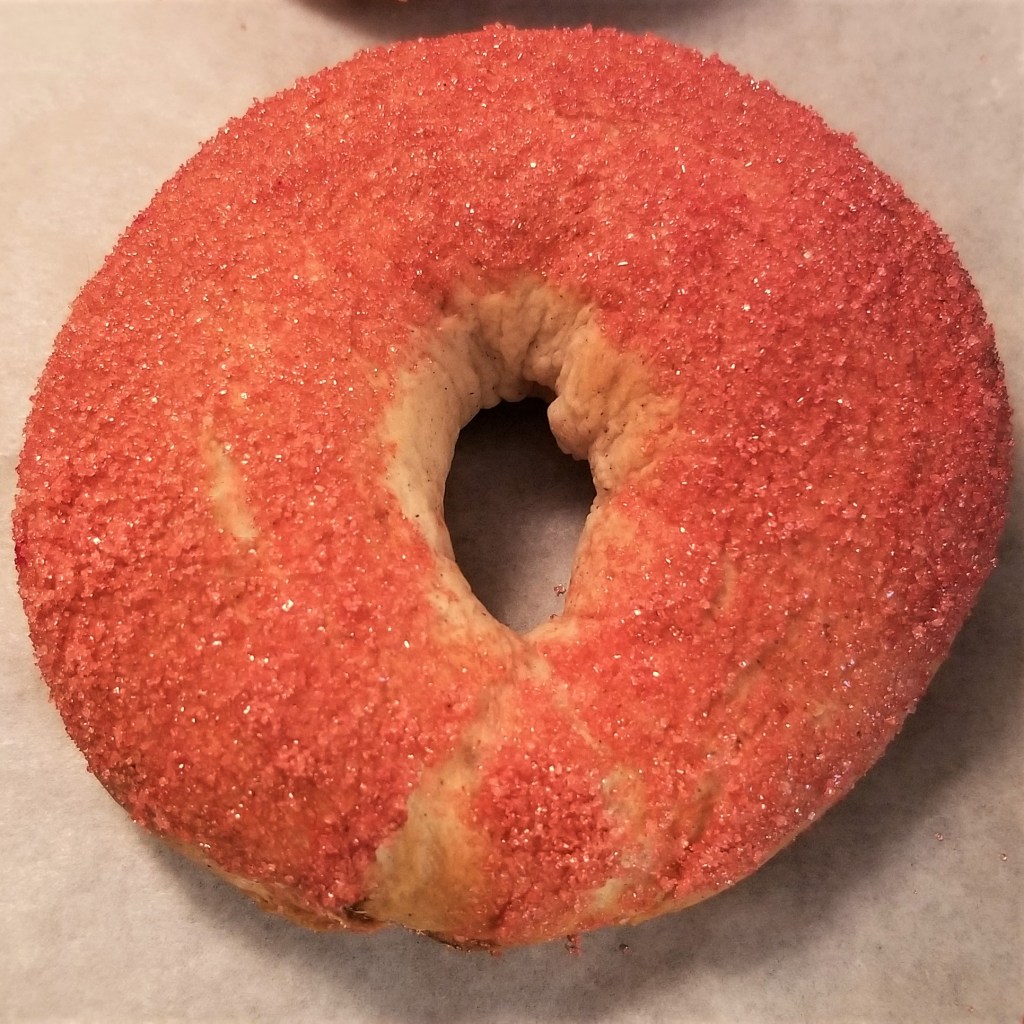
Comparing the rings formed from a pierced disc (photo below, left) and from a rope (photo below, right), they look similar, except the one formed from attaching ends of a rope shows the junction point, as it expands during baking, developing a small crack, and a bare spot:
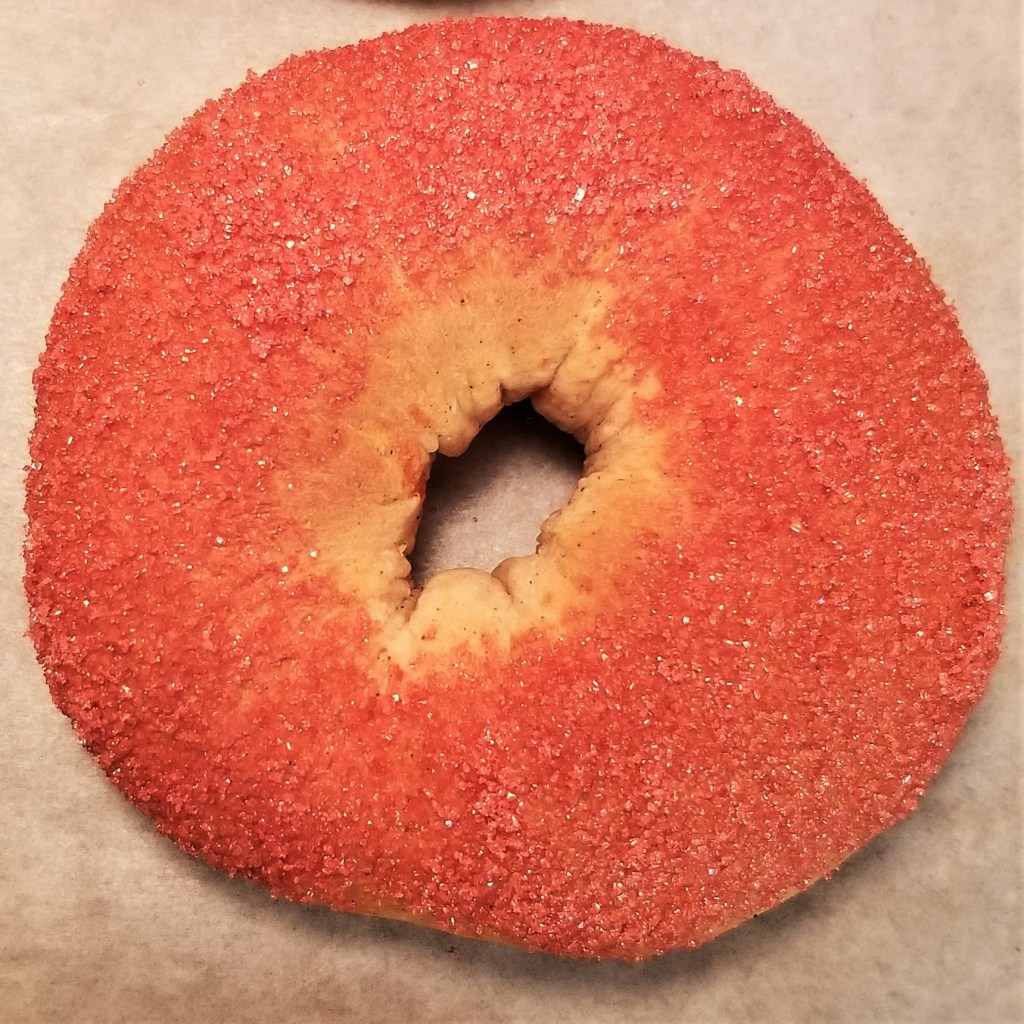
All rings also looked bare around the outer and inner edges, again because of the expansion during baking. To remedy these bare spots, sprinkle with more coloured sugar while rings are still hot out of the oven, for uniformly coated rings, as shown at the top of this post, and below:
When opened, the cross section shows a cinnamon speckled compact crumb, with a texture similar to that of a savoury bun, and a crispy and golden brown crust:
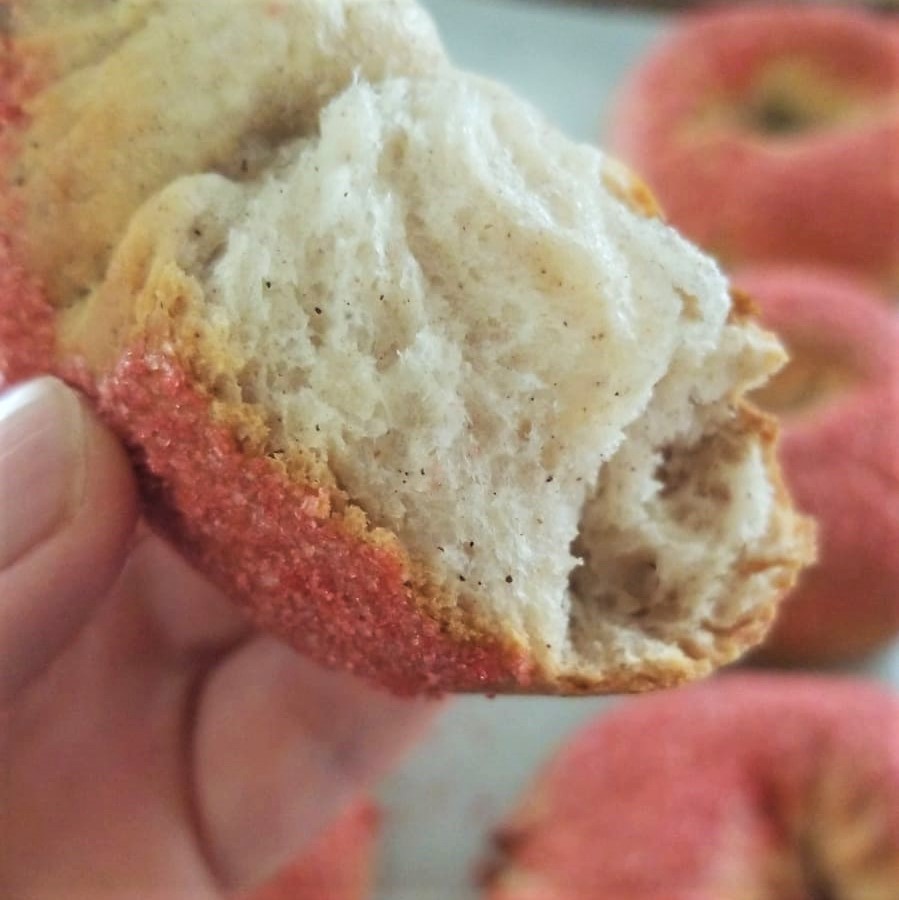
The sugar coating added to the mild sweetness of the bread, and gave extra crunch to the bite. Golletes are delicious with a glass of milk, or any hot beverage.
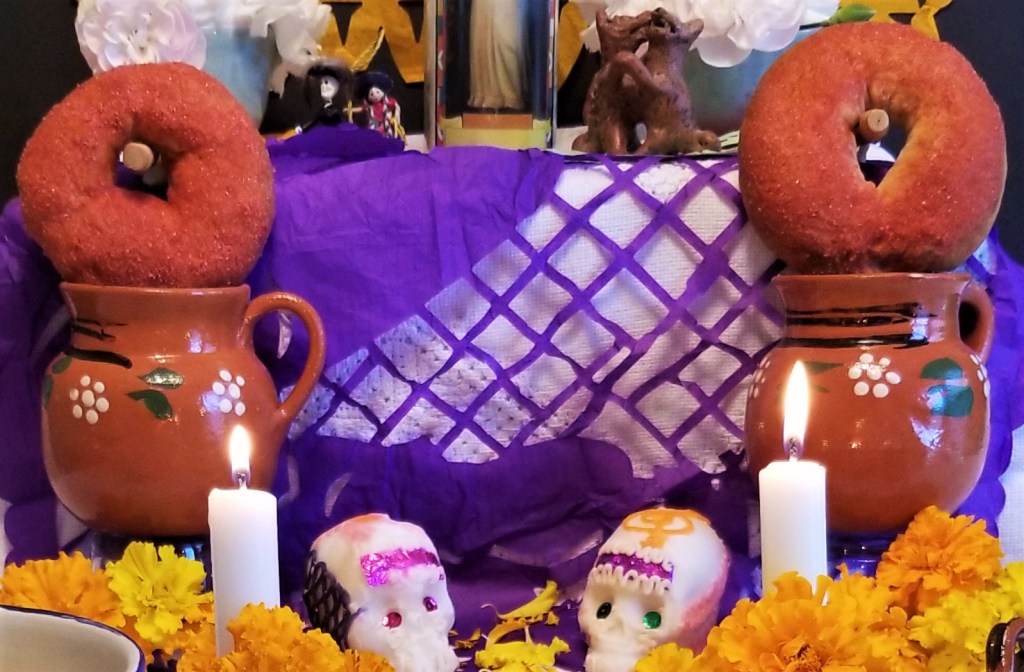
The word gollete is used in Spanish to define any ring-shaped part or piece, such as the narrowest section of the neck of a bottle, cylindrical metal plugs, etc. Although the name of the bread is not spooky at all, named directly by its shape, the symbolism in a Day of the Dead offering is way darker, abetting remembrance of the departed; much like other Day of the Dead breads represent bones, bodies, and other human parts, golletes represent skulls, specifically in reference to the pre-Hispanic Tzompantli – a rack or wall displaying rows of human skulls. Therefore, for a Day of the Dead offering (ofrenda de día de muertos), golletes are not displayed flat on a plate like other foodstuffs, but are usually hung vertically using pieces of sugar cane inserted through the middle. I did not have sugar cane at my disposal, so I propped the golletes on clay mugs, and used small wooden spoons to insert in the centre in lieu of canes; this trick resulted in the same visual effect as hanging the rings, as shown below:
I do not want to procrastinate sharing this post, so stay tuned for my next posts, with more on my ofrenda for this year’s Día de los Muertos.
For your convenience, click on the images below for products available on Amazon™. DISCLAIMER: Any reviews included in this post are my own, for items I have purchased, not provided by any company; as an Amazon Associates Program affiliate, I might receive a commission for any purchases originated from the links below, at no extra cost to you (thank you to readers who have bought other products starting with a click from my links!):


I am sharing my post at Thursday Favourite Things #734, with Bev @ Eclectic Red Barn, Pam @ An Artful Mom, Katherine @ Katherine’s Corner, Amber @ Follow the Yellow Brick Home, and Linda @ Crafts a la Mode.
I am bringing my recipe to Full Plate Thursday #767 with Miz Helen @ Miz Helen’s Country Cottage.
I am joining FIesta Friday 613 with Angie @ Fiesta Friday.


I love panaderia and bread in general… never seen this one in Mexico! Central Mexico isn’t the part of the country I know best, that’s probably why. The texture looks interesting. I thought they were donuts at first in the first picture!
LikeLiked by 1 person
They are baked mainly around Day of the Dead, and city bakeries would not carry them, they are more artisanal. Mine look indeed a little too donut-like, the opening could be bigger; the texture is more like a crusty bun, and the flavour is sweet and with a touch of cinnamon.
LikeLiked by 1 person
A beautiful recipe to try and share. Glad a few more of the ‘Day of the Dead’ recipes are coming our way. I was fortunate enough to share many such on the late Victoria Challancin’s ‘Flavors of the Sun’ blog from Mexico thru’ the years . . . came to appreciate the occasion with a great deal of respect . . .
LikeLiked by 1 person